Tuesday, September 6, 2016

Busy Weekend!!

As a rule, I haven't enjoyed holiday weekends since my husband passed and my children moved out on their own so it's important to go into those weekends with a plan.
This past weekend was Labor Day here in the USA and the plan revolved around getting this quilt (Smitten by Lucy Carson Kingwell) ready to layer.

Mission accomplished!! 
Wahoo!! 
Today it gets layered and then the hemming and hawing about how to quilt it can begin!?!
I love looking at it, so I left it hanging out on the clothesline with the sheets for a bit just to enjoy the view.
I even contemplated mounting it on the side of the newly painted garage for some photos.
That was one of my other weekend goals -- to get this side of the garage painted before the weather turned hot and rainy this week as is forecast. 
Definitely out of my comfort zone -- the painting part is okay but there was lots of self-talk going on concerning that ladder stretched out into the peak of the wall.
The building is reputed to have started life as the cow shed circa 1915 when the "neighborhood" was likely a pasture behind us.  There's a door at the back corner, long nailed shut, which would have given easy access to a pasture and an old diagonal "scar" along the front corner where a small structure was removed -- chicken coop or wood shed?
I've had the rest of the building sided with vinyl to make it easier to maintain and improve the neighbors' views but I love the visual history of this side and so will continue to keep it painted -- though I won't be the one painting it next time!!
I like the idea of organizing a photo backdrop there -- have to think about that!!

And just to keep things interesting, I'm working on making the transition from tri-focals (which I've worn for 30 years to two pairs of bi-focals?!?  I can see the targets better with both pairs of glasses and I think the challenge of keeping track of both pair will be a good mental workout for me -- memory improvement -- where did I leave the reading pair?
Such a goofy selfie!!
Time to layer!!  Think I might do a couple of them while I'm in the mode!!

Mary


Friday, September 2, 2016

Morris Hexathon Update -- #12 and #16

The hexagon blocks in Barbara Brackman's Morris Hexathon are becoming more complex looking in the number of pieces, but the assembly of these two was quite easy -- all straight line seams!
 
I am still looking for that little 60 degree diamond template, but realized that I could use the "conehead" (or "gem") template (N86) in an adaptive way to cut all the pieces I needed for Block #12.
Keep in mind that I'm not enlarging the patterns but using them in the size they copy off of Barbara's blogposts.  She intends the finished edge of the blocks to be 4" but mine are 3" -- I was technically challenged by the "enlarging" aspect and so caved to the easy route.
This post is a bit long because I've packed in lots of pictures to help you understand how I cut this block and give you more insight into the possibilities with Marti Michell's templates.
 
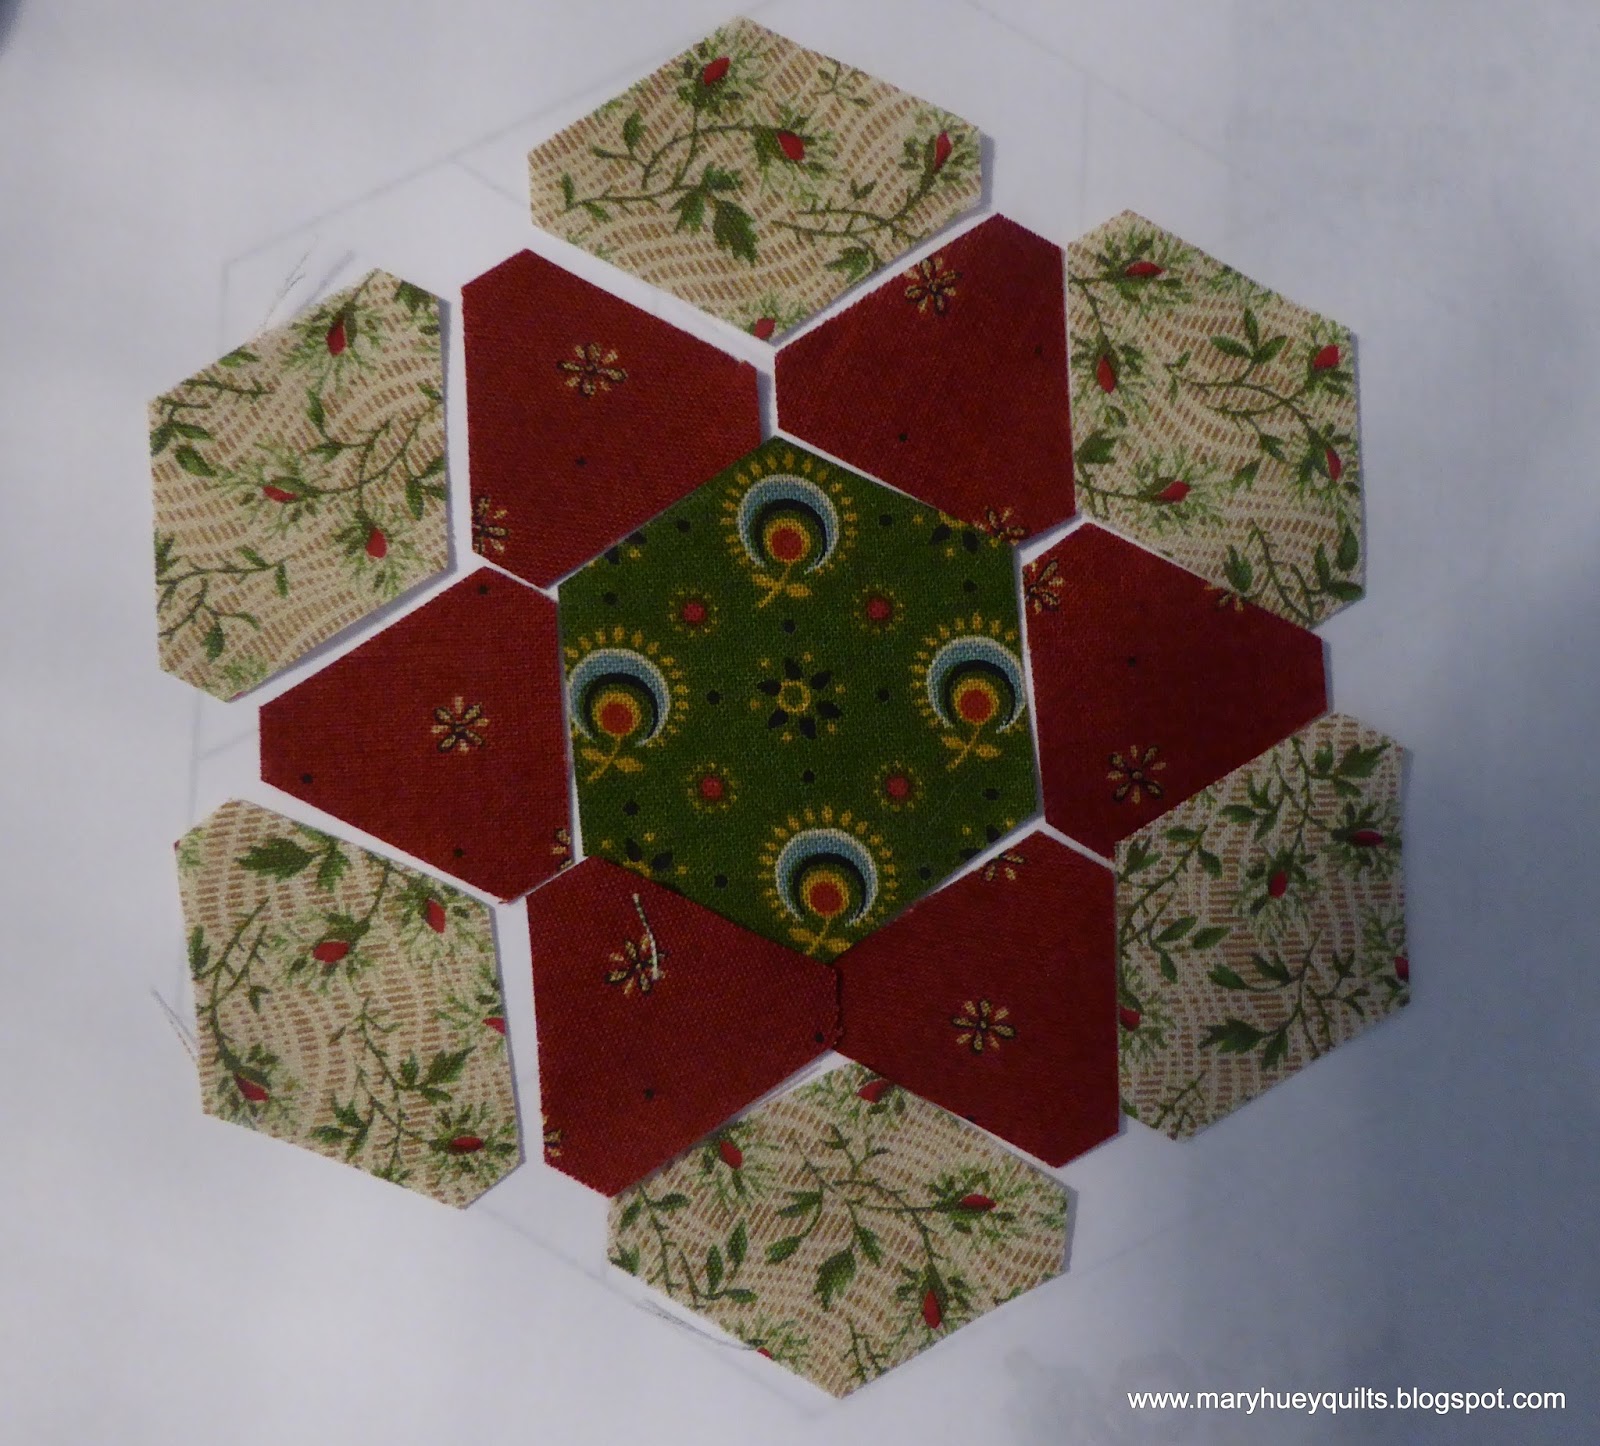
The "conehead" template is set up so that one can also cut hexagons (3/4") and equilateral triangles (both of which are compatible with the "missing" 60 degree diamond template). This photo illustrates cutting the equilateral triangles needed.
It's important not to skip the point trimming step -- I use to do that until I realized that the time spent trimming decreased the time necessary to align the pieces accurately while speeding up the piecing process!
The next cutting step was to figure out how to cut the tiny diamonds which are 1/4th of the conehead's base diamond. 
From previous experience, I know that establishing the correct angle and doing the point trim was the best place to begin.  There was some "template juggling" to figure out the best strategy and a few wrong cuts.  This didn't work.
Finally, I hit on the right placement of the template.  The upper left corner of the template matches the previous trim.  Then cut along the right edge and trim the lower right corner.  I worked on a doubled strip so each slice yielded two diamonds.
Before cutting the next pair, I needed to trim the upper left point -- without that trim, accurate positioning of the template was guesswork, perhaps impossible?
Here's the block so far but I still have quite a few more tiny pieces to cut!
I decided on this plaid for one of set of diamonds and in order to keep the stripes of it centered in the diamonds, I used one of the diamonds I had already cut to set it up.  Then I laid the template over top and carefully cut out the plaid one.
The six outer diamonds were easy to cut using the complete template!
And here is the block, cut and ready to piece.
Now to decide how to assemble it.  There are 35 pieces in this block and because it's hexagonal, one might assume lots of y-seams, but in fact there aren't any!?! 
 
This is the first breakdown I did of the block and it would work, but the second and fourth rows of little pieces require lots of matching as the rows are joined to each other.
This cluster approach is easier to manage and frequently the best approach to complex looking 6-pointed star blocks.   It works just as well with EPP!
So here we go!  Can you see that the plaid diamond/green triangle unit occurs six times?
All seven clusters ready for the final assembly. 
The center is finished and doesn't the little star look stunning?
Here's a look at how I pressed the center unit.  I'm not a big fan of pressing seams open, but in this case it was the best option. 
And here is the final block!  It's a charmer and the possibilities for playing with the color and value of this block make it a good candidate for exploration!  I'm going to add it to my block collection for this winter's sampler workshops! 
Happily, block #16, Hammersmith Terrace was a perfect match for templates G46 and G49 -- no brain power required, just lay the templates on the pattern sheet!!
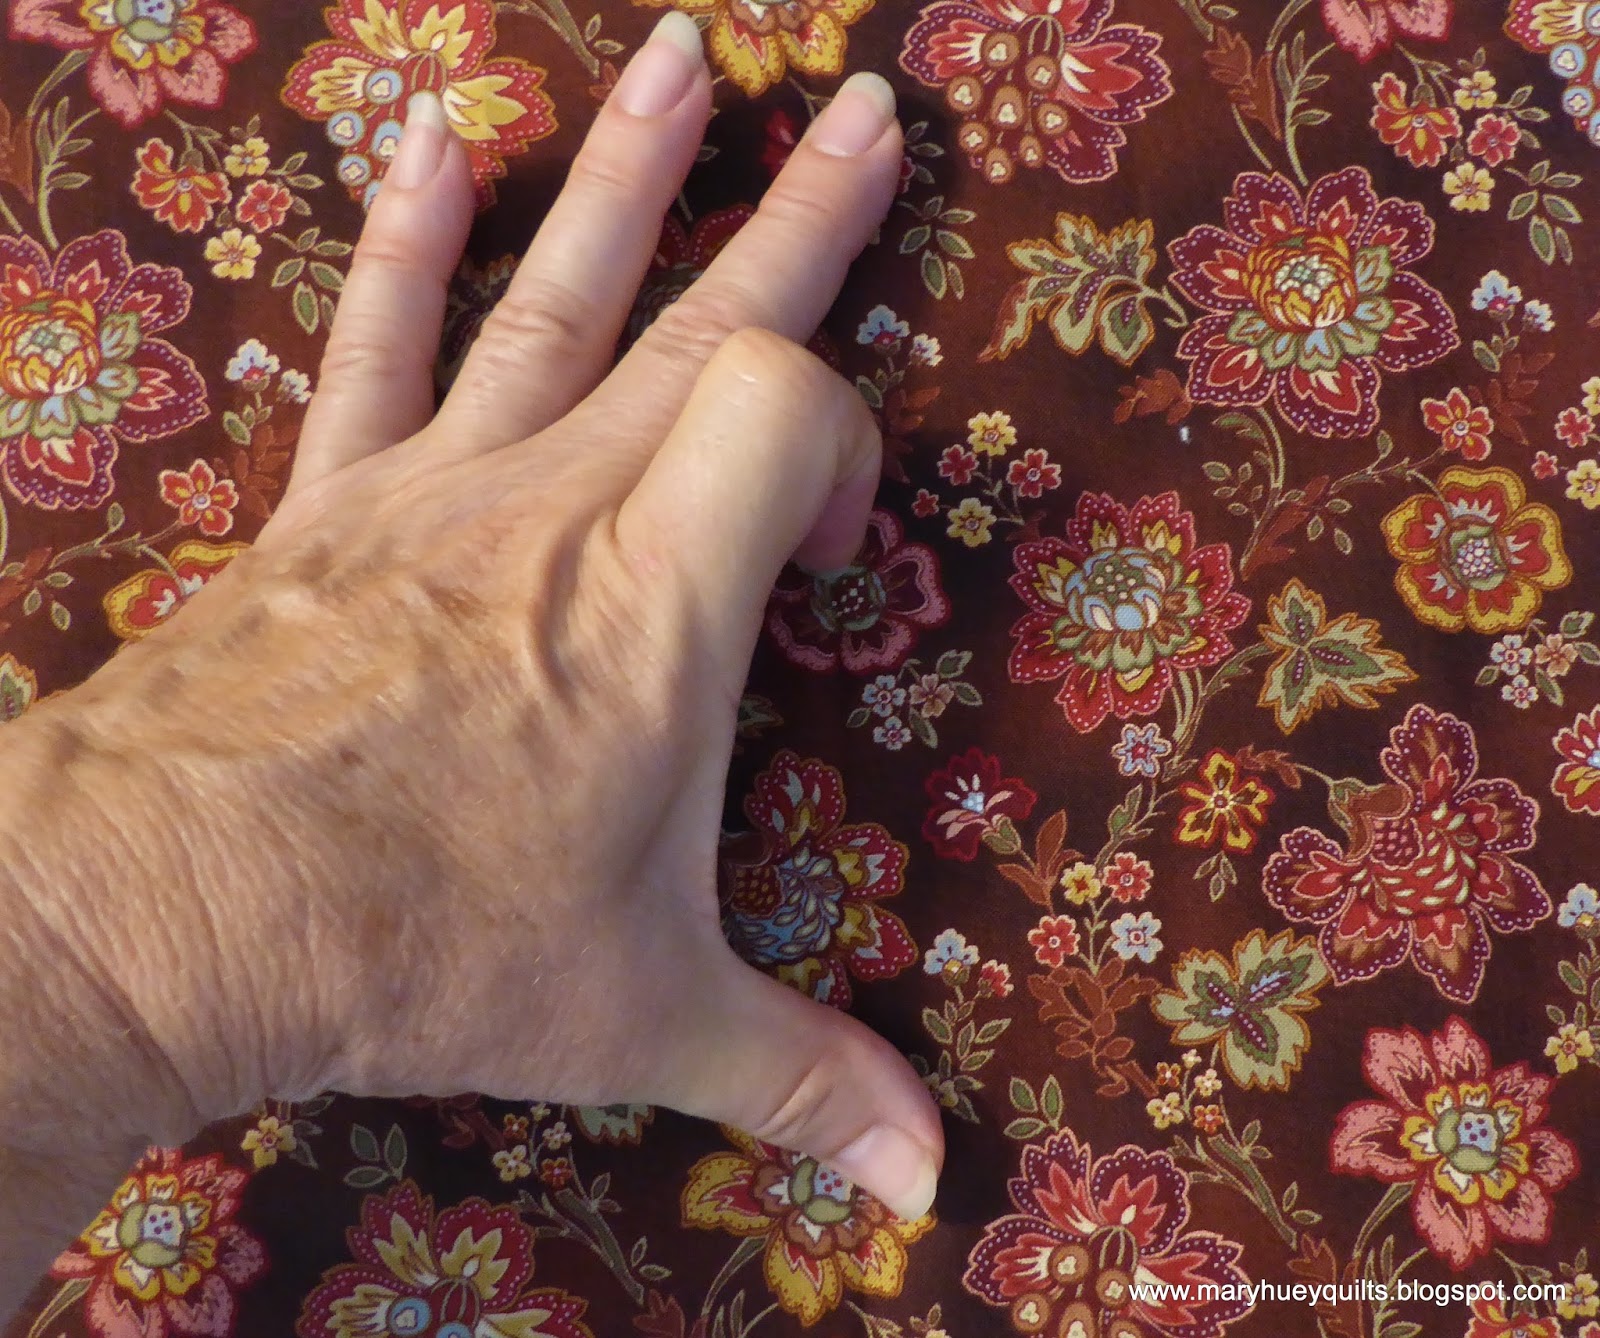
Hexagons often make me want to fussy cut fabric and the flowers in this print are perfect. 
Experience has taught me to consider the repeat and decide if I have the right number of motifs BEFORE I start cutting.  There's the repeat left to right.
And here it is up and down.
Even though I only have 1/4 yard of this print, I have enough repeats of any motif I chose. 
I intended to use the one of the larger flowers when I pulled the fabric, but shifted to the smaller flower which occurs in a rose color and a gold color -- I cut three of each!
Here's a tip which might be helpful -- when putting fabrics back onto the shelf, fold it with the holes out so when you see it in the future, you know you've cut it up and eliminated that disappointment of finding the "perfect" fabric only to discover there are six random holes in it.
I did a quick side-by-side audition for the triangle placement before stitching.
Once again, no y-seams!!
And once again, I marvel at how easy it is to match everything up thanks to the trimmed points and accurate, consistent 1/4" seams.
I alternated the gold and the rose hexagons when I laid the block out, then forgot to check before stitching these three rows together and reversed the outer rows which put all the gold flowers on one side and the rose ones on the other. 
Unstitch.
Now they are correct.
And the final block. 
I think there are 10 blocks left to go and it's time to start thinking about the "setting" fabric.
 
Hopefully, we'll all get some piecing done this weekend.  The USA has a long holiday weekend with Labor Day on Monday and at least here in Northeast Ohio, we are suppose to have four nearly perfect days -- sunny and pleasant temperatures.  The challenge for me will be to balance the urge to be outside with the urge to be stitching with the need to keep painting in the living room. 
At least I can stitch outside!!
 
Mary Huey


Tuesday, August 30, 2016

Not stitching . . . . .

The end of August is upon us and as usual, I'm feeling a bit overwhelmed by all the things I didn't get done yet this summer and the fast approach of fall with an entire new to-do list.  I've been home for two days from my brother's wedding that doubled as my first ever sisters weekend (it was fun). 
I used up the first day freezing corn because you have to do that when the corn is ready, not when you have time.
A friend and I worked together to husk, cook, cut, and pack up 9 dozen ears of sweet corn for the winter!!
Since I nibble while cutting corn, I wasn't very hungry at supper time but making some corn fritters was an irresistible idea!  A quick photo to Instagram set off some international drooling and so I thought I'd share my recipe today since I haven't stitched an inch for almost a week. 
My recipe comes from an old book, Plain Cooking, written by Bill Randles and published in 1974.  It's a collection of Amish recipes that he collected during his years as a radio host, writer, and college professor in Northeast Ohio.  (I checked on Amazon -HERE- and there are quite a few copies of the book listed at very reasonable prices.)  My own copy is filled with notations and my favorite recipes are splattered from laying open on the kitchen counter for almost 40 years.
 
So for all you folks who started drooling at the sight of my corn fritters, here is the recipe.
 
Corn Fritters
A puffy, light bread substitute -- tasty and filling.
 
2 cups fresh corn
2 eggs
1 cup flour
Salt and pepper to taste
2 tablespoons granulated sugar
2 teaspoons baking powder
Milk, just enough to moisten
 
To begin, I put 2 to 2 1/2 cups of canola or corn oil in a heavy pan on the stove to heat up.
 
I mix the corn, flour, sugar, a bit of salt, and the baking powder together.
Then I whisk the eggs a bit and add them to the corn with just a little bit of milk to make the batter.
 
When the oil is sizzling, I drop in a large spoonful of batter -- three to four at a time.
When they are floating to the top of the oil, I flip them over to brown them completely.
Take them out and drain on paper towels for a minute.
 
We serve them warm with maple syrup for dipping -- YUM!! --
but they are good without the syrup, too.
 
This recipe makes about two dozen 2" fritters and I've discovered that they can be reheated in my toaster over!! 
 
By the end of this week, I hope to have the living room painted and be back into a daily stitching groove, but right now I think I'll go for a walk. 
Too pretty a day to rush back into my groove!
 
Mary

Friday, August 26, 2016

Revisiting 6-Pointed Stars

Two years ago, I posted my first (and only come to think of it) Sew-Along -- Diamond Star Playtime.
 
Right now, I'm away from the studio for a few days and since I have lots of new followers these days, I encourage you to revisit the basic process post from that series. 
 
 
The entire series is collected together and listed under the Diamond Star Playtime tab up above, but this post is a good first read on the process which I use and teach.
I'm currently putting the finishing touches on my teaching plan for the new two-day workshop for this winter which focuses on designing, cutting, piecing, and troubleshooting hexagonal blocks.  It's booked for a local regional show in March but I travel!!  Perhaps your guild or shop would like to set up the workshop in your area.  Talk to me!!


Next week, I'll be catching up again of course!?!
 
Have a stitching weekend.
 
Mary

Tuesday, August 23, 2016

Star Block Mini Quilt Swap

Have you participated in an Instagram quilt swap yet?
I do one a year for the fun of it but there are quilters who seem to be doing several at a time and all the time!
This box arrived in my mailbox one morning last week!!  So excited.
Ohhhhh, so promising!!
And here it is -- wonderful because it's bright and because it's not something I would ever make for myself.
Such a delightful array of modern prints -- something I could not do with my deep stash of florals and reproduction prints.  And there were some little bonuses.

That is the tiniest hexagon I've ever seen in that necklace and I don't own a single one of those little clips everyone is so in love with and won't this pattern be fun to play with in the future?!?
No y-seams but one of my favorite shapes!!
And what did I make? 
 I've kept very quiet about it!
Tumbling Stars!
It was a spontaneous idea that evolved as it went along.  I intend to play with the stars "sharing a corner" some more (and in a larger scale -- these are 3/4" diamonds) because I see some other design possibilities. 
I think this might be the closest I've come to a "modern" quilt, too!!

If you are an Instagram fan, I encourage you to check out some of the other terrific creations from this swap -- very inspiring!!  The hashtag is #starblockquiltswap

Linking up today with SEW CUTE TUESDAY which has a new hostess over at Young Texan Mama.

Stitch on!!
Mary


Friday, August 19, 2016

All Caught Up!!

Now there's an exaggeration if I've ever written one!?!
All Caught Up??
I don't think I'll every really enter that state but I am caught up with the second quilt along I'm currently enjoying -- the #smorgasblocks project led by the creative Anneliese at Eye Candy Quilts.
 
(Click above to read all the posts and find the links to the patterns featured here today.)
 
I was delighted to have a reason to piece Barn Bats as shared by Elizabeth Hartman on her blog.
I had bookmarked that tutorial quite some time ago, but of course never actually indulged in the process of making it.  It felt like it took longer to organize the fabric than it did to piece the block.
Every bat is a different fabric and my goal was to spread the blacks and yellows evenly around the block since they seem to stand out most -- interesting that they ended up paired together -- I didn't notice that until just now looking at the photo.
I'll be doing this again for sure!  Two notations I made on my instructions -- first, don't put my favorite prints on the top or bottom of each row since those will be trimmed when squaring up the block (which I have not done yet).  Second, the order of the colors is reversed from top to bottom from the layout I planned.  It's not a problem for me visually, but it confused me for a few minutes when I was piecing since I knew where I had placed certain prints.
 
The second block in my catch-up binge is Whiskers, a larger than life cat's face.  I have to confess I was disappointed to encounter yet another paper piecing block and didn't love the scale of the block.
In the end, the paper piecing wasn't such a chore after all.
Here are all the units as finished and ready for the next step.
One of the aspects of this pattern from Anna of Six White Horses that I appreciated is that she shaded the seam allowances of her pattern units and it was easier for me to remember not to cut the seams off during the trimming step!!  Thank you, Anna!
Since I wasn't thrilled with the scale of the block, I choose to break it up a bit with two fabrics for the face.  And the choice of plaid with a print background kept the overall image softer and more in keeping with the feel of the other blocks.
I'm listening to A Man Named Ove on Hoopla right now and the weather has cooled enough to turn off the air conditioning in the studio and open the windows, so it all made for a pleasant evening of piecing and trimming and watching Whiskers evolve on the floor next to my machine.
In the end, I'm happy with the block and it blends into the mix perfectly.
The third block in the backlog is Garden Fence from Hyacinth Quilt Designs -- so easy -- yea!!
And the next day, I saw a quilt on Instagram made with this block that inspired me to save this design for a future charity quilt -- it even uses 2 1/2" strips which fill my go-to sourdough scrap box!
I hope the block isn't as crooked as it looks in this picture!  I hope I had the camera cocked at a funny angle.  If not, I might have to revisit the outer sashing.
 
So that's eight blocks assembled so far -- two or three more?  I need to use more white background in the remaining blocks to balance things out a bit but I'm happy with the results and beginning to think about a simple quilting strategy for this.
What will I do this weekend now that I'm caught up?
Seriously, Mary?!?
I believe the living room requires some focused attention!!
 
Have a good weekend!
 
Mary