Tuesday, December 30, 2014

The Christmas Quilts!

Now that I've presented my three children with their Christmas quilts, I can share them with all of you. 
Happily, we had sunshine and dry weather on December 22, so my trusty assistant and I headed outside for a photo shoot!!
We set up a stand and began to spread out the quilts one by one.
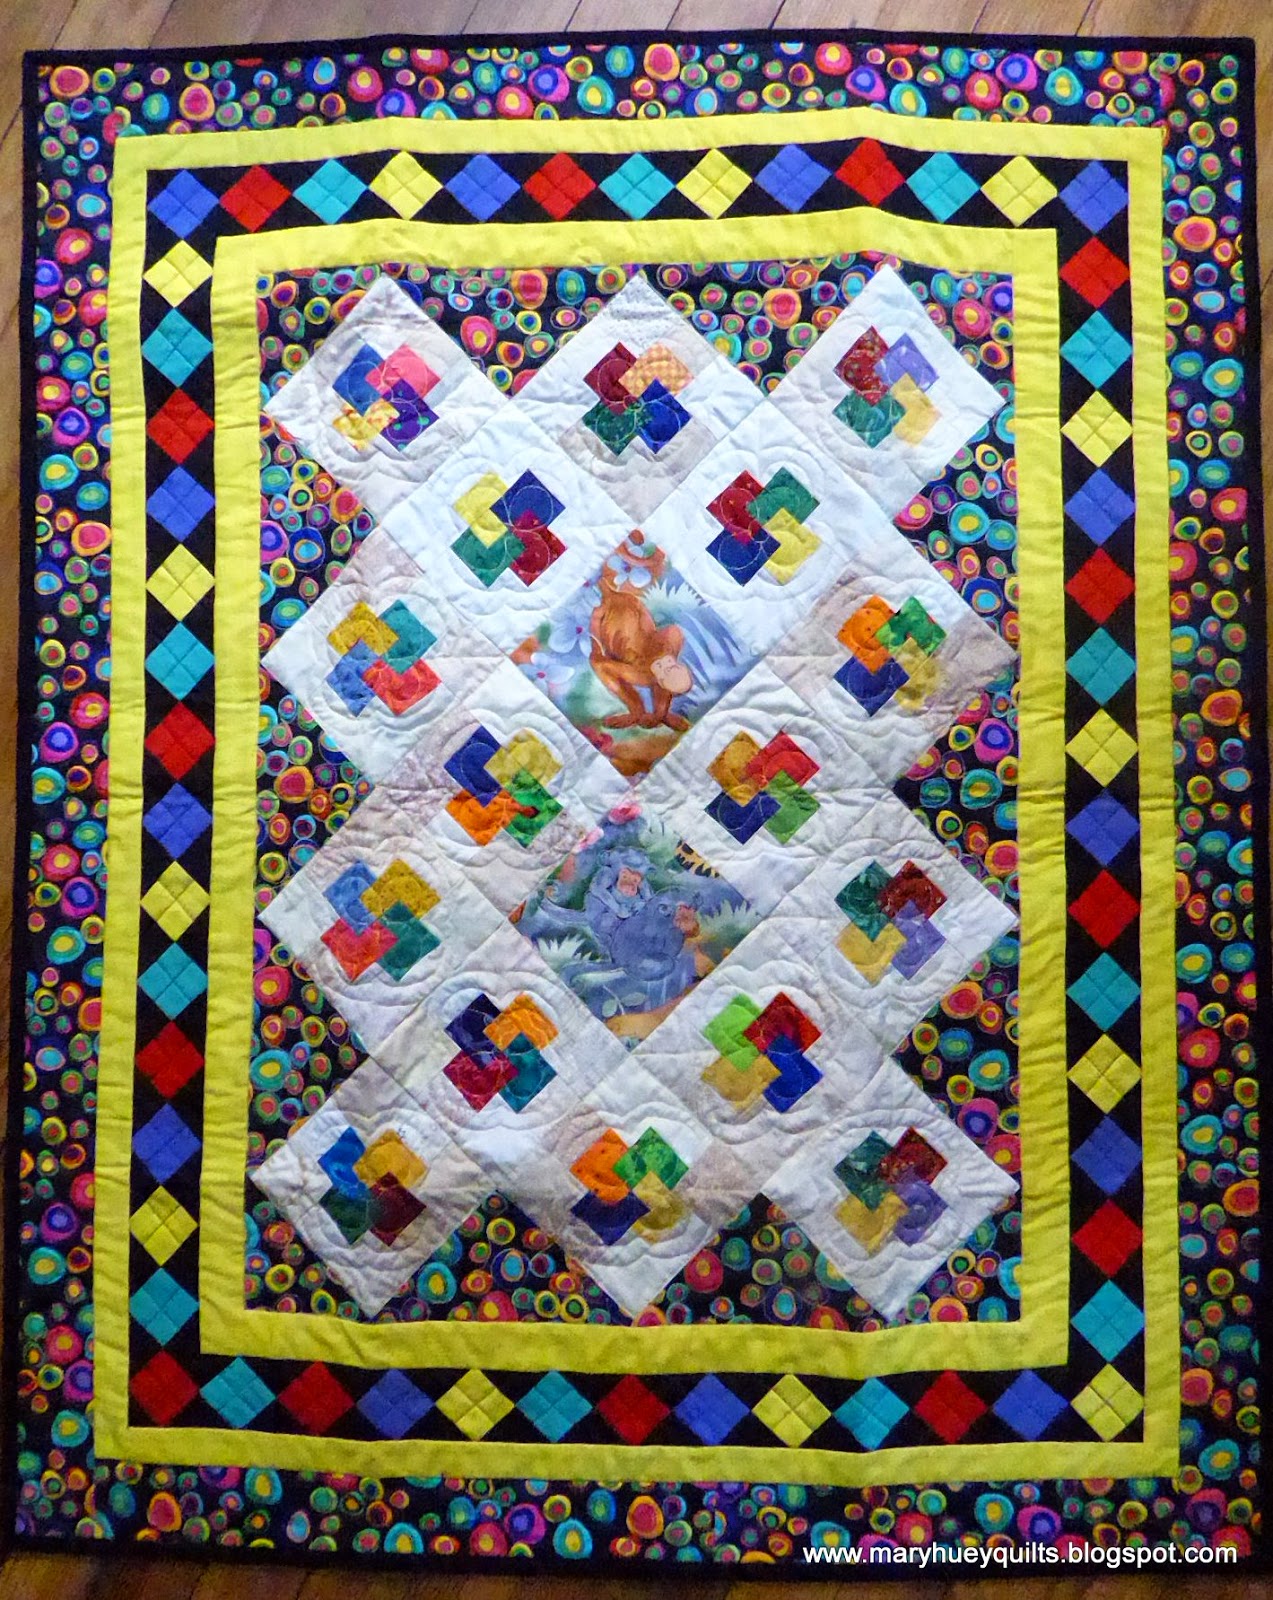
Twelve large string pieced star blocks (22") came to me in 1977 after my husband's grandmother passed away.  At age 30, I thought they were a bit ugly but held onto them because of the family connection.   I became very close to Clara in the six years I knew her and was honored to be the one who got these blocks.   My intention has always been to finish them into quilts but it took me over 30 years to actually do it. 
Several years ago, I saw a small quilt in a Fons & Porter book that featured a string-pieced star block surrounded by scrappy checkerboards and decided that would be a perfect way to set these blocks together. 
The checkerboards are from my 2 1/2" "sourdough" box that is about 25 years old -- fabric comes and goes from it and it has spawned a wide variety of quilts and blocks.
The string-pieced diamonds were assembled by the original maker, but no background fabric had been set around them.  When I started to add those squares and triangles, it didn't take long to figure out why the original maker had stopped.  In the end (and after a very long talk with myself), I took the stars apart and trimmed all the diamonds to the same size.  Then I was able to reassemble them and add the background muslin easily. 
I used the same print in three color ways for each quilt's border but interestingly I didn't find them on the same shopping trip -- each one appeared separately and in each case, it was the end of the bolt.  Must have been waiting for me!?!
Based on the reactions of my local students and quilting friends, I decided to use the quilts as a basis for a workshop, Economy Stars, which I enjoy teaching.  It incorporates string-piecing and assembling an 8-pointed star.   
As I hauled my vintage stars around to share with students, one of them went missing and that brought the entire project of finishing the three quilts to a screeching halt.  After several complete turnovers of my studio, I decided to reproduce a "new" star and get the project rolling again.  I have inherited some vintage fabrics from the early 20th century and much to my great delight, it's hard to tell which of the four stars in these close-ups is the "new" one. 
With the missing star replaced, the project could move forward and in early October, I layered the first one for quilting.  Throughout the project, I've worked to maintain an early 20th century feel to the quilts and so I chose to use Baptist Fan for the quilting (you can revisit that adventure here).  I also like the soft hand of a quilt with a  looser quilting design -- drapes so nicely which lends a snuggly feeling to the quilt. 
 One of the questions I began to ask myself once I was "engaged" with the blocks close-up was did Clara really make these blocks?  The presence of fabrics from the late 1800's made me wonder.   She was born in 1890 and her parents both immigrated here from Sweden in their teens.  Her husband, Gordon, was born in West Virginia and the more I thought about it, the more I begin to think it likely that the stars came from her mother-in-law, Emma Huey.  I expect that quilt making would more likely have been everyday work for her.  Even if my supposition is wrong, the fact that these blocks have fabric from more than one generation of the family can't be denied. 
(Are we done yet?  No, not quite.)
I've seen quilts from my husband's West Virginia relatives but I can't remember if they had "plain" backs or not.  Since I forced myself to making backings from my stash in 2012 (the year I used 212 5/8 yards of my stash), there's been no turning back!
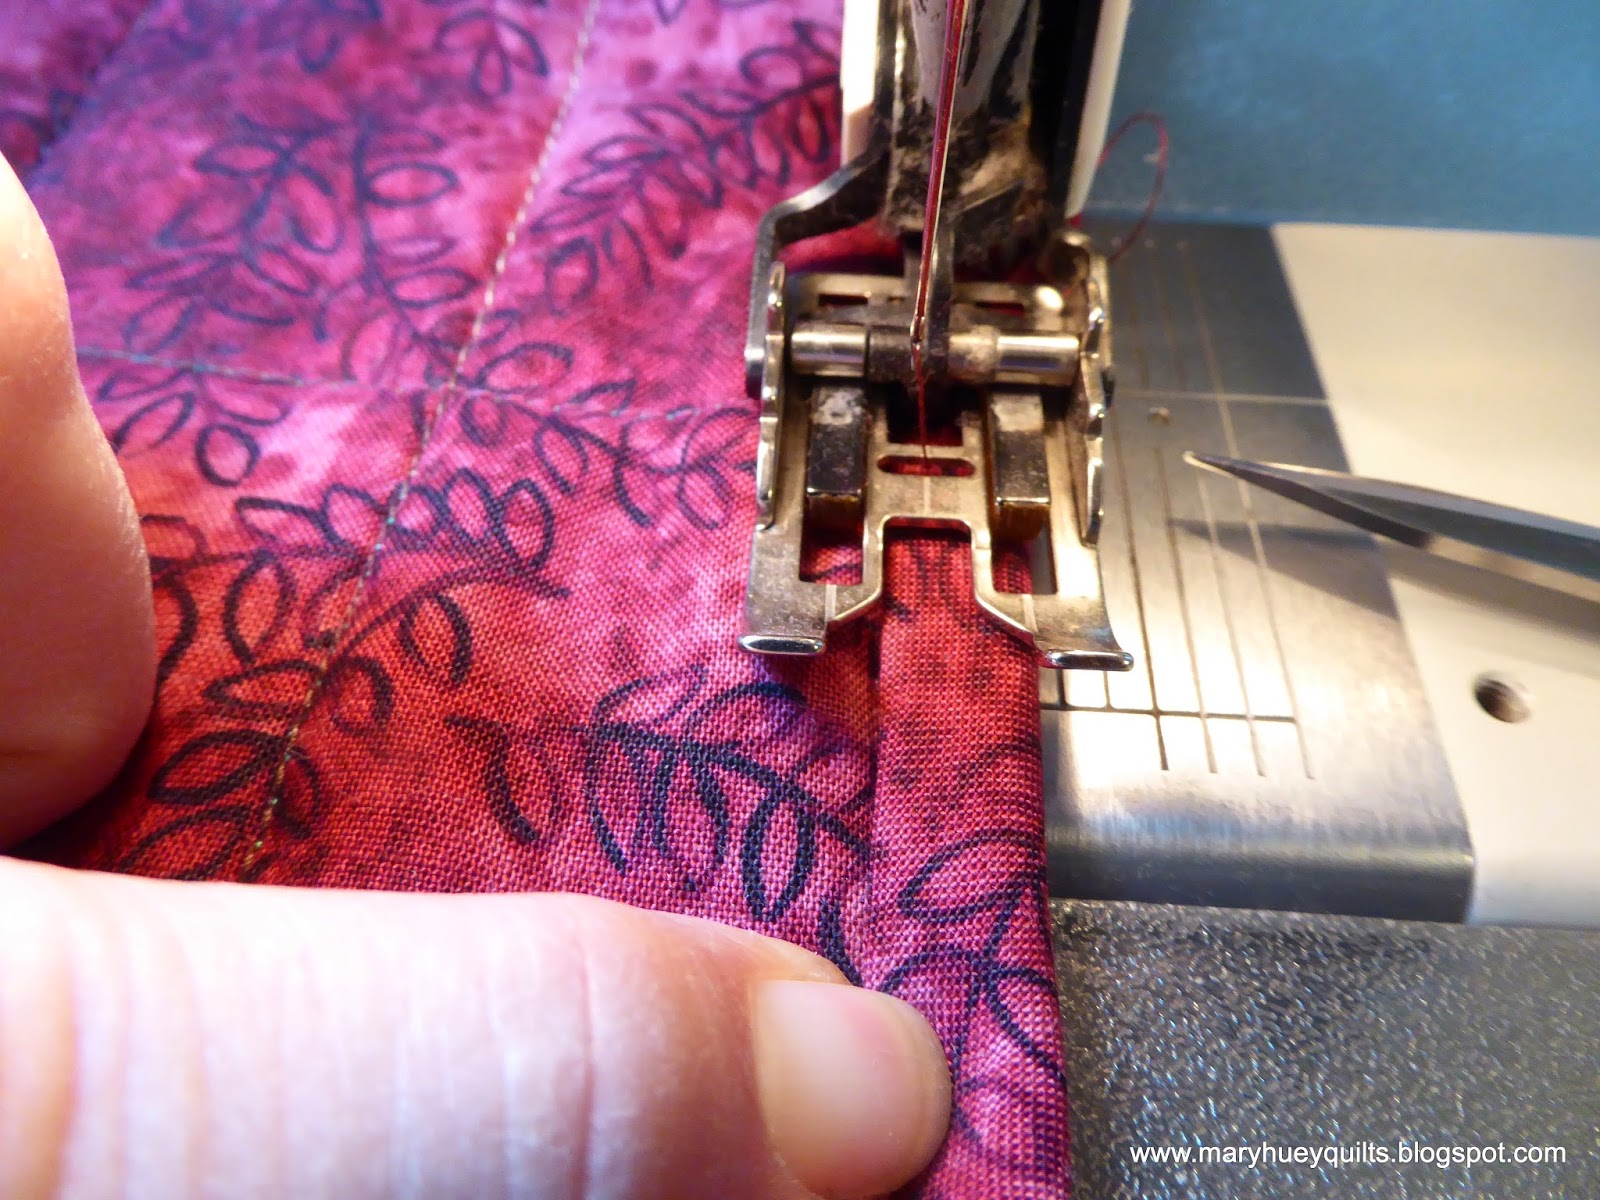
The bindings are all solids and the red for the last one's binding was the only fabric I purchased for these three quilts (and then I bought it twice?). 
Not only were my children happy to have new quilts, they were impressed that they were finished!!  You get that, don't you?  Even though I'm not sure of the complete history of the blocks, they are family quilts which I know will be treasured by Clara's great-grandchildren for years to come. 
If you'd like to make your own string-pieced stars, I'm offering the handout I created for the workshops, ECONOMY STARS, which I stock as a downloadable PDF in my Etsy Shop -- click HERE.  It includes step-by-step instructions for string-piecing, cutting the diamonds, basic assembly of the stars, and the layout I used plus two layouts for smaller quilts that use just one large star.  I'm thinking this will be a good joint project in the future with my granddaughter who is learning to sew on the machine these days!

This also represents a big finishing victory for me!!  In early October, I announced my intention to finish 4 quilts (read about that here) by Christmas as part of the 2014 Finish Along over at The Littlest Thistle.  These are three of the four quilts and the fourth one is finished, too!!  More about that tomorrow!

Mary Huey


Monday, December 22, 2014

Binding in a Hurry!!

I am D-O-N-E with the six quilts I'm giving to my children and grandchildren for Christmas!!  I'll show them off to you after Christmas -- doesn't seem right to show them to the world first.

Last Thursday, Nathalie at Les Ouvrages de Nat asked me how I do my binding, by hand or machine.  I do both and which I use depends on how close the "deadline" is looming. 

The deadline was looming last evening!!

So this one received the full machine treatment and I took some pictures to share with you!
 I use 2 1/2" wide strips folded in half cut on the crosswise grain or bias depending on the fabric (I use stripes on the bias).    If I'm doing the second side by hand, I use 2 1/4" strips, but for an all-machine, I want the binding to be a bit wider on the top. 

I put the walking foot on my machine and use a size 80 denim needle (because it has a sharper point).

Several years ago, I decided or realized it was easier to keep the top side of the quilt looking good if I stitched the binding to the back side first. 
 I push the needle position all the way to the right for this seam, taking a seam allowance that will give me a slightly wider binding on the front than on the back.  You will have to experiment with the best position for your walking foot.
Before stitching the second side, I trim JUST the corners of the quilt, NOT the binding, to eliminate some bulk at the corners. 
Now I move the needle to the left of center, one position -- not all the way to the left.
I don't pin, but if you prefer to pin, I suggest "aiming" the pins towards the presser foot so they are easier to pull out as you get to them.  Notice I am following the fold of the binding with the inside edge of the walking foot's left side toe (as you look at it).
When I'm about 2" from a corner, I begin to organize the pivot by folding up the next edge first.
Then I fold in the binding on the edge I'm currently stitching to create the miter and secure it with a pin. 
 At this point, I'm taking one stitch at a time until I get to the corner.  I stop with the needle down.
Now I lift the presser foot, turn the corner (don't break the thread here) and keep going.  If the walking foot doesn't seem to be moving forward, just stop with the needle down.  Lift the presser foot to release the back edge of the foot which can get caught hanging off the edge of the quilt behind the presser foot. 
This is what I want to see on the top of the quilt when I'm finished -- an even line of stitching that is a uniform distance from the edge of the binding.
When the binding is a bit wider on the front side, the stitching on the back side falls just off the edge of the binding strip as show in the picture below.  That means the thread on the top is chosen to match the binding and the bobbin thread matches the backing of the quilt.
Sometimes my stitching slips onto the binding and then I need to make a decision whether to go back and fix it or just move on to the label.  Since the person who is getting this one doesn't quilt -- (-; -- I moved on!!  Sometimes we have to remember that other folks can't get past the fact that we cut all this stuff up and sew it back together (really???), so they don't notice the tiny defects that often intimidate us into downgrading our work.
This is a large laprobe (56" by 78") and the binding was finished in one hour -- it may take you longer the first time you try it but I've been doing this for 15 years so I'm fast. 

Hooray, there will be no unfinished Christmas gifts this year (even though my children will miss them).

Thanks to all of you who have started reading and following for helping me grow my blog this year -- I'm enjoying all the sharing and exchange involved in being a "blogger"!

Merry Christmas!!

Mary Huey


Thursday, December 18, 2014

Delivery Day!!

Wednesday was the day to deliver 17 children's quilts to Laura's Home, a ministry of the Cleveland City Mission, for them to use as gifts for their current residents.   My little quilting group of friends has been working on these quilts since September and we were delightfully surprised at how many we finished once again.  It always seems as if we'll be lucky to get six finished!?! 
 
One of our members makes these wonderful tote bags "to wrap" the quilts.  Since the purpose of Laura's Home is to transition women and their children into a self-supporting life, they will be moving to permanent housing and so we hope having their own tote will lift their spirits. 
This year, we were given a bag full of Beany Babies and so those were also tucked down into each tote.  These cute little creatures always elicit delight, don't they?
So here is a look at the quilts we made this fall -- perhaps it will inspire your own charitable quiltmaking?!!  The pictures aren't my best -- taken in the evening and standing on a chair looking down on them -- so I apologize for that.
 
The scrappy bargello quilts we make (inspired by Bonnie Hunter's instructions) never cease to amaze me. 
This one is all flannels and uses a simple quilting strategy!
We start with this box of ugly strips and we make the strata with the help of elderly women with memory issues.  Every time we get these delightful results!!  (I wrote about it earlier this year.)   Actually, I believe they do a better job than we could because they are working from their intuition -- not out of worry about what someone will think. 
And if the quilt isn't quite as long as we want, we have adopted this habit of adding borders to the top and bottom only -- great way to use some of that stash of novelty prints. 
Some are retired teaching samples from my stash -- better to have them covering someone than wasting away in my stash.
When I give one of these away, it means I get to make another one!!  Love using this tool from Marti Michell, the Tessellating Windmill template. 
And some are old UFO's that we rescue and repurpose.  These little card trick blocks provided a perfect way for me to try out this diamond border idea again.
This twin size rail fence became three cozy quilts perfect for some lucky children -- I wonder if there is currently a set of triplets at Laura's Home? 
These basket blocks were cast-offs we rescued (rather nicely if I do say so).  Does anyone recognize them?
Here's a set of pillow panels I just had to have (twenty-five years ago).
And this top was made about 10 years ago because I just had to use that periwinkle floral.
I did one of those "1660" quilts -- jelly roll race -- didn't like the finished size of it -- and so it was split into half, trimmed a bit and became a couple little lap quilts.  Check out the fun quilting!
The next few were started from "scratch" -- leftover squares from someone, now working together! 
A little charm pak that became a wonky 4-patch! 
And the center of this was suppose to be a backing for another quilt, but we decided it was too much fun and converted it into a quilt top by adding borders.  Perfect for a boy! 
Sharing is one of the great blessings of the Christmas season.  Being able to use my skills (which sustain me so richly) to bless other people is important -- keeps me from becoming self-indulgent!!
 
Back to the cleaning and I hope a bit of baking this afternoon -- want to make biscotti!!
 
Merry Christmas!
Mary Huey


Tuesday, December 9, 2014

Lake Metroparks 24th Annual Quilts Workshops, Part II

Here is a close-up look at my second workshop offering during the 2015 annual quilt show at Lake Metroparks Farmpark in February and March.  The complete class brochure is available (in color!!) and registration is open!!  You can also find all the information and registration options at http://www.lakemetroparks.com/events/quilts2015.shtml

THE ROSE STAR
Wednesday, March 11, 2015 from 9:30 a.m. to 4:30 p.m.  
The fee is $48 and registration is open!!   
 
This block, which seems to me to come to us from Australia, is very popular in the quilt blogging world.  Marti Michell has just released two 60° Kite and Crown Sets of templates that can be used with her hexagon Sets G and H to cut the pieces for this block.   Each set is $14 and I have them in stock!!
The block is a good challenge for intermediate skill piecing.  During the workshop, you will cut one block with templates and learn a revolutionary technique for chain piecing through y-seams while piecing the block.   I will also discuss several setting options for these blocks while sharing my own work using the templates. 
 
It's a great block for exploring the options that value and color changes can make and since I like to begin most of my quilts with a beautiful multi-color print, this piece is the beginning of my group of Rose Stars.


The stash of possibilities that I've pulled out of my inventory keeps growing!  While I'm not sure all of them will end up in the quilt or what size the quilt will be, I'm enjoying the piecing process.  The block is easier than it looks once you conquer y-seaming piecing!!
And just recently, I found this tropical print and it's looking pretty perfect with the blocks I've pieced so far!!
 So get out that calendar, see if you are available on that date -- sign up and then use it as an excuse to use one of those special prints you are hoarding!!
You can register on-line by using this link or by phone 800-669-9266. 

Can't get to Northeast Ohio during February?  I could come to you -- share my information with your guild or local quilt shop and have them contact me to organize a workshop that you can get to!!
 
Next week, I'll share an expanded view of my other two workshops!!
But for now, it's back to the quilting machine!!
 
I hope your push to finish your holiday stitching is on target!!
Mary Huey