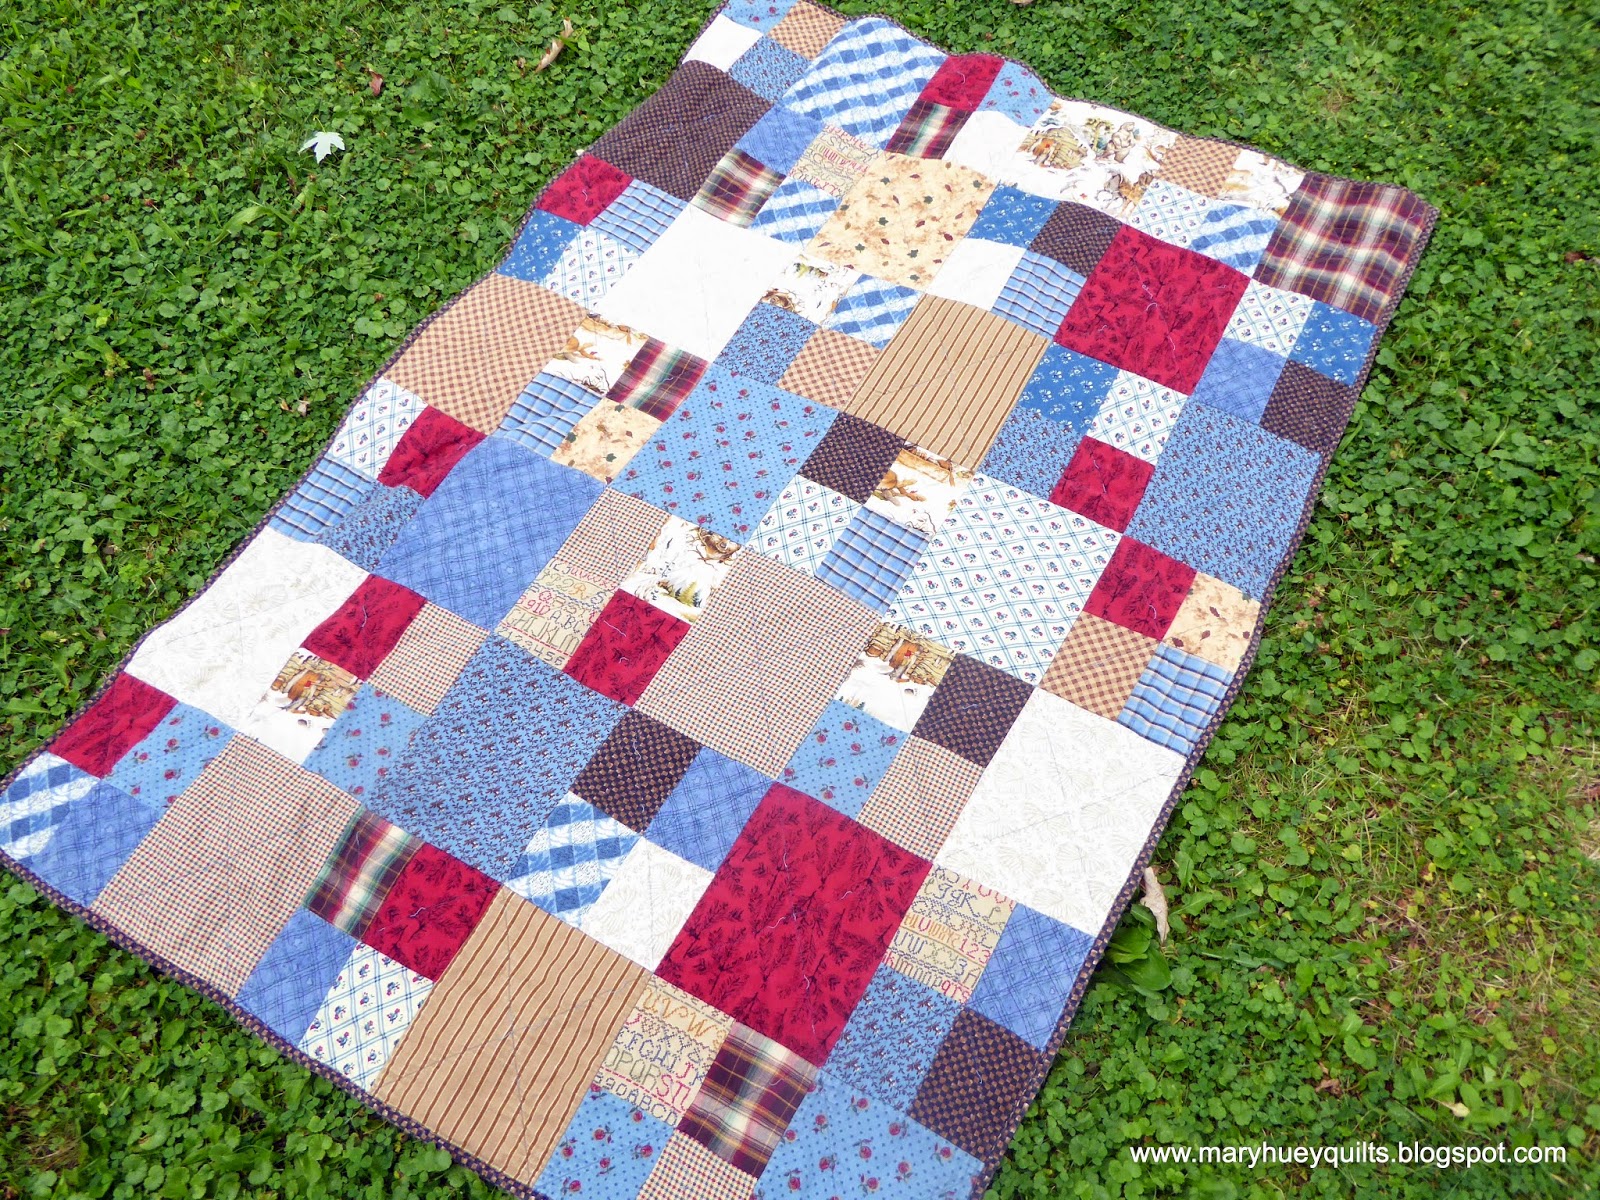
Now that I've presented my three children with their Christmas quilts, I can share them with all of you.

Happily, we had sunshine and dry weather on December 22, so my trusty assistant and I headed outside for a photo shoot!!

We set up a stand and began to spread out the quilts one by one.

Twelve large string pieced star blocks (22") came to me in 1977 after my husband's grandmother passed away. At age 30, I thought they were a bit ugly but held onto them because of the family connection. I became very close to Clara in the six years I knew her and was honored to be the one who got these blocks. My intention has always been to finish them into quilts but it took me over 30 years to actually do it.

Several years ago, I saw a small quilt in a Fons & Porter book that featured a string-pieced star block surrounded by scrappy checkerboards and decided that would be a perfect way to set these blocks together.
The checkerboards are from my 2 1/2" "sourdough" box that is about 25 years old -- fabric comes and goes from it and it has spawned a wide variety of quilts and blocks.

The string-pieced diamonds were assembled by the original maker, but no background fabric had been set around them. When I started to add those squares and triangles, it didn't take long to figure out why the original maker had stopped. In the end (and after a very long talk with myself), I took the stars apart and trimmed all the diamonds to the same size. Then I was able to reassemble them and add the background muslin easily.

I used the same print in three color ways for each quilt's border but interestingly I didn't find them on the same shopping trip -- each one appeared separately and in each case, it was the end of the bolt. Must have been waiting for me!?!

Based on the reactions of my local students and quilting friends, I decided to use the quilts as a basis for a workshop, Economy Stars, which I enjoy teaching. It incorporates string-piecing and assembling an 8-pointed star.

As I hauled my vintage stars around to share with students, one of them went missing and that brought the entire project of finishing the three quilts to a screeching halt. After several complete turnovers of my studio, I decided to reproduce a "new" star and get the project rolling again. I have inherited some vintage fabrics from the early 20th century and much to my great delight, it's hard to tell which of the four stars in these close-ups is the "new" one.

With the missing star replaced, the project could move forward and in early October, I layered the first one for quilting. Throughout the project, I've worked to maintain an early 20th century feel to the quilts and so I chose to use Baptist Fan for the quilting (you can revisit that adventure here). I also like the soft hand of a quilt with a looser quilting design -- drapes so nicely which lends a snuggly feeling to the quilt.

One of the questions I began to ask myself once I was "engaged" with the blocks close-up was did Clara really make these blocks? The presence of fabrics from the late 1800's made me wonder. She was born in 1890 and her parents both immigrated here from Sweden in their teens. Her husband, Gordon, was born in West Virginia and the more I thought about it, the more I begin to think it likely that the stars came from her mother-in-law, Emma Huey. I expect that quilt making would more likely have been everyday work for her. Even if my supposition is wrong, the fact that these blocks have fabric from more than one generation of the family can't be denied.

(Are we done yet? No, not quite.)

I've seen quilts from my husband's West Virginia relatives but I can't remember if they had "plain" backs or not. Since I forced myself to making backings from my stash in 2012 (the year I used 212 5/8 yards of my stash), there's been no turning back!

The bindings are all solids and the red for the last one's binding was the only fabric I purchased for these three quilts (and then I bought it twice?).

Not only were my children happy to have new quilts, they were impressed that they were finished!! You get that, don't you? Even though I'm not sure of the complete history of the blocks, they are family quilts which I know will be treasured by Clara's great-grandchildren for years to come.

If you'd like to make your own string-pieced stars, I'm offering the handout I created for the workshops, ECONOMY STARS, which I stock as a downloadable PDF in my Etsy Shop -- click HERE. It includes step-by-step instructions for string-piecing, cutting the diamonds, basic assembly of the stars, and the layout I used plus two layouts for smaller quilts that use just one large star. I'm thinking this will be a good joint project in the future with my granddaughter who is learning to sew on the machine these days!
This also represents a big finishing victory for me!! In early October, I announced my intention to finish 4 quilts (read about that here) by Christmas as part of the 2014 Finish Along over at The Littlest Thistle. These are three of the four quilts and the fourth one is finished, too!! More about that tomorrow!
Mary Huey