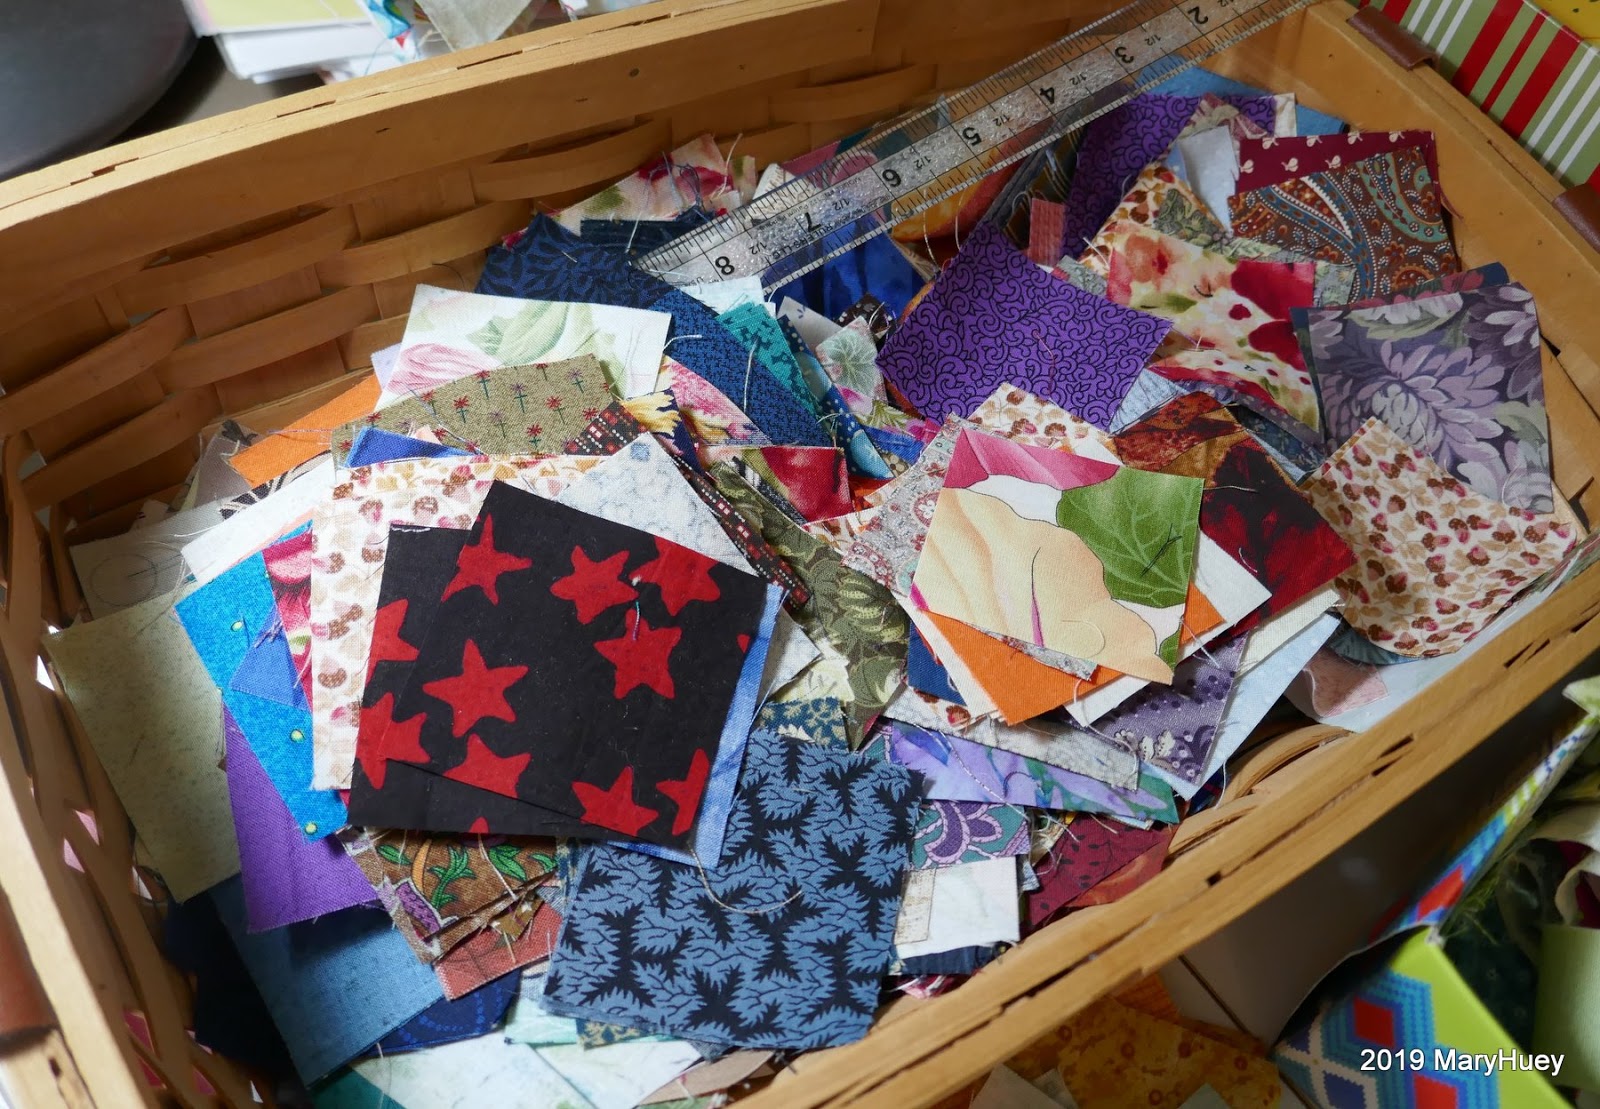
At the end of May, I shared the beginning of this new scrap quilt with you.
I'm making very good progress for gardening season (it's been raining quite a bit).
I will donate it to a local "recovery" home for women that will be opening at the end of 2019.
Wait until you see what I'm doing with the alternate blocks!!

The prospect of quilting the big alternate (14") mostly white blocks with a lovely design intimidates me. I worry I'll "ruin" the quilt. So I started to think about using a 6" "fussy cut" fabric square as the center of the alternate blocks to eliminate the issue but before I could even start to audition possible prints, I came up with a simpler (to me) idea.
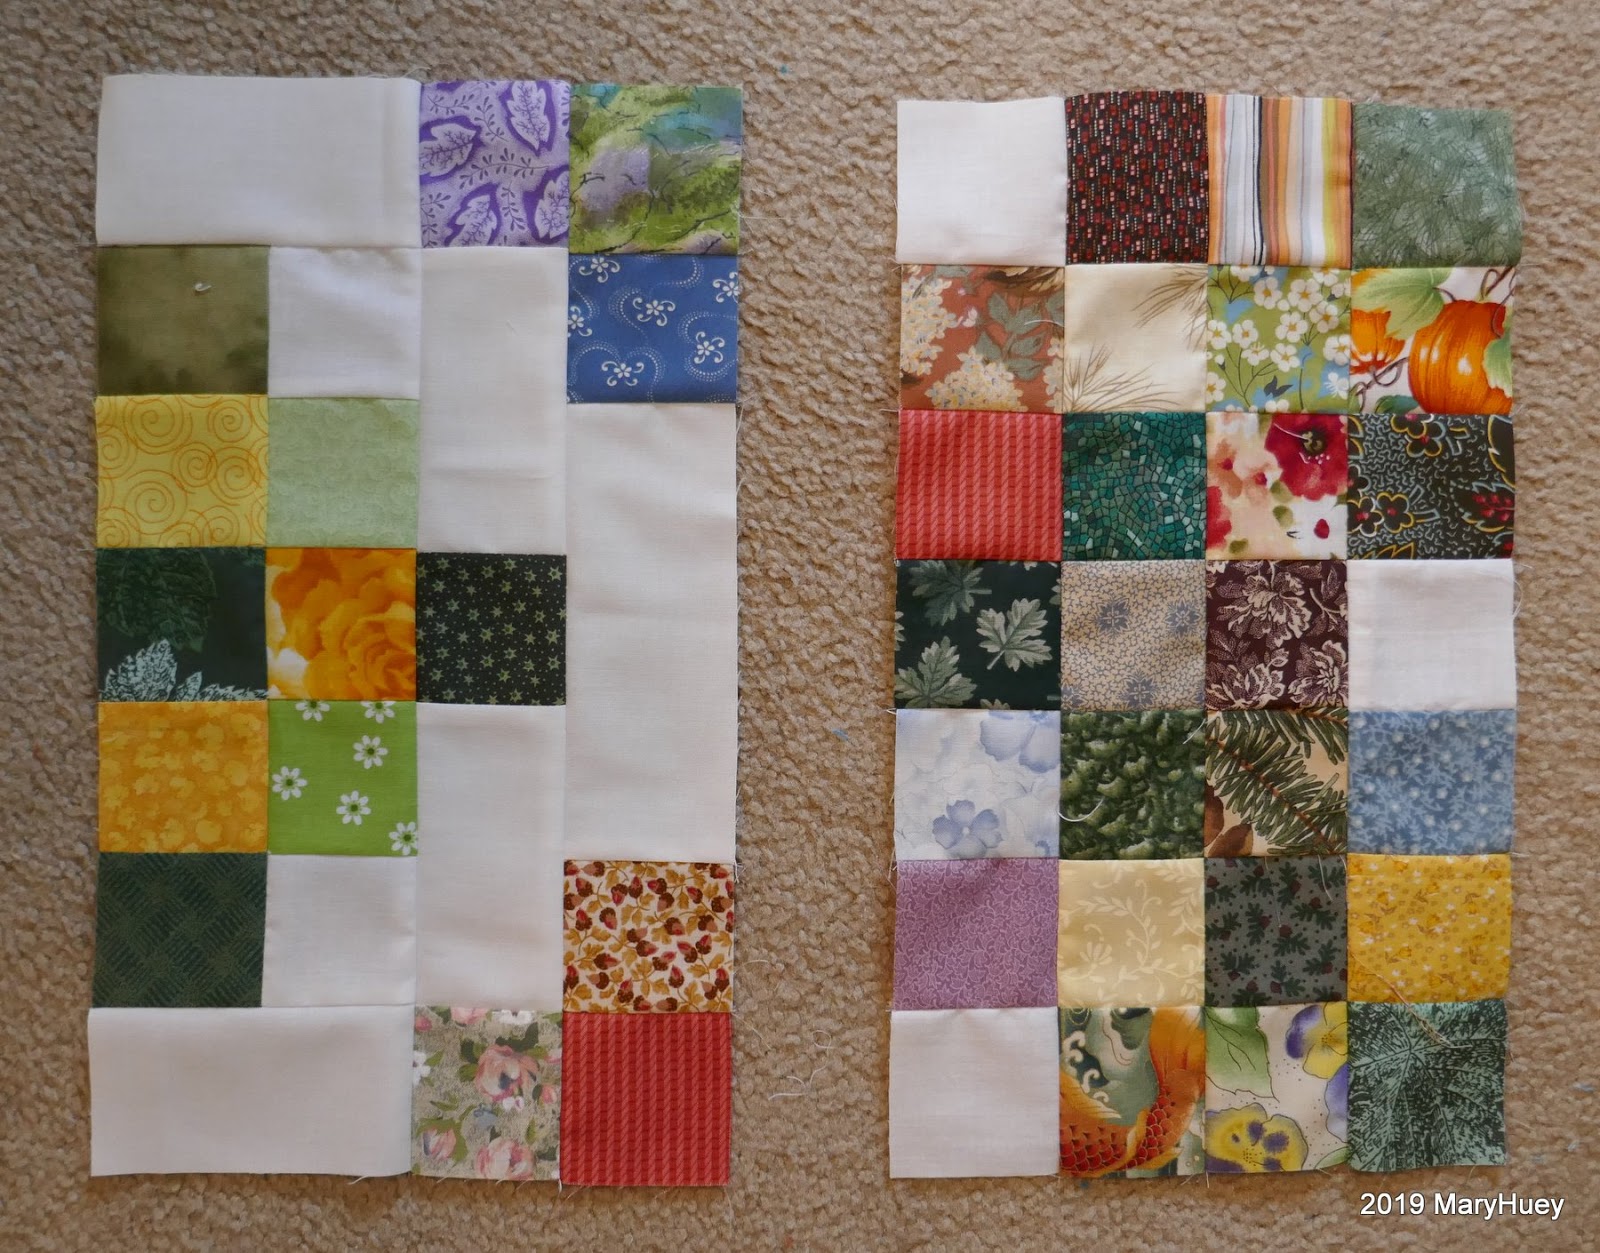
A pieced block using the same 7 by 7 grid of 2 1/2" squares!!

I like the way yellow brightens up an ugly batch of scrappy squares so to add more of it to the quilt, I combined it with the green to pull the motley collection of fabric together.
I am using up lots of my basket of squares (yea!!!) -- so far I've only had to cut more green squares.
Here's my assembly breakdown for the alternate blocks -- more 2 1/2" squares and rectangles cut from 2 1/2" strips of white -- four 4 1/2" long and four 6 1/2" long rectangles for each block.

All alternate block settings need to use odd numbers of blocks to maintain their visual balance -- so 3 by 5 blocks or 5 by 7 blocks. An even number results in different corner blocks.
As I worked out the math, I decided 5 by 7 blocks was a bit too large and 3 by 5 too small.
4 blocks by 6 blocks would be the perfect size but the corners would not match and the quilt would look awkward to me. I did audition it on the design wall just to confirm -- definitely awkward!!!
Then a Mary Ellen Hopkins design idea crept out of my sub-conscious cache of ideas. Back in the mid 1980's, Mary Ellen taught her teacher trainees (I was one) to create borders by carrying the design of the patchwork out into the border in such a way as to create a balanced, finished design.
I shifted blocks around the design wall to a 3 by 5 setting with the alternate blocks in the corners rather than the main blocks. Then by adding half blocks around the edges of the setting, I was able to get the perfect 4 by 6 blocks setting!!
I love it when old lessons inspire new ideas!!
This idea could be adapted to so many blocks!
This is my layout so far. The blocks are easy to piece and I've streamlined my process so that it takes me about 45 minutes to make one -- just enough time to "rest" from all the other stuff that needs to be done!!

Here are the four units I'm piecing, separated so you can see how they connect together to create the overall design.

These are the two different "half blocks" used to make the "border"
and this is the corner block.

I still have about ten of the "border" blocks to piece and when I get the top set together, I'll think about organizing a guide for making this top that will include yardages needed if one isn't chopping up scraps, and a cutting list for the twin size I'm making if anyone is interested. I won't write instructions for piecing the blocks (remember, I'm retired) -- you already know how to do that, right? Just leave a comment below.
To finish off today, here's a few of my favorite pictures from my walks this week.
This was the view at one of my creekside stops -- just two buddies hanging out at the beach -- Northern Cardinal on the left and an American Goldfinch on the right.

I'm trying to learn dragonfly identification -- it's a slow process.
I'm pretty sure this is a blue dasher. Aren't those eyes gorgeous?!?
I'll submit the photo to the I-naturalist app and they'll confirm it or correct me.

It's hard to resist the male Ebony Jewelwing!! They are about 2" long and so delicate looking.

So here's hoping those of us who are being overwhelmed with rain get none this weekend and those of you who need it get your fair share!!
Mary
and at Oh, Scrap linkies!