Thursday, March 29, 2018

Another Mini!!

The information for the current challenge quilt for the fourth issue of Curated Quilts has been laying on my cutting table all month with this little stack of prints out of my stash. 
I had a germ of an idea -- to recreate my LIFT OFF design (introduced HERE) in a smaller scale but really was struggling with the color combination -- not into it at all.
I put the fabrics away having decided not to struggle against my instincts and then this print surfaced in my stash while looking for something else.
It's that color combination mostly -- a bit brighter than the palette in the information but it's the same!?!
Yea, I'm in!
I used the Lazy Girl Flying Geese tool this time -- I like it for small scale geese -- and got to work!
My results with this technique are good and the "larger" pieces of fabric are easier to use.  
I made 1 1/2" by 3" units this time
LIFT OFF only needs 20 geese, so I had it laid out in no time. 
There are measurements in the guide I wrote (buy it in my Etsy shop HERE and support my charity quilt gang's batting fund!!) for quilts using six different sizes of geese.  The smallest is 12" by 18" finished -- perfect for a mini!! 
An afternoon of stitching had it ready to layer and quilt -- what color of thread to use?
I can't believe I had three choices since I don't typically work in such a saturated palette.
When I came back to it the next morning, I had decided to go with vertical "matchstick" quilting and use all three thread colors -- easier than making a decision and I like quilts I see on Instagram and Pinterest where several thread colors are used.
I started with randomly spaced lines of the fuchsia.
This looked good.
Next came the blues and most of those lines are centered between the fuchsia lines -- once that positioning decision was made, the quilting went quickly! 
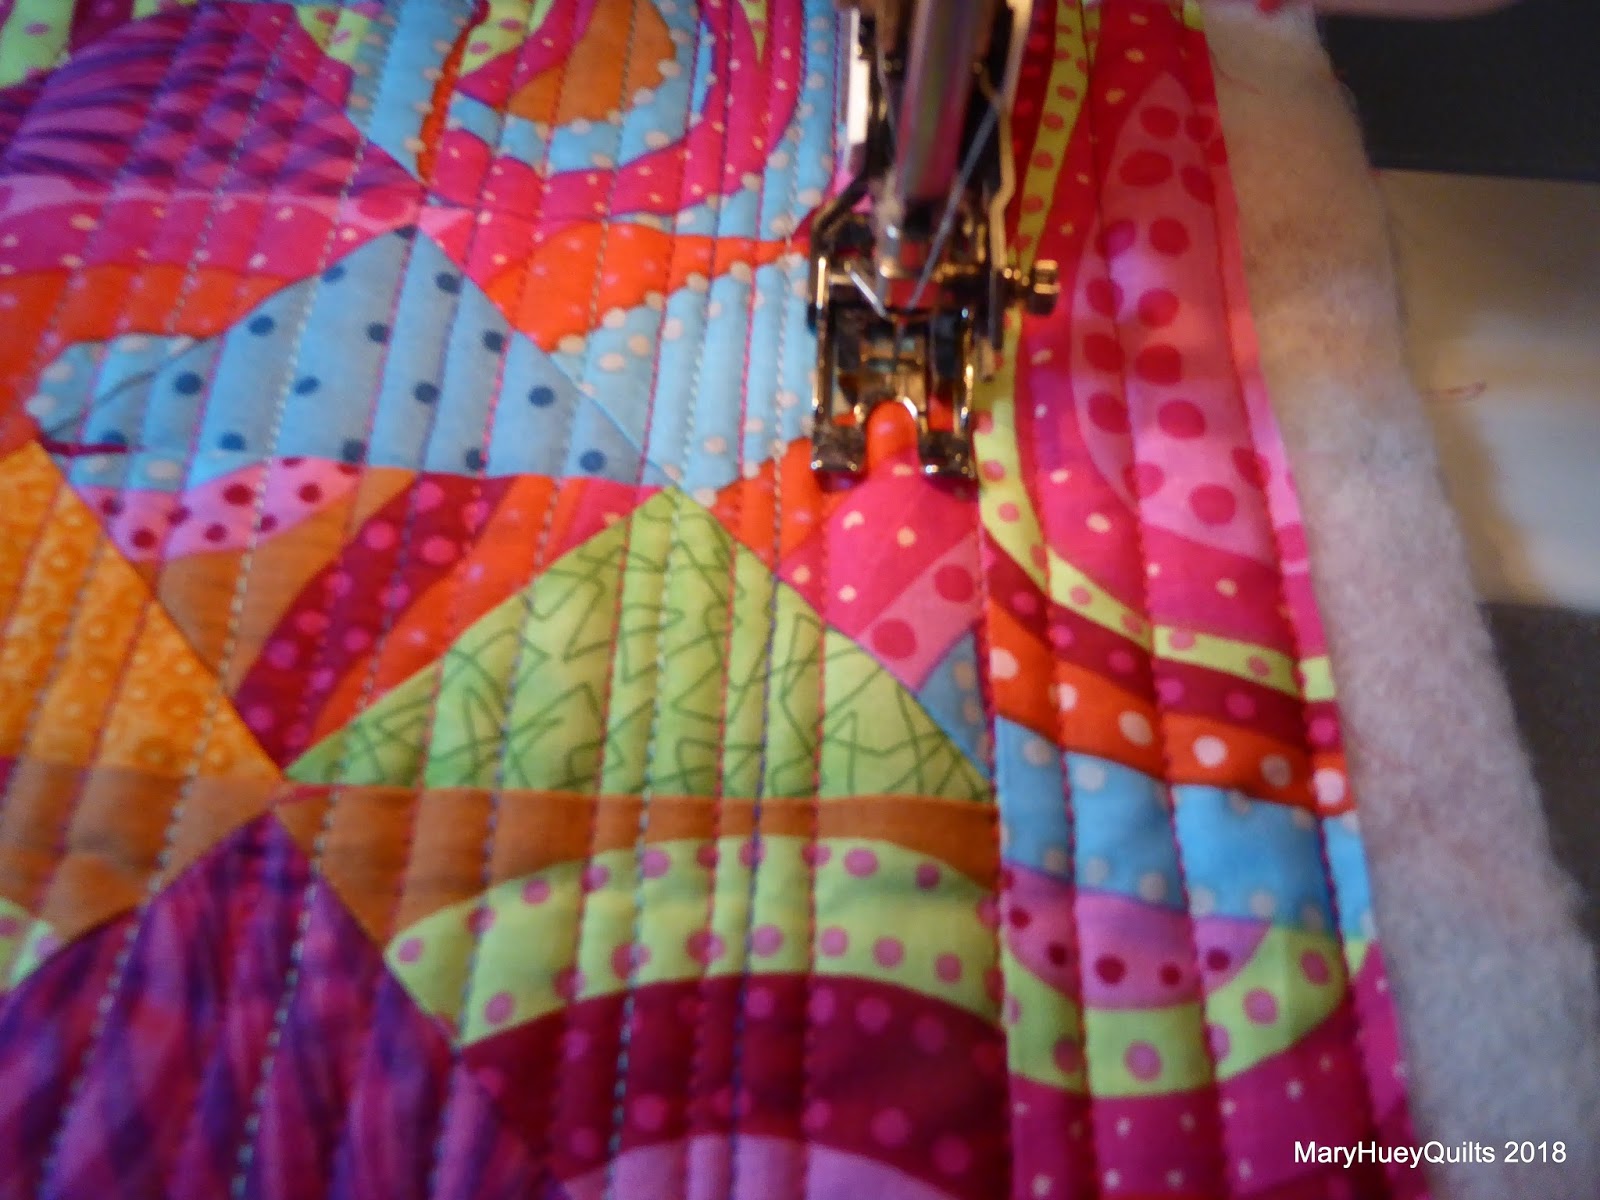
Better!! 
Finally, the orange thread.
I inserted these lines randomly, adding them where it felt right! 
I can't believe this quilt is being made by me -- look at all that texture? 
Here's a closer look at the quilting.  As I began, I confess to feeling hesitant but if I don't experiment with ideas, how will I know if they work for me?  So forward I went!
I love the spark the orange thread adds!!
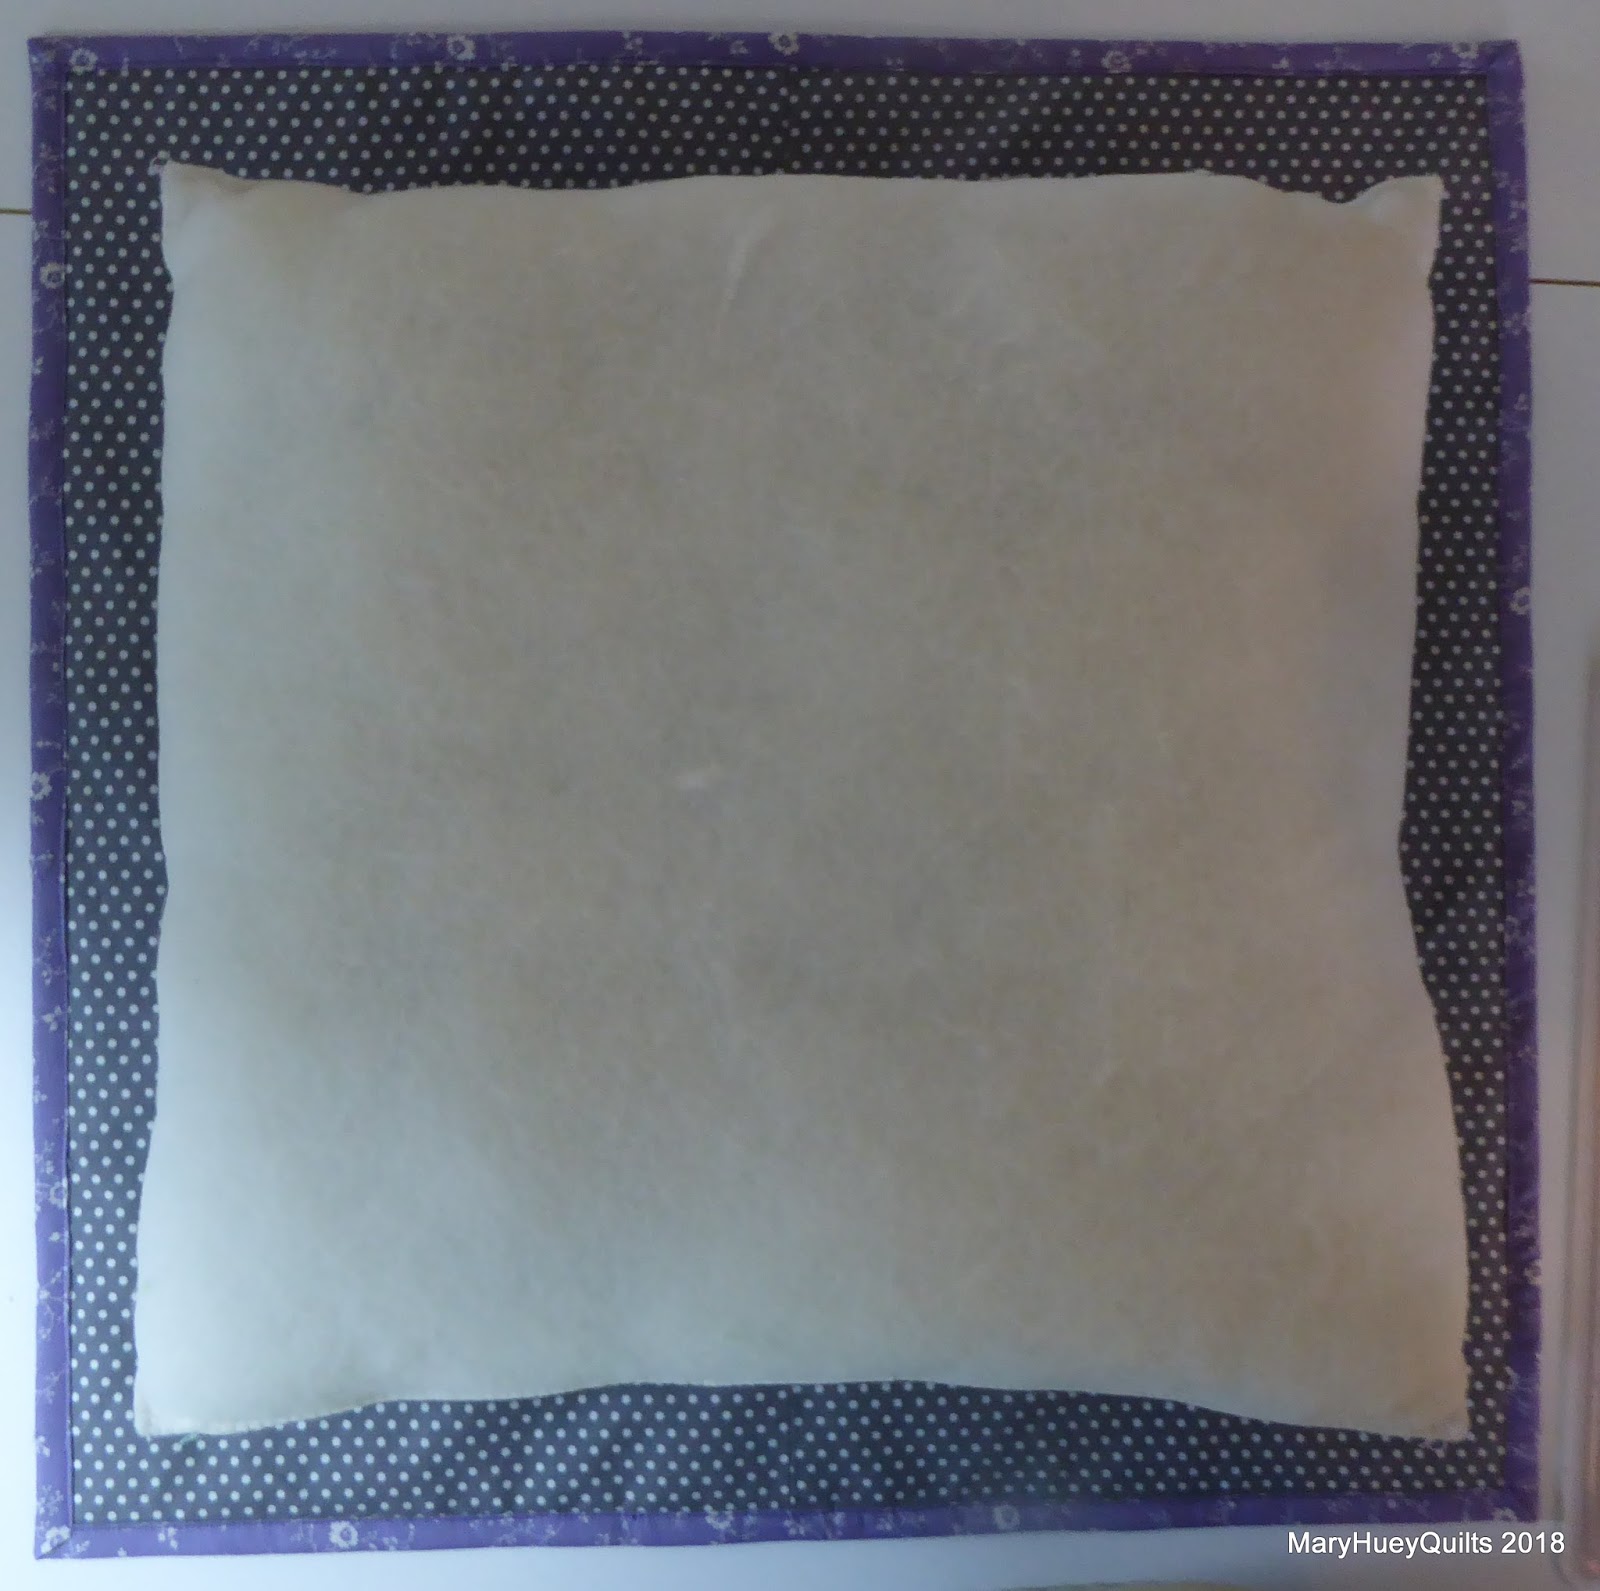
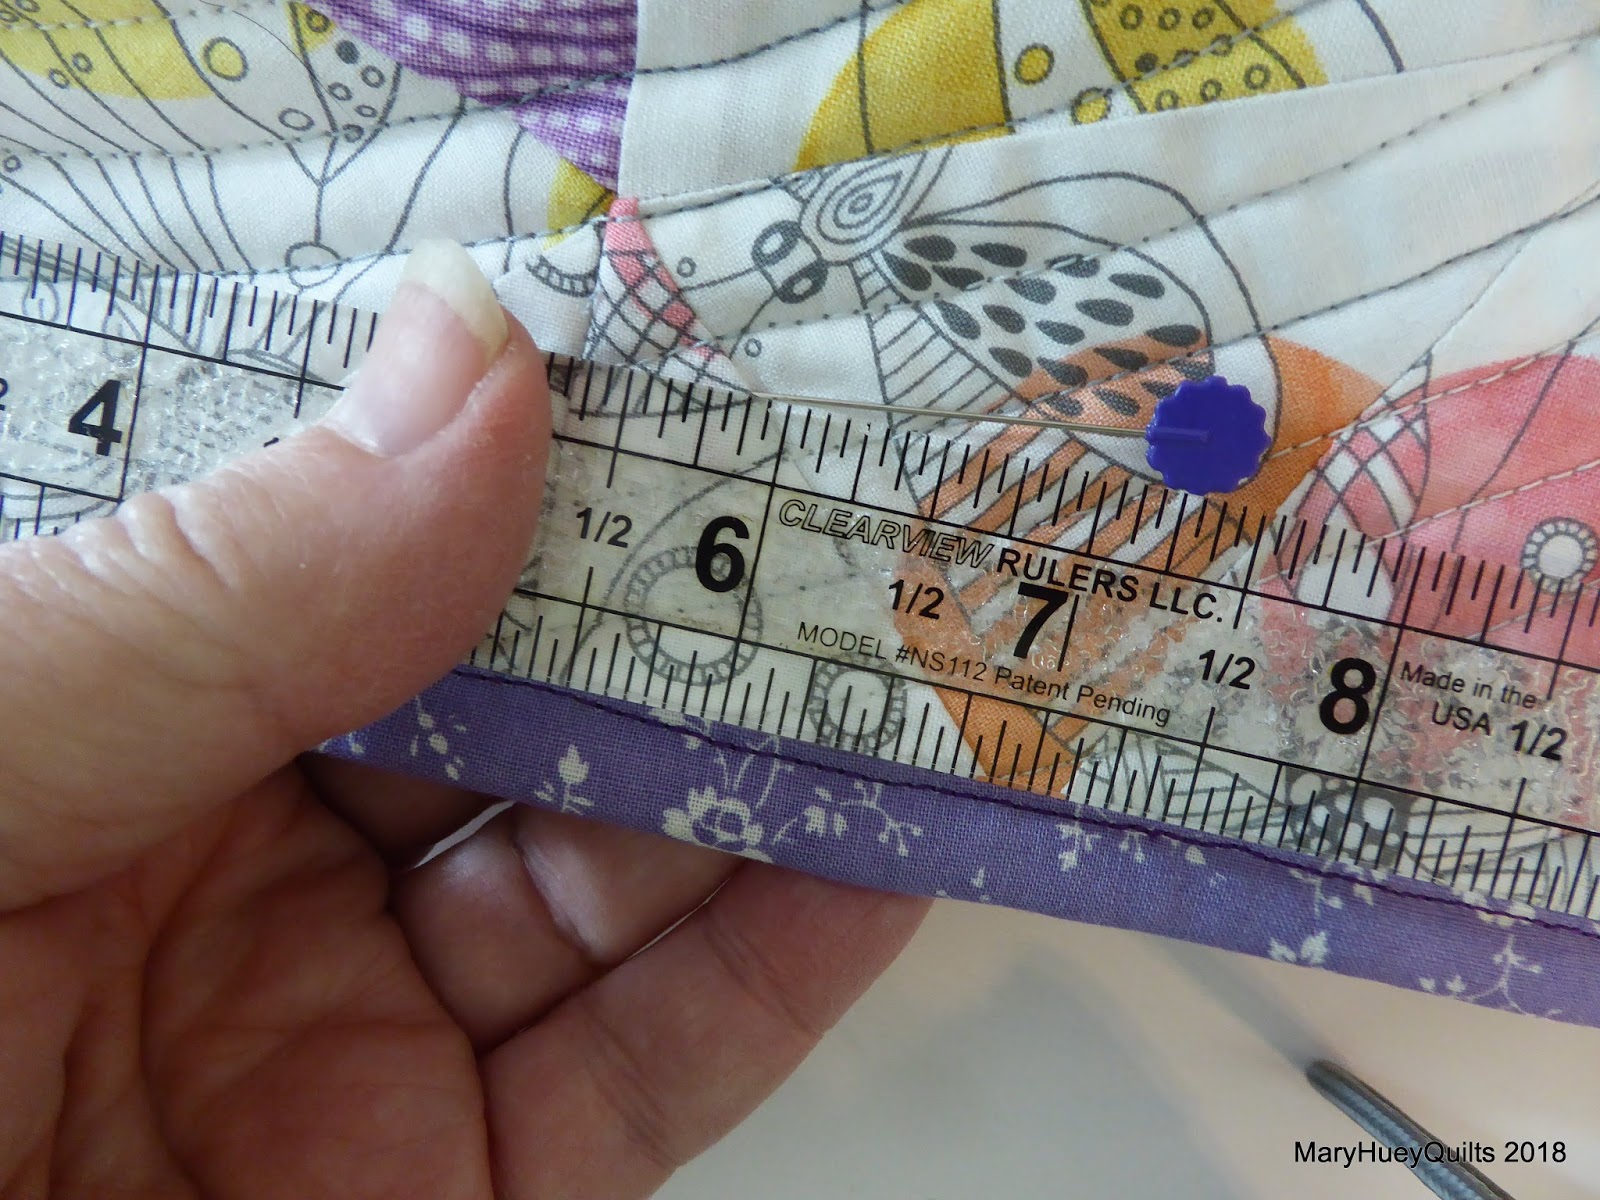
I squared it up at 14 1/2" and auditioned all four of the geese prints -- they all looked fine but I preferred the green.
And I added those clever little corner pockets for hanging while binding it! 
It's finished!!
The pieced design disappears since all the fabrics are the same value -- mediums.  I'm surprised the orange pops out since it's so close on the color wheel to the fuchsia -- it must be just slightly lighter in value.  It's definitely saturated color!!
I'm going to enter it into the challenge even though it's quite different and a little harder to look at than most of the entries which are more subtle and sophisticated.  I hope other "traditional" quilters are inspired to try out some modern techniques and ideas for the creative boost it gives one!   I'm glad I made it -- now I know the small size of LIFT OFF works beautifully for a mini and I love the results of the multi color threads quilting experiment -- I'll definitely do that again!!
It was fun!!
Best of all -- I used up every inch of that bright paisley which I don't know why I bought it in the first place!?!

You can check out all the entries for yourself HERE at Curated Quilts!

Happy Easter
Mary


Saturday, March 24, 2018

Project Quilting Challenge 9.6 -- SCRAPS

Once again, I wasn't going to go for the challenge even though I'm good at making quilts with scraps but then as I was making my bed on Wednesday, a inspiration caught my eye.  I saw a "pattern" as I looked across this Kaleidoscope quilt that I had never noticed.
I grabbed a piece of kaleidoscope graph paper (it's a copy from the inside cover of Marti Michell's Kaleido-ABC's book) and sketched it out with colored pencils before it disappeared from my mind!!
You already know what happened next, don't you?
Yep, before the day was over, I was cutting fabric and piecing 9 blocks just to see how it would look.
I used Marti's small Kaleido-ruler and made nine 6" blocks.
Her piecing strategy for these blocks is perfect (also found in the book) and so by the end of the afternoon, I had a finished 18" top!
Pillow??

The next afternoon found me exploring quilting a spiral with my walking folk -- moving past the hesitation of trying to decide if the quilting would "ruin" it almost created another UFO.  
Happily, I convinced myself that if I didn't like it, I would just give it away but once I got through the first couple rings, it was easy and I'm delighted with the way it looks!!
Wallhanging??
The Project Quilt Challenge was looking for a minimum of 12 fabrics so I used 4 different prints of my three colors plus the background print (just in case I finished it before the deadline).  
If scrappy quilts intimidate you, using a single background print is a good strategy because it eliminates all the choices for that part of the design and it unifies a piece nicely.
When I left my studio Friday afternoon, I was still waffling -- pillow, wall hanging, table topper, UFO?  
If I did a pillow, did I have a form that would fit or would I have to go shopping and I really don't enjoy the finishing process necessary to make a pillow cover.  
If I did a wall hanging or table topper, it wouldn't work in my house -- to whom could I gift it?
UFO? -- remember we are trying to avoid creating more of those!!

I guess it was good to end the day pondering all of that because Saturday morning, my brain had it all figured out.
Pillow, with a flange edge so the 18" piece would fit the 14" form I have that needs a new cover plus an odd idea for a different finishing strategy!!

I needed a zipper, some gray polka dot for the backing and happily -- they were both on hand in the stash -- no shopping delay!!
After setting the zipper into the backing of the pillow cover, I layered the top and the back RIGHT SIDES TOGETHER!
(Stay with me.)
Then I bound the edges like I would a quilt!
Am I wierd?  
I would rather bind anything than turn something right side out!!
(I also do not like to "stuff" things!!)
Here it is, ready to create the flange. 
I laid the form on the back side and estimated how deep a flange I could use.
Then I tested it by pin basting a line 1" from the binding all the way around the pillow cover to create a flange. 
I remembered that we always sat on pillow forms when I had the shop to flatten them down some and make inserting easier.
In it went for a test run!
Good!
Form came back out and I stitched the flange in place.
Since I don't have a guide on my walking foot, I used painter's tape as a stitching guide and lengthened my stitch to "4" just in case I want to remove it some day.
And here it is -- bringing a touch of spring to the living room couch!
Perfect!!
This finish was easy and I love the pop of color around the outside edge -- so much easier than covering cording and all that fuss!!
Plus, if I pop the form out, I can use it for a table topper!?!

This is the last challenge for the 2018 version of Project Quilting. 
I met 5 of the 6 challenges and had fun doing it -- feeling very creative!!
Thank you Kim and Trish!!

Click HERE beginning Sunday afternoon (3/25/2018) to vote for your ten favorite challenge projects!!

Mary Huey


Friday, March 23, 2018

Another Finish and a Simple Pattern

Last fall, my quilting gang and I took on a project to make a half dozen twin size quilts for men coming into a local recovery home where they live during the final stage of their transition to a sober life.  The director of the home welcomed our offer and made only one request – that they be “manly” quilts.  Fine, I said, not realizing that our supply stash was heavy on “not-manly” fabrics.  So the challenge became one of finding inspiration for simple quilts we could produce easily and still achieve a “manly” look.  One morning, I woke up with the inspiration for “Lift-Off” in my head.

Ever since Marti Michell introduced her small Diagonal Set Triangle Ruler, I've been thinking about using it to cut and create a flying geese quilt using giant 5" by 10" geese units!!
 Both of the triangles needed for a basic goose unit are cut using the full ruler.  It's the same combination of large and small triangles as Marti's standard Flying Geese Ruler -- just bigger!! 
Most of the units are the standard layout -- one large and two small triangles, but to create the look of a flock of wild geese lifting off a pond, I included several of these "combination" goose units.
Wait until you see how they fit into the design!
It took me most of that day to cut out all the triangles and piece the geese.  At the end of the day, I had the basic layout of the flock up on my design wall.
Then I stumbled across this print while searching through our "charity" stash and the background of the quilt materialized easily!
The quilt is built in vertical rows and while I had the background sketched out on graph paper, the sizes of the available fabric dictated the final sizes of the background pieces -- the idea is that the flock is lifting off a lake (where they spend the night because it's safer) and heading out for a day of foraging in meadows and marshes nearby. 
Once the layout felt right, I started to assemble the vertical rows.
I quilted it in two sections of three rows with (somewhat) parallel vertical lines for ease in handling and to reinforce the flow of the pieced design. 
Have you tried quilting larger pieces in sections?  It is definitely my "go-to" strategy for the past decade.  It's so much easier to handle since I am working at a large sit-down machine (APQS George) when quilting.
Finally the day it was finished!! 
I love the way the movement of the flock up through the quilt! 
It reminds me of days I've been lucky enough to come across a flock of geese or swans lifting off and moving on! 
Next week, it is off to it's new forever owner.
I hope it will remind him each day to keep "lifting-off" for the next good thing!! 
I've written a 3 page guide to help others create this quilt.  It's isn't a complete pattern as it assumes you already have a favorite way/tool for creating flying geese units.  It includes a chart of six sizes from a 12" by 18" wallhanging to a full size quilt, very basic instructions, and a drawing that you can use to play with the design.  
(Can you see this with a "rainbow" background?)
You can purchase a PDF copy of it from my Etsy Shop HERE and support my group's efforts!
All proceeds from the sales go directly into our "batting fund" so we can keep layering up quilts!
We are grateful for the opportunity to bless others with our skills!

Have a lovely weekend!
Mary

P.S. Happily, this is also one of my first quarter 2018 Finish Along goals -- DONE!!!


Tuesday, March 20, 2018

Still here . . . .

My spontaneous one-week hiatus from Through Rose-colored Trifocals turned into three weeks?  Not sure how that happened?  Too busy stitching?  Too busy birding?  Perhaps.

I have been stitching steadily -- if you watch me on Instagram (@hueymary), you've seen some hexie machine piecing, a few bindings, a bit of birding, and some progress on some ancient UFO's.

Last August, you saw this lovely blue and yellow quilt as I shared how I layer quilts on a table -- you can read that complete post HERE
 Then it sat for several months until I started to quilt it in January.  I thought I would finish it in January once I settled on a simple "maze" for the wonky log cabin style blocks, then while when considering a design for the setting triangles, I stalled out.
Feathers were the original idea but in the end, I settled into a more comfortable design that I'm confident about being able to execute -- a whimsical flower with simple leaves and tendrils.  Surely I'll finish it in February!?!
After another long pause and sketching out several border design ideas, I decided on a simple Greek key style border which echos the "mazes" in the central blocks.
It took a few days of experimenting on graph paper to figure out the path and find the right proportions.
I was thrilled with the strategy I developed and so I'm going to share it in a progression of pictures that I hope will inspire you.  
After drawing two of the "key" motifs onto the border with a Clover Chaco Liner, I stumbled into a way to add some painter's tape "lines" to my Fine Line tool enabling me to bypass most of the marking.
The long tape line (horizontal in this picture) will dictate the space between the lines of the repeat and the short vertical pieces indicate the length of the longest line within each repeat.
A complete repeat is a square unit in my design and sits centered from side to side on the border.
Follow along as I stitch one repeat.
The tape running parallel to the edge of the tool is lined up on the seamline between the narrow yellow border and the outer blue border.
This motif begins at the horizontal tape mark . . . .  
. . . . and stops at the edge of the last horizontal tape mark. 
I rotated the Fine Line tool 90 degrees and stitched to the right . . . .  
. . . . stopping at the right edge of the left hand piece of tape in the photo below. 
Then I moved the tool and used two of the lines inscribed on the tool to measure the distance of the third line which was stitched away from myself. 
This is the end of that line . . . . .  
. . . . and now I stitch left 1/3 of the way across the open space.  I have moved the tool out of the way in this picture so you can see where I'm going.  The interesting thing I noticed after stitching several of the motifs is that I have the visual ability to judge 1/3 of that distance pretty accurately.
Now I shifted the tool into a vertical position and stitch towards myself 1/2 of the distance to the opposite line -- again, I have the visual ability to "eyeball" that distance without actually measuring it!
Rotate again and stitch left stopping at the halfway point. 
Now stitch away from myself (slightly different camera angle). 
 I missed one picture here, but the route is to stitch to the right until I reached the right side limit of the previous motif.
To get to the next motif, I again used the tape marks to maintain a consistent distance down the right side of the border. 
Here's the stop point for that line.  Rotate the tool to the horizontal and stitch left until I arrive back at the left side of the design.  
Here I am back at the beginning of a motif -- repeat, repeat, repeat.
The key was to set up the pattern on graph paper and draw through it to find the easiest sequence.  Using the tape to set up the repeatable distances eliminated most of the marking so the stitching went smoothly and it only took two work sessions to complete the borders.

Realizing that I'm able to visually judge 1/3 or 1/2 of any space saved time and energy because I didn't need to draw out each line of the design.  I'm sure if you took a ruler to my motifs, there are some spacing irregularities within each key, but as long as the lines are straight and the outer edges consistent, the brain sees my complete design as being just fine.  
Then there is the organic appeal of the slight and largely unnoticeable imperfections.
Ready to bind (finally)!!
Of course, there was none of that beautiful blue batik left for a binding and "matching" blues is always a challenge so to maintain momentum on this 13 year old project, I went with a yellow binding!!  Machine stitched on both sides.
Here's the finished quilt ready to be washed and brighten up my living room as spring begins! 
This finish puts me under the 90 UFO's mark for certain and there are three more ancient UFO's in the mill -- two are layered for machine quilting and a third just moved from "still appliqueing" to "ready to make a backing"!!  
Progress is good!!

While today is the first official day of spring, judging from the ice we found along the shore line of Lake Erie on today's birding adventure, we aren't done with winter.
Still time to stitch, stitch, stitch before the garden begins to lure me outside!
Enjoy the changing seasons!!
Mary