Showing posts with label Marti Michell Kaleido-ruler. Show all posts

Saturday, March 24, 2018

Project Quilting Challenge 9.6 -- SCRAPS

Once again, I wasn't going to go for the challenge even though I'm good at making quilts with scraps but then as I was making my bed on Wednesday, a inspiration caught my eye.  I saw a "pattern" as I looked across this Kaleidoscope quilt that I had never noticed.
I grabbed a piece of kaleidoscope graph paper (it's a copy from the inside cover of Marti Michell's Kaleido-ABC's book) and sketched it out with colored pencils before it disappeared from my mind!!
You already know what happened next, don't you?
Yep, before the day was over, I was cutting fabric and piecing 9 blocks just to see how it would look.
I used Marti's small Kaleido-ruler and made nine 6" blocks.
Her piecing strategy for these blocks is perfect (also found in the book) and so by the end of the afternoon, I had a finished 18" top!
Pillow??

The next afternoon found me exploring quilting a spiral with my walking folk -- moving past the hesitation of trying to decide if the quilting would "ruin" it almost created another UFO.  
Happily, I convinced myself that if I didn't like it, I would just give it away but once I got through the first couple rings, it was easy and I'm delighted with the way it looks!!
Wallhanging??
The Project Quilt Challenge was looking for a minimum of 12 fabrics so I used 4 different prints of my three colors plus the background print (just in case I finished it before the deadline).  
If scrappy quilts intimidate you, using a single background print is a good strategy because it eliminates all the choices for that part of the design and it unifies a piece nicely.
When I left my studio Friday afternoon, I was still waffling -- pillow, wall hanging, table topper, UFO?  
If I did a pillow, did I have a form that would fit or would I have to go shopping and I really don't enjoy the finishing process necessary to make a pillow cover.  
If I did a wall hanging or table topper, it wouldn't work in my house -- to whom could I gift it?
UFO? -- remember we are trying to avoid creating more of those!!

I guess it was good to end the day pondering all of that because Saturday morning, my brain had it all figured out.
Pillow, with a flange edge so the 18" piece would fit the 14" form I have that needs a new cover plus an odd idea for a different finishing strategy!!

I needed a zipper, some gray polka dot for the backing and happily -- they were both on hand in the stash -- no shopping delay!!
After setting the zipper into the backing of the pillow cover, I layered the top and the back RIGHT SIDES TOGETHER!
(Stay with me.)
Then I bound the edges like I would a quilt!
Am I wierd?  
I would rather bind anything than turn something right side out!!
(I also do not like to "stuff" things!!)
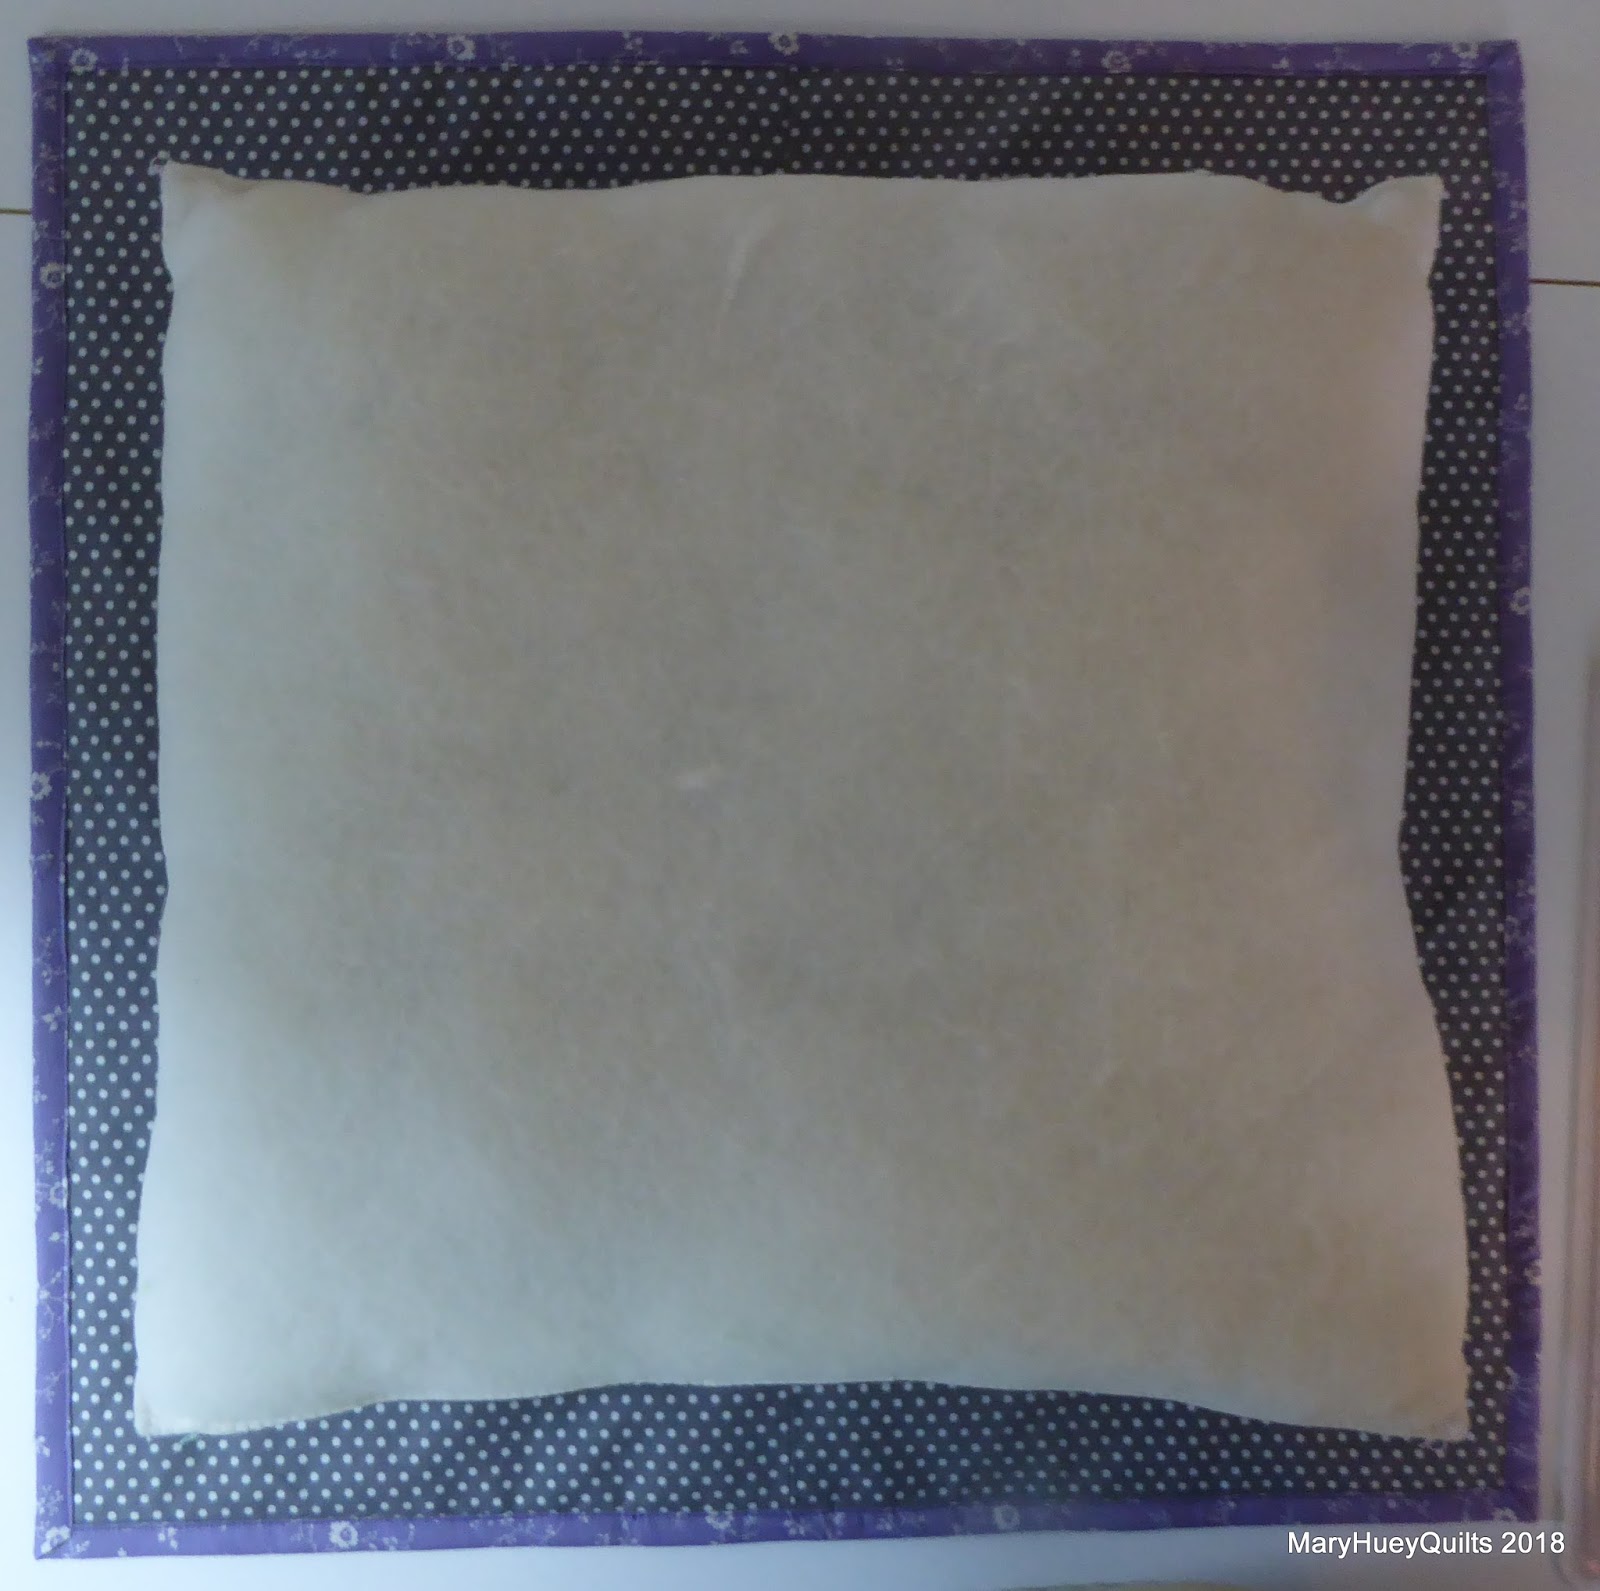
Here it is, ready to create the flange. 
I laid the form on the back side and estimated how deep a flange I could use.
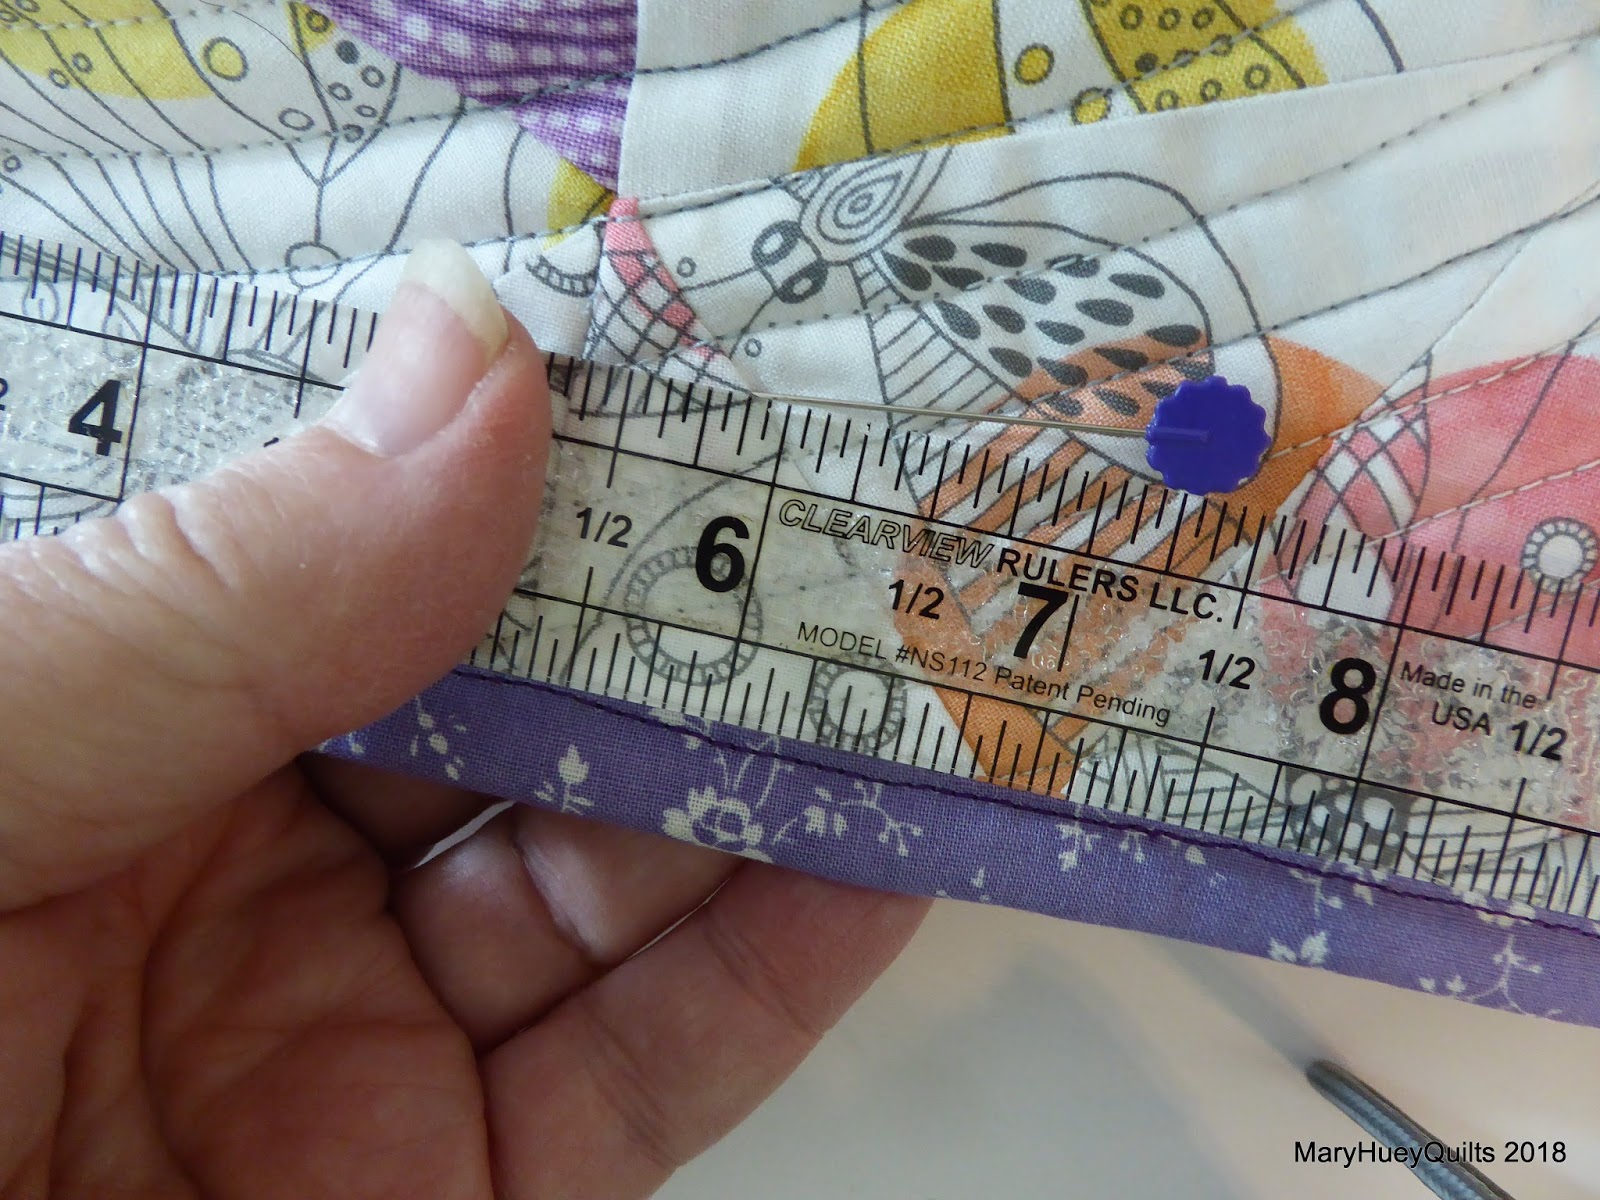
Then I tested it by pin basting a line 1" from the binding all the way around the pillow cover to create a flange. 
I remembered that we always sat on pillow forms when I had the shop to flatten them down some and make inserting easier.
In it went for a test run!
Good!
Form came back out and I stitched the flange in place.
Since I don't have a guide on my walking foot, I used painter's tape as a stitching guide and lengthened my stitch to "4" just in case I want to remove it some day.
And here it is -- bringing a touch of spring to the living room couch!
Perfect!!
This finish was easy and I love the pop of color around the outside edge -- so much easier than covering cording and all that fuss!!
Plus, if I pop the form out, I can use it for a table topper!?!

This is the last challenge for the 2018 version of Project Quilting. 
I met 5 of the 6 challenges and had fun doing it -- feeling very creative!!
Thank you Kim and Trish!!

Click HERE beginning Sunday afternoon (3/25/2018) to vote for your ten favorite challenge projects!!

Mary Huey


Friday, October 16, 2015

Retreat UFQ Stitching

Several years ago, I took this beautiful orchid print to my winter retreat to have Kathy and Syd help me "stack and whack" it.  They are geniuses at it and since I do it infrequently, it's easiest to lean on their expertise.  Kathy could probably say exactly how long ago it was, but I'm going to guess 5 years.  I cut it with Marti Michell's Kaleido-ruler. 
Here are some scraps of the print -- forgot to take a picture of the big piece I had left before cutting it up for the border pieces.
Almost immediately, I decided I had ruined the fabric because I couldn't find any other print to use with it for the setting pieces.  This year, I put the project on my APQ Resolution list and it's number was drawn in August.  It's been sitting on my work table ever since as I strained to audition compatible fabrics.   For six weeks or more, it has haunted me so as I packed for the fall retreat last week, I decided to make it my priority project. 
The plan has long been to use Marti's cover pattern from Kaleidoscope ABC's and my first thought was to work with solids for the other fabrics.  After weeks of not making that click for me, I started pulling prints out of my stash that more or less matched the colors in the orchid print.  Two days before I left for the retreat, everything finally fell into place and I was able to pack a stack of possible prints and make a sketch of a potential color layout.
To my great surprise, I was the first to arrive -- look at all this space!!  I entertained myself by contemplating what it might be like to have this entire room as a studio . . . .
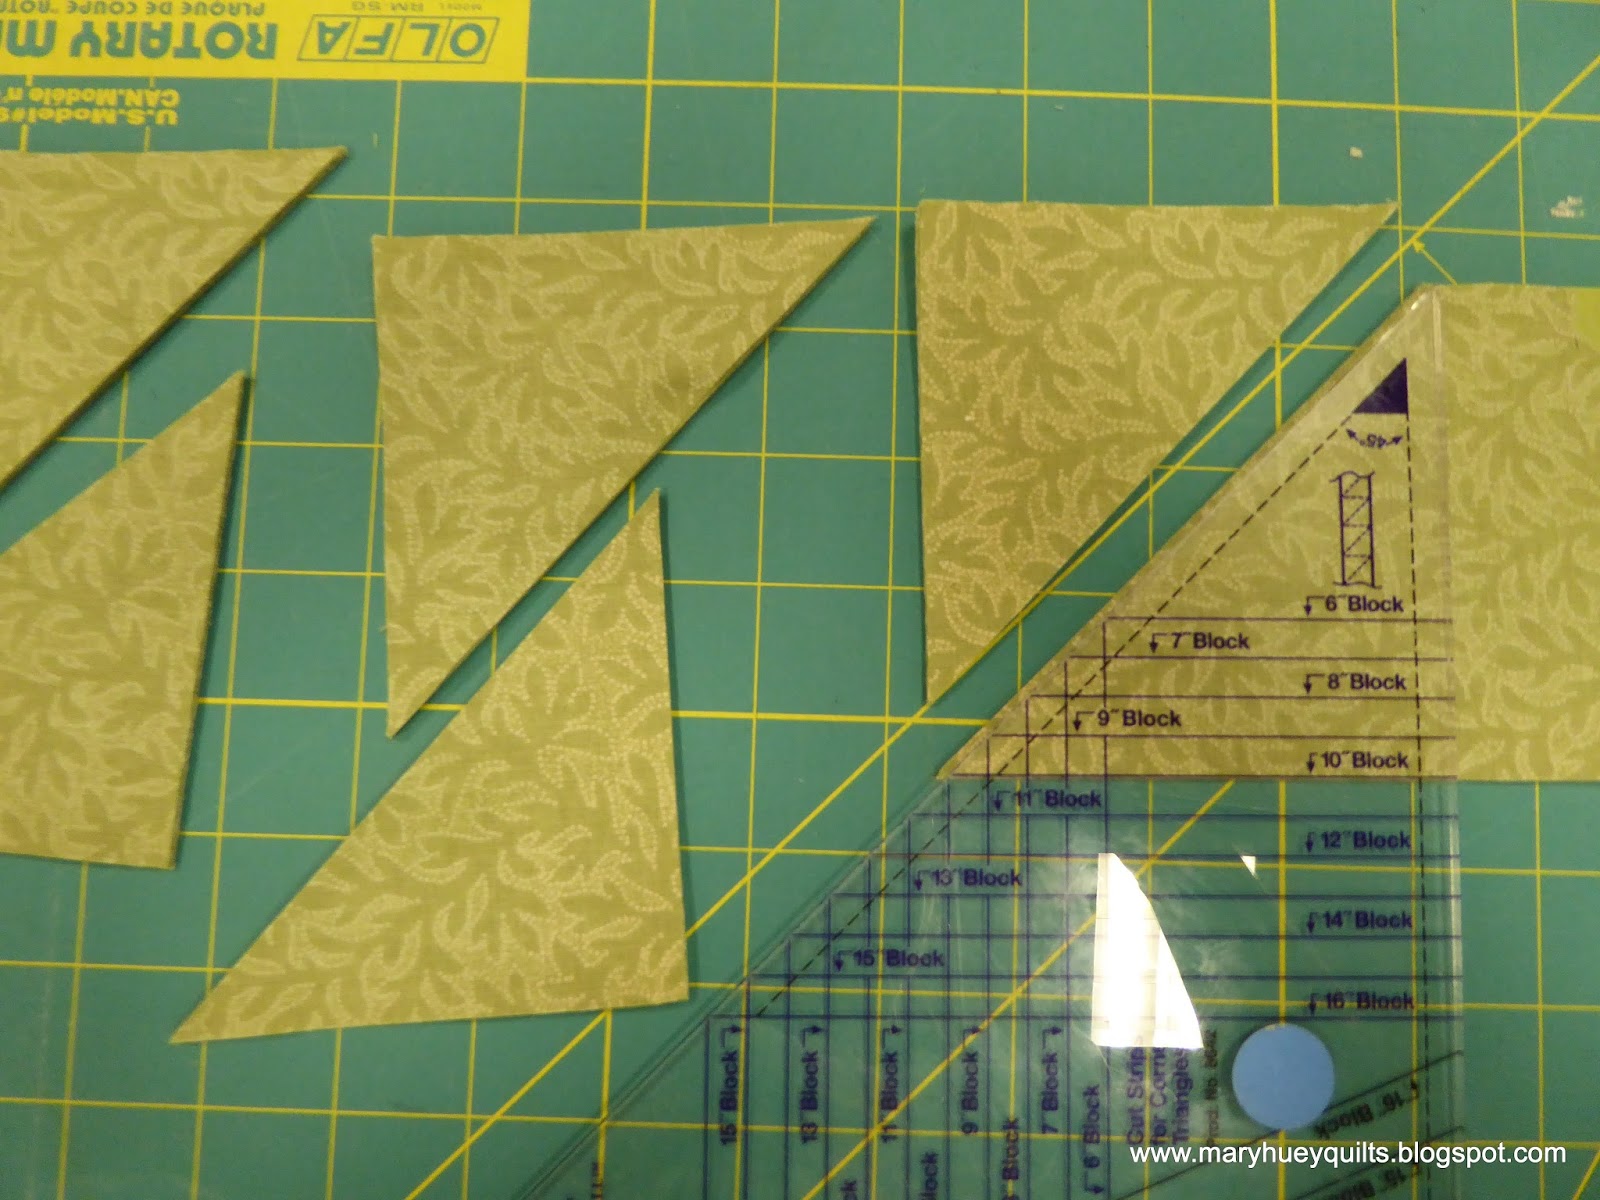
I got to work cutting piles of light greens into wedges
and medium greens into corner triangles. 
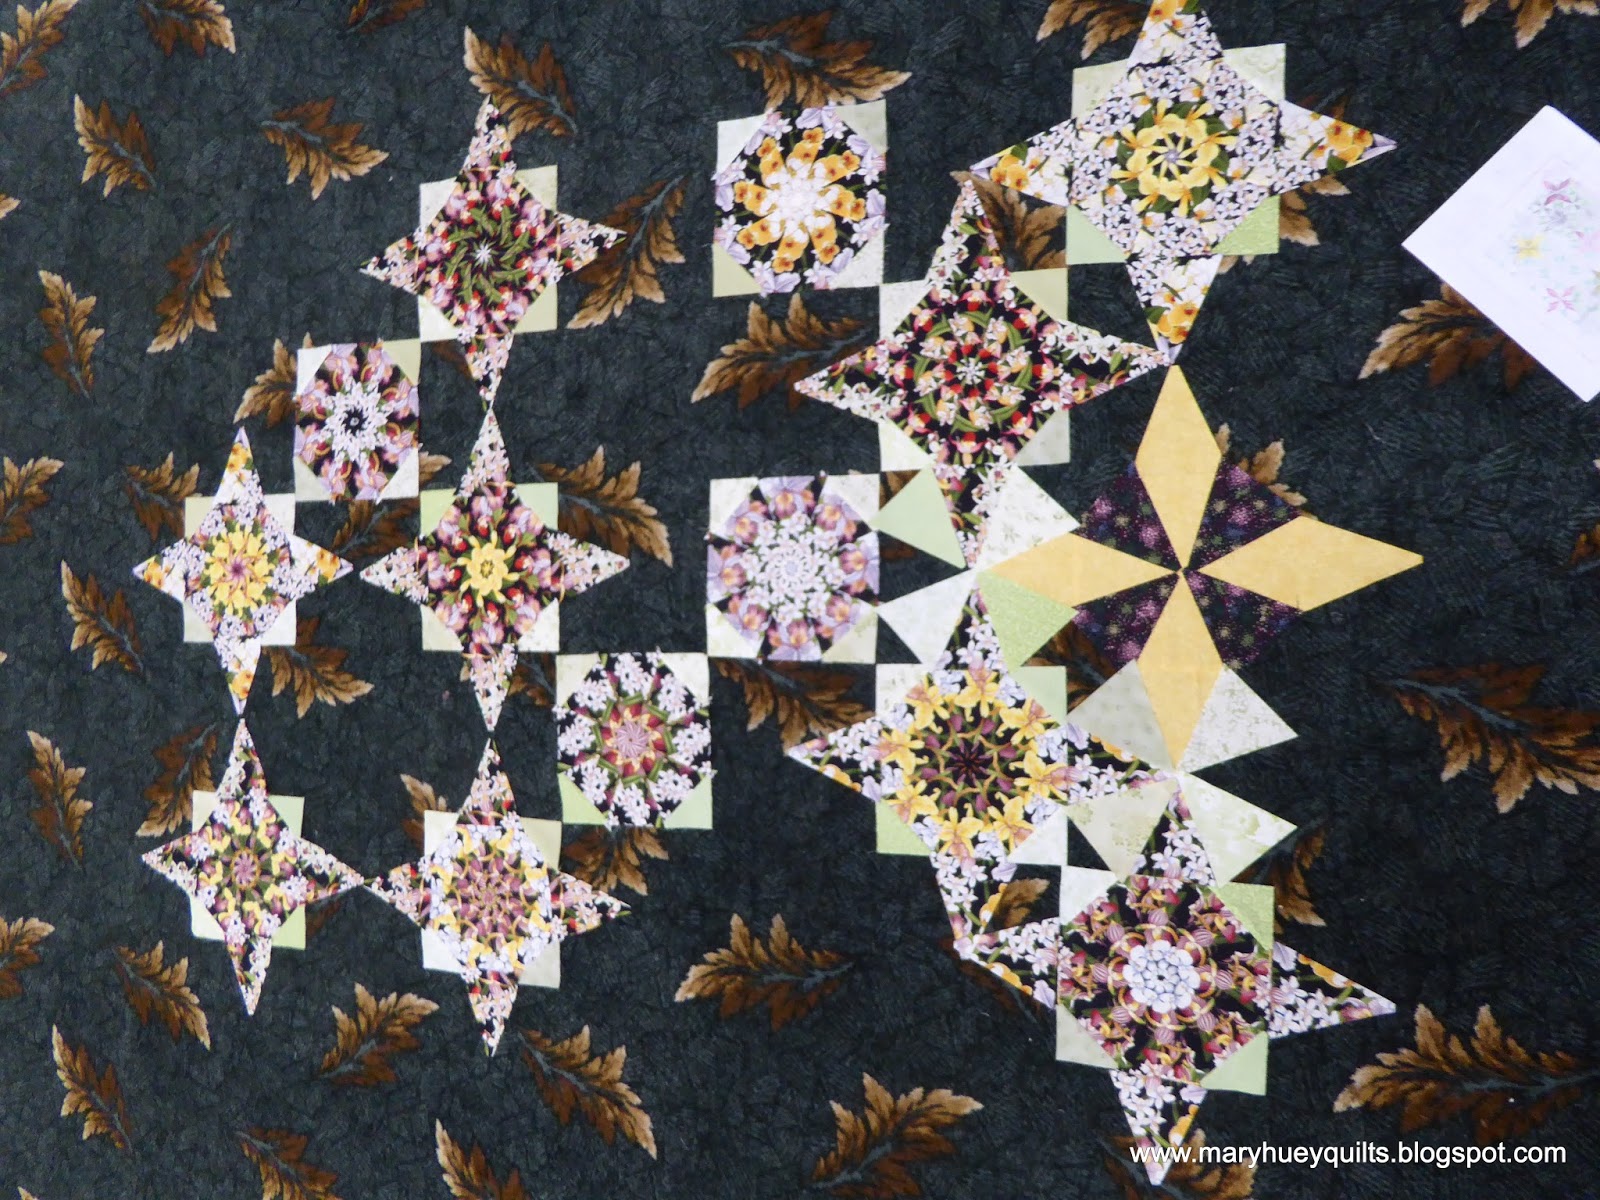
My sketch had lots of blank spaces and I started stitching with a flexible attitude expecting the values and color choices to become clearer once I saw the kaleidoscopes stitched together. 
The carpet presented a visual challenge as you can see but the sketch kept me on track.  I wouldn't have enough of the kaleidoscope blocks so I added five "stars" in pinks and golds.
Marti's instructions are very specific and piecing these blocks is a breeze when you follow them exactly.  This is the third quilt I've made using her tool and instructions.  At one point, she encourages you to "stop at the dot" and in the past I've struggled with this step.  (She offers an alternate strategy.)
But this time, the Set-In Piecing Simplified technique enabled me to negotiate that stop perfectly!!
A quick pivot and I was all set to stitch onto the next piece. 
What a difference it make in the flatness of the center to be able to swirl the seams and I'm delighted to find another application for the technique!
By mid-day Saturday, it was all coming together and I was excited with the results.  The greens were perfect for setting off the kaleidoscopes which are beautiful!
Here are a few close-ups!
 I've taken pictures of them several times and must not have a steady hand so the pics are a bit blurry.
I'm so delighted with the results, I started daydreaming about cutting up another hunk of fabric?!? 
By the end of the day Saturday, I had everything cut and over half the blocks pieced.
Once I got home, I finished the piecing and arranged the blocks on my workwall (and the floor).
I'm currently setting the blocks together -- thinking I will assemble it into two "halves", then quilt those sections (easier to wrestle with at my machine).  Once they are quilted, I'll join the halves, finish the backing, and quilt the central area.  I use Marti Michell's book, Machine Quilting in Sections as my guidebook when doing this.
It is currently 70" by 90" and I don't think I'll add another border though as I look at the picture, if I could find just the right stripe???  We'll see?
 
It's a delight to move forward with this quilt and find that I didn't ruin the fabric after all.  I'm also reminded that my "style" is to work with a large variety of prints and not get too tight about the exact shades of color -- close is good for me because value is what makes or breaks the design in my work.   I'm glad I scrapped the solids idea.
 
I'm so excited about the progress I've made on this project that it just might push ahead of several other pieces and get quilted next!!
 
Have a pieceful weekend!!
 
Mary Huey