Showing posts with label Project quilting season 9. Show all posts

Saturday, March 24, 2018

Project Quilting Challenge 9.6 -- SCRAPS

Once again, I wasn't going to go for the challenge even though I'm good at making quilts with scraps but then as I was making my bed on Wednesday, a inspiration caught my eye.  I saw a "pattern" as I looked across this Kaleidoscope quilt that I had never noticed.
I grabbed a piece of kaleidoscope graph paper (it's a copy from the inside cover of Marti Michell's Kaleido-ABC's book) and sketched it out with colored pencils before it disappeared from my mind!!
You already know what happened next, don't you?
Yep, before the day was over, I was cutting fabric and piecing 9 blocks just to see how it would look.
I used Marti's small Kaleido-ruler and made nine 6" blocks.
Her piecing strategy for these blocks is perfect (also found in the book) and so by the end of the afternoon, I had a finished 18" top!
Pillow??

The next afternoon found me exploring quilting a spiral with my walking folk -- moving past the hesitation of trying to decide if the quilting would "ruin" it almost created another UFO.  
Happily, I convinced myself that if I didn't like it, I would just give it away but once I got through the first couple rings, it was easy and I'm delighted with the way it looks!!
Wallhanging??
The Project Quilt Challenge was looking for a minimum of 12 fabrics so I used 4 different prints of my three colors plus the background print (just in case I finished it before the deadline).  
If scrappy quilts intimidate you, using a single background print is a good strategy because it eliminates all the choices for that part of the design and it unifies a piece nicely.
When I left my studio Friday afternoon, I was still waffling -- pillow, wall hanging, table topper, UFO?  
If I did a pillow, did I have a form that would fit or would I have to go shopping and I really don't enjoy the finishing process necessary to make a pillow cover.  
If I did a wall hanging or table topper, it wouldn't work in my house -- to whom could I gift it?
UFO? -- remember we are trying to avoid creating more of those!!

I guess it was good to end the day pondering all of that because Saturday morning, my brain had it all figured out.
Pillow, with a flange edge so the 18" piece would fit the 14" form I have that needs a new cover plus an odd idea for a different finishing strategy!!

I needed a zipper, some gray polka dot for the backing and happily -- they were both on hand in the stash -- no shopping delay!!
After setting the zipper into the backing of the pillow cover, I layered the top and the back RIGHT SIDES TOGETHER!
(Stay with me.)
Then I bound the edges like I would a quilt!
Am I wierd?  
I would rather bind anything than turn something right side out!!
(I also do not like to "stuff" things!!)
Here it is, ready to create the flange. 
I laid the form on the back side and estimated how deep a flange I could use.
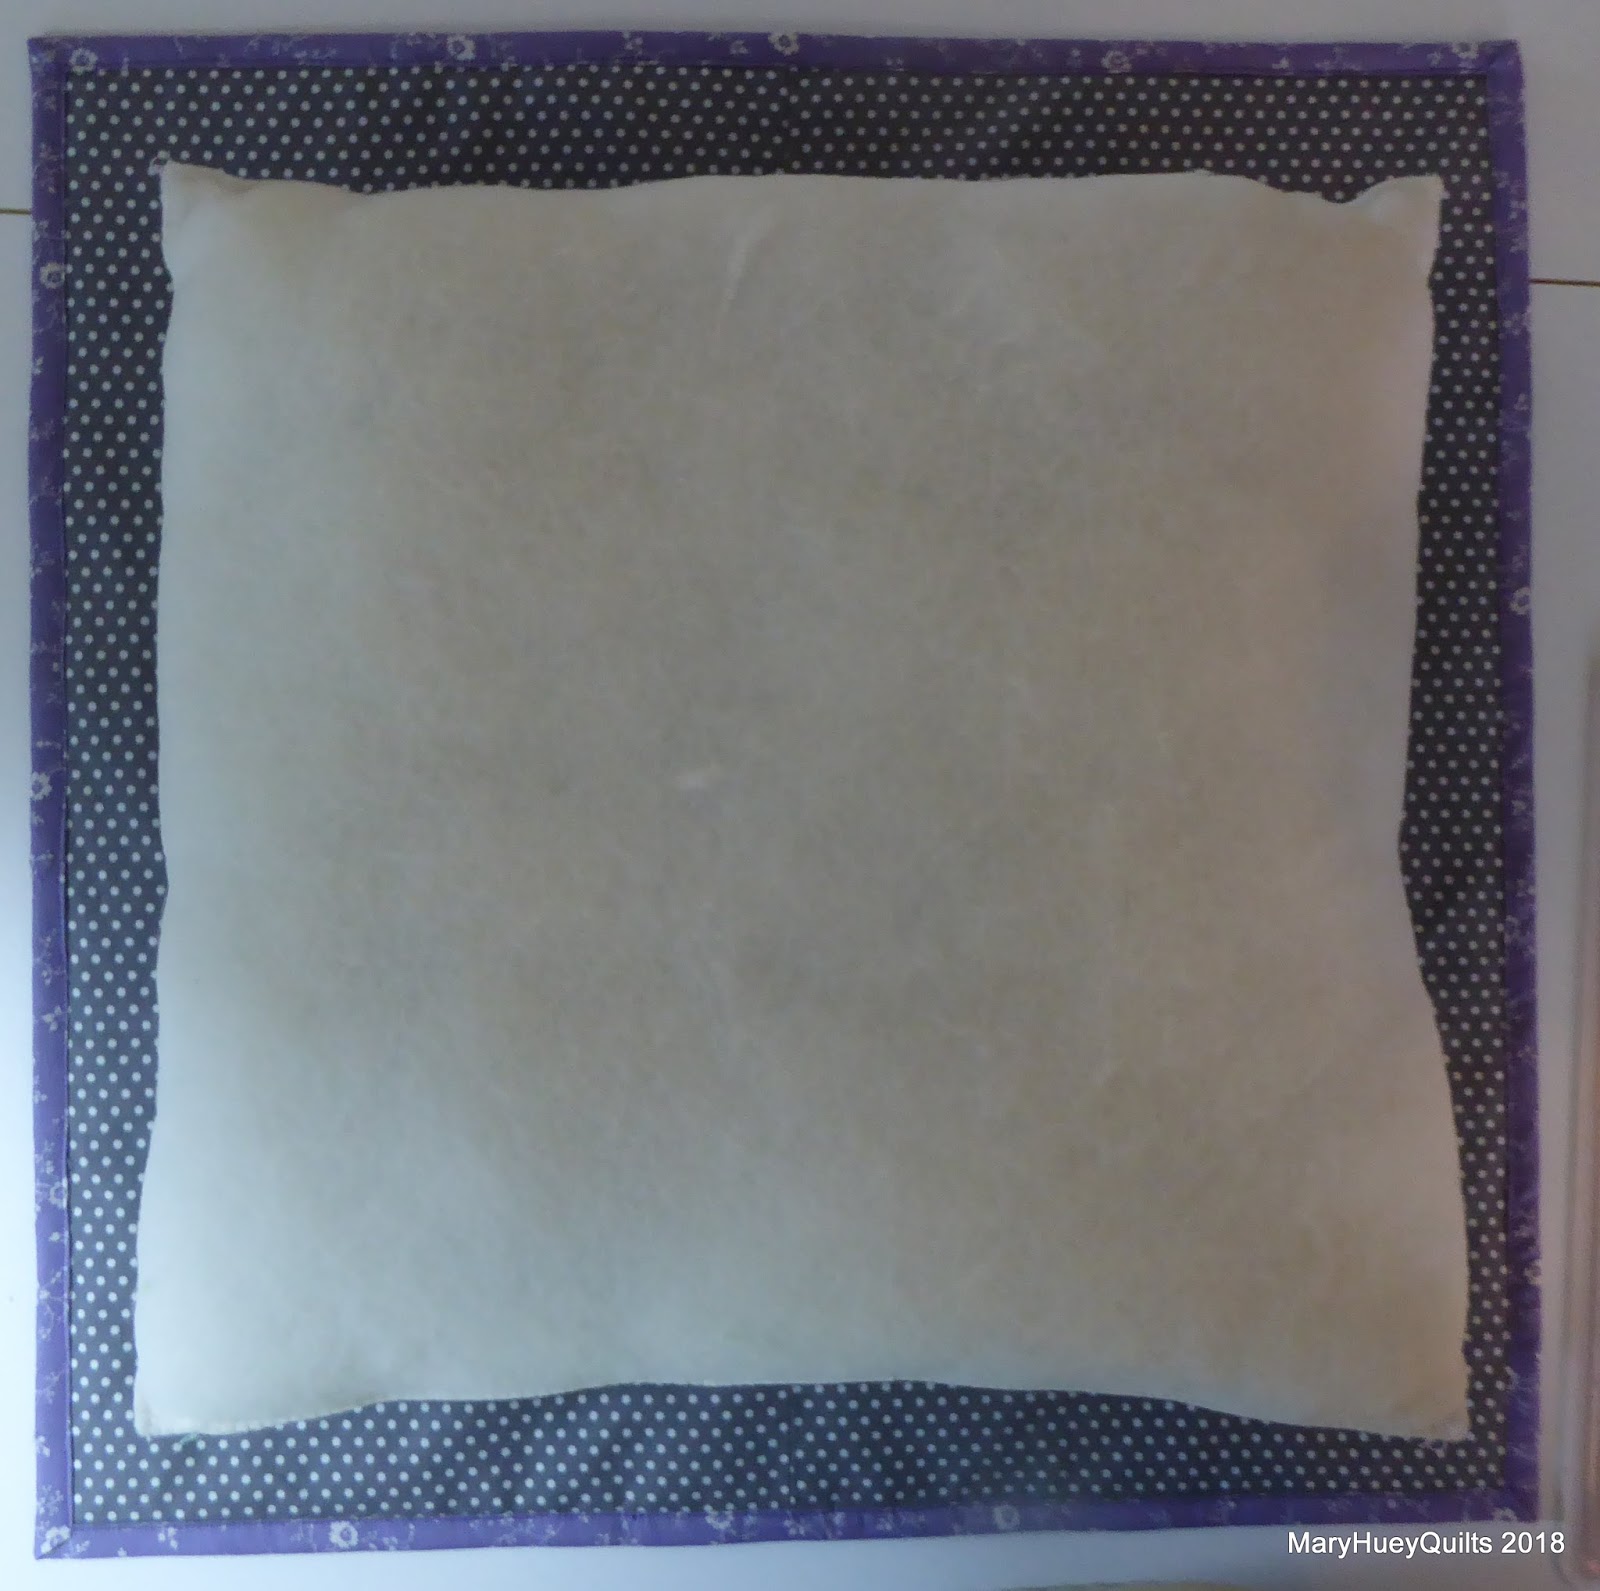
Then I tested it by pin basting a line 1" from the binding all the way around the pillow cover to create a flange. 
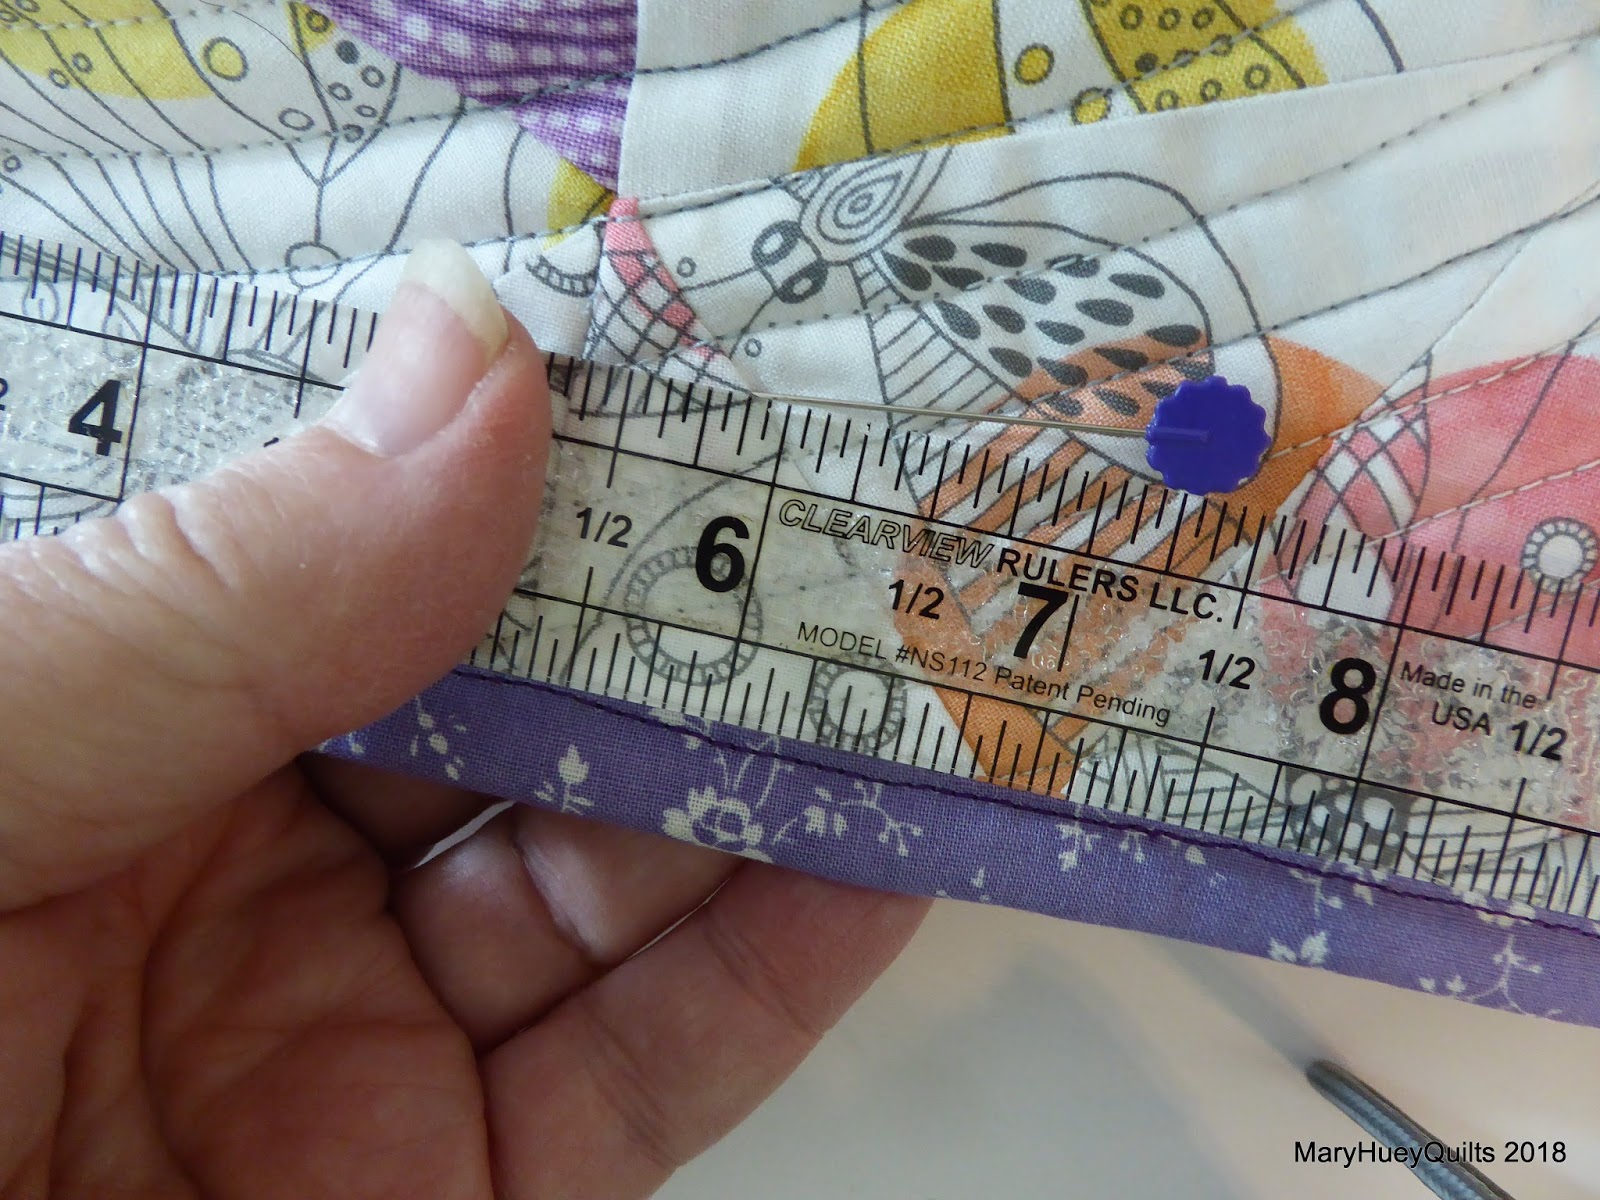
I remembered that we always sat on pillow forms when I had the shop to flatten them down some and make inserting easier.
In it went for a test run!
Good!
Form came back out and I stitched the flange in place.
Since I don't have a guide on my walking foot, I used painter's tape as a stitching guide and lengthened my stitch to "4" just in case I want to remove it some day.
And here it is -- bringing a touch of spring to the living room couch!
Perfect!!
This finish was easy and I love the pop of color around the outside edge -- so much easier than covering cording and all that fuss!!
Plus, if I pop the form out, I can use it for a table topper!?!

This is the last challenge for the 2018 version of Project Quilting. 
I met 5 of the 6 challenges and had fun doing it -- feeling very creative!!
Thank you Kim and Trish!!

Click HERE beginning Sunday afternoon (3/25/2018) to vote for your ten favorite challenge projects!!

Mary Huey


Saturday, February 10, 2018

Project Quilting 9 -- the Bold and Brave Challenge

Once again, I found myself creating a piece for this week's Project Quilting 9 challenge that I didn't mean to start! I woke up Friday morning with an inspiration from a friend's story about his ancestors. Once I got started, I could not stop and last evening, I finished the binding -- I made the entire piece in just one day without leaving the studio!!
So first the story, then the quilt.

Two of my long time birding friends and I often exchange genealogy stories as we all three spend time seeking ancestors.  I recently discovered that quite a few of my husband's ancestors came to New England in the mid-1600's when it was still a wild place.  I find myself pondering what it would have been like to leave everything one knows, get into a cramped wooded ship, and sail for weeks to a wilderness with nothing familiar in the anticipation of having a "better life", trusting that someone knows what they are doing!  
Hard for any of us to imagine on any level.  
Such brave people!! 

Last week, my friend shared his latest discovery with me.  He is French Canadian and several of his 7th and 8th great grandmothers came to New France (Canada) to marry colonists and soldiers who were already settled in the region.  From 1635 to 1662, 262 young ladies, the "Filles a Marrier" (marriageable girls) came to Canada having set up contracts in France with eligible bachelors in Quebec and hoping for the best.  In 1663, King Louis XIV began to send "Filles du Roi" (The King's Daughters) along with a dowry to marry men who were sent over a year or so earlier to subdue the Iroquois Indians.  About 740 women arrived in Canada over the next 10 years.  When Paul told me about this, he had found 41 of his ancestors on these lists.  Yesterday, when we talked, he was up to 53 from the King's Daughters and 27 from the marriageable girls lists.  Isn't that amazing?  10% of his 7th and 8th great-grandmothers came to Quebec between 1635 and 1663 as young unmarried women under circumstances that we would find totally unacceptable in this day and age. 
Now if that's not BRAVE, I don't know what is!?!

When he first told me the story, he had found 41 of his grandmothers on the list.  
I'm calling this piece "Les Filles Courageuses" -- The Brave Girls. 
 It features a wreath of 41 hexagons surrounding a central hexie that represents my friend.
It's another one of my "creative mergers" -- stories or images merge with my skills and stash and result in a unique piece that comes together quickly.  I wasn't consciously trying to merge any of these elements, but here they were calling out to unite in a creative burst of energy

This floral charm pack of cotton lawns has been sitting on my cutting table with the hexagon template for a couple months waiting for me to try piecing with cotton lawns.  
And I can't count the number of times I've saved and pinned quilts made using Nicole Daksiewicz Modern Hexagons pattern -- check it out HERE.
And here was a story inspiration -- 41 grandmothers!
It just took a few minutes to "sketch" a hexagon motif in Electric Quilt that used 42 hexagons.
I used the template to roughly trim the squares down a bit and then made two heat-resistant plastic templates for prepping the patches.
I used spray starch to press under the seam allowances and find the quickest way is to spray a little puddle of it onto the template, then smear it out into the seam allowances. 
I've found it's easier to work using my small travel iron for this job.
It's always takes a few minutes to find my rhythm, but once I do, it's not a bad job -- a good book on tape helps alleviate the boredom, too! 
The cotton lawn was easier to set the seam allowances with the starch than standard quilt cottons -- the pack didn't have 42 florals so I had to do some scrap basket diving to round out the number.
I pulled potential backgrounds out of my stash and started tossing the prepared hexies onto them to get a feel for which would work best.
In the end, I chose two prints and made a large pieced hexagon background.  The center print is a dreary looking landscape print to represent the wilderness that the "filles courageuses" were entering in New France and the outer one is a lovely soft monochromatic floral representing the familiar landscape of France. 
I sorted the prepped hexies into three groups by value and color before beginning the layout process -- mostly pinks, mostly greens and mixed darks.
I laid out three rings to organize the spacing and then lifted off the center ring to use as the outer spokes.
Once the placement was organized, I glued each hexie in position.
My layout needed 42 hexagons, but I only used 41 to stay true to the story.
I layered the piece up, marked stitching lines and worked with my walking foot to attach the hexagons permanently and quilt the piece at the same time. 
Here's Paul, my birding friend, surrounded by his "filles courageuses" -- women who bravely left France to come alongside unknown men and give birth to children who would grow and prosper into the future. 
It measures 23" by 27" and will make a charming table centerpiece mat.
I've used that little charm pack!!
I used up some more stash!
I satisfied the itch to make "modern hexagons" and I didn't create a UFO!!

Linking up with the other Project Quilting 9.3 creators HERE!!
Thanks to Kim and Trish for another fun challenge I didn't think I could meet!!

I'll close with an interesting fact -- we all have 256 seventh great-grandmothers and 512 eighth great- grandmothers.  Isn't that comforting -- to have so many grandmothers!!
  How did their bravery give you a future?

Mary Huey


Saturday, January 27, 2018

Project Quilting -- Season 9, Triangulations

The challenge theme for Project Quilting this week has been "Triangulations".
Since I already had an important deadline, I decided to take a pass on this one but apparently I forgot to tell my subconscious.
On Thursday it reminded me that there are quite a few triangle sets (HST's to some of you) in the basket of 2 1/2" scrappy squares.
They are allowed to live there because they are 2 1/2" so they are compatible with the squares.
Okay, we'll just have a look and see how many there really are.
Hmm, when stacked up with all the light green squares, there are quite a few? 
If we are going to do this, it has to be small -- perhaps a tablerunner for the linen chest? 
These triangle sets are left over from a full size quilt I pieced in 2006 or 7?
To stimulate discussion, I laid them out arranging the lights and mediums to make diagonal bands -- I find that moving fabric or pieces around is a much quicker way to find solutions than just staring at the pieces.
IDEA!! Since it's such a soft, subtle pattern it would make a nice background for some applique.
(Little voice in my head -- and when will you have time for that?  The deadline?)
And then I remembered this little piece of applique in a stack of rather old UFO's that I can't bear to let go.  It was the beginning of a sample for my shop and my mother did the applique for me.
What if I inserted it into the piecing?
So began the experimenting with it's position.  I miscalculated the finished size of the triangle sets once they were joined and realized to insert it, I would have to trim off some of the applique.
Not happening!!
So I moved it to the end and shifted the triangle sets around some more until I was satisfied with the arrangement. 
The quilting was an evening's work since I kept it simple! 
At one point when I hung it on my work wall, I realized it also would make a lovely wallhanging.
So I inserted "hanging" triangles on all four corners just in case it is used that way in the future. 
Now it's on the linen chest in the living room.
It's measures 10" by 29". 
It's perfect!
Love having this piece my Mom stitched on display and another ancient UFO crossed off the list!
And even though I was pro-quiltinating by answering this challenge, I still made my deadline!!

Thanks for the challenge Project Quilting!!
Check out all the other challenge-makes HERE.
You can vote for your favorites, too!

Mary


Tuesday, January 16, 2018

TEN Down!! - Ninety-ish To Go . . . . .

Do you have stitching goals for 2018?
Are you making progress?
 January is always the easiest month to stay focused on new goals -- at least here in Northeast Ohio.  The weather is a huge help -- we've had some extremely cold days and quite a bit of snow -- so it's easy to stay home and keep at it. 

I've made good progress on my first goal of "executing 10% of my UFO's" in January!! 
I finished the little cherry block into a small wallhanging.
Hard to see the dozens and dozens of bubbles -- what a lot of work!!
And I finished a needlepoint given to me (because you love birds) by a lovely woman many years ago.  For some reason, I don't enjoy making pillow covers but since I couldn't bear to look at it and feel guilty, I bit the bullet and finished it for my couch.
Of course, it didn't take any time at all when I got to it.
Everything I needed -- perfect back fabric, cording, pillow form -- were right there in my studio.
The stripe was left over from a past something and it is uncanny how perfect the colors are with the needlepoint and the vintage fabric bordering it.
How when I see it, I can smile and remember her instead of feeling guilty!
The quilting of the blue and yellow quilt is temporarily stalled.  The center blocks are finished and I'm experimenting with designs for the setting triangles and the border.  I'm confident that I'll figure it out soon and be back at it next week!
I believe this was the last mystery quilt I designed for my local followers -- it brought all of us to our knees.  The cutting and sewing was straightforward -- but the color placement was ridiculous.  I have always intended to quilt it in sections myself but I've decided to hand it off to be long-armed. since I want pretty quilting designs and I'm not confident about my ability to do that.
I'll get the borders onto it and organize the backing this week!

So that's four UFO's sorted!
As I was sorting stacks in the studio earlier this month, I put projects I felt ready to let go into this tub!
Tomorrow, six of them are headed with me for the first sewing get together of my gang
There that's ten projects -- 10% executed!
And since I made such good progress on the UFO assault, I allowed myself to take on two (small) challenges!!
I made this 13" square piece for Curated Quilts minimalist themed challenge.  I won a copy of the current issue of this new publication so I was inspired to participate in the challenge for the next issue. They set up the colors and I applied the Set-In Piecing Simplified technique and lots of matchstick quilting.
Haven't heard about Curated Quilts?  You can check it out HERE.
There were 65 submissions for the challenge and they are all on display at this LINKY.
UPDATE - 1/17/2018 
 I've just learned that the piece has been selected for the next issue of Curated Quilts -- very exciting!!
How about Project Quilting, now in it's 9th "season"? 
I stumbled across it last winter -- it's the brain child of Kim Lapacek.
The first challenge theme was "hometown proud" and my initial reaction was a blank stare.
When I finally left the house last week for a long walk at the closest park, I came home inspired to share this iconic tree. 
It stands along the trail head overlooking the creek and one of my naturalist friends estimates that the tree is between 200 and 250 years old.  In spite of that massive hole (small children fit inside of it), this red oak is still living. 
The valley has a rich natural and local history and the fact that this tree was already growing when white settlement began evokes all sorts of questions about how it has survived.  
It is so much larger that all the other trees, it seems likely that it lived in a meadow for a while and then as people lost interest in farming the valley, it re-planted the forest around it.
Anyone who has ever visited the park has stopped to look at this tree!
While it is not my typical work it is a hybrid of techniques I've learned over the years -- free form cutting to create the landscape, slashing and inserting strips to create the ghost tree in the background, free motion stitching to highlight the trees in the prints, and fusible applique to create the oak itself.
(Don't I have an impressive hoard of "landscape" fabrics?)

There were an impressive 113 submissions for the challenge and you can look them over and vote for your favorites -- up to 10!!  Click HERE to visit the link-up.
The next challenge theme will be revealed on Sunday, January 21 -- you should at least read it -- who knows there might be an inspiration lurking just around the corner for you?!?

 I'm loving all this energy and hope it stays with me all year!!
Mary