As I began to write this post, it occurred to me that every September (at least in the northern hemisphere), quilters begin to make "fall" sewing plans as the weather starts to close in and summer activities wind down. This year seems a bit different to me -- thanks Covid 19??
But perhaps it's a bit early, too? And I still have my #quilt21in2021 goal to reach!
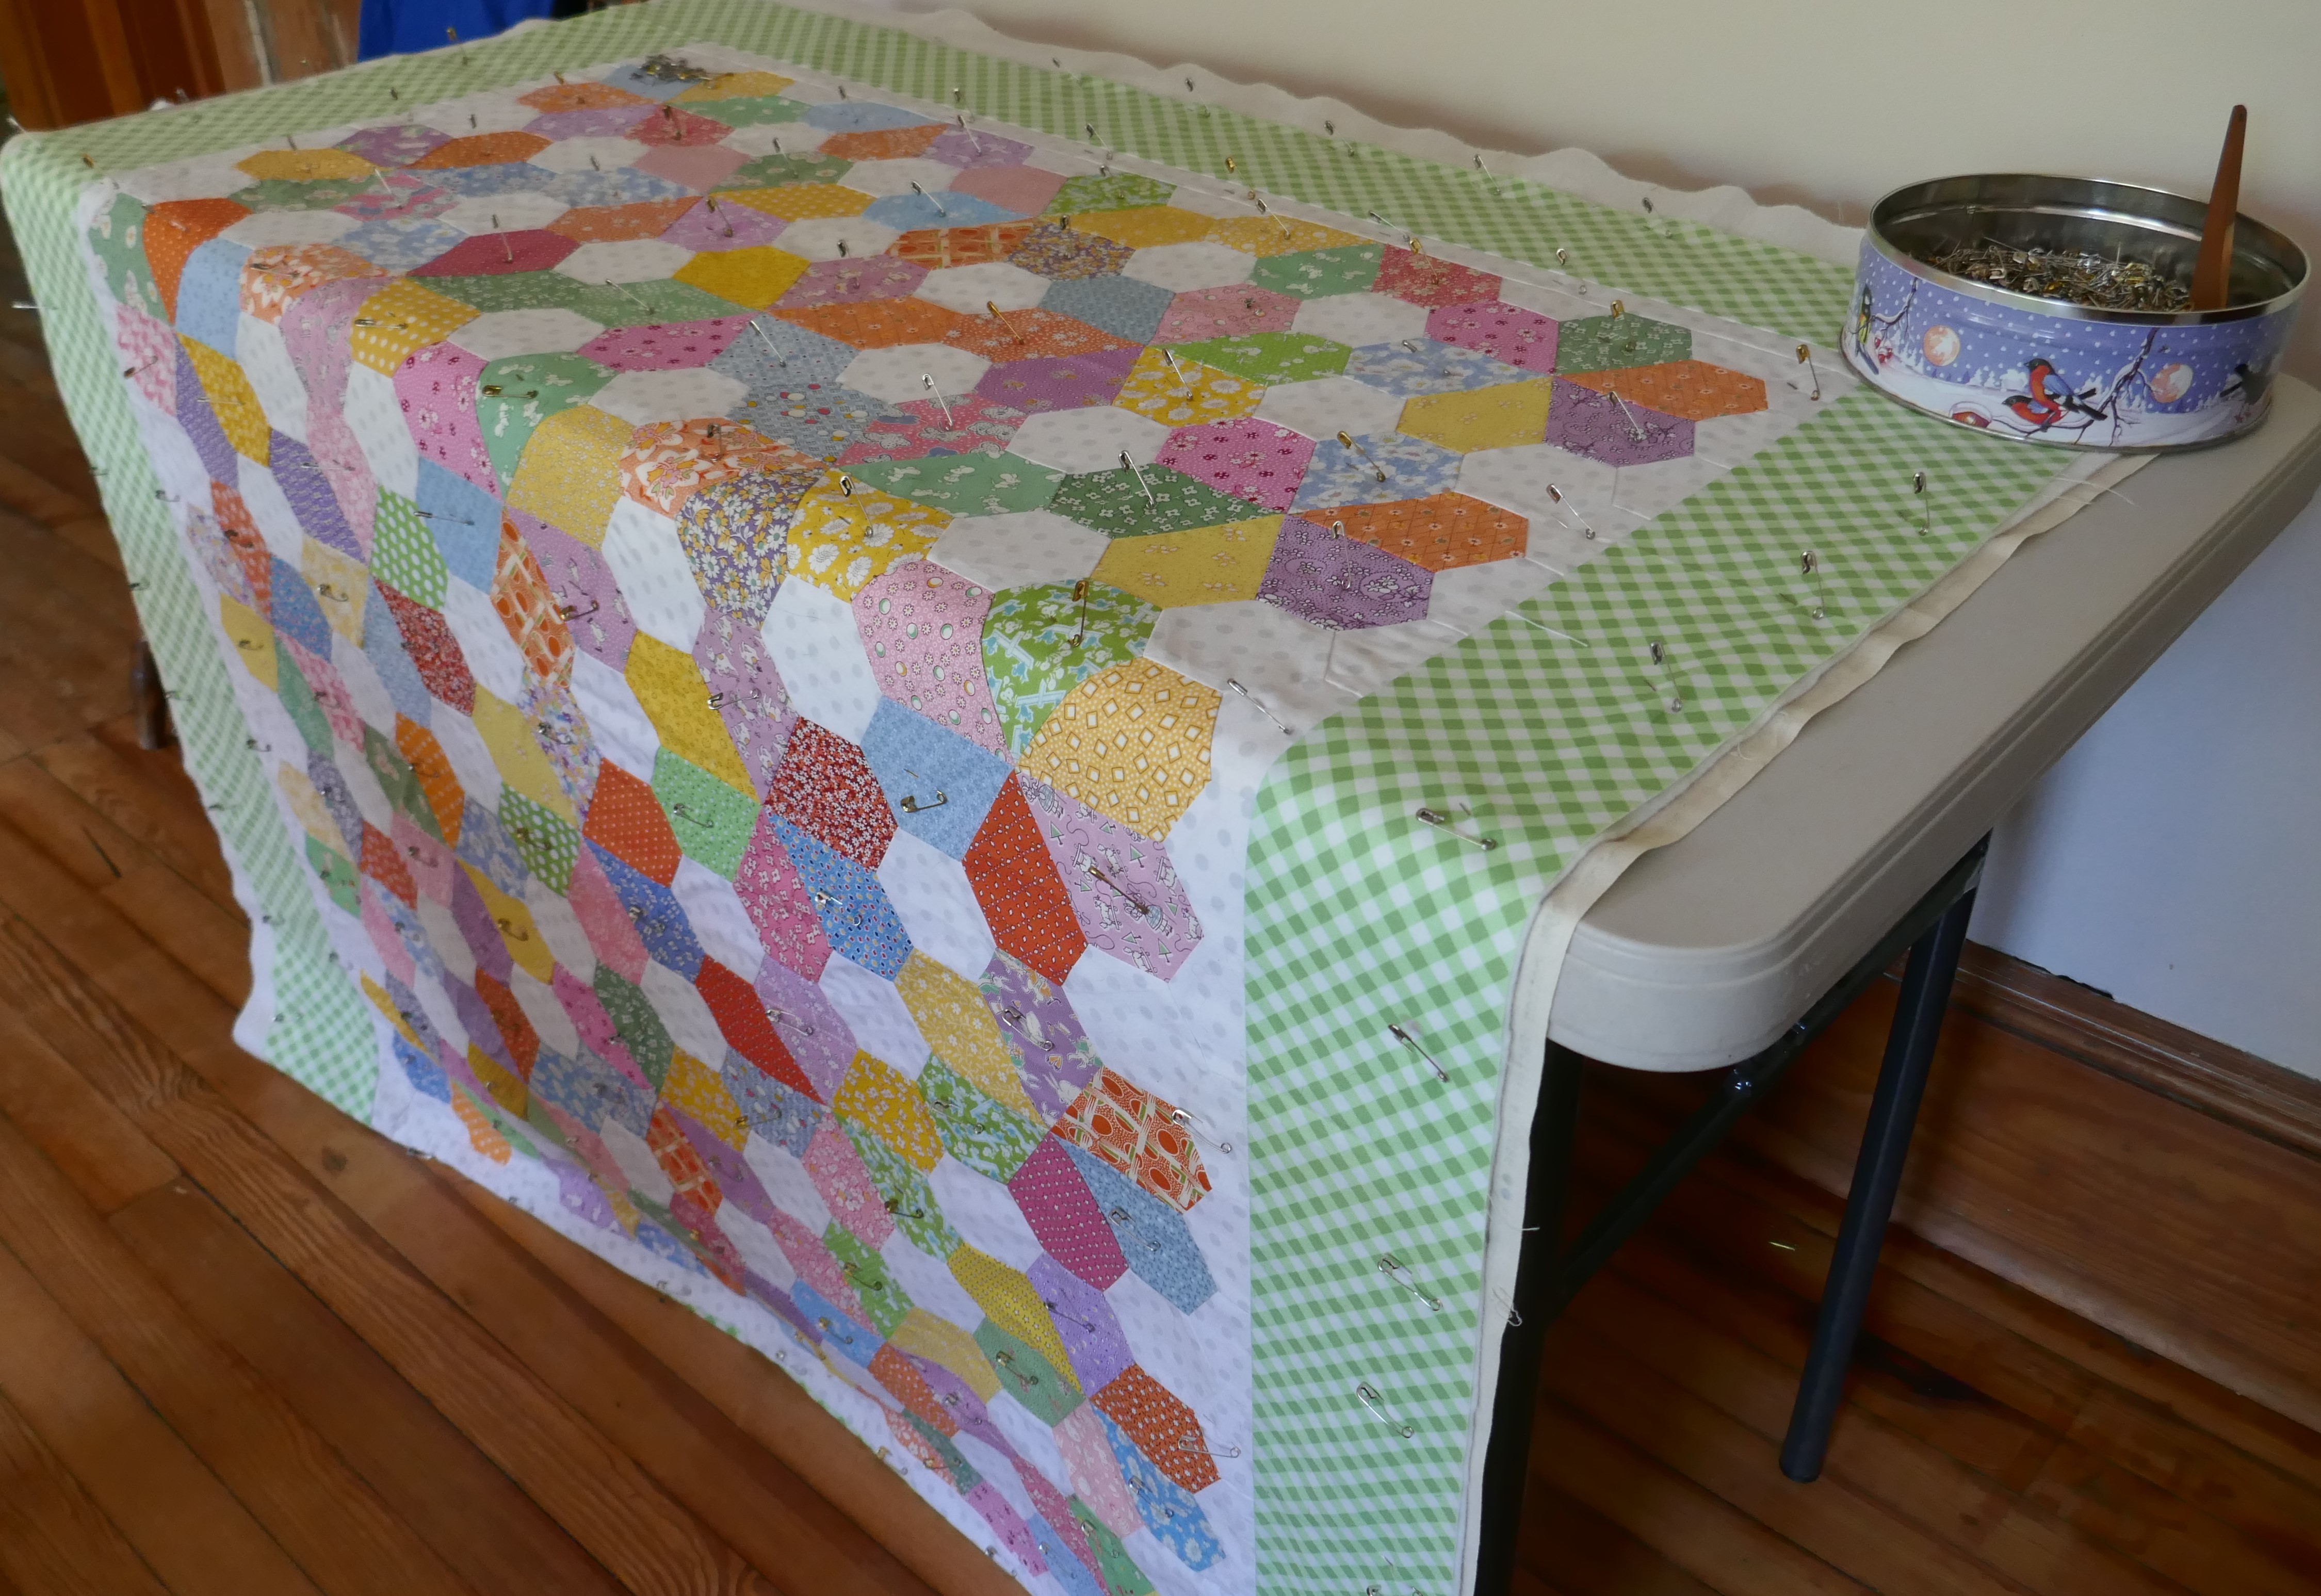
I've finished the quilting on #13 - a small top using sweet 30's reproduction prints and the "gem" shape from the hexie family. It was perhaps a teaching sample -- not really sure at this point?
I used my default hexie quilting plan to get it started -- in the ditch between the gem pieces

and through the centers of the white hexagons to create a grid

that looked like this. I could have left it at that -- the batting would have weathered washing just fine with so little quilting but I decided to perk it up a bit.

So I went back and quilted a circle of "hearts" around the center of each motif. There was some trial and error experimenting because it was a spontaneous idea -- typical!?!

After the first couple, it occurred to me to draw a "marker" hexagon in the center of each motif to enable me to stitch a more uniform circle of hearts. You can see the yellow chalk lines.
I began at a chalk line on a seam (as below)

and arc'd up into the gem as though drawing the left lobe of a heart, down to the line at the center of the gem and back up and down to where the chalk line intercepted the next seam.
If you use this idea, experiment to decide if you get better results working clockwise or counter clockwise -- it might make a difference!

I think the circles of hearts ramped up the sweetness factor significantly!!

A heart shape is actually an easy free motion design because it's a shape we all learned to draw in our childhood so if you are self conscious about your free motion quilting ability, try using hearts.
My other tip to you is to adopt a positive description of your quilting style!
A long time ago, when trying to cope with the frustration of "perfecting" my machine quilting skills I was up against a deadline to have a quilt finished for a show. I had put a lot of time and energy into the piecing and it looked great. I was inhibited about quilting it because I was of course sure that I would ruin the quilt. In the middle of some curly tendrils (was I crazy to try that?), I realized or decided that my quilting style is "whimsical". And if people (i.e., judges) don't get that from looking at my work, their loss!!
[There will now be a one week break while I ponder the borders.]
The cute green gingham-style plaid cried out for something more than my go-to straight lines.
How about some (whimsical) flowers using heart petals (to repeat a shape used in the body of the quilt -- always a good design choice) spaced along the length?
Good idea!
And for a change, I practiced first to determine the layout and scale.

By doing this, I was able to decide how many flower petals would work, if echo-ing enhanced the flower (it did!), and how large to make the flower.
I found a tool in my drawer to mark out a circle to keep the flowers fairly consistent.

I was off again -- I stitched out a couple flowers, whimsically, of course!

But what about all that space between?
Curvy lines with leaves?
Straight lines?
And is there a way to stitch the design in such a way as to eliminate starts and stops?
I won't take you through the entire (agonizing) process but in the end I decided on straight lines and was able to stitch a flower, then add the straight lines between it and the previous flower so that there was just one start and one stop for that section of the border.
Basically, I worked around the borders counter-clockwise. I stitched out a flower making sure I ended on the lower left edge of it. Then using a straight line ruler, I stitched two sets of parallel lines back and forth to the previous flower with (fairly) consistent spacing.

To get from the end of one line to the beginning of the next line, I traced along the edge of the flower.

When all the lines I needed were stitched, I ended and buried the thread. Doing each section like that took about ten minutes per section and so it took about four (of my 30 to 45 minutes) work sessions to finish the borders.

Ta-Da!!
It's ready to bind on the next rainy afternoon!!

Quilt #14 is going out to a professional machine quilter but first I need to add borders and make the backing. That's my focus for this week. It will be gifted to friends' 8 year old daughter who is a bright and perky little imp.

This morning I pulled out the quilt tops that are left on the list. My goal was to decide which of these I'll have a pro do for me and which of these I'll do next. I put the lavender/green one on the bottom of the pile -- it will be a simple job and make a good ending project for the year.
I'm the most intimidated by the brown baskets so I'm thinking that one will be the pro-job.

I left the other four laying out to see what ideas pop into my head -- first quilt top that "speaks" to me is up next for laying and quilting!!
The itch to piece something is growing but I must remain as focused as I can on reaching my goal of finishing all these quilt tops into quilts. Working on the borders has helped and I'll admit there are three piecing projects close at hand to use as sew-offs here and there.