Thursday, March 28, 2019

Signs of Spring

It's a sunny day here in Northeast Ohio so I had a wander around the yard and my favorite park looking for signs of spring.  
I had to push back some leaf litter to get the full view of these charming crocus -- love that yellow cup at the base of each flower!  I'll have to mark this clump and dig it up for separating later this spring -- spread that loveliness around a bit! 
The hellebore feel late but they are coming along and should be in full bloom in another week!
Love snowdrops and have been working for years to plant them all over my gardens -- think this clump might get spread around later this spring, too.
These two iris blooms -- look how determined they are to push through the leaf litter!?!
That pop of color makes me smile!
The pond is already growing algae and looking pretty murky but I'll leave it that way in hopes that an American toad will use it again this year for a breeding ground and tadpole nursery.
I'm very pleased to see these little red shoots -- it means the peonies I transplanted at the wrong time of the year last summer came through the winter!
 I groomed my raised planting trough and planted peas in there -- fingers crossed that they will love it and I'll have fresh peas by the end of May!!
I also set out the straw bales rescued from the trash pickup after Halloween -- they have been fertilized and the April rains will start the rotting process that makes them a good place to plant stuff!!
Curious?  Google "straw bale gardening", because it's a "thing"!
I even hung laundry outside -- it will take all day to dry but ohhhh, the scent when I bring them inside!!
I did a bit of very early plant shopping while visiting family in southeastern Pennsylvania over the weekend and this tray followed me home -- for now, they will just be outside on mild sunny days, but soon, soon -- real dirt!
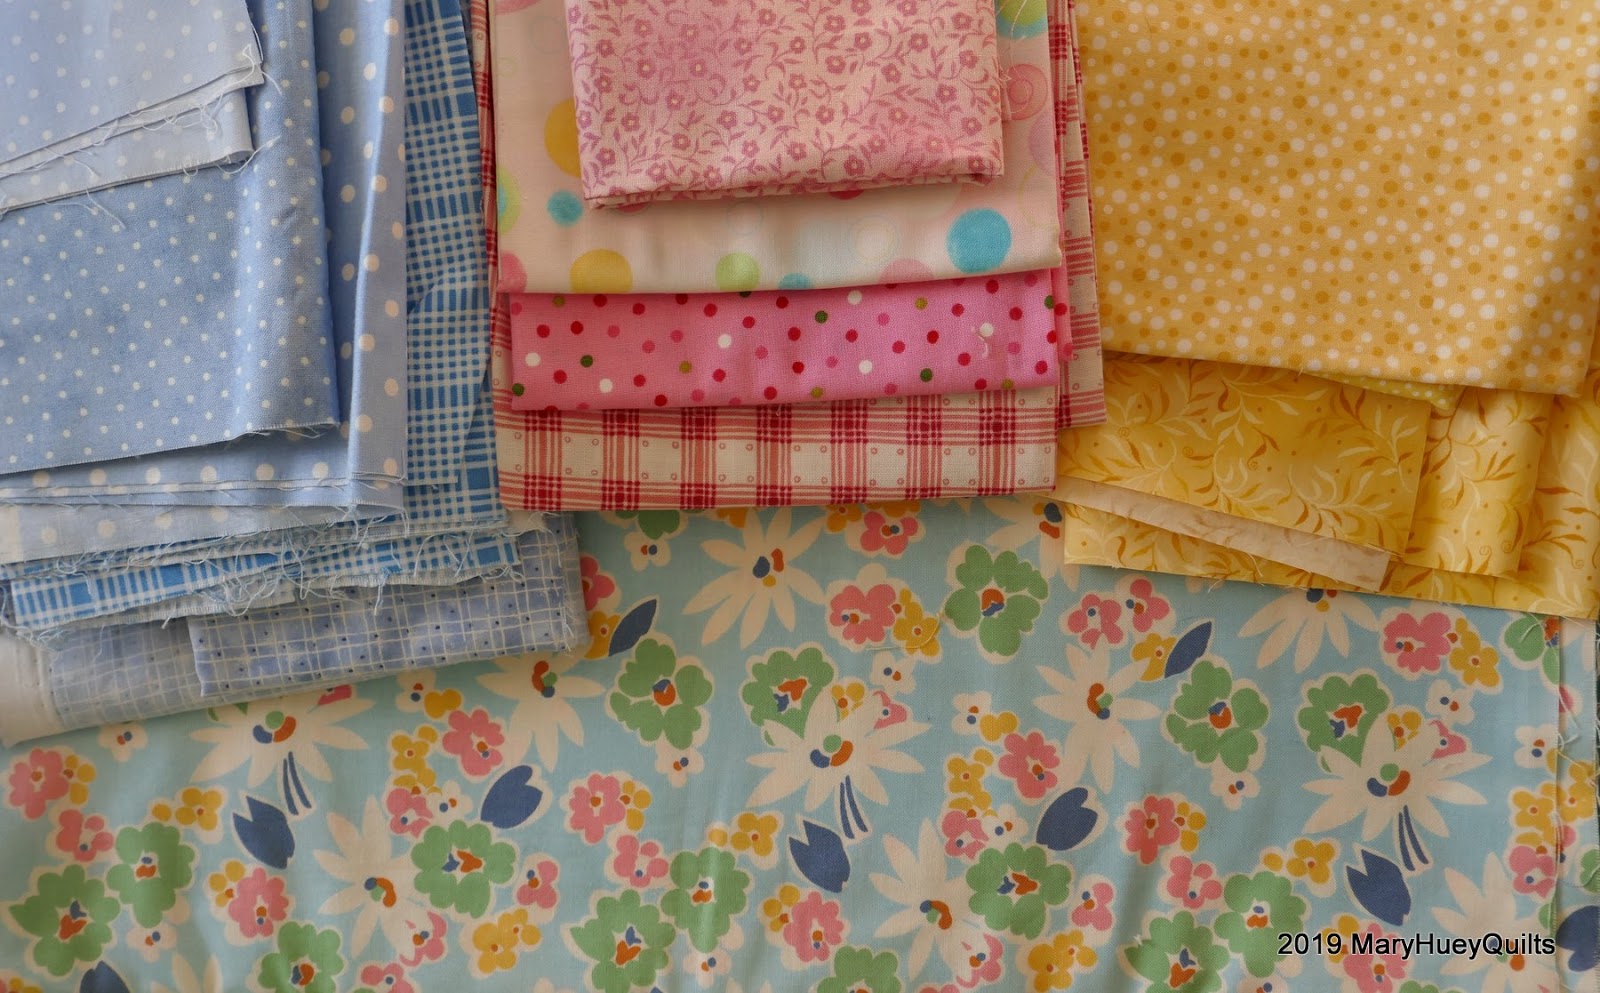
I'm slowly redecorating my dining room and hallways so the stitching is slow, but I did finish assembling this plus quilt.  The strips were cut 4 1/2" wide and come from a big ugly pile of unwanted solids -- all the greens and blues.
Let me tell you, they look lots better in this quilt than they did on the cutting table!
All of them date from the 1980's and have a gray cast.
I wish I had taken a picture before the cutting started.
It is twin size and will be finished into a quilt to be donated to a resident of a local transitional home.  There's another pile of ugly solids -- all the reds and pinks -- that might have the same destiny!
The woods are still so brown here after a long winter with very little snow -- the only color are the subtle greens of lichen and mosses.
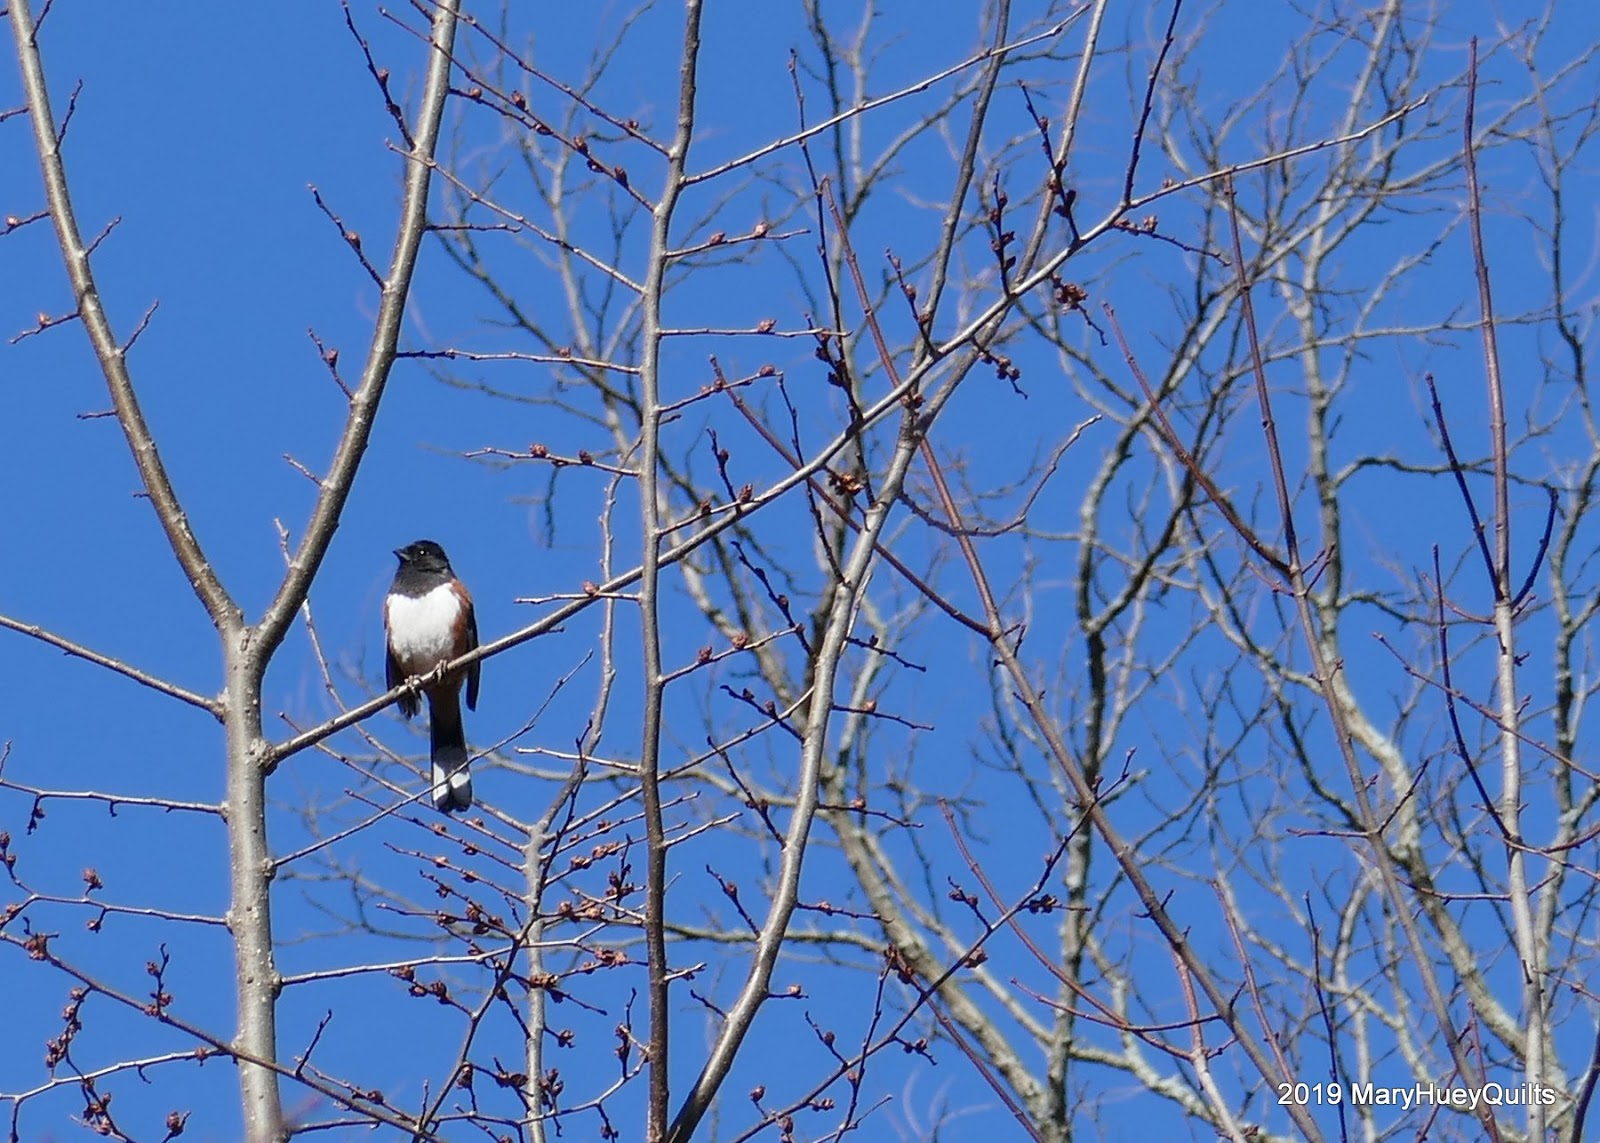
And of course the bird color! 
There are so many bluebirds around this spring -- seems like I see them on every walk and in the most surprising places!  All those nest boxes in the parks have brought them back in force!
Now this guy just got back from the south!!
A rufous sided towhee -- he's a bit early but seems happy to be the first one in the park which means he can secure the same ideal territory he used last summer!!
Now I need to spend the rest of the morning finishing my tax appointment preparations -- necessary!!
I hope you are enjoying the change of seasons in your part of the world.

Thursday, March 14, 2019

Do You Use Your "Sacred Stacks"?

You know what I'm referring to, don't you?
Those stacks of fabric that look so wonderful together, whether they are a coordinated set you purchased or an inspired stack you pulled from your stash of wonderful fabrics.
Up there on the top shelf!!
Most of mine are "inspired" pulls that result from buying a gorgeous piece of fabric and gleaning a set of coordinating prints and colors from the stash on hand.

This past week, I've been doing some studio tidy up as part of the #cleansewing hashtag on Instagram.  So far I've cleaned up the stacks on the floor and put away things in three of the four corners of the room.  I make stacks and leave them on the floor in front of my fabric shelves with something in mind but at this point, I have no idea why I set that stack aside?
So back into the stacks they go!!
One of the dangers of studio-tidy-up-events is that a clean cutting mat often stimulates a new project start -- not really what I should be doing.  Just the same, when @sterlingsewn put out a call on Instagram for "testers" for a new pattern she is working up, I raised my hand!

So to alleviate some of the guilt, I went through my "sacred stacks" looking for a group of fabrics to use.  Four stacks came down off the top shelf and after reviewing the pattern, I settled on this group of mono-color prints pulled "I can't remember when" to coordinate with this pretty blue floral.
In the process of revisiting my sacred stacks, I found quite a few pinks and greens which should be in the color stacks instead of hidden away.  I was thinking both of those colors were rather depleted, but no -- they have just been hidden in sacred stacks??? 
Out they come because I want to use them!!

The test sew is coming along nicely but that's not my topic today.  I'm here to encourage you to use those sacred stacks because if you are like me, they contain some of the most beautiful fabric you own!!
In the past I've had a standing rule about going to the "sacred stacks" first when starting a new project but that rule has been forgotten for a while.  I've shopped enough "big yard sales" to know that if I don't use the gorgeous stuff up on the top shelf, someone else will use it (and only pay $1 for it?!?!).

I have one more corner of the studio to finish -- it had all my teaching step samples and class outlines and handouts -- having a tough time letting go of some of that stuff even though I don't plan to return to teaching very often.  I laid out all the tumbling block demo-pieces I found and will organize them into a sweet little quilt to donate this spring.
Once that corner is tidy, my plan is to go through all the fabric shelves beginning with the sacred stacks and re-evaluate their sacredness.  
There's a little voice in the back of my head whispering how "freeing" it will be to break up all those sacred stacks and put the fabrics back into their color stacks.  It will be like a huge shopping spree and the color stacks will look vibrant and fresh!  And it's not like I have a specific project in mind for any of them.  
So next week?  We'll see -- what about you? 
 Hoarding "sacred stacks"?

I have to do it before spring gets going too fast -- I love spring and all the change and don't want to miss any of the season's firsts out of doors.  I just spent all day today chasing migrating ducks!
Look at all of them on this pond!
Mostly Redheads here, but some Ring-necked Ducks and Lesser Scaup, too.
And I spotted the first pussywillows, too!
Letting go of stuff can be so difficult for me but it's like this seed head I came across today 

-- letting go secures the future, doesn't it?

Mary


Thursday, March 7, 2019

Auditioning for a New Project

March begins and since I finished that huge quilt last week, I feel comfortable starting a new project which has been on my "bucket" list since the first moment I saw it on Instagram -- Marge Sampson-George's Mrs. Peach.  I've had the paper templates for this EPP project since August -- such self-control to wait for six months!?!
(HERE'S a link to my Pinterest board to see some examples.)

Do you follow any Australian quiltmakers via Instagram or Pinterest?
I find their use of print and color so different from my own and I've studied these photos intensively to figure out what draws me to their work.
Is it the color palette?
Is it the print scale?
Is it the value and degree of contrast?
I think studying and discerning what attracts me to a quilt is an important step -- I don't want to just reproduce a quilt -- I want to learn something new from it, even if it's a pattern I've done a dozen times!

But in the end, looking at the pictures can only take me so far.
Eventually, I have to cut the fabric and start to putter my way towards a pleasing arrangement that fits into my own style of working with the fabrics I own.

(This photo of four blocks is from the Paper Pieces website.)
 
There are three elements that many versions of this quilt seem to have in common.
First, the central octagons are often a interesting motif.
Second, the four corner motifs are all different in each block but each one matches the three corners they meet in adjacent blocks and are fussy cut to make an interesting new motif.
Finally, the "background" wedges are most often narrow strips (though I've seen one that uses a gray polka dot which I like!)  In the quilts that have a single fabric used for all the background wedges, the grid formed by the interesting blades seems much stronger visually.

Having identified those design elements, the next step for me was to identify which of those were important to me and which I could accomplish with my fabric assortment.
Because I rely a great deal on "warm" versus "cool" colors to create contrast, I started with turquoise and pinks in the first fabric pull.
As I cut out pieces for the "blades", I expanded that by adding oranges and greens taking my cues from the colors in the "busy" prints I pulled.

My first layout featured fussy cut octagons from favorite large scale floral and bird prints.
I organized the warm (pinks) and cool (turquoise) prints symmetrically.

Then I reversed the warm and cool placement -- interesting to see the warm colors come forward and the cool ones recede and how it impacts the design.
 Time to cut the corner units and I soon discovered that working with the prints I have on hand, there were no interesting fussy cuts available.  Plus at this point, I'm not sure the piece will be larger than four blocks, so there is only the center intersection to play with.  In the end, I cut more of the warm and cool prints and organized them so they are opposite the blade -- warm blade get a cool corner, etc.
Notice that I settled on using both of the above arrangements of the blades and alternate the blocks.
It gives the piece a looser feeling which is one of the traits I'm striving to achieve as much of my work in the past few years has been very controlled.
Once the auditioning of the background wedges started, two things happened.
Because it's going to be a small piece, I decided to stay with black and white backgrounds.
Once that was decided, I experimented with more than just stripes.
Some of the reason for that is that my stripes stash is limited and if I go bigger, I don't want to have to be hunting the "same stripe". 
At this point, I also started to feel that the bird octagons felt awkward with the rest of my fabrics.
 Here are two new florals -- better -- along with my final choices for the background wedges.
As of this evening, everything is basted and I'm happy with layout.
I even stumbled on the best way to arrange the four background prints so that if I expand to nine blocks, it will still feel balanced. 
 I put one of the blocks into my EPP tray and moved it down to the living room for an evening of stitching!  If I stop at four blocks, it will be about 20" square -- perfect for a fresh new pillow!
Right now, that's my goal so I'm going to declare a finished pillow as my March One Monthly Goal.
If I want it to be bigger (and take longer to finish), I won't make my goal!?!
I see the pattern and papers being offered by some Australian shops on-line.  Here in the USA, Paper Pieces has sets of templates and papers HERE for 10 1/4" blocks (the size I'm making).  They also have supplies for a 7 7/16" block -- I have those papers, but am intimidated by the smallness of them!!

Time to stitch!!
Mary