Showing posts with label hand stitching. Show all posts

Tuesday, August 17, 2021

Dodecagon Finish!!

 I can't believe I made this!!

70" wide by 98" long -- dozens and dozens of hexagons handstitched to set off twenty-one dodecagons and four beautiful printed floral motifs all hand stitched together from my bountiful fabric stash!?!

It all started late in 2016 when I discovered Marge Sampson-George's Dodecagon Quilt Pattern on Instagram.  It wasn't available in the USA at that point, but I contacted Marge and we figured out a way for her to send the pattern with templates and papers to a cousin in Australia who would then hand it off to her parents when they made their annual Christmas visit and they would bring it back home to me.  It took a couple months but I got the pattern and in February 2017, I launched my version!


My version looks nothing like the Aussie versions you'll see on Instagram -- search the #dodecagonquilt or #msg47 hashtags -- and it didn't take long for me to realize that I did not have the stash or the style-sense to pull of a replica of those gorgeous, spontaneous Bohemian looking fabric collages.  So I went with one of my strong suites -- reproduction fabrics.  I have lots of them and I've worked with them a great deal.  I've spent years as a shop keeper and a teacher helping people work with what they have and being true to their personal preferences.  The reason I advocate for this approach is that it's helped me finished more quilt tops and I find that attempting to imitate the style and preferences of other quilters has led to most of my piecing UFO's.

The other aspect that makes my Dodecagon quilt unique to me is it's a departure from Marge's setting.  I love that setting but I love so many other styles of English hexagon quilts that the list of tops I want to piece is longer than a lifetime.  This layout is actually a combination of three EPP quilt styles all pulled together in one design instead of making three separate quilts.  First there is the dodecagon motif, second is a medallion style layout, and the third element is the fussy-cut floral motifs framed with hexagons.  Thank goodness for my Electric Quilt program -- I could experiment and experiment and experiment to find the most appealing layout.
Staying motivated on a big project is often a challenge because there are so many distracting new ideas but I don't have to tell you that?!?   I stayed on task with several strategies to keep the project rolling along steadily.  The annual #100days100hexies challenge on Instagram was my motivation to baste hexies a couple times -- how can anyone baste just one hexie a day??  Another blogger's One Monthly Goal challenge helped me stick to goals for the sections as they grew.  Finally, I took this project to five different stitching retreats -- boy, is it easy to pack for an all hand-stitchng weekend!  

But you are here for the quilting close-ups!

Let me begin by saying if I had quilted 1/4" inside of every piece, I would not be finished yet!!
And in my opinion, stitch-in-the-ditch quilting is not an option for EPP.
So I focused on the "units" of the quilt.
All the dodecagons were outlined a bit more than 1/4" inside the seams to emphasis the overall shape.  That of course made the motif puff up and after some experimentation, I settled on a 4-pointed star motif with a 60 degree diamond in the center.
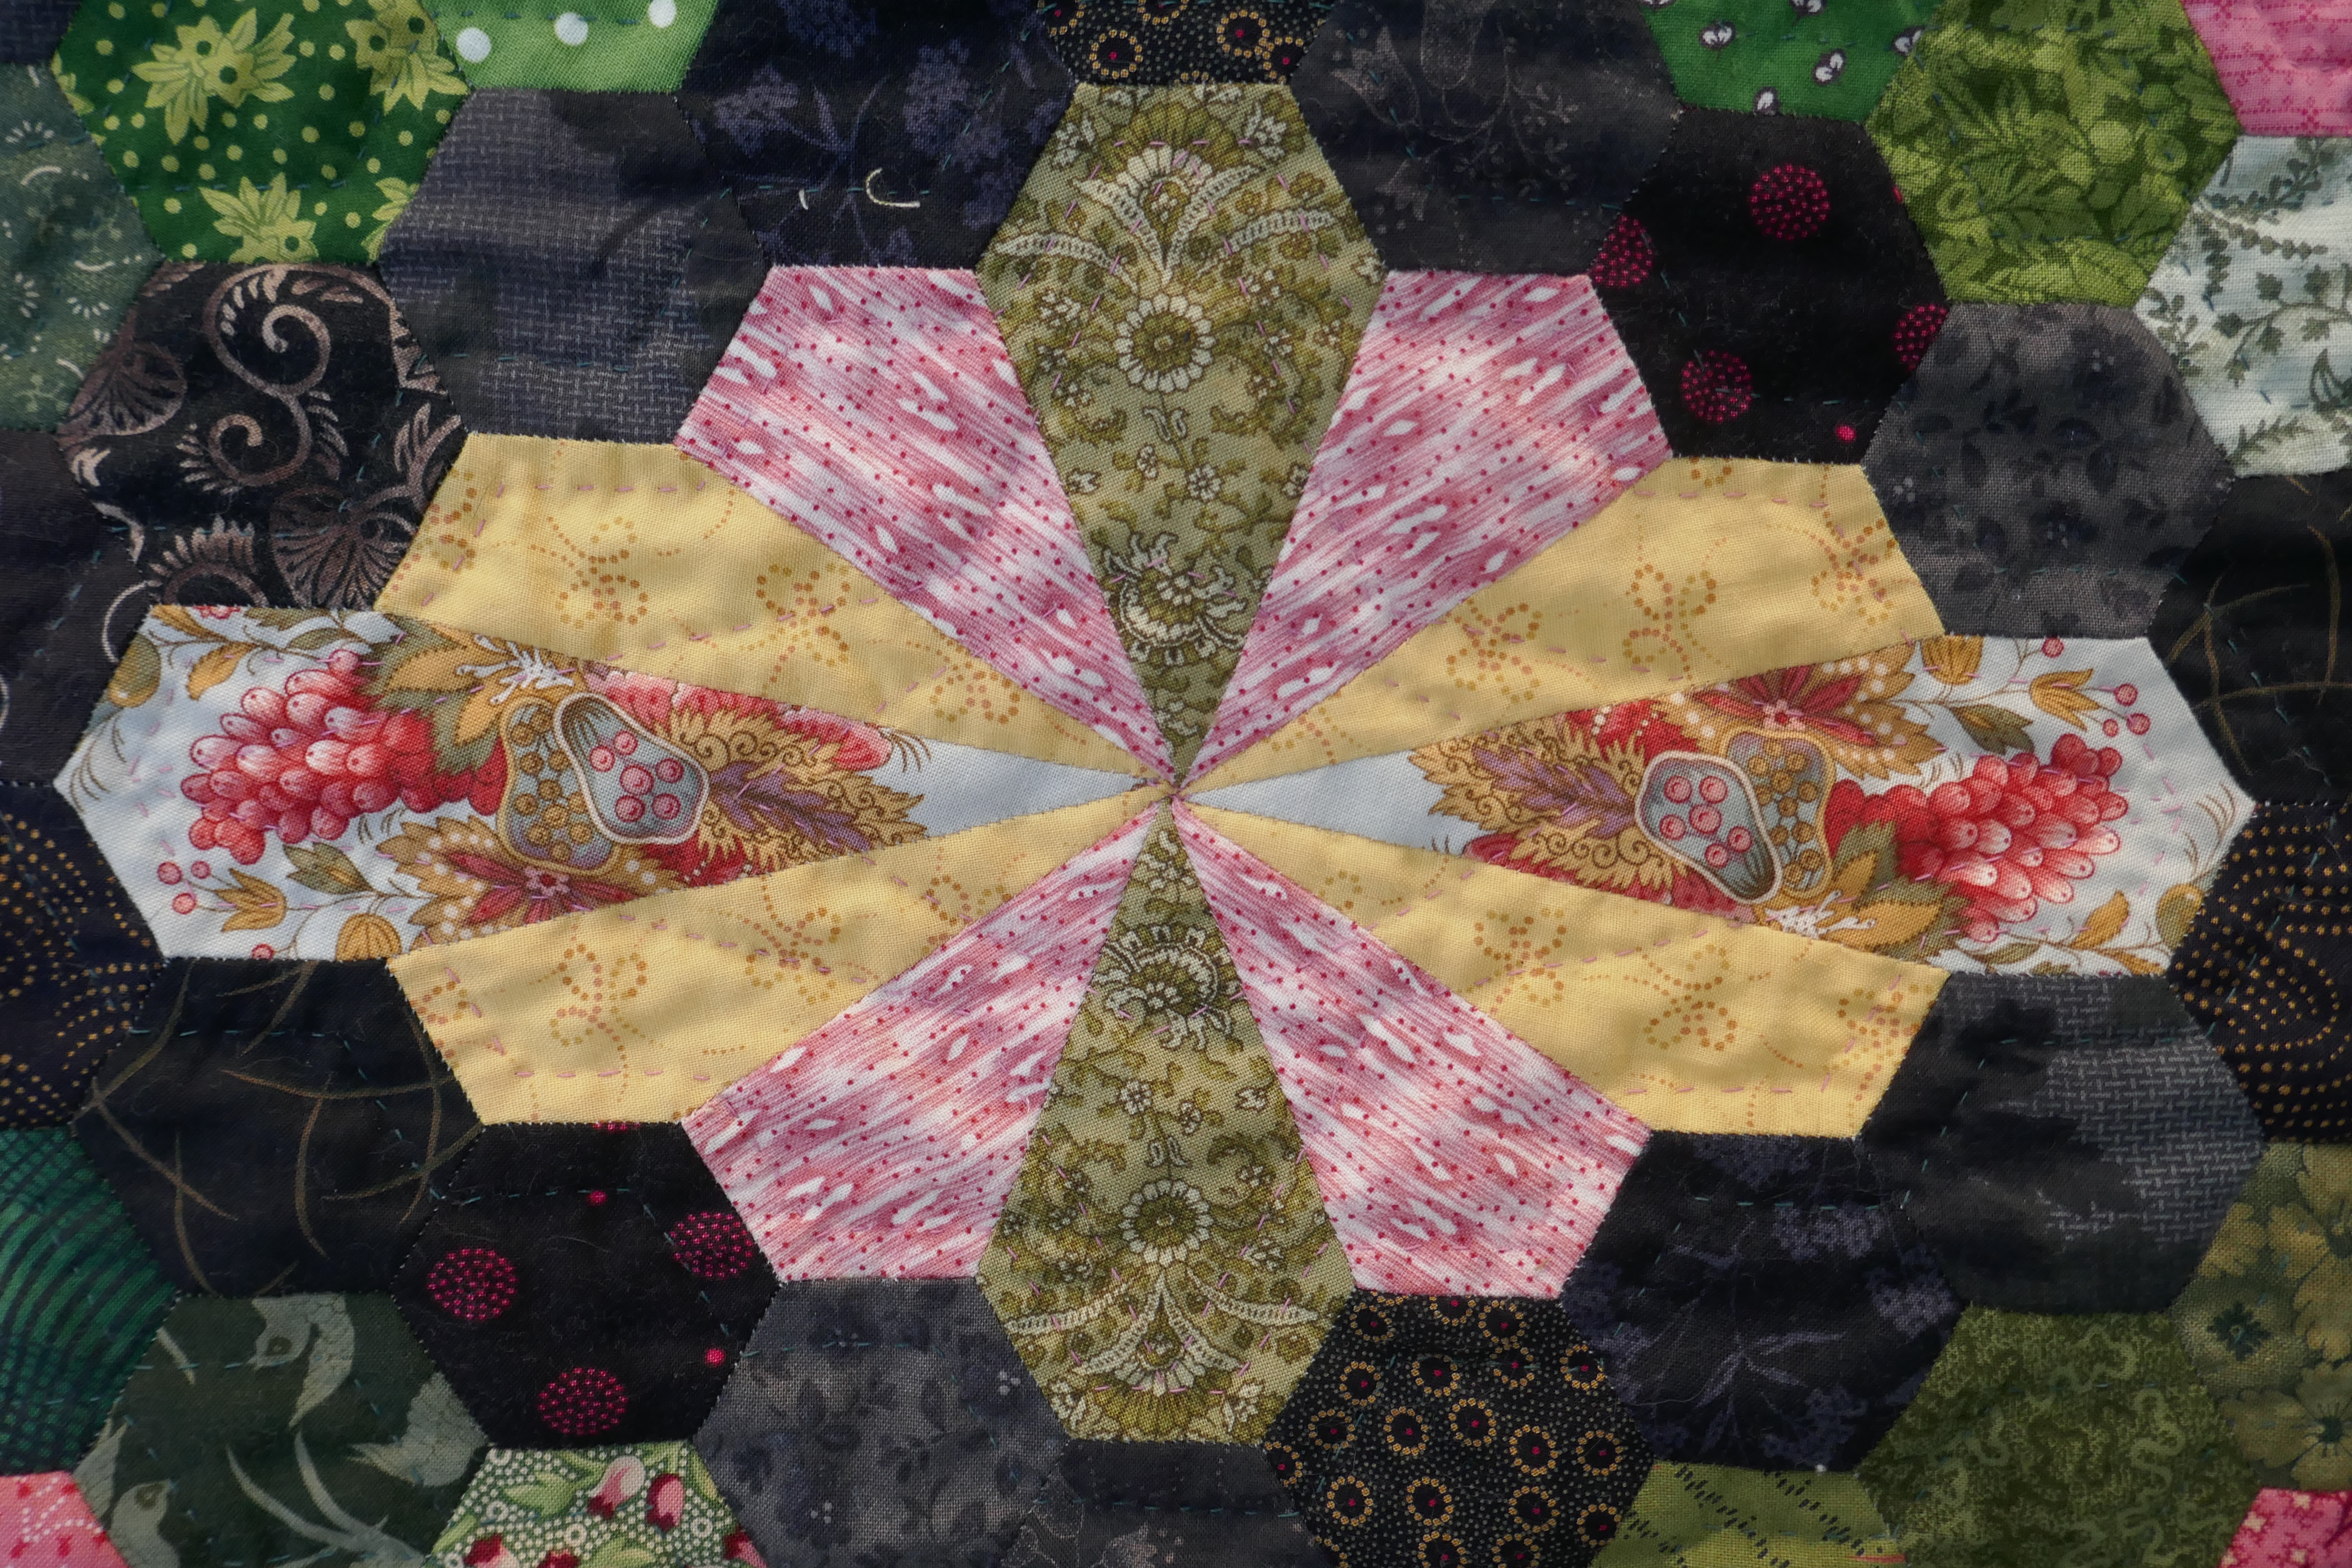
The pink lines of the diagram below illustrate that -- the black lines are the seams to show you the overall shape.
Because there are twelve seams coming to the center of the motif, it's difficult (perhaps impossible) to quilt very close to the center -- so the diamond shape flattened the center down and reinforced the elongated shape of the motif.

All the filler piecing is scrappy and a bit busy so elaborate quilting motifs would be a waste of time as they will melt right into the fabric.  But I still needed to keep the work interesting so I would stay engaged.  These clusters of three hexies that alternate around the center of the medallion take on a cohesive feel by treating them as a unit rather than three individual hexies.
The quilting diagram is C on the illustration below.
I inserted these clusters of four yellow hexies to break up the monotony of all those green hexies but how to quilt them?  It's hard to see in the photo but the unit is outlined both outside and inside which made the center puff up a bit too much.  It took some puttering but I finally hit on a small hexagon centered on the middle seam.  It's A on the illustration below.
There are only a few of these hexie "flowers" throughout the border area so to keep with the "feel" of my other quilting, its a simple star motif (illustration B) around the center hexagon and an outline about 3/8 " outside the motif (in the green). 
These two diagram sheets of how I quilted specific units will go into my "how I quilted that" file for future reference.  I have found that looking through these notes when starting to quilt a top often provides the kickstart I need.  I might not do the exact same design but it's a spring board.
I had to force myself to start the floral motifs -- I did not want to do any outline quilting though that would have been nice, but it would have been a arduous task and shut this gal right down.  The quilting design occurred spontaneously as I extended the edges of the hexie edge into the floral motifs and in the end it became a series of overlapping irregular hexagons.  Again the center was puffy and while it's difficult to see there is a central quilted hexagon that flattened it down a bit. Once I stitched the first one, the other three went quickly and I was glad to move on from that challenge!
Generally all the quilting is done 3/8" from the seams rather than 1/4" to avoid the bulk of the seam allowances which can be rather irregular in width with EPP.

The binding is scrappy and this is the only machine stitching in the quilt!
And the best part about having it finished??
Now I can start another big EPP project guilt free!
(Yes, there are two that have already reached the "piles-of-fabric" stage.)
If you want to see lots more pictures of this quilt as it grew, type Dodecagon into the "search" bar up there on the right side and see what comes up!

Twelve down and nine to go for my #quilt21in2021 challenge!!!
Wahoo!

Mary


Thursday, March 7, 2019

Auditioning for a New Project

March begins and since I finished that huge quilt last week, I feel comfortable starting a new project which has been on my "bucket" list since the first moment I saw it on Instagram -- Marge Sampson-George's Mrs. Peach.  I've had the paper templates for this EPP project since August -- such self-control to wait for six months!?!
(HERE'S a link to my Pinterest board to see some examples.)

Do you follow any Australian quiltmakers via Instagram or Pinterest?
I find their use of print and color so different from my own and I've studied these photos intensively to figure out what draws me to their work.
Is it the color palette?
Is it the print scale?
Is it the value and degree of contrast?
I think studying and discerning what attracts me to a quilt is an important step -- I don't want to just reproduce a quilt -- I want to learn something new from it, even if it's a pattern I've done a dozen times!

But in the end, looking at the pictures can only take me so far.
Eventually, I have to cut the fabric and start to putter my way towards a pleasing arrangement that fits into my own style of working with the fabrics I own.

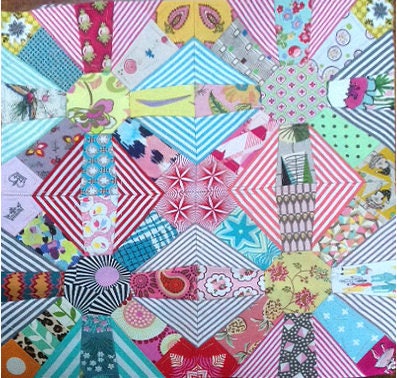
(This photo of four blocks is from the Paper Pieces website.)
 
There are three elements that many versions of this quilt seem to have in common.
First, the central octagons are often a interesting motif.
Second, the four corner motifs are all different in each block but each one matches the three corners they meet in adjacent blocks and are fussy cut to make an interesting new motif.
Finally, the "background" wedges are most often narrow strips (though I've seen one that uses a gray polka dot which I like!)  In the quilts that have a single fabric used for all the background wedges, the grid formed by the interesting blades seems much stronger visually.

Having identified those design elements, the next step for me was to identify which of those were important to me and which I could accomplish with my fabric assortment.
Because I rely a great deal on "warm" versus "cool" colors to create contrast, I started with turquoise and pinks in the first fabric pull.
As I cut out pieces for the "blades", I expanded that by adding oranges and greens taking my cues from the colors in the "busy" prints I pulled.

My first layout featured fussy cut octagons from favorite large scale floral and bird prints.
I organized the warm (pinks) and cool (turquoise) prints symmetrically.

Then I reversed the warm and cool placement -- interesting to see the warm colors come forward and the cool ones recede and how it impacts the design.
 Time to cut the corner units and I soon discovered that working with the prints I have on hand, there were no interesting fussy cuts available.  Plus at this point, I'm not sure the piece will be larger than four blocks, so there is only the center intersection to play with.  In the end, I cut more of the warm and cool prints and organized them so they are opposite the blade -- warm blade get a cool corner, etc.
Notice that I settled on using both of the above arrangements of the blades and alternate the blocks.
It gives the piece a looser feeling which is one of the traits I'm striving to achieve as much of my work in the past few years has been very controlled.
Once the auditioning of the background wedges started, two things happened.
Because it's going to be a small piece, I decided to stay with black and white backgrounds.
Once that was decided, I experimented with more than just stripes.
Some of the reason for that is that my stripes stash is limited and if I go bigger, I don't want to have to be hunting the "same stripe". 
At this point, I also started to feel that the bird octagons felt awkward with the rest of my fabrics.
 Here are two new florals -- better -- along with my final choices for the background wedges.
As of this evening, everything is basted and I'm happy with layout.
I even stumbled on the best way to arrange the four background prints so that if I expand to nine blocks, it will still feel balanced. 
 I put one of the blocks into my EPP tray and moved it down to the living room for an evening of stitching!  If I stop at four blocks, it will be about 20" square -- perfect for a fresh new pillow!
Right now, that's my goal so I'm going to declare a finished pillow as my March One Monthly Goal.
If I want it to be bigger (and take longer to finish), I won't make my goal!?!
I see the pattern and papers being offered by some Australian shops on-line.  Here in the USA, Paper Pieces has sets of templates and papers HERE for 10 1/4" blocks (the size I'm making).  They also have supplies for a 7 7/16" block -- I have those papers, but am intimidated by the smallness of them!!

Time to stitch!!
Mary


Wednesday, January 30, 2019

Rainbow Nundle Dilly Bag Finish!!

I'm so pleased with my finished bag that I've already filled it with the next knitting project!!
I just have to finish the toe of the final Christmas sock and I can cast on this new cardigan for me!!
I showed you these rainbow bands of hexies last week on my way out the door to a weekend stitching retreat.  Many of the hexies were basted during the fall session of #100hexies100days2018 on Instagram with the intention of making myself Brigitte Giblin's Nundle Dilly Bag.
I made one for my knitting daughter and loved it so much that I wanted my own!
Happily, I met my weekend goal to have the outer shell of the bag finished and ready to line when I got back into my studio on Monday.  Once I had the finished shell in hand, it was easier to choose the finishing fabrics.  I repeated the black polka dots for the casings.
I chose a cheerful floral for the lining -- there wasn't quite enough so I added strips of the bright green and then used that for a couple pockets.
I even added a "fob" just in case!?! 
I made a detour from Brigitte's instructions for the lining to streamline the process a bit.
I cut the bottom circle as two half circles (don't forget to add seam allowances if you try this).
When I stitched them together, I back stitched about 1/3 of the way across, lengthened my stitch to basting for the center 1/3, and then shortened again to a standard stitch length and back stitched at the 2/3 mark and continued on to the edge.
Before pressing the seam to one side, I snip the first and last stitches of the basting section, both topside and underside -- this makes it easier to remove the stitching when I'm ready for that step. 
I divided the circle and the lower edge of the lining tube into 8 equal sections each -- I'm a lazy pinner so I only pinned at those 8 points, then eased as I stitched the base to the lower edge of the lining tube. 
Stitching the with base circle on the top is the best way to proceed and I was happy to get back to the beginning with no pleats necessary!!  Now I removed the basting stitches from the center seam of the base piece and pressed the lining.
I settled the lining inside the outer shell of the bag -- right sides together.
I always hesitate at this point to recheck - right sides together - right - I don't want to goof up.
During this recheck, I discovered one of my whip stitch seams was starting to come loose along the top edge, so I pulled the lining out and re-stitched the seam!
Whew!!
The "hole" in the base of the lining allows me to machine stitch all the way around the top edge to attach the lining and secure the casing units.
 One more check of the seam and then I turned the bag through the hole in the lining base!!
Magic!!
I pushed the lining down into the bag just to be sure and good thing -- it was 1" too long.
I must have had my ruler laying backwards on the fabric when I cut it?   Grrrrrrr!
Deep breath -- un-stitch the seam,  and I trimmed an inch off the top edge of the lining and restitched. 
Perfect!!
Now the plastic base circle was inserted and the opening stitched closed in the base. 
All that was left to do was insert cords for closing.  A search of my trims and cords box yielded nothing and the idea of making cords from fabric is really low on my list of "things I enjoy doing" -- okay, it's on the other list --"things I don't enjoy doing".

Shopping was required!!
And I "really" needed to go out for a bit yesterday because today, we are entertaining the "polar vortex" -- current temperature is -1F with winds gusting to 30 mph -- and I'm happy not to be going anyplace!!  (We need to trade some "degrees" with Australia!!)
Three errands later (including a few groceries) and I came home with supplies for an idea spawned by watching Sarah @coopcrafts Instagram posts as she hand stitches fuchsia grosgrain ribbon to cover the piping on an ugly couch.
I used two layers of 1/2" grosgrain ribbon and after stitching one side together, I inserted a 1/4" strip of  cotton batting in between and stitched down the second side. 
It's a sturdier cord that just using a single layer of ribbon.
My casing is a bit tight but I can un-stitch that and loosen it up easily. 
So here it is!!
My Rainbow Nundle Dilly Bag.
Purple, yellow, blue! 
And on the other side, orange, green, red! 
Now to finish that sock and watch my birdfeeders for the rest of the day -- checking to be sure all the regulars show up today.  This white-breasted nuthatch just checked in so he survived the super cold night.  All the juncos and house finches, both of the cardinals, and extra goldfinches plus my ubiquitous fox squirrels are present and accounted for as well! 
24 hours more to go little fellas until it warms back up.
Stay warm if it's cold and cool if it's hot!!
Mary


Wednesday, January 23, 2019

My January UFO Assault Campaign

As 2019 began, I determined not to set lots of specific goals in the hope that it would give me more flexibility (and less guilt) to pursue new opportunities and ideas. 
I set one specific goal for January and one general goal.
My general goal was "to deal with 10 UFO's during January" -- I purposely did not say "finish" because that makes progress or elimination equally successful tactics!

This quilt adapted from a magazine pattern (my pieces are larger, I am machine piecing rather than EPP, and the quilt is smaller - crib/throw size) was very exciting when I started it early in 2018.  I had all the flowers together in a snap and then bogged down when faced with the background hexagons.
So it was first up.  
It took an evening of sorting, laying out, and contemplating to get the piecing back on track.
I set the flower units with two background hexagons and made six half-flower units to fill out the staggered vertical rows. 
I am using these half hexagon pieces to build a straight edge on the left and the right edges. 
Using the "set-in piecing simplified" technique for all the y-seams means I'm work on two rows at a time -- glad for pins to keep everything straight.
I finished listening to Barbara Kingsolver's new book, Unsheltered, as I pieced.
Good book as always, though hard to hear some of the ideas she shares about our culture -- true ideas, but hard to acknowledge those truthes. 
At this point I have the left side row to piece and then the two long vertical seams -- results should be that I'll have a finished quilt top by the end of January -- yea!!!
I'll organize a backing and binding and add it to the "to be quilted" shelf to await it's final purpose! 
That's one!!

Winter finally arrived on Ohio's North Coast this weekend.
(This is a breakwall at a downtown Cleveland marina on Sunday - I love the ice sculptures that are created along the shoreline by the wind and waves.)
Since Saturday was really cold, snowy, windy, bad roads - I stayed in my studio all day and faced this "pile of shame" that sits right in full view by the ironing board!
Theory behind stacking the pile there is that I'll have to look at it often and be motivated to deal with it?!?  Right . . . . . . 
(Don't ask how long it's been there!!)
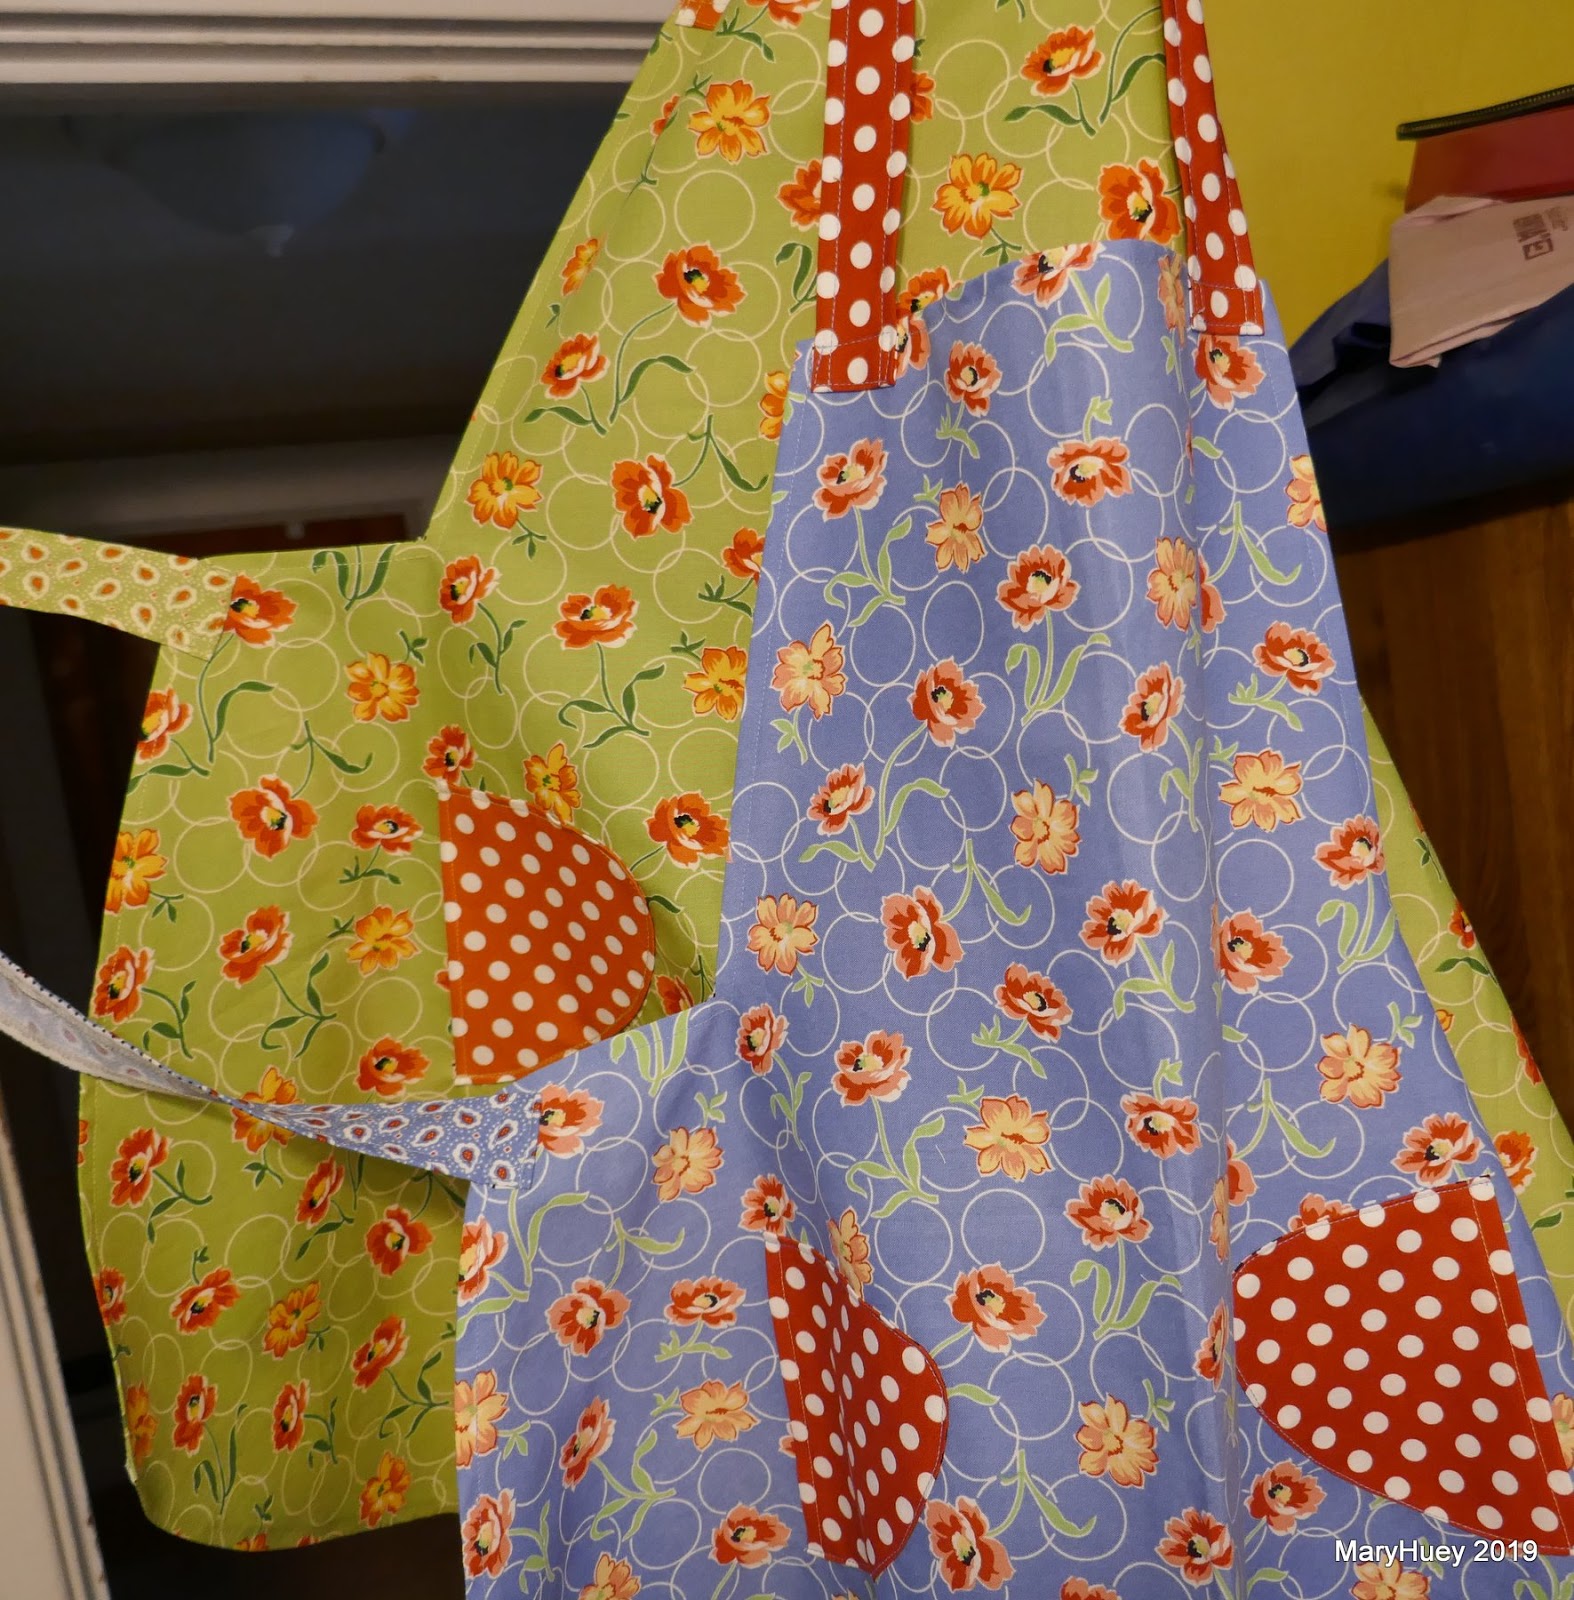
I changed the thread on my serger and finished two pre-printed apron panels that I could not resist at some point in the past.  I even used the serger to cut the apron pieces apart -- just follow that solid black line with the little red mark on the right side of the presser foot!!
The aprons really are cute!!
They are now in the "gifts to give" drawer for some future purpose! 
I've been tossing "orphan" blocks in that pile for "potholders" as I clear out teaching samples so I layered up four and quilted them.  I would have done more but I ran out of Thinsulate for the inner layer (two layers of dense cotton and one of Thinsulate).
I raided my overflowing box of  2 1/2" strips for bindings!
So much quicker than searching the stash! 
Finished!!
These may end up in my own kitchen since the current stock is looking pretty tacky. 
Finally I turned these two tiny orphan blocks into a notebook cover and mug mat.
Keeping the notebook, gifting the little mat!
All the rest of the orphan blocks are going up for adoption and are packed up for the retreat I'm attending this weekend.  
I'm committed to hand stitching only this trip!  This afternoon, I gleaned work to take along from the messy library table in the living room.
Block #2 from the #sharksdinner2019BOM is coming -- all basted and ready to stitch together! 
This is the only new project I allowed myself to start in January and I'll be caught up when I get home!
The rainbow panels for my newest version of Brigitte Giblin's Nundle Dilly Bag are packed and will come home ready for the lining construction next week! 
I have several hundred hexies basted and ready to add to my version of Marge Sampson-George's Dodecagon quilt.  I'm determined to get this top set together over the next couple months so I can start one of Marge's other EPP designs called Mrs. Peach.
If you follow me on Instagram, I'll post my progress over the weekend. 
Such a little pile ready to be loaded into the car?!?
Feels like something is missing.
Maybe I'll throw in the socks I want to finish knitting this month? 
I anticipate a total of six finishes for the month plus letting go of a stack of orphan blocks and a couple small quilt tops as well as getting one top ready to quilt.
TEN less UFO's
Well done, Mary!!
Maybe I'll try for "eight" in February -- fewer because the main reason I was able to get to ten this month was each one was small.  The more UFO's I eliminate, the bigger the remaining UFO's are and the more time required for a successful assault.

I hope you have a stitchy weekend!!
Mary