Showing posts with label dodecagon. Show all posts

Tuesday, August 17, 2021

Dodecagon Finish!!

 I can't believe I made this!!

70" wide by 98" long -- dozens and dozens of hexagons handstitched to set off twenty-one dodecagons and four beautiful printed floral motifs all hand stitched together from my bountiful fabric stash!?!

It all started late in 2016 when I discovered Marge Sampson-George's Dodecagon Quilt Pattern on Instagram.  It wasn't available in the USA at that point, but I contacted Marge and we figured out a way for her to send the pattern with templates and papers to a cousin in Australia who would then hand it off to her parents when they made their annual Christmas visit and they would bring it back home to me.  It took a couple months but I got the pattern and in February 2017, I launched my version!


My version looks nothing like the Aussie versions you'll see on Instagram -- search the #dodecagonquilt or #msg47 hashtags -- and it didn't take long for me to realize that I did not have the stash or the style-sense to pull of a replica of those gorgeous, spontaneous Bohemian looking fabric collages.  So I went with one of my strong suites -- reproduction fabrics.  I have lots of them and I've worked with them a great deal.  I've spent years as a shop keeper and a teacher helping people work with what they have and being true to their personal preferences.  The reason I advocate for this approach is that it's helped me finished more quilt tops and I find that attempting to imitate the style and preferences of other quilters has led to most of my piecing UFO's.

The other aspect that makes my Dodecagon quilt unique to me is it's a departure from Marge's setting.  I love that setting but I love so many other styles of English hexagon quilts that the list of tops I want to piece is longer than a lifetime.  This layout is actually a combination of three EPP quilt styles all pulled together in one design instead of making three separate quilts.  First there is the dodecagon motif, second is a medallion style layout, and the third element is the fussy-cut floral motifs framed with hexagons.  Thank goodness for my Electric Quilt program -- I could experiment and experiment and experiment to find the most appealing layout.
Staying motivated on a big project is often a challenge because there are so many distracting new ideas but I don't have to tell you that?!?   I stayed on task with several strategies to keep the project rolling along steadily.  The annual #100days100hexies challenge on Instagram was my motivation to baste hexies a couple times -- how can anyone baste just one hexie a day??  Another blogger's One Monthly Goal challenge helped me stick to goals for the sections as they grew.  Finally, I took this project to five different stitching retreats -- boy, is it easy to pack for an all hand-stitchng weekend!  

But you are here for the quilting close-ups!

Let me begin by saying if I had quilted 1/4" inside of every piece, I would not be finished yet!!
And in my opinion, stitch-in-the-ditch quilting is not an option for EPP.
So I focused on the "units" of the quilt.
All the dodecagons were outlined a bit more than 1/4" inside the seams to emphasis the overall shape.  That of course made the motif puff up and after some experimentation, I settled on a 4-pointed star motif with a 60 degree diamond in the center.
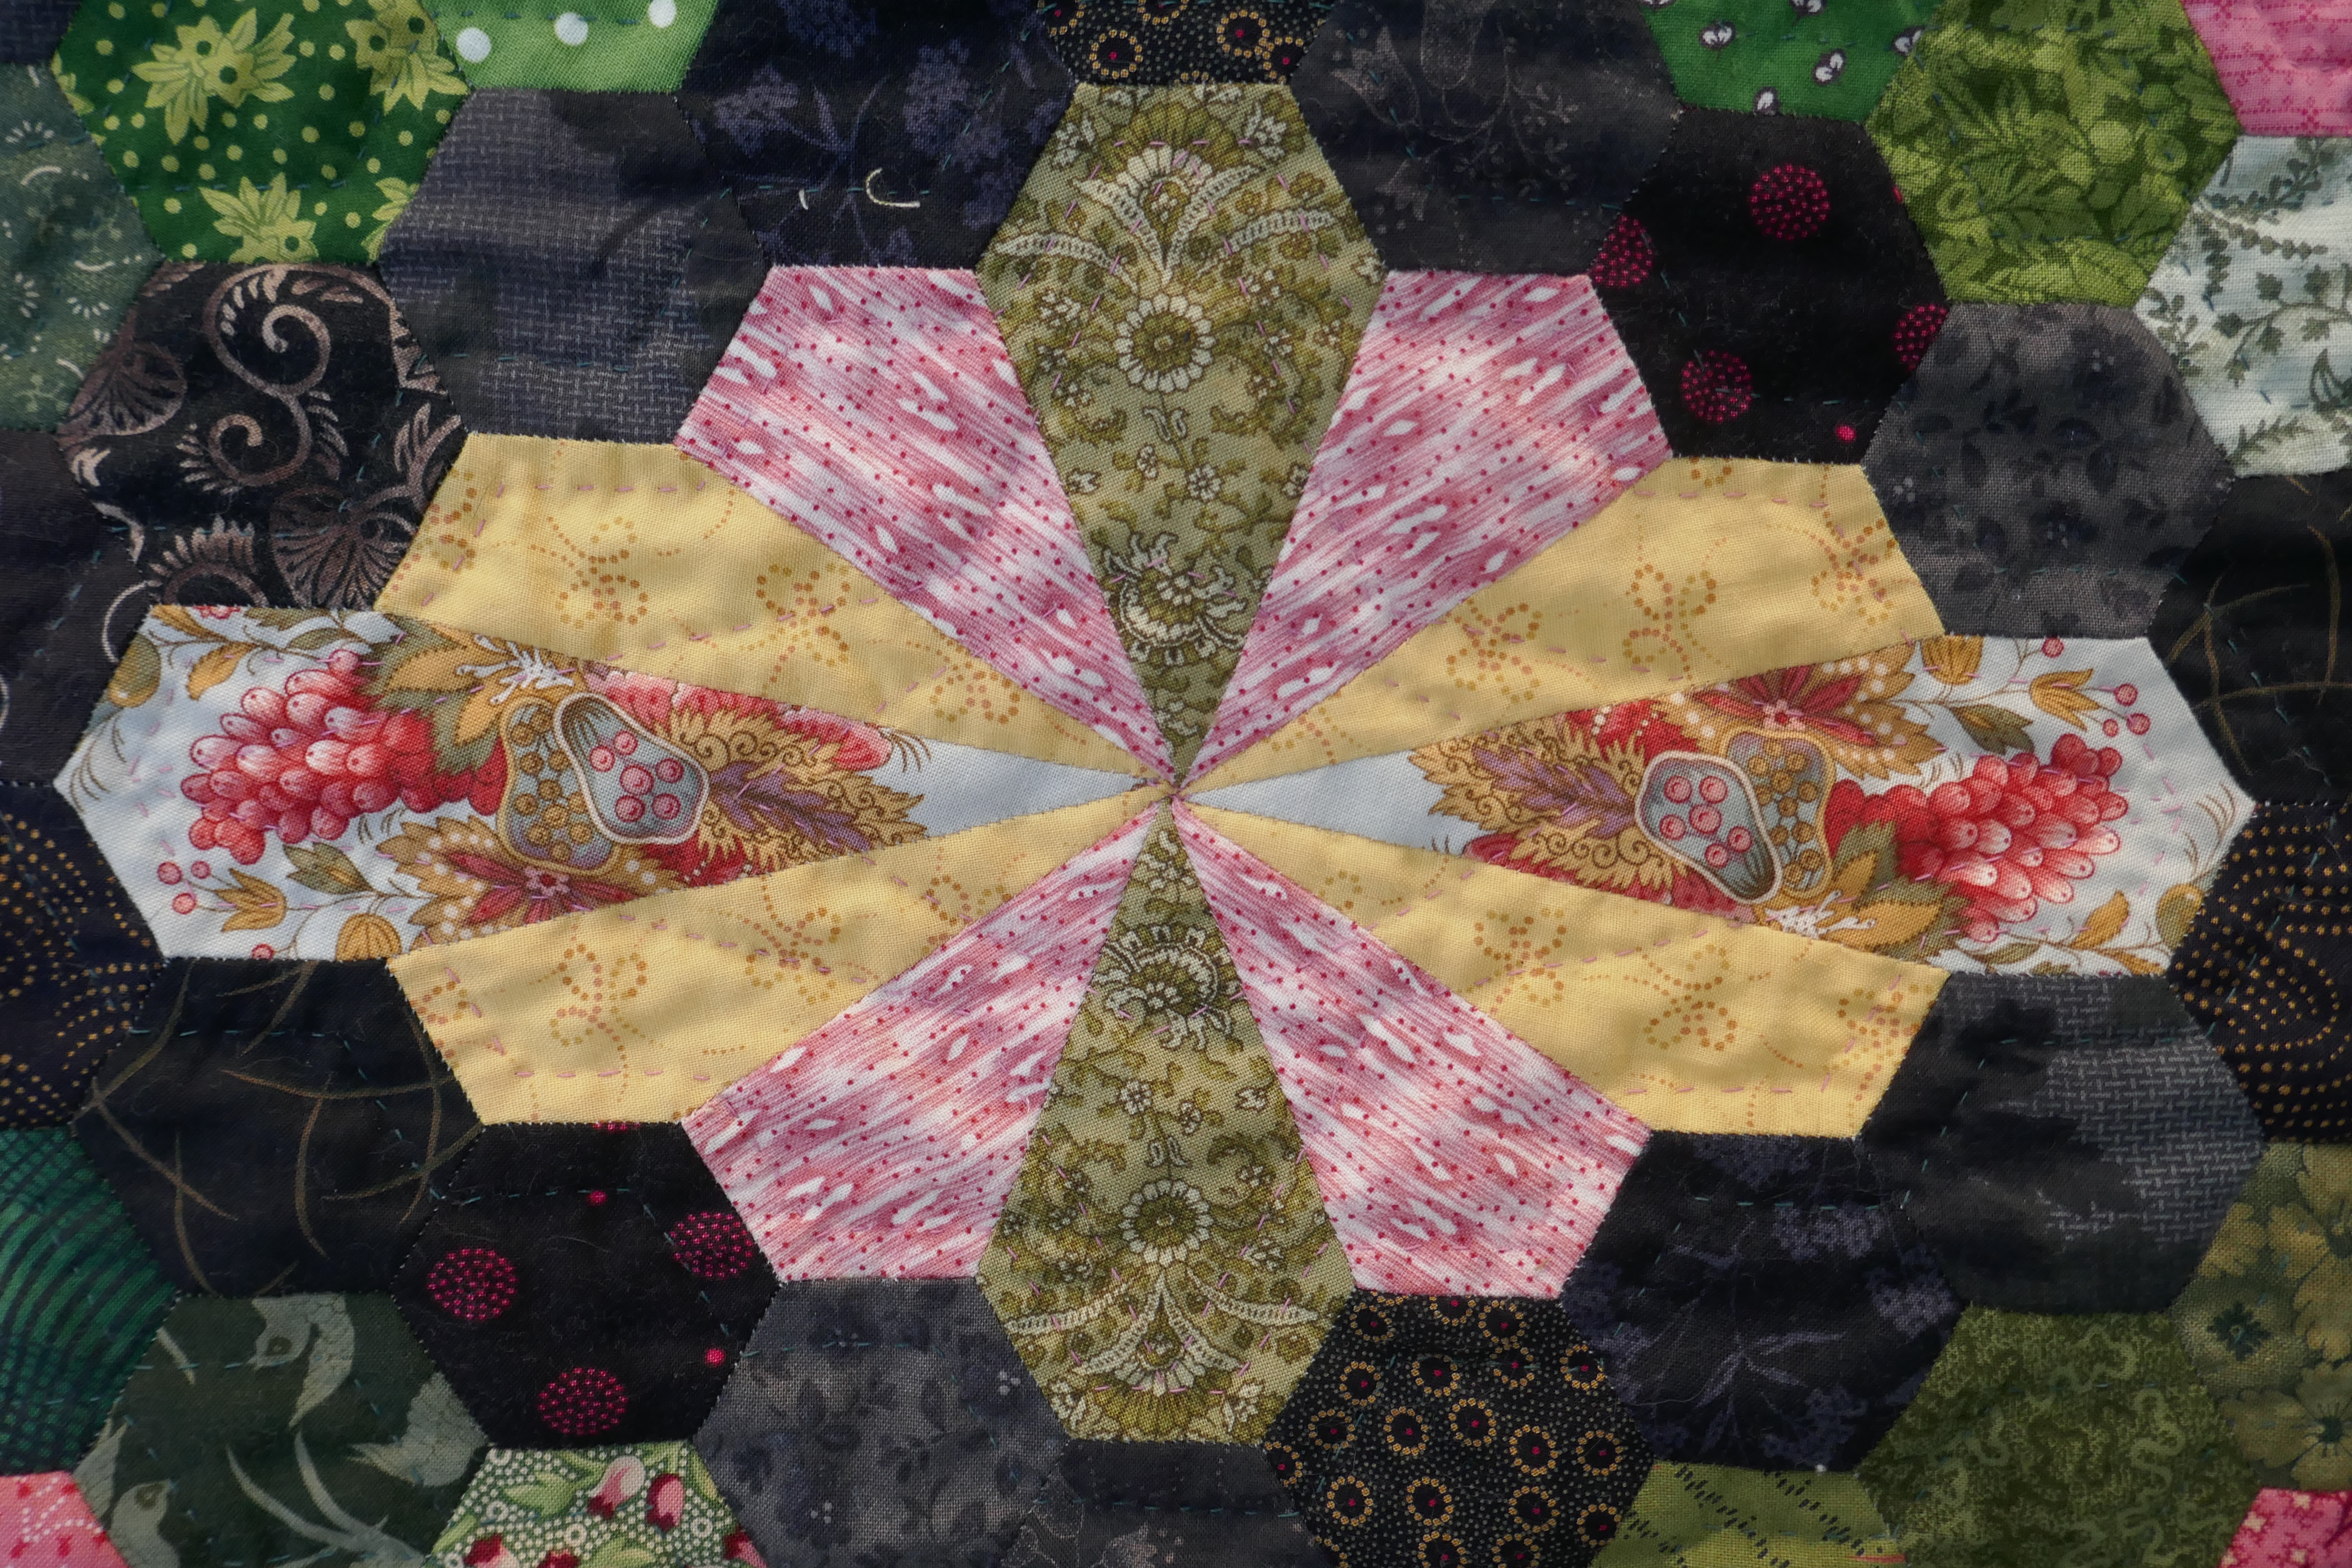
The pink lines of the diagram below illustrate that -- the black lines are the seams to show you the overall shape.
Because there are twelve seams coming to the center of the motif, it's difficult (perhaps impossible) to quilt very close to the center -- so the diamond shape flattened the center down and reinforced the elongated shape of the motif.

All the filler piecing is scrappy and a bit busy so elaborate quilting motifs would be a waste of time as they will melt right into the fabric.  But I still needed to keep the work interesting so I would stay engaged.  These clusters of three hexies that alternate around the center of the medallion take on a cohesive feel by treating them as a unit rather than three individual hexies.
The quilting diagram is C on the illustration below.
I inserted these clusters of four yellow hexies to break up the monotony of all those green hexies but how to quilt them?  It's hard to see in the photo but the unit is outlined both outside and inside which made the center puff up a bit too much.  It took some puttering but I finally hit on a small hexagon centered on the middle seam.  It's A on the illustration below.
There are only a few of these hexie "flowers" throughout the border area so to keep with the "feel" of my other quilting, its a simple star motif (illustration B) around the center hexagon and an outline about 3/8 " outside the motif (in the green). 
These two diagram sheets of how I quilted specific units will go into my "how I quilted that" file for future reference.  I have found that looking through these notes when starting to quilt a top often provides the kickstart I need.  I might not do the exact same design but it's a spring board.
I had to force myself to start the floral motifs -- I did not want to do any outline quilting though that would have been nice, but it would have been a arduous task and shut this gal right down.  The quilting design occurred spontaneously as I extended the edges of the hexie edge into the floral motifs and in the end it became a series of overlapping irregular hexagons.  Again the center was puffy and while it's difficult to see there is a central quilted hexagon that flattened it down a bit. Once I stitched the first one, the other three went quickly and I was glad to move on from that challenge!
Generally all the quilting is done 3/8" from the seams rather than 1/4" to avoid the bulk of the seam allowances which can be rather irregular in width with EPP.

The binding is scrappy and this is the only machine stitching in the quilt!
And the best part about having it finished??
Now I can start another big EPP project guilt free!
(Yes, there are two that have already reached the "piles-of-fabric" stage.)
If you want to see lots more pictures of this quilt as it grew, type Dodecagon into the "search" bar up there on the right side and see what comes up!

Twelve down and nine to go for my #quilt21in2021 challenge!!!
Wahoo!

Mary


Thursday, February 20, 2020

My Dodecagon Quilt Top!!

 While I gave myself the "one monthly goal" challenge to use the entire month of February to get the five large sections of my dodecagon quilt together, once it started to happen I was anxious to see the finished top because it is so beautiful!!
(My pictures are a bit dark -- blaming cold cloudy Ohio winter days -- but you get the idea.)
I calculated that I needed to stitch twelve 1" seams every day to be finished!

First the upper right corner. 
Then the lower right corner!
And the lower left corner!
On Monday evening, I pushed to finish the upper left corner so I could take it for "show and tell" at the EPP group I attend at my local quilt shop, The Quilted Thimble in Chesterland, Ohio.
Three of the "tall" gals held it up for me and while it isn't a perfect picture, you get the idea.
The top is 70" wide and will be 97" long when I add a rows of these 80 modified hexies to the top and bottom to square up those edges.  They are all basted and I'm currently stitching them into two long bands to join the quilt top.
I made these pieces by printing out several sheets of 1" hexagons onto light cardstock.
I use this website to create a PDF which I can print out - click HERE. 
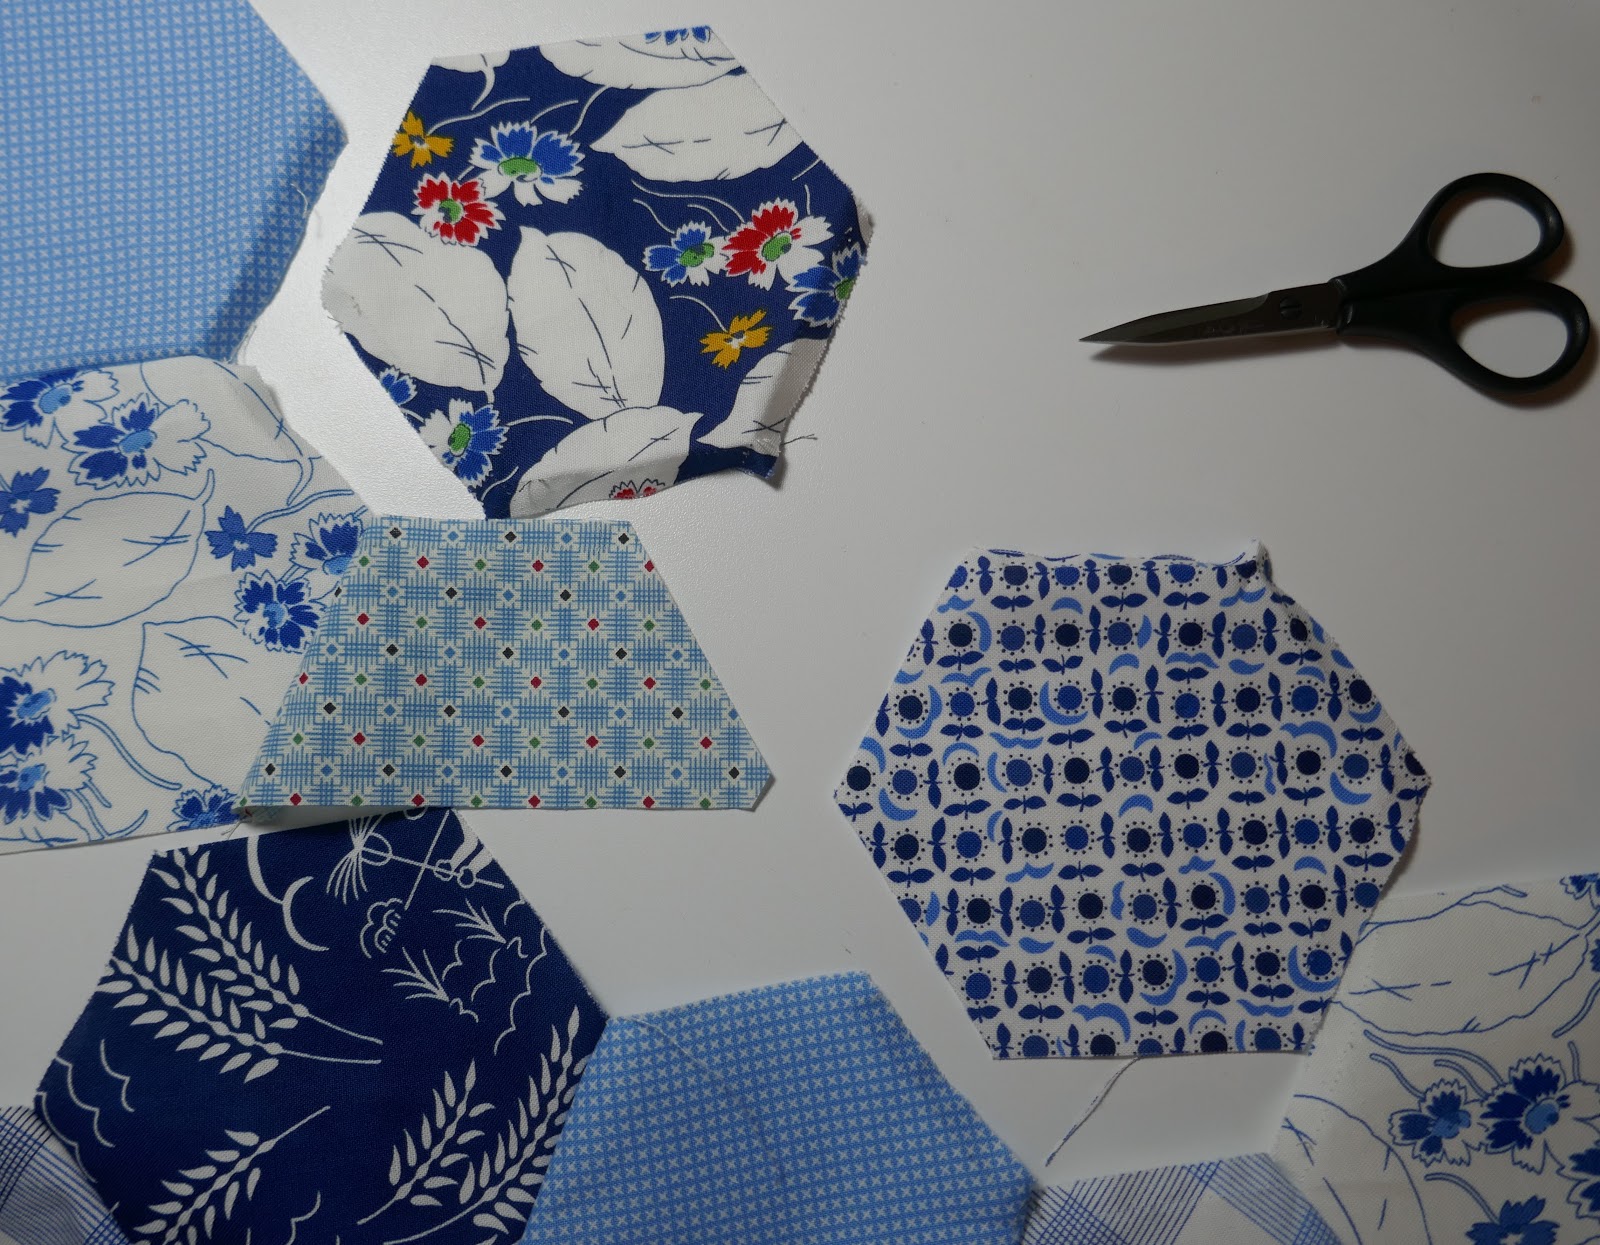
Then I cut them apart, a single sheet at a time as you see below -- the pieces with an "X" are sloppy cuts and needed to be discarded in the interest of accuracy. 
I made twenty-one dodecagon blocks using templates and papers from Marge Sampson-George (now available world wide through Broderie on Etsy).

The layout I used is my own design - a combination of several ideas I've seen for mosaic quilts over the years.  Marge's pattern uses 42 dodecagons and sets them together with a single band of hexagons. 

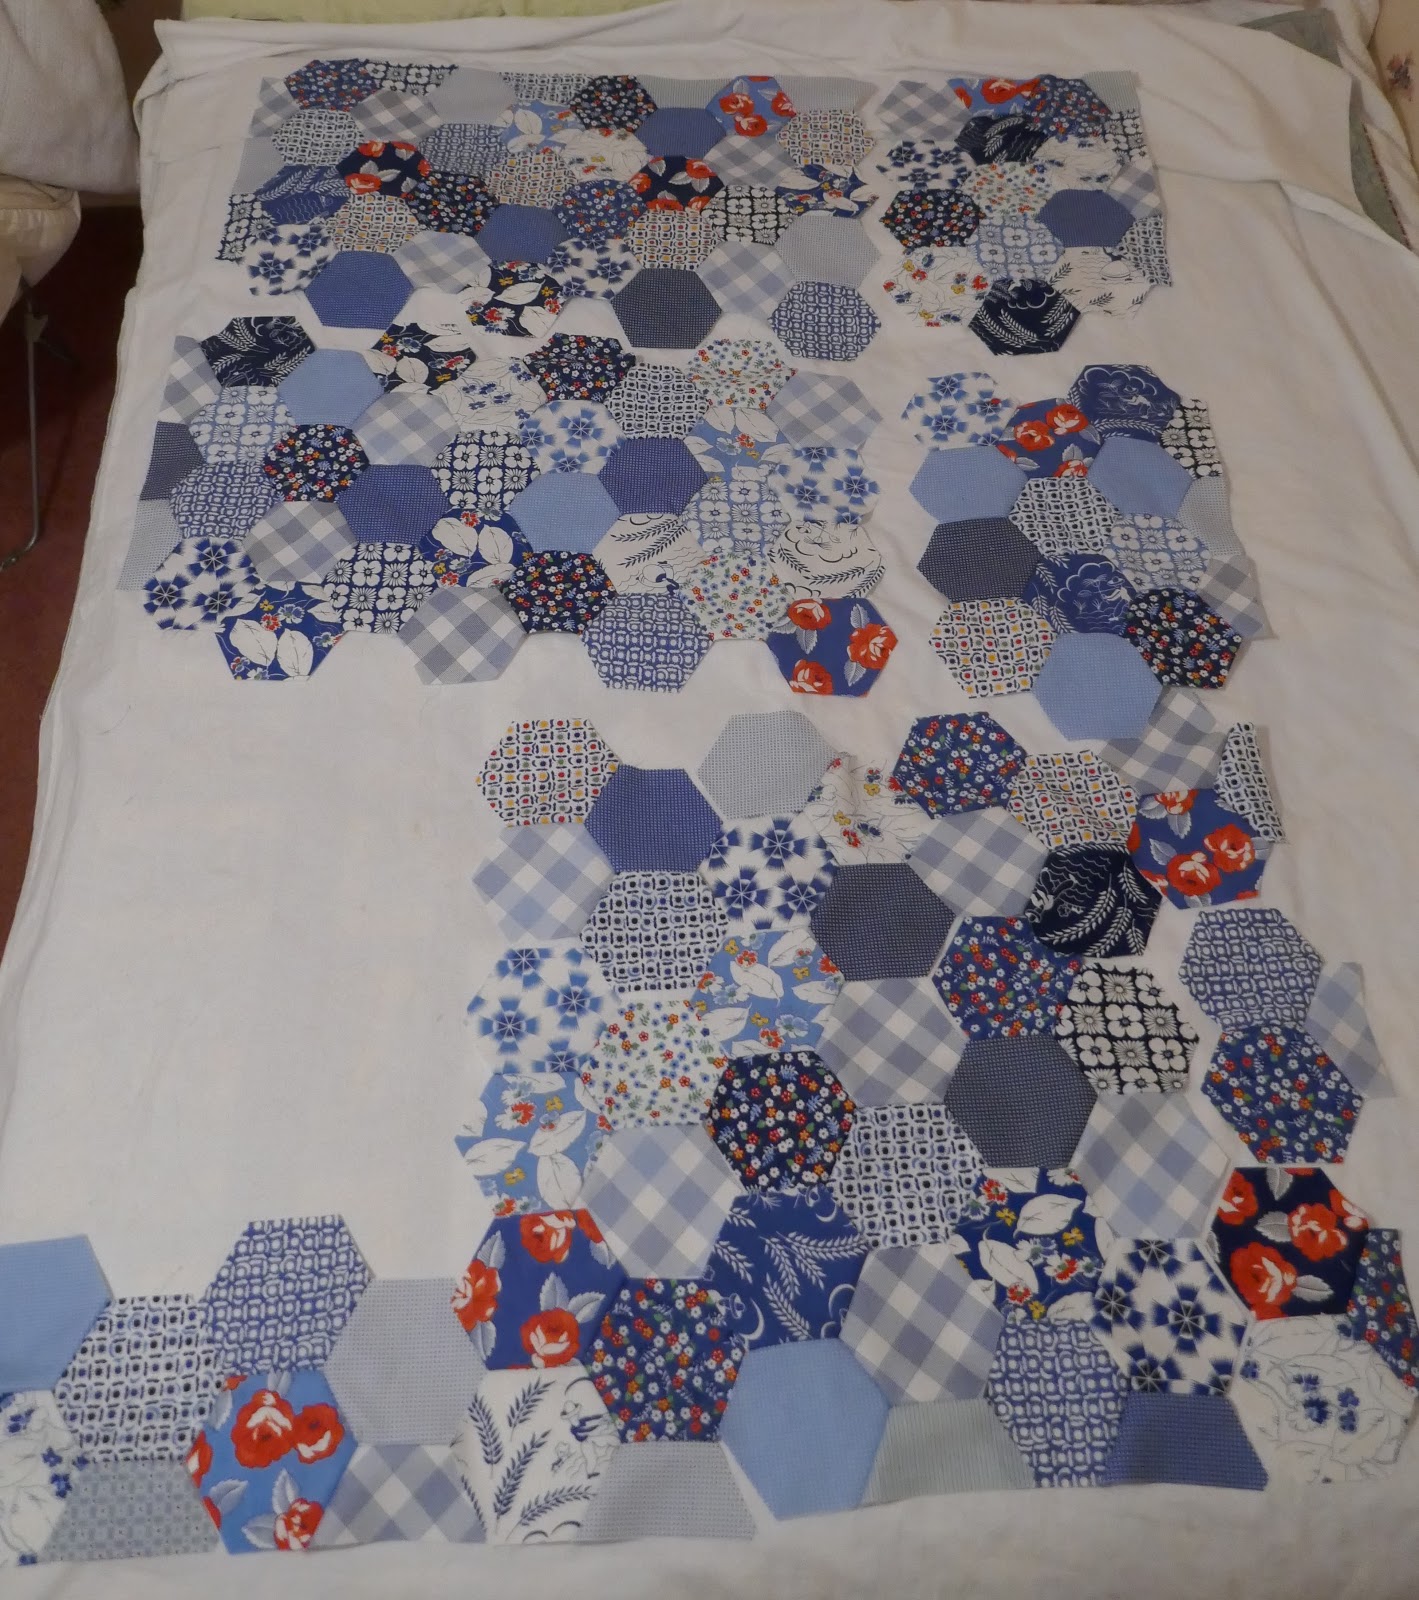
 I have counted and counted and counted -- my numbers might be off a couple but I cut and basted and stitched -- 348 pink hexagons, 216 yellow hexagons, 564 black hexagons, 954 green hexagons, plus 80 modified green hexagons for the upper and lower edges and 64 half hexagons for the sides for a total of 2226 (give or take a couple) hexagons. Most of the prints are reproductions or pieces that blend well with them -- all of them from my deep, deep stash.  Even the beautiful floral fussy cut motifs in the center was a piece I hoarded back in my shop keeping days!

The color scheme evolved as I played in my stash making the dodecagons -- from the beginning I wanted to use reproduction prints but I could not have told you what the color scheme was going to be at that point.

I've pulled some big hunks of fabric for backing auditions and I don't know how I will quilt this other than to say I intend to do it by hand.  Hopefully, I'll be quilting it soon - but I have a sweater to finish knitting and the applique of my #sharkdinnerbom tiles to finish before I dedicate my hand stitching time to quilting this!

In conclusion, I have to say "I can't believe this is all together".  It's taken about 3 years and a rough estimate of around 500 hours of stitching time.  It's a huge achievement and reinforces my belief that making steady use of 30 minutes here and there eventually produces the results!

If you'd like to revisit some of my past posts about the construction of this quilt top, just type "dodecagon" into the search box and a list will pop up for your reading pleasure!

So exciting!!
Enjoy the weekend!

Thursday, January 30, 2020

One Monthly Goal!!

I've been using the "One Monthly Goal" goal link-ups at Elm Street Quilts for a couple years now to push myself through this BIG project which I began in February, 2017.
I fell in love with Marge Sampson-George's Dodecagon Quilt (thanks Instagram) and since it wasn't available in the United States or on-line at that point, I used my Aussie family connection to buy the templates and papers!
Over the course of piecing the dodecagons, I fell in love with several other English paper pieced designs that featured a medallion style center - long story short - I designed my own layout using the dodecagon blocks and several of the ideas I loved.  I felt certain I could get one quilt done instead of starting two or three more!
All the dodecagons have been finished for almost two years. I lots of time in 2018 basting dozens and dozens of black, green, pink, and yellow hexies.
I think this past weekend was the fifth time I've spent a 3-day stitching retreat focused on assembling the units.  First I outlined the dodecagons with black hexies.
Then I made enough strips of green hexies for the entire quilt.
All this time, I was designing and redesigning the layout in Electric Quilt 7 -- I kept changing it a bit here and there until finally I just had to make myself quit messing with it -- you know how that is!?!
Early in 2018, I laid out and began the assembly of the large central unit that features my five favorite dodecagons alternated with four large floral motifs.  
Stitching retreats gave me the focus to gradually organize the four corner sections and work out the best assembly approach.  After each retreat, I continued to chip away at the assembly process.  Several times I've had to stop and baste more green hexies -- if I never see a green hexie again, it will be too soon.
There have been weeks when the living room floor has been covered in hexies -- good thing the kids are grown and out of the house!!
The first three weeks of this year saw a messy living room again as I organized and stitched up the last five setting units so that when I arrived at this month's retreat, I'd make some serious progress!!
I arrived with my last few green hexies!
Happily I had an entire table to lay out the units and stay organized.
Nothing to do but stitch, nibble, and chat for three days!! 
Soon I was popping out papers right and left!
I didn't quite make it all the way, partly because I discovered I was six green hexies short -- argh!
This picture gives you some idea how I break down the sections.
You can see lots more of my assembly details along the way by typing "dodecagon" into the search bar -- about six blogposts pop up (though not in exact chronological order).  The one I've had the most feedback about shares my personal tips for assembling the dodecagon blocks.
And here it is -- a finished fourth corner!
(sorry about the poor lighting -- it's late!)
Now I can begin to pull the other sections off the auxiliary design board (storing them there has kept them flat and unwrinkled) and spend February stitching up the final four long seams!!
I estimate I have just 268 one-inch seams to stitch!!
Wahoo!!
The only down side of finishing the piecing will be having to plan the quilting -- never my favorite step.

Of course, there's another hand stitching project in the wings and with any luck that will be my focus during my next stitching retreat at the end of February!!
Mary


Monday, September 23, 2019

So Much Temptation!! So Much Stitching!!

The blue hexagon quilt is not ready to layer up and quilt because apparently, one of my retirement goals is to start as many projects as possible concurrently?!?
Not really, but I do have more "oars out of the boat" right now than might be a good idea.
  I did make good progress and am certain (?) I'll have it ready to quilt next week. 
There have been a few little hiccups as I discover two of the same print setting next to each other (the work of gremlins in the night), not just once, and if it bothers me now, it will always bother me.
So taking a deep breath and fixing them.  
Since I don't have any extra hexagons, it means I have to switch each one with a hexagon in another part of the quilt top.  Since I haven't joined all the units at this point, it is less work than it could be.  Because many of the seams are on the bias, I snip every fourth or fifth stitch . . . . . 
. . . . . flip it over and pull on the bobbin thread to remove all the stitches without stretching the edge.  One thing I have learned -- always do this "stitch-clipping" with the hexagon being removed on top!
If I don't do that, I sometimes undo the wrong seam.  
Grrrrr. 
Two hexagons out, switched and ready to stitch back in place! 
I've been in the studio quite a bit and am keeping up with my #100days100blocks blocks -- I pieced the 85th one today while switching the hexagons!
I tidied up the fabrics I'm using that have been living on the floor for the past 85 days
 and cut the next few days blocks this morning while waiting for my morning tea to kick my brain into gear.  Ahhh, the zen of rotary cutting!!
The quilt is looking great and I've started to stitch some of the blocks together into groups of four.
If you go onto my Instagram feed (@hueymary), you'll see some pretty cute hedgehog peek-a-boo happening!
During the past week, I also accomplished my #onemonthlygoal for September by assembling the upper left corner of my current masterpiece using Marge Sampson George's Dodecagon blocks.
Just two more corners to assemble!  My traveling stitching box is full of green, yellow, and pink basted hexagons to assemble into the various units needed for the next corner.
I'm continuing to assemble these large English paper pieced tiles from the #sharksdinnerBOM -- nine are ready for the background and I should finish basting the last few pieces for the tenth one this evening to assemble by the end of the month!
The challenge I set myself (using Kaffe collective fabrics with my stash) may be the undoing of me with this project as there's not as much cohesiveness as I'd had hoped.  The blocks are terrific individually but I may have either two quilts (a warm color palette and a cool color palette) or twelve large pillow covers if I can't resolve my frustration with the color palette as I add the background fabrics.   
I will say that my EPP skills have improved as a result of this project!!
And @lemonshark is a very creative designer!!
Because all that isn't enough to have going on -- this week, I started the #littlemisssawtoothqal!?!
I didn't have to leave the studio to find the fabrics and I have a purpose for the finished quilt.
Surely that is enough justification??
The layer cake I'm using has been on my shelves for at least three years (along with 1 1/2 yards of the polka dot background).  Plus my youngest grandson will need a big boy bed quilt (in a couple years) and his middle name is Fox and early indications are that might be his moniker, so . . . . .  I'm good, right?!?

So this morning's tea worked and it's been a good day!!
A morning in the studio followed by a tidy up in my office (even washed windows and changed the valances) and still hand stitching to look forward to this evening!!
I think I might go for a walk just in case I crash and burn tomorrow.

Mary


Tuesday, June 19, 2018

Dodecagon EPP Update!

Early in February, 2017, I began my Dodecagon journey using Marge Sampson-George's pattern and templates.  I've shared my progress in several posts since then and today's share is exciting to me!!  I have the center of my layout almost completely assembled and it's coming together so beautifully!! 

Back in January (read it HERE), I shared how I was setting up the four large floral units and some tips (ala Karen @faeiriesandfibres -- you can read through her posts for lots of great EPP tips HERE!!).  
Once the four units were finished, I began spending my evenings with the units laying on the living room floor, adding rows of hexagons in preparation for assembling the large central diamond section of my layout.

Every stage of completion gets me more and more excited about the final quilt!!
At this point, I needed to organize more pink and yellow hexies to complete the border around the outside of the center.  
Finally, the nine center units were ready to set together!!
In the picture below, I have the two top rows stitched completely together but snapped this photo so you can see how I've dissected the units for the most logical (to me) assembly.  
The units interlock together -- that was necessary to applique the floral motifs into position without losing the hexie paper's stability along the outer edges.

And a closer look!
Once the center section is together, I'll do some more auditioning -- I have a layout design but it has changed a bit here and there as I work with the fabrics and see the interaction of the colors.
These are my grab-n-go baggies for stitching on the run -- one dodecagon plus enough black hexies to border -- there are only seven left!!
Actually, I was "worrying" yesterday about what I can "take along" when these are done?!?
Ahhh, but it just occurred to me that I can bag up sets of the green hexies to stitch into bordering strips that will be set between the dodecagons in each corner of the quilt -- dilemma, no more!! 

I'm doing well to stay focused on this project as there are so many tempting other EPP things going on out there -- the Kingfisher SewAlong with Jodi Godfrey of @talesoflove keeps popping up in my Instagram feed and then there's the #roseofkaleighsewalong based on one of Sue Daley's patterns -- arggghhhh.
But at my age, I need to focus on "leaving quilts, not fabric".
This will NOT become an ancient UFO!!
Check out this thoughtful post from Jenny Kae -- as one who has been dealing with UFO's for over a decade, I could have written this and you need to read it!!

Have a good week!!
Mary

Edit -- September, 2019 
Marge Sampson George now has the pattern, templates, and papers available via this Etsy shop for this quilt -- click HERE.