Showing posts with label flying geese. Show all posts

Thursday, March 29, 2018

Another Mini!!

The information for the current challenge quilt for the fourth issue of Curated Quilts has been laying on my cutting table all month with this little stack of prints out of my stash. 
I had a germ of an idea -- to recreate my LIFT OFF design (introduced HERE) in a smaller scale but really was struggling with the color combination -- not into it at all.
I put the fabrics away having decided not to struggle against my instincts and then this print surfaced in my stash while looking for something else.
It's that color combination mostly -- a bit brighter than the palette in the information but it's the same!?!
Yea, I'm in!
I used the Lazy Girl Flying Geese tool this time -- I like it for small scale geese -- and got to work!
My results with this technique are good and the "larger" pieces of fabric are easier to use.  
I made 1 1/2" by 3" units this time
LIFT OFF only needs 20 geese, so I had it laid out in no time. 
There are measurements in the guide I wrote (buy it in my Etsy shop HERE and support my charity quilt gang's batting fund!!) for quilts using six different sizes of geese.  The smallest is 12" by 18" finished -- perfect for a mini!! 
An afternoon of stitching had it ready to layer and quilt -- what color of thread to use?
I can't believe I had three choices since I don't typically work in such a saturated palette.
When I came back to it the next morning, I had decided to go with vertical "matchstick" quilting and use all three thread colors -- easier than making a decision and I like quilts I see on Instagram and Pinterest where several thread colors are used.
I started with randomly spaced lines of the fuchsia.
This looked good.
Next came the blues and most of those lines are centered between the fuchsia lines -- once that positioning decision was made, the quilting went quickly! 
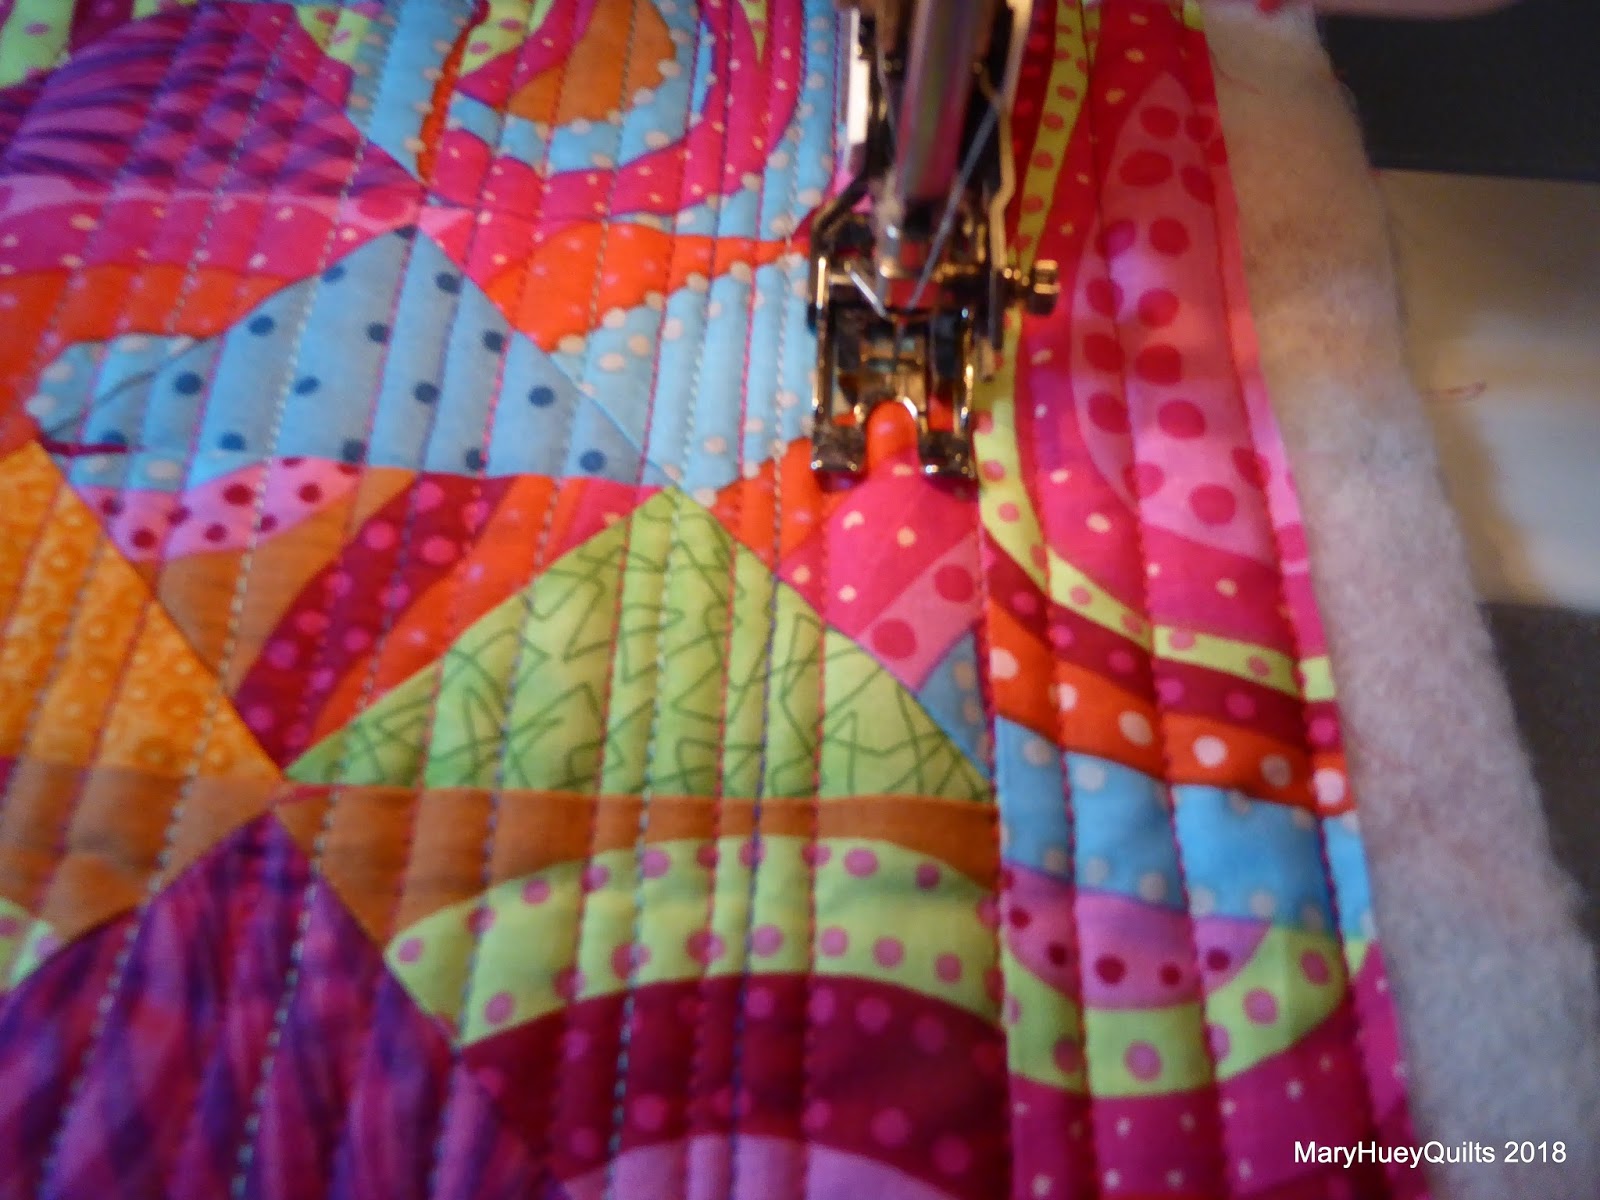
Better!! 
Finally, the orange thread.
I inserted these lines randomly, adding them where it felt right! 
I can't believe this quilt is being made by me -- look at all that texture? 
Here's a closer look at the quilting.  As I began, I confess to feeling hesitant but if I don't experiment with ideas, how will I know if they work for me?  So forward I went!
I love the spark the orange thread adds!!
I squared it up at 14 1/2" and auditioned all four of the geese prints -- they all looked fine but I preferred the green.
And I added those clever little corner pockets for hanging while binding it! 
It's finished!!
The pieced design disappears since all the fabrics are the same value -- mediums.  I'm surprised the orange pops out since it's so close on the color wheel to the fuchsia -- it must be just slightly lighter in value.  It's definitely saturated color!!
I'm going to enter it into the challenge even though it's quite different and a little harder to look at than most of the entries which are more subtle and sophisticated.  I hope other "traditional" quilters are inspired to try out some modern techniques and ideas for the creative boost it gives one!   I'm glad I made it -- now I know the small size of LIFT OFF works beautifully for a mini and I love the results of the multi color threads quilting experiment -- I'll definitely do that again!!
It was fun!!
Best of all -- I used up every inch of that bright paisley which I don't know why I bought it in the first place!?!

You can check out all the entries for yourself HERE at Curated Quilts!

Happy Easter
Mary


Friday, March 23, 2018

Another Finish and a Simple Pattern

Last fall, my quilting gang and I took on a project to make a half dozen twin size quilts for men coming into a local recovery home where they live during the final stage of their transition to a sober life.  The director of the home welcomed our offer and made only one request – that they be “manly” quilts.  Fine, I said, not realizing that our supply stash was heavy on “not-manly” fabrics.  So the challenge became one of finding inspiration for simple quilts we could produce easily and still achieve a “manly” look.  One morning, I woke up with the inspiration for “Lift-Off” in my head.

Ever since Marti Michell introduced her small Diagonal Set Triangle Ruler, I've been thinking about using it to cut and create a flying geese quilt using giant 5" by 10" geese units!!
 Both of the triangles needed for a basic goose unit are cut using the full ruler.  It's the same combination of large and small triangles as Marti's standard Flying Geese Ruler -- just bigger!! 
Most of the units are the standard layout -- one large and two small triangles, but to create the look of a flock of wild geese lifting off a pond, I included several of these "combination" goose units.
Wait until you see how they fit into the design!
It took me most of that day to cut out all the triangles and piece the geese.  At the end of the day, I had the basic layout of the flock up on my design wall.
Then I stumbled across this print while searching through our "charity" stash and the background of the quilt materialized easily!
The quilt is built in vertical rows and while I had the background sketched out on graph paper, the sizes of the available fabric dictated the final sizes of the background pieces -- the idea is that the flock is lifting off a lake (where they spend the night because it's safer) and heading out for a day of foraging in meadows and marshes nearby. 
Once the layout felt right, I started to assemble the vertical rows.
I quilted it in two sections of three rows with (somewhat) parallel vertical lines for ease in handling and to reinforce the flow of the pieced design. 
Have you tried quilting larger pieces in sections?  It is definitely my "go-to" strategy for the past decade.  It's so much easier to handle since I am working at a large sit-down machine (APQS George) when quilting.
Finally the day it was finished!! 
I love the way the movement of the flock up through the quilt! 
It reminds me of days I've been lucky enough to come across a flock of geese or swans lifting off and moving on! 
Next week, it is off to it's new forever owner.
I hope it will remind him each day to keep "lifting-off" for the next good thing!! 
I've written a 3 page guide to help others create this quilt.  It's isn't a complete pattern as it assumes you already have a favorite way/tool for creating flying geese units.  It includes a chart of six sizes from a 12" by 18" wallhanging to a full size quilt, very basic instructions, and a drawing that you can use to play with the design.  
(Can you see this with a "rainbow" background?)
You can purchase a PDF copy of it from my Etsy Shop HERE and support my group's efforts!
All proceeds from the sales go directly into our "batting fund" so we can keep layering up quilts!
We are grateful for the opportunity to bless others with our skills!

Have a lovely weekend!
Mary

P.S. Happily, this is also one of my first quarter 2018 Finish Along goals -- DONE!!!


Friday, November 11, 2016

Fierce Feathered Star Flimsy


 A couple weeks ago, I shared my experience testing Jesse from Threaded Quilting's new large feathered star block pattern -- this block is 36" square before any borders are added!  There is also a 20" star included in the pattern and Jesse just posted her second finish using this pattern.

Mine has been staring at me from the design wall waiting for a flimsy finish and with my group's deadline for finished quilts for holiday donations drawing closer, it was time to get stitching.
To elongate the piece, I made flying geese for a top and bottom border.  Happily the measurement of my outer edges was 39" -- so a 3" by 6" (finished) goose unit would be just right.  I used Marti Michell's Flying Geese Ruler to cut my pieces.
I'm going to pause here to make an observation about students who cut triangles with templates versus making oversized HST units and trimming them down to size. The students who use templates generally gets better results overall because they have had to learn to stitch a consistent 1/4" seam so everything fits together.  Those who rely on trimming often don't seem to develop the same accuracy when stitching because they are always correcting with the trimming and that's fine up to a point, but when they get to the aspects of piecing a quilt top where trimming is no longer an option, I often see them struggle to maintain the accuracy they want to achieve.
Just saying . . . .

I spent a couple pleasant hours in my studio piecing and listening to a book, One Wild Bird at a Time by Bernd Heinrich.  It was published this spring and the author shares interesting observations about a variety of American bird species -- right up this bird nerd's alley!!

The pineapple block is my current "leader and ender" vehicle -- only 2 more blocks to go!!
I'm always pleased with the uniformity of my goose units when I use Marti's tool.
That means I don't chop off any tips or points!
Since the number of units needed was an odd number, I added a blue rectangle in the center of each border.  This is also a good strategy when you need to "adjust" sizes to compensate for math issues.
  I could also have made all the geese go in one direction.
Another light border and I was ready for the outer borders using more of the focal print that was the basis of the color scheme.
Here are the stats for my quilt. 
The center block is 36" square. 
I floated the star by adding a 2" (cut) border around all four sides.
The flying geese are 3" by 6" (finished).
There are floating borders above and below the geese borders -- cut 2" again.
The final border is cut 5 1/2".  I cut the side borders along the lengthwise grain of the fabric and the top and bottom borders along the crosswise grain to keep the bird houses upright.
Finished size is 48" by 64",

Next week, my charity quilt making friends will layer it up for quilting.
If you read THIS POST about how much I love to layer quilts, you would have been impressed, yesterday as the group met, I actually spent the entire 2 1/2 hours layering quilts?!? 
I was impressed!

I made my Mom's apple cake and took it along -- figured we could use some comfort food!
It's easy to make and it was well known in her social circles -- we served it after her memorial service and it was so much fun to hear people remark "it's Ruth's apple cake" over and over.
No picture because it was gone before I thought about sharing the recipe.
So here it is!

Apple Cake
Peel and slice/chop up 2 to 3 (tart) apples.
Grease and flour a 9" by 13" baking pan.
Preheat oven to 350 degrees F (I use 335 degrees in my convection oven)
Beat together 1 1/3 cup sugar and 3 large eggs.
Add 7/8 cup (7 oz.) cooking (canola or corn) oil
Stir in 2 cups flour, 1 teaspoon ground cinnamon, 1 teaspoon baking soda, and 1/2 teaspoon salt
Stir 2 cups sliced apples and 1 cup chopped nuts (I like pecans) into the batter.
Spread batter in baking pan -- I sprinkle some cinnamon sugar over the top.
Bake for 25 to 30 minutes.
You could also sprinkle the cake with powdered sugar after it cools.
Another variation is a scoop of vanilla ice cream to top a piece of cake with a drizzle of caramel sauce!!
Yum!!

Blessing to everyone for a restful weekend full of smiles and stitching!!

Mary


Friday, February 19, 2016

Simple and Subtle -- out of my comfort zone!

Last summer, my youngest daughter requested a "simple" quilt in muted greens for their redecorated guest room bed.  "Muted" isn't my comfort zone so it's taken longer to get a fabric assortment pulled that fulfills that requirement.

To carry out the "simple" theme, I chose to make a Giant Rick Rack quilt using Marti Michell's Flying Geese ruler.  It's a multi-size tool that I've used many times and I've made some delightful pieces with it like this batik laprobe.
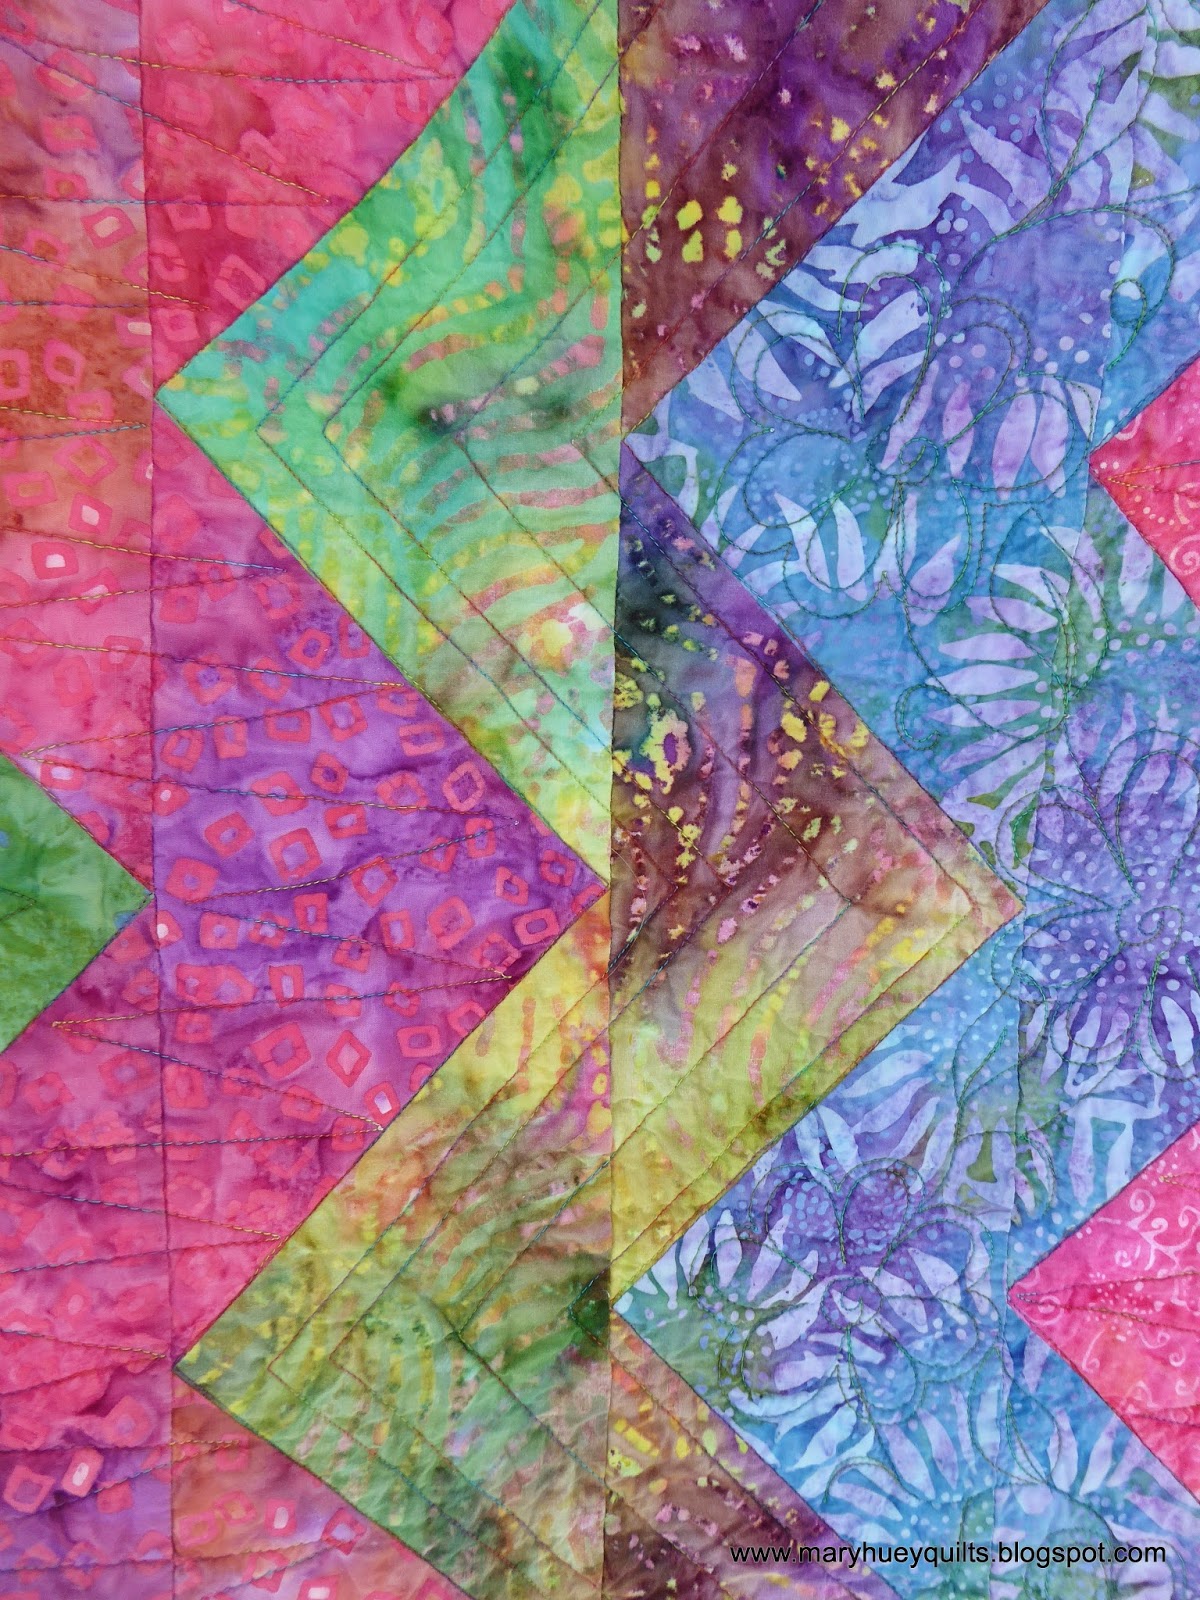
The graphic element of this design is perfect for "simple".
Here are a couple pictures to illustrate how the ruler is used -- there is no waste!  The first cut is a standard half square triangle.  If you are making basic flying geese units, these will be the "background" smaller triangles.  The ruler is designed so you can cut both size triangles using one tool.  For the Giant Rick Rack, these smaller triangles will be used at the ends of the rows.
I needed fourteen of the large triangles cut from strips with the straight grain on the longest edges  as illustrated.  Five sizes can be cut with this tool and I used the second largest.
Before moving onto the next cut, I pull the corner of the tool up to match the corner of the triangle and trim that off -- very important step as you will see.
In this picture, you can see both the trimmed and untrimmed triangles.
Once all twenty-some fabrics were cut, I played with the order of them on my work wall (for about two days).  My goal was to minimize strong contrasts so there was lots of shifting around to achieve that.  I avoided setting the lightest prints next to the darkest prints choosing instead to gradate the values (light to medium to dark).  It's not a very exciting picture but a very necessary step!
The design is pieced in rows and I begin by assembling pairs.
This is where the trimmed corners simplify the process of matching the triangles perfectly.
  You may feel confident about "eyeballing" but these trimmed corners speed up the alignment process and assure straight rows.  Nothing goes askew!!
Once the rows are assembled, it's time to stitch them together and I have a tip to help with that.
Working with a basic ruler, line up one edge with the intersection of the seams at the point on the triangles.  Align one of the ruler's perpendicular lines with the opposite raw edge of the triangle (on the right in this picture).  Make a pencil mark at the right edge.
Now when you pin the rows together, you can match the pencil line to the point of the triangle on the row underneath. 
This assures you that the points of the zig zag rows will be level as you look across the quilt.
At this point, I have the rows set together into three sections of six rows ready to quilt. 
Once the Aurifil 40 wt thread arrives, I'll quilt each section and then do the final assembly and binding.  I plan to use some of the ideas from that bright quilt for the quilting designs!
If you live near a shop that sells Marti Michell's tools, ask about the Flying Geese Ruler and see if they carry her pattern, Zig Zag Geese which includes this and four other projects.


Let's all spend the weekend stitching!!

Mary Huey