Showing posts with label zig zag. Show all posts

Thursday, March 23, 2023

A Layer Cake Idea!

Are you a layer cake sucker? 
I'm trying to use up a few (so I can buy more guilt-free?).
  I'm pretty good at talking myself out of them but this was one I couldn't resist -- I wanted it so badly, I had a friend buy it for me at QuiltCon in 2019.  
Forty exciting African prints!! 
 I think they came from Crimson & Tate in Indianapolis, Indiana?
Problem was that I could not cut them up!?! I auditioned several ideas, but never started anything.  What is the point of buying fabric you don't have the courage to use???  Then last week, while filing some old teaching handouts, I had a lightbulb moment.  
Make a ZIG ZAG quilt!

Step one -- cut all the 10" squares on both diagonals into four triangles.
Caution -- measure some of the squares to make sure they are actually squares.  The layer cake I used for the Exploding Heart quilt was 10" by 10 1/4".  It wasn't a problem for that quilt but it would have been for this one so trimming them to perfect squares is a good idea!
Keep each set of triangles together.
Step 2 - lay out the stacks so you can see everything.  I needed to determine the proportion of warm colors and cool colors -- that is a good color strategy when working with lots of prints that aren't "coordinated".
Two stacks of triangles make one horizontal row.  I chose two contrasting prints for each row.  Starting at the top, my first row is a mostly green print and a mostly red print.  For the second row, I start with another red print and chose a contrasting print, a cool color in this case, for the lower side of the row.  As I moved down the layout, I repeated the process -- the upper triangles in each row repeat the color (but not the print) of the previous row and the second color used for the lower triangles of that row contrast with it.

As the layout is built, the "zig zags" begin to appear!  If they don't, rearrange to get more contrast -- either of value (light vs. dark) or color.
Once I was happy with the layout, I took the right edge triangle from each row and cut it in half as shown below.  One of these triangles will square off the left end of the row and the other the right end.
Time to sew!  I pieced the units into pairs as below.
I was lazy and didn't trim the points, just eyeballed aligning them with the "dog-ear" sticking equally out on both ends.
The seam allowance should start and end at the intersection of a diagonal edge and a straight edge -- see below.  I pressed the seams to one-side and all the seams in a row go the same direction.
The rows go together quickly with just 8 seams!  My rows are about 32" across and 4 1/4" wide -- 10 rows will be about 42" -- a nice child size piece.  The plan is for no borders and a solid color backing.
I don't even have to figure out how to quilt it since I used this same design several years ago to make a quilt for my daughter's guest room.

I finished assembling the rows before lunch and couldn't resist sewing "just two" of them together as you see below . . . . . but I stitched the wrong edges so the first and second row (from the top) are flipped.  Arghhh!!  My "staff" will be ripping that apart later this afternoon so I can correct it?!?
I have enough fabric to make two of these quilts and my plan is to donate them to a local group that works to improve the birthing experience for women of color.

If you want to use this idea with a layer cake that is more coordinated, it seems to me you could sort the prints by light and dark and perhaps color depending on the assortment.  If the contrast between two zig-zags is good, a scrappy arrangement of the prints will work.  If all the prints in a zig-zag are assorted blues and the next one is assorted oranges, the uniform color families and the contrast of opposite colors makes the zig-zag work.   

If I were planning a lap size piece with a layer cake, I would add one set of triangles to each row for a width of about 40" and use thirteen rows for a length of 54".  Some quick math tells me that would need about thirty-three 10" squares so one layer cake would do that with a few leftovers. 
For every two triangles added to a row, the row will increase by approximately 8" and adding another complete row to the top will add about 4".

So I'm another layer cake down with just three more to use up!!
I hope you are inspired to use up one of your layer cakes!!

Daffodils starting to bloom here!!
It's so nice to look out the window and see cheery spots of yellow!!
Enjoy the first weekend of the new season -- spring or fall!!

Mary


Tuesday, April 5, 2016

First Quarter Finish #4

It's all finished and in it's new home.  I'm just home from a visit with my daughter and her family.  The piece was quilted when I left but I waited until I could try it out on the bed to be sure the size was okay before I did the binding. 
It looks a bit lumpy because the bed in the guest room has become a catch-all -- what a surprise?!?
My daughter is pleased with it and likes the simplicity of it and the fabrics I chose.  (Yea!!)
I took a number of pictures to share with you as I assembled it since I quilted it in three sections.
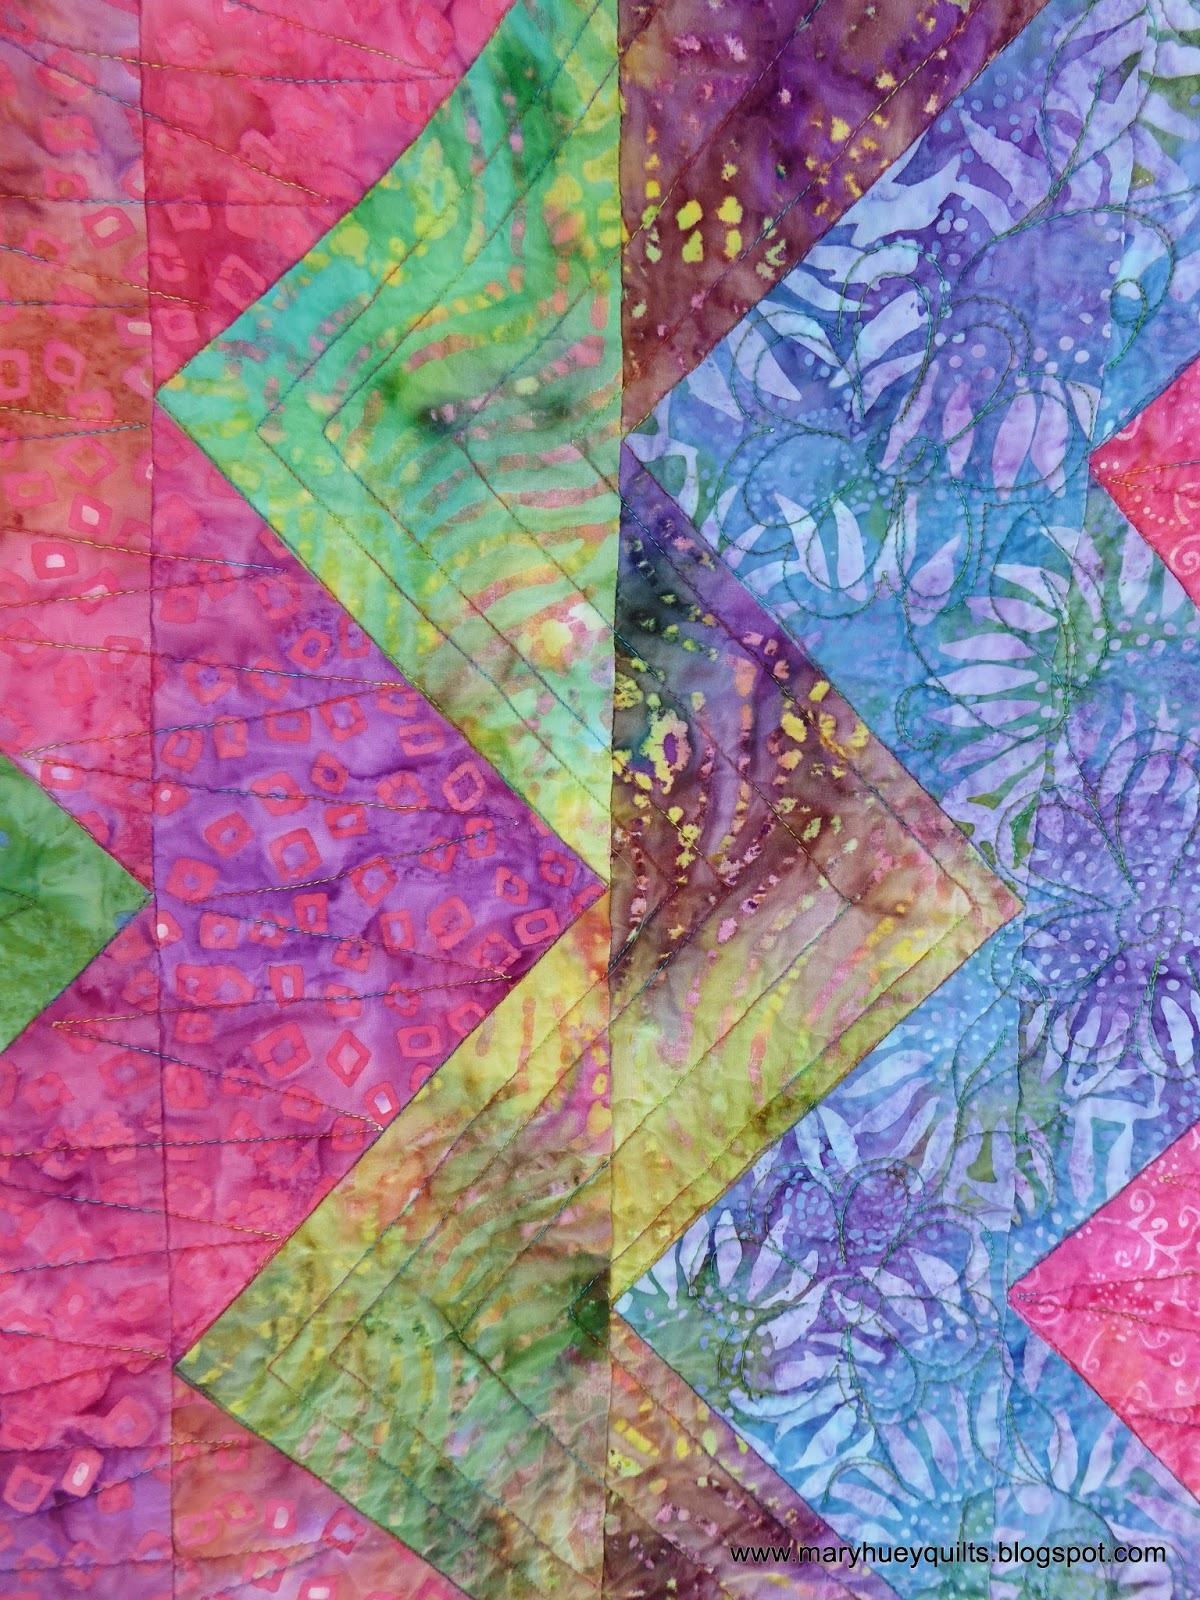
The quilting is simple and organic to enhance the overall design.
The leaves are in the lighter bands while randomly spaced lines that follow the zig-zag of the piecing fill the medium to dark value bands.
The large leaves were fun to stitch.  Each began with an arc from the pivot point.
Then back up the middle to the top adding three or four "veins" 
and an occasional "bite" before proceeding to the next pivot point. 
My sections were two sets of eight rows and a center set of six rows.  I quilted out to the outer edges of the eight  row sections and out to the final zig-zag seam of the edges to be joined to the center section which is seen below. 
I marked the center of the triangles along that edge to make alignment of the center section easier.
For the center section, I did not quilt the last row on both sides so that I could pull back the batting and lining during the joining of the sections as you see below.
This is a "four-layer" seam -- the backing and batting of the center section is pulled over to the left side and I'm stitching (with my walking foot) through four layers -- center section top (right side down), side section top (right side up), batting, and backing of the side section.
I did well with the alignment of the zig-zags and only nipped off a couple tips.
I find that working on my iron board for finishing the backing is best as the weight of the sections hanging down both sides keeps the layers spread open completely.
(The pieced section in the backing is made of the leftover pieces from the top.)
Before doing any trimming, I press the four-layer seam to one side and check the front to be sure there are no pleats or wrinkles.
I trimmed away the extra backing fabric (about 3/8" from the stitching line and smooth down the batting that is caught in the seam.
Now I smooth the other batting over being sure that it is laying flat and smooth.  Notice that the backing at the lower edge of the picture is still pulled aside.
Now I very carefully trim that batting to match the edge of the first piece.  This is the slowest part of the process as it's important to keep the cut smooth and not slice the quilt top.  I achieve a smooth invisible finish by moving the joining of the batting  about 1" away from the four-layer seam.  When I shared it with my quilting group after the three sections were together, none of them could find the joins -- no lumpy-ness!!
At this point, I can whip stitch the batting edges together or use a fusible batting tape -- Marti Michell makes both a 1" wide and 2" wide product.  I use the 2" wide in quilts.  Once again, slow and careful gives the best results to be sure the edges of the battings meet snuggly with no gaps. 
Finally, I'm ready to turn back the edge of the backing fabric and pin it in place for hand stitching.
Once that is finished, I headed back to "George" to quilt the joining area between the two sections, thankful that I haven't had to wrestle with all the bulk of the quilt for the entire process!!
And there it is -- finish #4 from my first quarter list for the 2016 Finish-A-Long over at SHE CAN QUILT.  The link-up for this quarter is pretty impressive with almost 600 finishes listed so far.
I'm pleased to have reached four out of six of my goals.  I did make progress on #5 (now a finished top instead of a pile of blocks) and #6 (in process but still 2/3 of the cutting and piecing to go).
I'm working on my second quarter list!!

Click HERE to see my original list for this quarter.

If you have any questions about this post, please let me know in the comments below.

If you need to muster up more courage to try this process yourself, remember that Marti Michell now offers a class on Craftsy to show you a variety of options for quilting in sections!!
Now through the end of April, Craftsy is offering a Pick-Your-Prize Giveaway -- the $100 value would cover a couple of classes!!

Mary Huey

** Some of my posts contain affiliate links and if you make a purchase via one of those links, I may get a small commission.  I only suggest products that I use and recommend based on my own experience.  Thank you for supporting my blog!


Friday, February 19, 2016

Simple and Subtle -- out of my comfort zone!

Last summer, my youngest daughter requested a "simple" quilt in muted greens for their redecorated guest room bed.  "Muted" isn't my comfort zone so it's taken longer to get a fabric assortment pulled that fulfills that requirement.

To carry out the "simple" theme, I chose to make a Giant Rick Rack quilt using Marti Michell's Flying Geese ruler.  It's a multi-size tool that I've used many times and I've made some delightful pieces with it like this batik laprobe.
The graphic element of this design is perfect for "simple".
Here are a couple pictures to illustrate how the ruler is used -- there is no waste!  The first cut is a standard half square triangle.  If you are making basic flying geese units, these will be the "background" smaller triangles.  The ruler is designed so you can cut both size triangles using one tool.  For the Giant Rick Rack, these smaller triangles will be used at the ends of the rows.
I needed fourteen of the large triangles cut from strips with the straight grain on the longest edges  as illustrated.  Five sizes can be cut with this tool and I used the second largest.
Before moving onto the next cut, I pull the corner of the tool up to match the corner of the triangle and trim that off -- very important step as you will see.
In this picture, you can see both the trimmed and untrimmed triangles.
Once all twenty-some fabrics were cut, I played with the order of them on my work wall (for about two days).  My goal was to minimize strong contrasts so there was lots of shifting around to achieve that.  I avoided setting the lightest prints next to the darkest prints choosing instead to gradate the values (light to medium to dark).  It's not a very exciting picture but a very necessary step!
The design is pieced in rows and I begin by assembling pairs.
This is where the trimmed corners simplify the process of matching the triangles perfectly.
  You may feel confident about "eyeballing" but these trimmed corners speed up the alignment process and assure straight rows.  Nothing goes askew!!
Once the rows are assembled, it's time to stitch them together and I have a tip to help with that.
Working with a basic ruler, line up one edge with the intersection of the seams at the point on the triangles.  Align one of the ruler's perpendicular lines with the opposite raw edge of the triangle (on the right in this picture).  Make a pencil mark at the right edge.
Now when you pin the rows together, you can match the pencil line to the point of the triangle on the row underneath. 
This assures you that the points of the zig zag rows will be level as you look across the quilt.
At this point, I have the rows set together into three sections of six rows ready to quilt. 
Once the Aurifil 40 wt thread arrives, I'll quilt each section and then do the final assembly and binding.  I plan to use some of the ideas from that bright quilt for the quilting designs!
If you live near a shop that sells Marti Michell's tools, ask about the Flying Geese Ruler and see if they carry her pattern, Zig Zag Geese which includes this and four other projects.


Let's all spend the weekend stitching!!

Mary Huey