The hexagon blocks in Barbara Brackman's Morris Hexathon are becoming more complex looking in the number of pieces, but the assembly of these two was quite easy -- all straight line seams!
I am still looking for that little 60 degree diamond template, but realized that I could use the "conehead" (or "gem") template (N86) in an adaptive way to cut all the pieces I needed for Block #12.

Keep in mind that I'm not enlarging the patterns but using them in the size they copy off of Barbara's blogposts. She intends the finished edge of the blocks to be 4" but mine are 3" -- I was technically challenged by the "enlarging" aspect and so caved to the easy route.
This post is a bit long because I've packed in lots of pictures to help you understand how I cut this block and give you more insight into the possibilities with Marti Michell's templates.
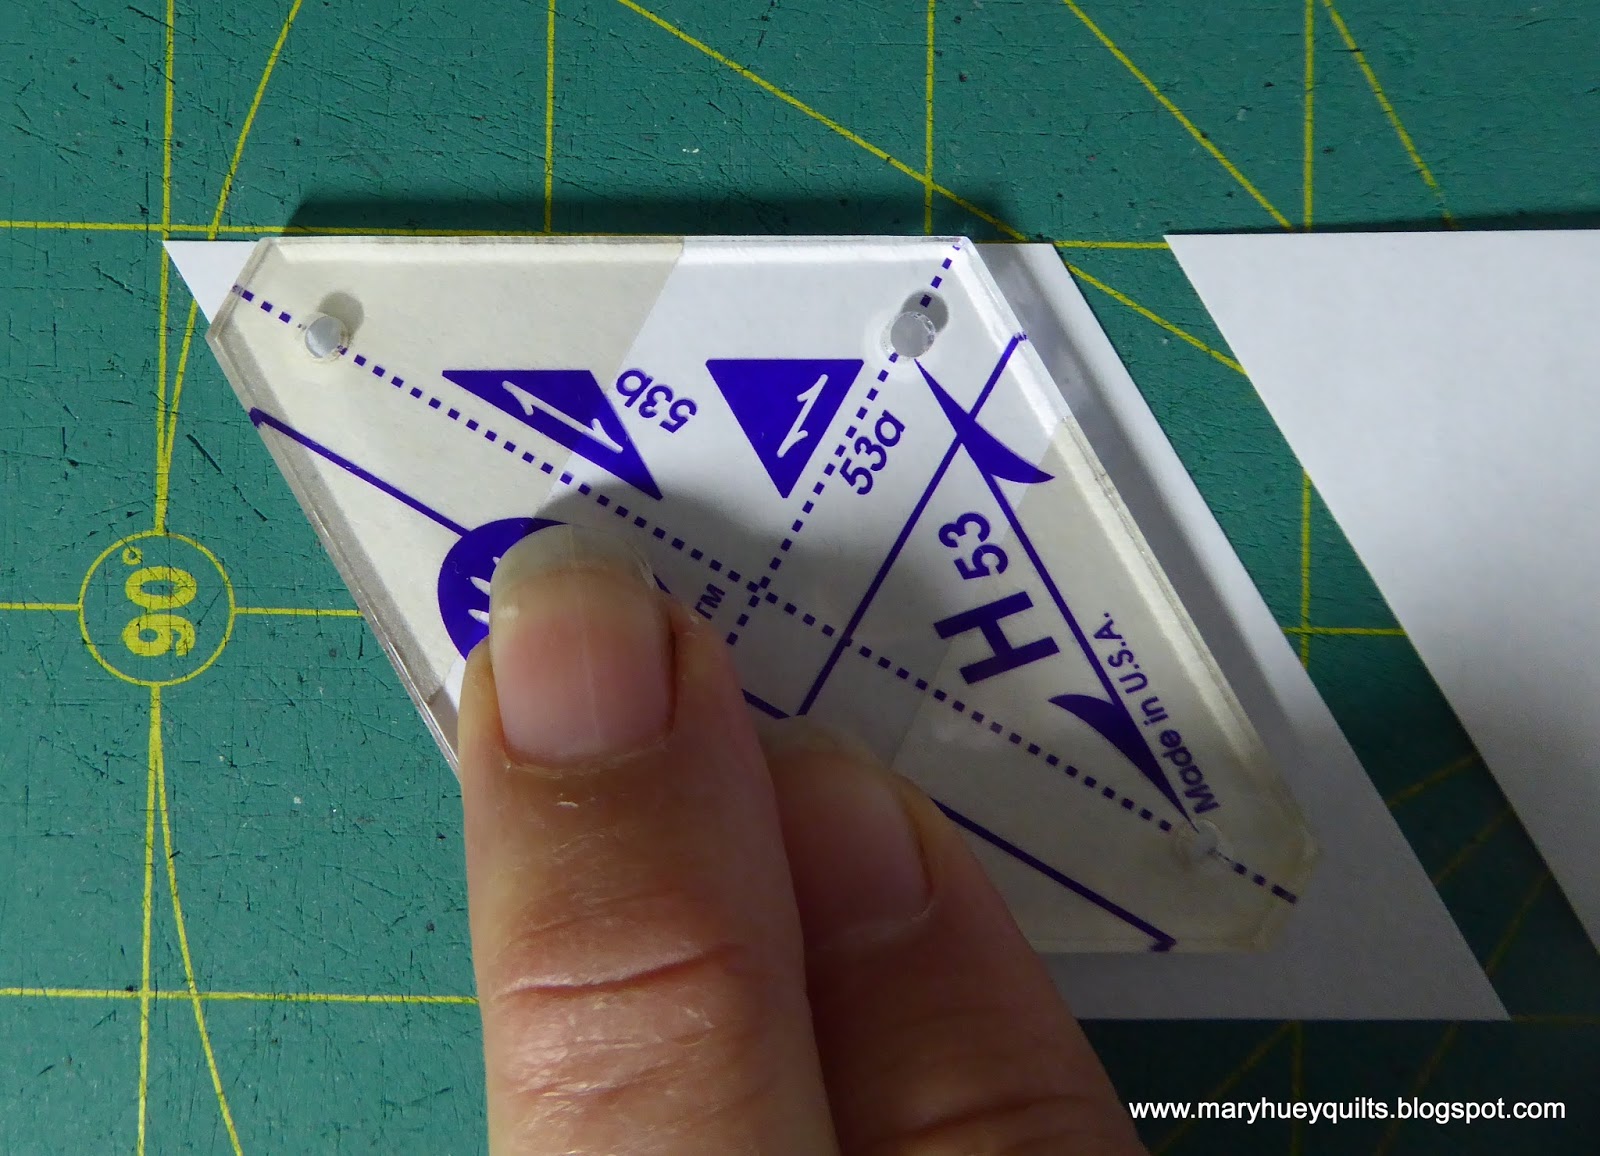
The "conehead" template is set up so that one can also cut hexagons (3/4") and equilateral triangles (both of which are compatible with the "missing" 60 degree diamond template). This photo illustrates cutting the equilateral triangles needed.

It's important not to skip the point trimming step -- I use to do that until I realized that the time spent trimming decreased the time necessary to align the pieces accurately while speeding up the piecing process!

The next cutting step was to figure out how to cut the tiny diamonds which are 1/4th of the conehead's base diamond.

From previous experience, I know that establishing the correct angle and doing the point trim was the best place to begin. There was some "template juggling" to figure out the best strategy and a few wrong cuts. This didn't work.

Finally, I hit on the right placement of the template. The upper left corner of the template matches the previous trim. Then cut along the right edge and trim the lower right corner. I worked on a doubled strip so each slice yielded two diamonds.

Before cutting the next pair, I needed to trim the upper left point -- without that trim, accurate positioning of the template was guesswork, perhaps impossible?

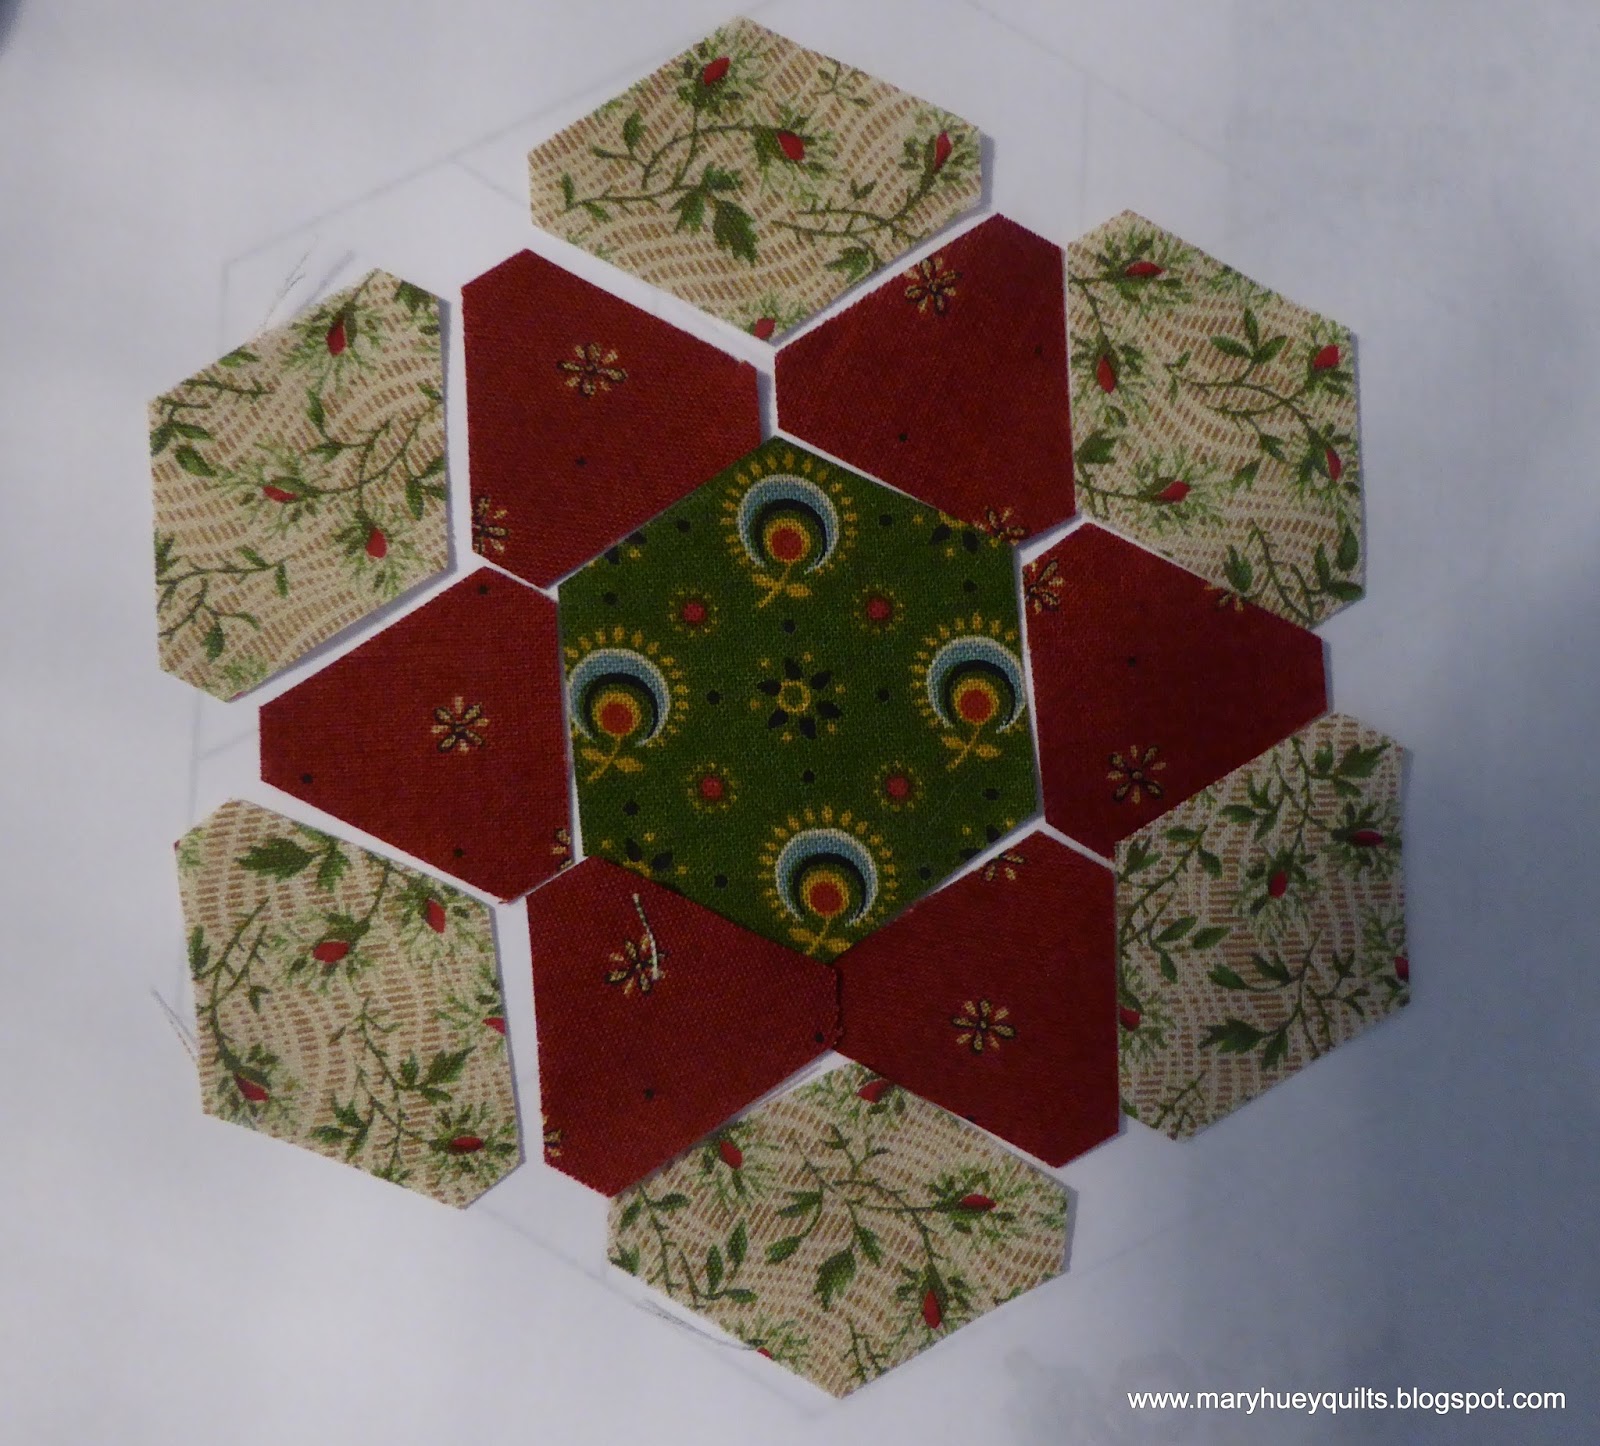
Here's the block so far but I still have quite a few more tiny pieces to cut!
I decided on this plaid for one of set of diamonds and in order to keep the stripes of it centered in the diamonds, I used one of the diamonds I had already cut to set it up. Then I laid the template over top and carefully cut out the plaid one.

The six outer diamonds were easy to cut using the complete template!

And here is the block, cut and ready to piece.

Now to decide how to assemble it. There are 35 pieces in this block and because it's hexagonal, one might assume lots of y-seams, but in fact there aren't any!?!
This is the first breakdown I did of the block and it would work, but the second and fourth rows of little pieces require lots of matching as the rows are joined to each other.

This cluster approach is easier to manage and frequently the best approach to complex looking 6-pointed star blocks. It works just as well with EPP!

So here we go! Can you see that the plaid diamond/green triangle unit occurs six times?

All seven clusters ready for the final assembly.

The center is finished and doesn't the little star look stunning?

Here's a look at how I pressed the center unit. I'm not a big fan of pressing seams open, but in this case it was the best option.

And here is the final block! It's a charmer and the possibilities for playing with the color and value of this block make it a good candidate for exploration! I'm going to add it to my block collection for this winter's sampler workshops!

Happily, block #16, Hammersmith Terrace was a perfect match for templates G46 and G49 -- no brain power required, just lay the templates on the pattern sheet!!

Hexagons often make me want to fussy cut fabric and the flowers in this print are perfect.

Experience has taught me to consider the repeat and decide if I have the right number of motifs BEFORE I start cutting. There's the repeat left to right.

And here it is up and down.
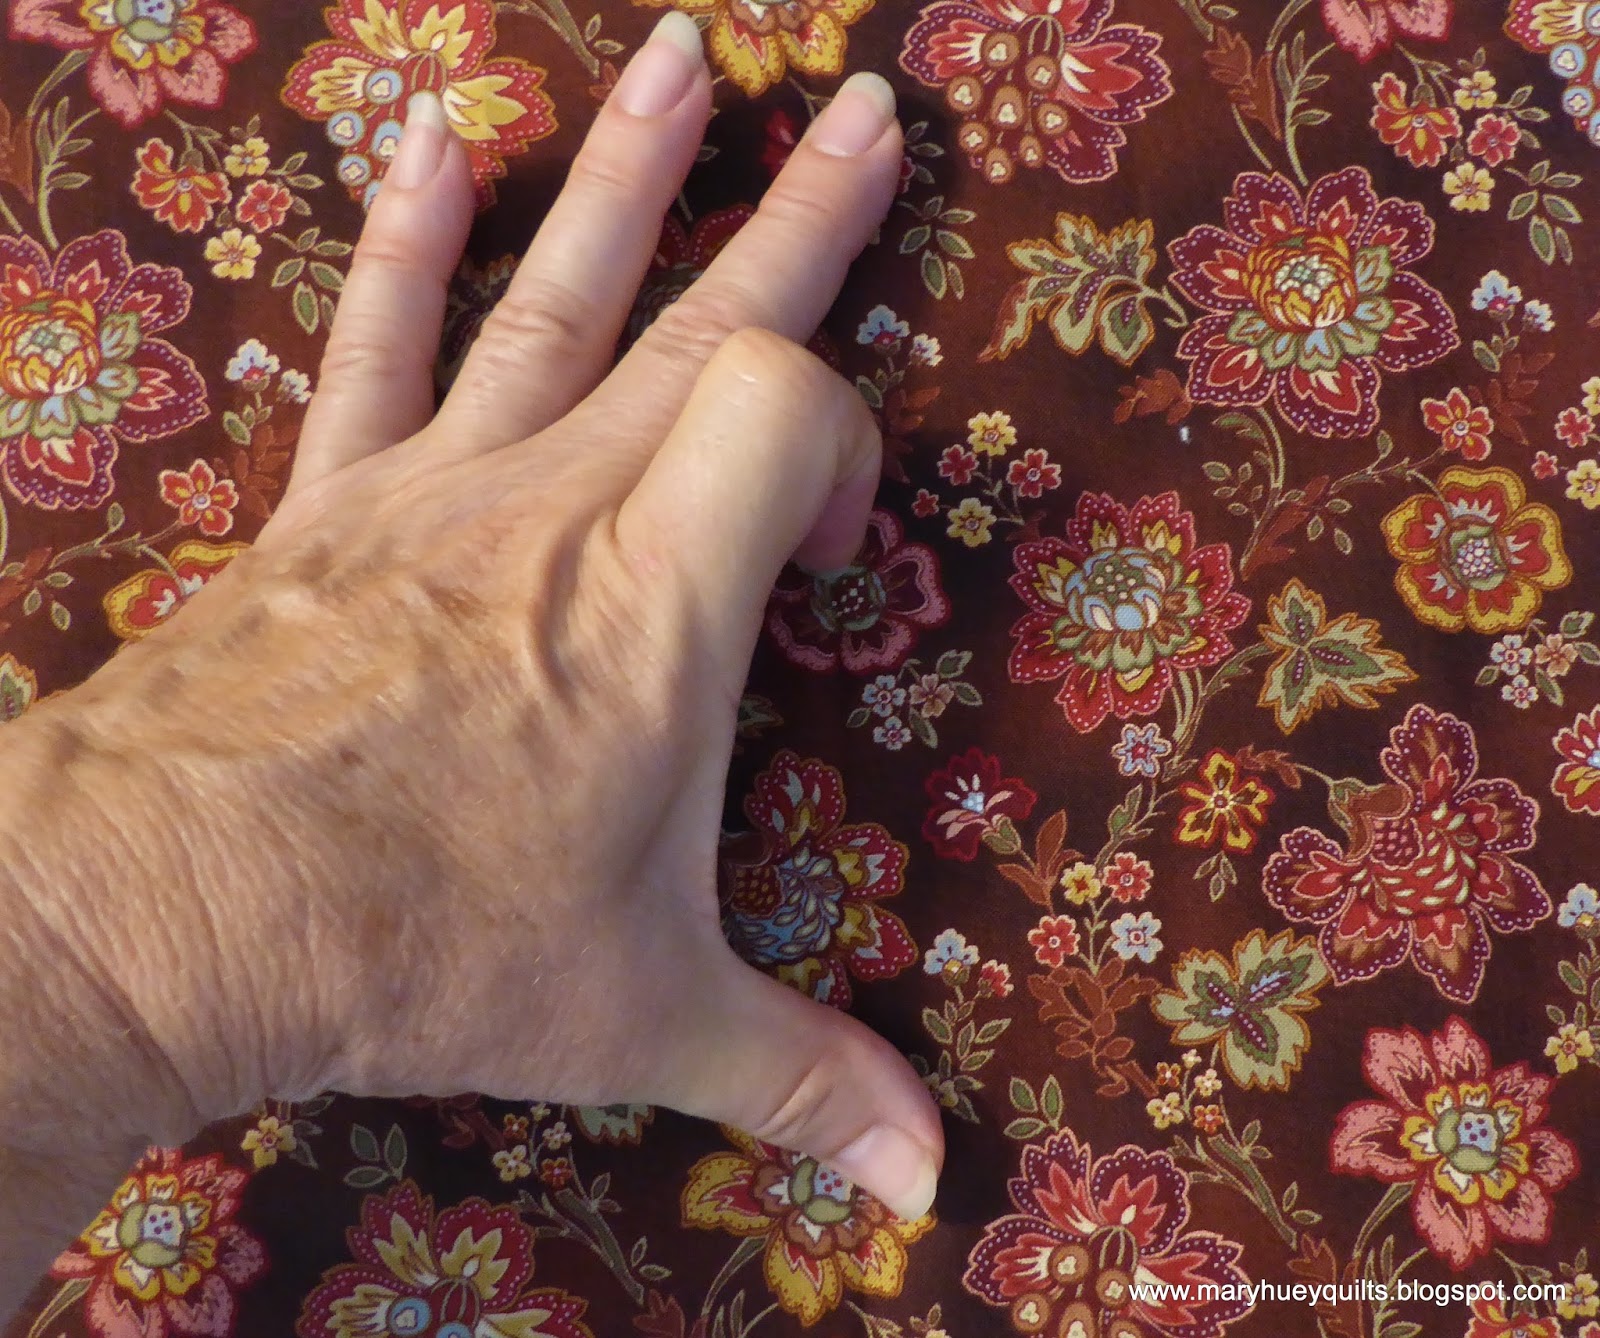
Even though I only have 1/4 yard of this print, I have enough repeats of any motif I chose.

I intended to use the one of the larger flowers when I pulled the fabric, but shifted to the smaller flower which occurs in a rose color and a gold color -- I cut three of each!

Here's a tip which might be helpful -- when putting fabrics back onto the shelf, fold it with the holes out so when you see it in the future, you know you've cut it up and eliminated that disappointment of finding the "perfect" fabric only to discover there are six random holes in it.

I did a quick side-by-side audition for the triangle placement before stitching.

Once again, no y-seams!!

And once again, I marvel at how easy it is to match everything up thanks to the trimmed points and accurate, consistent 1/4" seams.

I alternated the gold and the rose hexagons when I laid the block out, then forgot to check before stitching these three rows together and reversed the outer rows which put all the gold flowers on one side and the rose ones on the other.
Unstitch.
Now they are correct.

And the final block.

I think there are 10 blocks left to go and it's time to start thinking about the "setting" fabric.
Hopefully, we'll all get some piecing done this weekend. The USA has a long holiday weekend with Labor Day on Monday and at least here in Northeast Ohio, we are suppose to have four nearly perfect days -- sunny and pleasant temperatures. The challenge for me will be to balance the urge to be outside with the urge to be stitching with the need to keep painting in the living room.
At least I can stitch outside!!
Mary Huey