Tuesday, March 8, 2016

BIG news for birders!!

(2/24/2017 -- I've had so many questions about whether there is a pattern for this quilt and the answer is "no".  The block pattern is from someone else and the "original" part is my setting.  So I have gone through the original post and italicized the sentences that explain how I organized the setting to help any who are interested in using my idea.)

Currently the International Ornithological Union recognizes 10,615 living species of birds worldwide.  That number fluctuates due to new discoveries, split and lumps.  But wait until they hear about the 36 previously unknown species that I hosted on my studio work wall this past weekend!!  LOL

These delightful blocks have been showing up here on my blog off and on since summer.  I collected them from my Stash Bee Hive 7 mates during the summer.  HERE is a link to the post I wrote to request the blocks (there's a link in that post to the Block Lotto post with the bird pattern).
I made a few myself and then another web friend and I traded a few blocks this winter. 
Since I was anxious to work on this piece, I included it in my First Quarter goals list for the 2016 Finish-A-Long.

This weekend had three totally empty days -- the time had arrived to set the top together.

I asked everyone to "name" the birds they made -- that's what all the pieces of paper pinned to each block are.
My first step was to square up all the blocks.  I stitched 2" wide background strips to the left or right side of each block.
Then I trimmed and squared up the blocks -- the heights vary but the width of all the blocks is consistent.
The next task was to "identify" all the species included in my collection.  I printed labels using a fabric prepared for printed with my inkjet printer. 
There was lots of stopping and starting as I moved through this project and one of the long pauses occurred while I figured out a simple and effective way to add the labels to the blocks.  I finally settled on fusible web which I fused to the back of the printed fabric before trimming the labels apart.
I experimented with hand stitching or machine stitching them in place and as you can see, I settled on the machine and used black embroidery thread.
Here's a close-up of the newest species of cowbird, the domesticated cowbird. 
They are easy to identify as long as you know cow breeds.
Once all the blocks were ready, it was time to make the setting decisions.  I found this yummy print last fall and thought it would complement the collection well.
I also won a scrap bag of polka dot strips from Moda during the winter and loved the way they looked with the birds.
Here was my idea before I began working with the blocks.
But as the auditioning progressed, I eliminated the warm colors and added grays, then the bird print was set aside for the backing of the quilt. 
Upon returning to the studio after one break, I decide the quilt was getting too wide and pulled away the sashing completely.  I not only liked the shape of the quilt better, but it brought the emphasis back onto the birds.  I achieved the "staggered" positions by alternating which side of the bird had the extra background strip added.  Then I set the vertical rows together adding another strip of background fabric between all the birds.  Another stagger was added by leaving that horizontal background strip off the top of the odd rows and off the bottom of the even rows. 
Finally I tried to spread the birds facing right around the quilt -- there were only 7 of them -- although I think one of them jumped out of the third row into the top row when I was snacking!?!
There was another series of auditions for the borders but I won't drag you through that.  In the end, I decided on a narrow line of black polka dot before adding a wider border of assorted gray polka dots.
All that remains to be done is to make the backing and layer it up for quilting.  There will be a significant pause as I ponder that aspect of this quilt.
I also have to contact the IOU and find out how to submit my discoveries. 
I'm sure they have no idea any of these species exist.   
 I probably should also figure out how to manage the onslaught of "twitchers" that will want to see these new species for themselves. 

Isn't quilting fun??

Mary Huey


Friday, March 4, 2016

Heads-up!! An FYI list!

With the impending arrival of spring in the northern hemisphere, I have lots of little traditions to follow.  First, I must look for skunk cabbage in bloom -- found it yesterday!!  I don't have to look very hard now that I know where it always can be found. 
This is the "flower" -- the leaves come later. 
I heard the neighborhood black-capped chickadee singing his territorial song at dawn this morning so I'll need to get the nesting box that he prefers cleaned out and ready.  He has apparently lost his mate over the winter and I hope he's able to attract a new one.  I do love having them nest close to the house and wake up to their morning conversations.
Then there is the spring cleaning ritual.
Not quite as much fun as chasing down wildflowers and watching birds.
And it's not so much of a ritual as it once was -- probably because I'm out chasing nature.
But the carpenter called yesterday and he'll be here Tuesday morning to start replacing the windows in my studio, soooooo -- guess what I'll be doing this weekend.
Happily, I discovered that Cynthia over at Quilting Is More Fun than Housework is hosting an Orphan Quilt Project Giveaway Link-up on March 18, 2016 -- click HERE for all the details.  While I'm prepping for the carpenter, I might as well try to let go of some UFQ's.
We could work together and challenge one another to clear out 10% of our orphans and UFQ's? 
Isn't that scary!!!
 
But if I have 40 UFQ's, that's only four.  Hmm, that's not so scary.
Well, we'll see if I can pull it off.
 
Of course in a perfect world, there would be no UFQ's or orphan projects.  Then we would all be able to answer Stephie over at Dawn Chorus Studio's question, "How long does it take to finish a quilt?"  She began a series based on interviews with three of her favorite quilt makers and picks their brains about their approach to their work.  Here's a link to the introductory post and there will be three more installments during March. 
 
I don't know about you, but I can always use new insights into maintaining my work momentum and inspiration.  This quilt behind me is muttering something about it taking me thirteen years to get around to quilting it.  Blah, blah, blah . . . . .
No doubt, I'll make progress on it this weekend though -- anything to put off the cleaning!!
 
Hope you get all the stitching time you are dreaming of this weekend!!
 
Mary Huey


Tuesday, March 1, 2016

The Dresden Star -- a New Pattern!!

This past Saturday, I taught my first official workshop using the DRESDEN STAR block which came to my attention about a year ago.  You watched me prepare for the workshop as I made this new sample.
The first part of the workshop focused on cutting and piecing the block.  The morning went quickly and everyone was able to complete one block.
It's always so much fun to see other versions of a block and how value changes give the block a different look. 
After a pleasant lunch break, we spent time exploring ideas for expanding the basic blocks into larger pieces -- with one block or with a whole quilt's worth.
I gave each student a couple sheets of equilateral triangle paper and set them to work experimenting with pencil and paper.  After about 15 minutes, we came back together to share our discoveries.
It was exciting to see simple ideas expand into more complex ideas.
And everyone went home with a half dozen sketches that will help them enjoy making this block over and over for simple projects such as table toppers or full size quilts. 
I came home confident that my instructional leaflet makes sense and spent a couple days converting it into a pattern for the quilt so that those of you who don't have access to me face-to-face can also enjoy making this design.  It is now available in my Etsy Shop for download. The price is $8.  Click HERE to purchase it now!

The instructions are illustrated with photos and use Marti Michell's Set H, Large Hexagons Plus ($20) and 2" Kite & Crown Set ($14).  If you can't find these at your local quilt shop, you can purchase them direct from Marti Michell HERE.   And of course, I pieced it using the chain-piecing technique from my instuctional PDF, Set-In Piecing Simplified, also in my Etsy shop.  

Mary Huey

Thursday, February 25, 2016

Are you a Y-Seam Warrior?

So how do you feel about y-seams? 
Do you ignore patterns with y-seams?
Do you look for short cuts that avoid y-seams?
If you've been following this blog for even just a few months, you have undoubtedly realized that I am a fearless y-seam warrior. 
Bring them on!!
My February APQ Resolution Challenge project is Smitten, a pattern from Lucy Carson Kingwell -- a sampler of 6 pointed stars with compatible fill-in blocks!
Marti Michell's Template Set H (Large Hexagons Plus) is the perfect set to rotary cut the pieces and the chain-piecing technique from my DVD, Set-In Piecing Simplified makes the work a breeze.

I started the blocks last summer but only finished two before Fall came along with all it's deadlines and everything went into a basket for a slower time.


It's been fun to dig back into the basket and meander through the "wall of color" over the past few weeks putting together charming and funky fabric combinations.
 
I've been making blocks as the "sew-offs" while piecing together my daughter's Giant Rick-Rack quilt top!
The collection has now grown to eleven finished blocks!  There are five more "large" ones to make and then some small ones.  In the meantime, I am adding them to the portable work wall to evaluate where to go next with color and value. 
I need more of the deep magenta to balance things!
To add to the fun today, I'm launching a monthly LINK-UP just for all Y-Seam Warriors.
 I'll host a new collection at the beginning of each month and invite you to share any post from your blog or photos from your Flickr albums to show off your projects using y-seams. 
 It can be 8-pointed stars, hexagons, 6-pointed stars -- anything you pieced with y-seams!! 
Of course, I hope some of you are using the skills you learned in one of my Set-In Piecing Simplified workshops or from watching my DVD, but everyone is welcome.
The more, the merrier!!
And those who don't have anything to share (yet), take courage!
Y-seams can be conquered!!
I'm looking forward to seeing what you are doing!
Thanks for using the badge to identify to your followers that you've joined in the fun!
Mary Huey


Tuesday, February 23, 2016

Winter isn't over, but Spring has started!

Winter is not over here in Northeast Ohio -- early last week, I had to deal with this before I could leave the house. 
My sidekick, Willie, doesn't enjoy the snow as much as he use to, but he'll go outside and follow us around as we shovel paths and fill the bird feeders.
A fresh snowfall always increases the number of birds coming to the feeders and it provided some beautiful photo opportunities this time!
It was a "wet" snow -- perfect for building snowmen and creating inspiring winterscapes like this view of the hemlocks on the edge of the ravine at Penitentiary Glen Park near my home.
The snow stuck to everything and we woke up to a world that looked like it had been sprinkled with powdered sugar.  The next day, the skies cleared and the sun lite up every vista.
The fox squirrels that hang out in my yard took time for a bit of sunbathing.
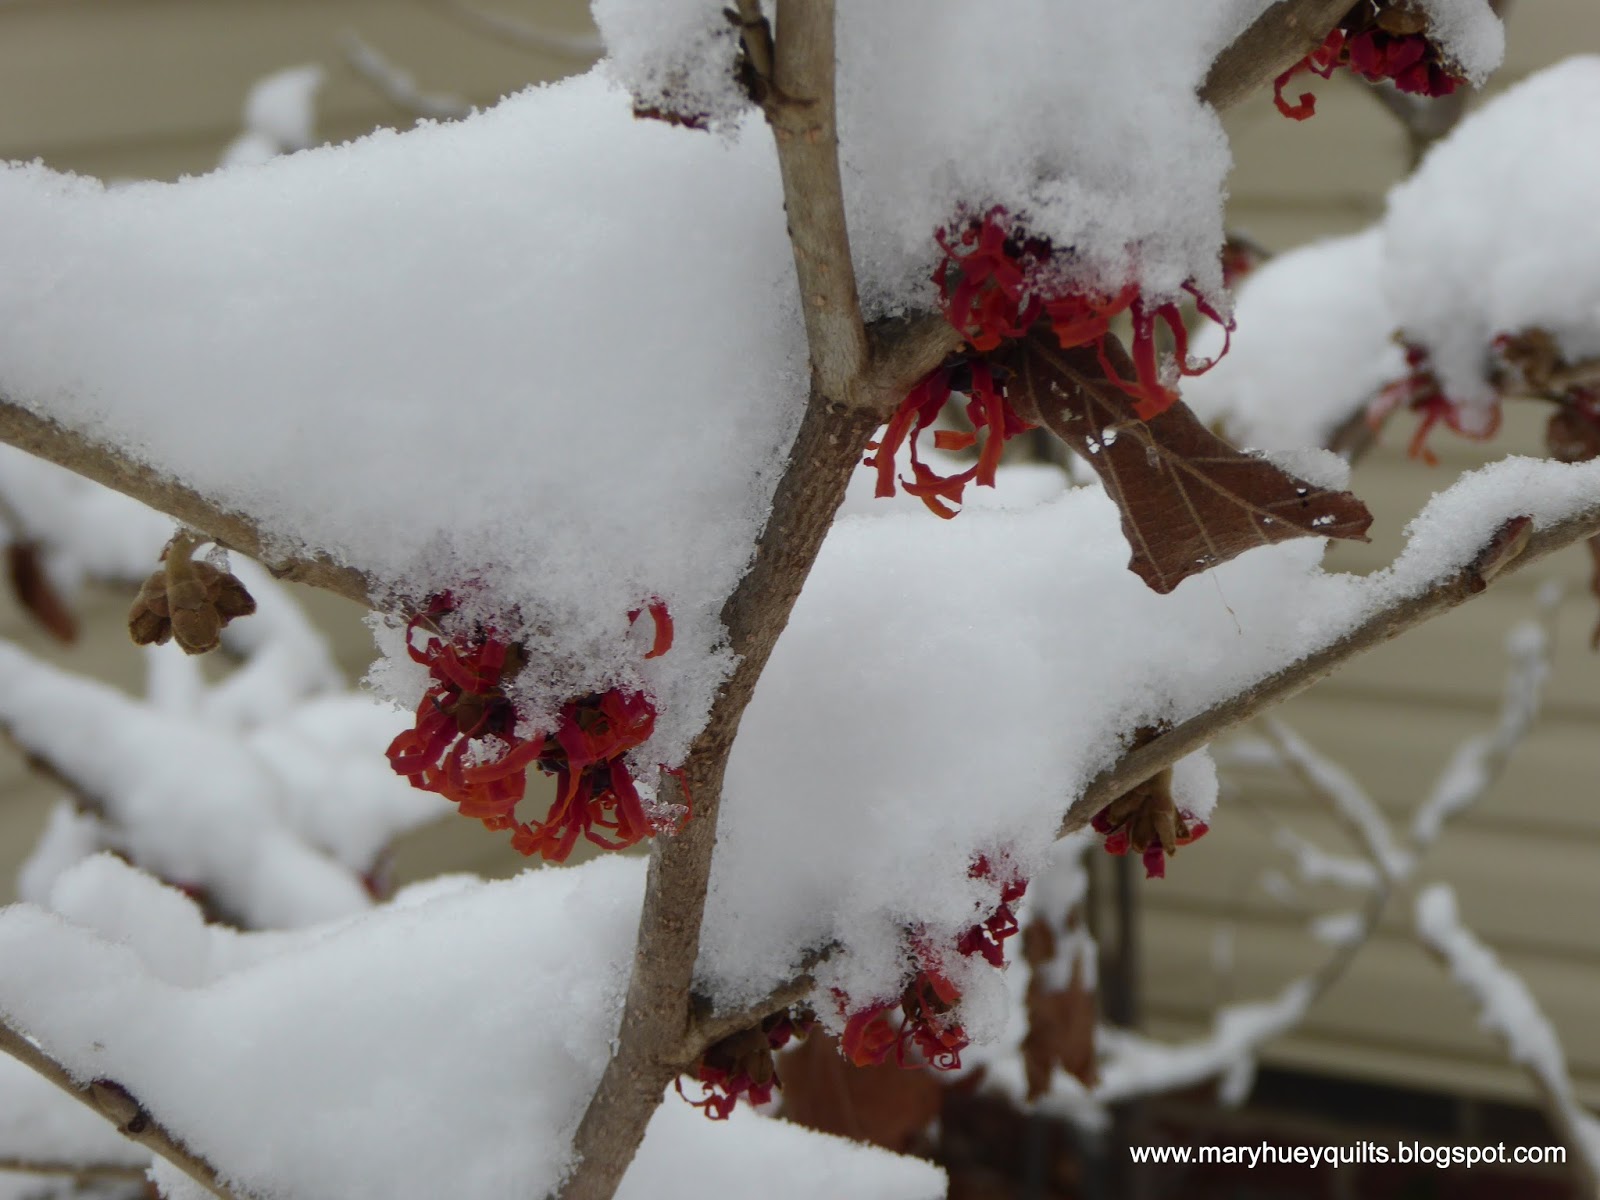
My red witch hazel was in full bloom and the color still peered out from under a blanket of soft snow.
An afternoon walk at Holden Arboretum was filled with inspiration.  The snow laying on these trees reminded me of how I always outlined shapes before coloring them in during grade school.
The shadows were beautiful and I was particularly fascinated with the lacey pattern created by this tree which was still holding some of last year's leaves.  If you aren't personally acquainted with snow, sometimes it shimmer like diamonds -- snowflakes have to be large and the sun at just the right angle but it's difficult to capture with a camera..
Four days later, warm winds blew into town and melted the snow within hours and pushed the temperatures up into a spring-like range. 
Today there are glimpses of spring all around my gardens.
The full beauty of the witch hazel is revealed and it is glowing in the sunshine.
The snow crocus are blooming in front of the snow shovel.
The Lenten roses have pushed up their flower stalks and I spent a pleasant half hour yesterday pruning away last year's leaves so the flowers will be in the spotlight for the next few weeks.
Most of mine are creamy colors but this beautiful pink one is right in the center of the area where I have them planted.   Deer do not like to eat hellebores and so I'm planting more of them around my gardens.
The other early blooming plant that I love and keep adding to my beds are snowdrops.
The snow will be back on Thursday, 90% chance of snow, 3 to 5 inches and we'll have another chance to enjoy our part of the world in it's winter coat.
I hope your week is off to a beautiful beginning!!
 
Mary Huey


Friday, February 19, 2016

Simple and Subtle -- out of my comfort zone!

Last summer, my youngest daughter requested a "simple" quilt in muted greens for their redecorated guest room bed.  "Muted" isn't my comfort zone so it's taken longer to get a fabric assortment pulled that fulfills that requirement.

To carry out the "simple" theme, I chose to make a Giant Rick Rack quilt using Marti Michell's Flying Geese ruler.  It's a multi-size tool that I've used many times and I've made some delightful pieces with it like this batik laprobe.
The graphic element of this design is perfect for "simple".
Here are a couple pictures to illustrate how the ruler is used -- there is no waste!  The first cut is a standard half square triangle.  If you are making basic flying geese units, these will be the "background" smaller triangles.  The ruler is designed so you can cut both size triangles using one tool.  For the Giant Rick Rack, these smaller triangles will be used at the ends of the rows.
I needed fourteen of the large triangles cut from strips with the straight grain on the longest edges  as illustrated.  Five sizes can be cut with this tool and I used the second largest.
Before moving onto the next cut, I pull the corner of the tool up to match the corner of the triangle and trim that off -- very important step as you will see.
In this picture, you can see both the trimmed and untrimmed triangles.
Once all twenty-some fabrics were cut, I played with the order of them on my work wall (for about two days).  My goal was to minimize strong contrasts so there was lots of shifting around to achieve that.  I avoided setting the lightest prints next to the darkest prints choosing instead to gradate the values (light to medium to dark).  It's not a very exciting picture but a very necessary step!
The design is pieced in rows and I begin by assembling pairs.
This is where the trimmed corners simplify the process of matching the triangles perfectly.
  You may feel confident about "eyeballing" but these trimmed corners speed up the alignment process and assure straight rows.  Nothing goes askew!!
Once the rows are assembled, it's time to stitch them together and I have a tip to help with that.
Working with a basic ruler, line up one edge with the intersection of the seams at the point on the triangles.  Align one of the ruler's perpendicular lines with the opposite raw edge of the triangle (on the right in this picture).  Make a pencil mark at the right edge.
Now when you pin the rows together, you can match the pencil line to the point of the triangle on the row underneath. 
This assures you that the points of the zig zag rows will be level as you look across the quilt.
At this point, I have the rows set together into three sections of six rows ready to quilt. 
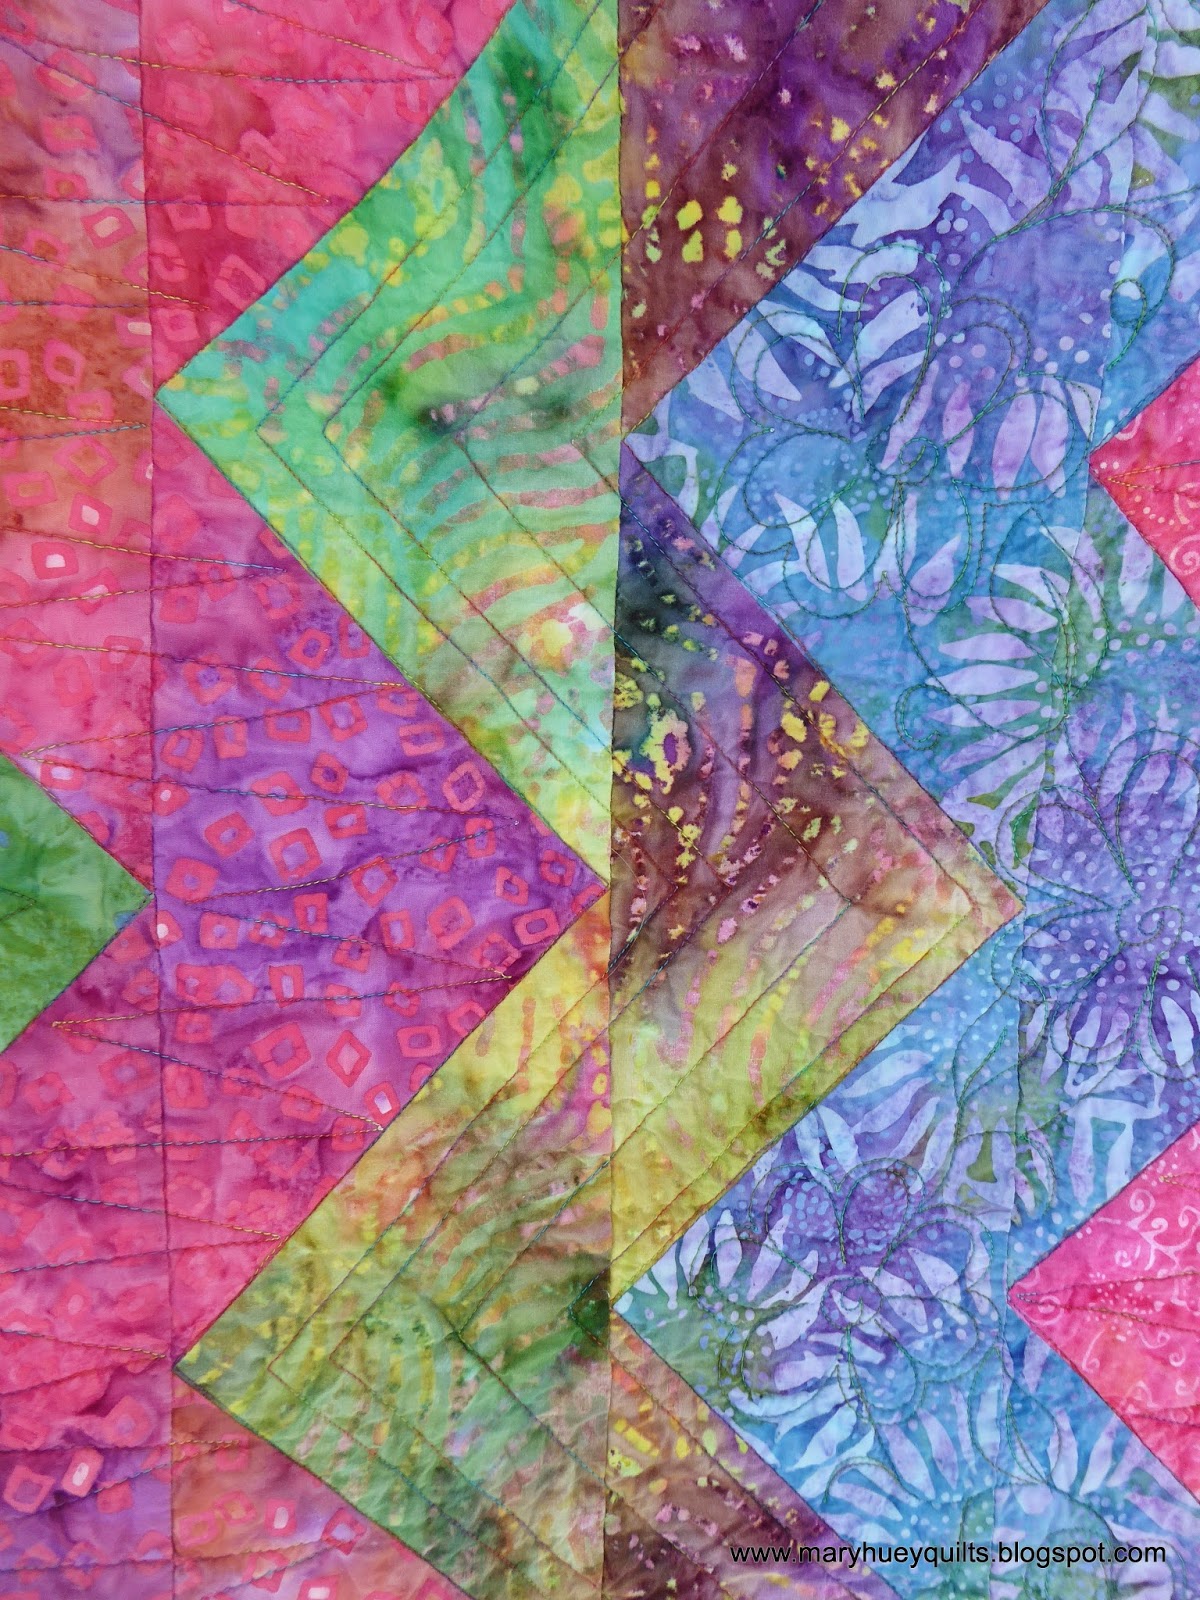
Once the Aurifil 40 wt thread arrives, I'll quilt each section and then do the final assembly and binding.  I plan to use some of the ideas from that bright quilt for the quilting designs!
If you live near a shop that sells Marti Michell's tools, ask about the Flying Geese Ruler and see if they carry her pattern, Zig Zag Geese which includes this and four other projects.


Let's all spend the weekend stitching!!

Mary Huey