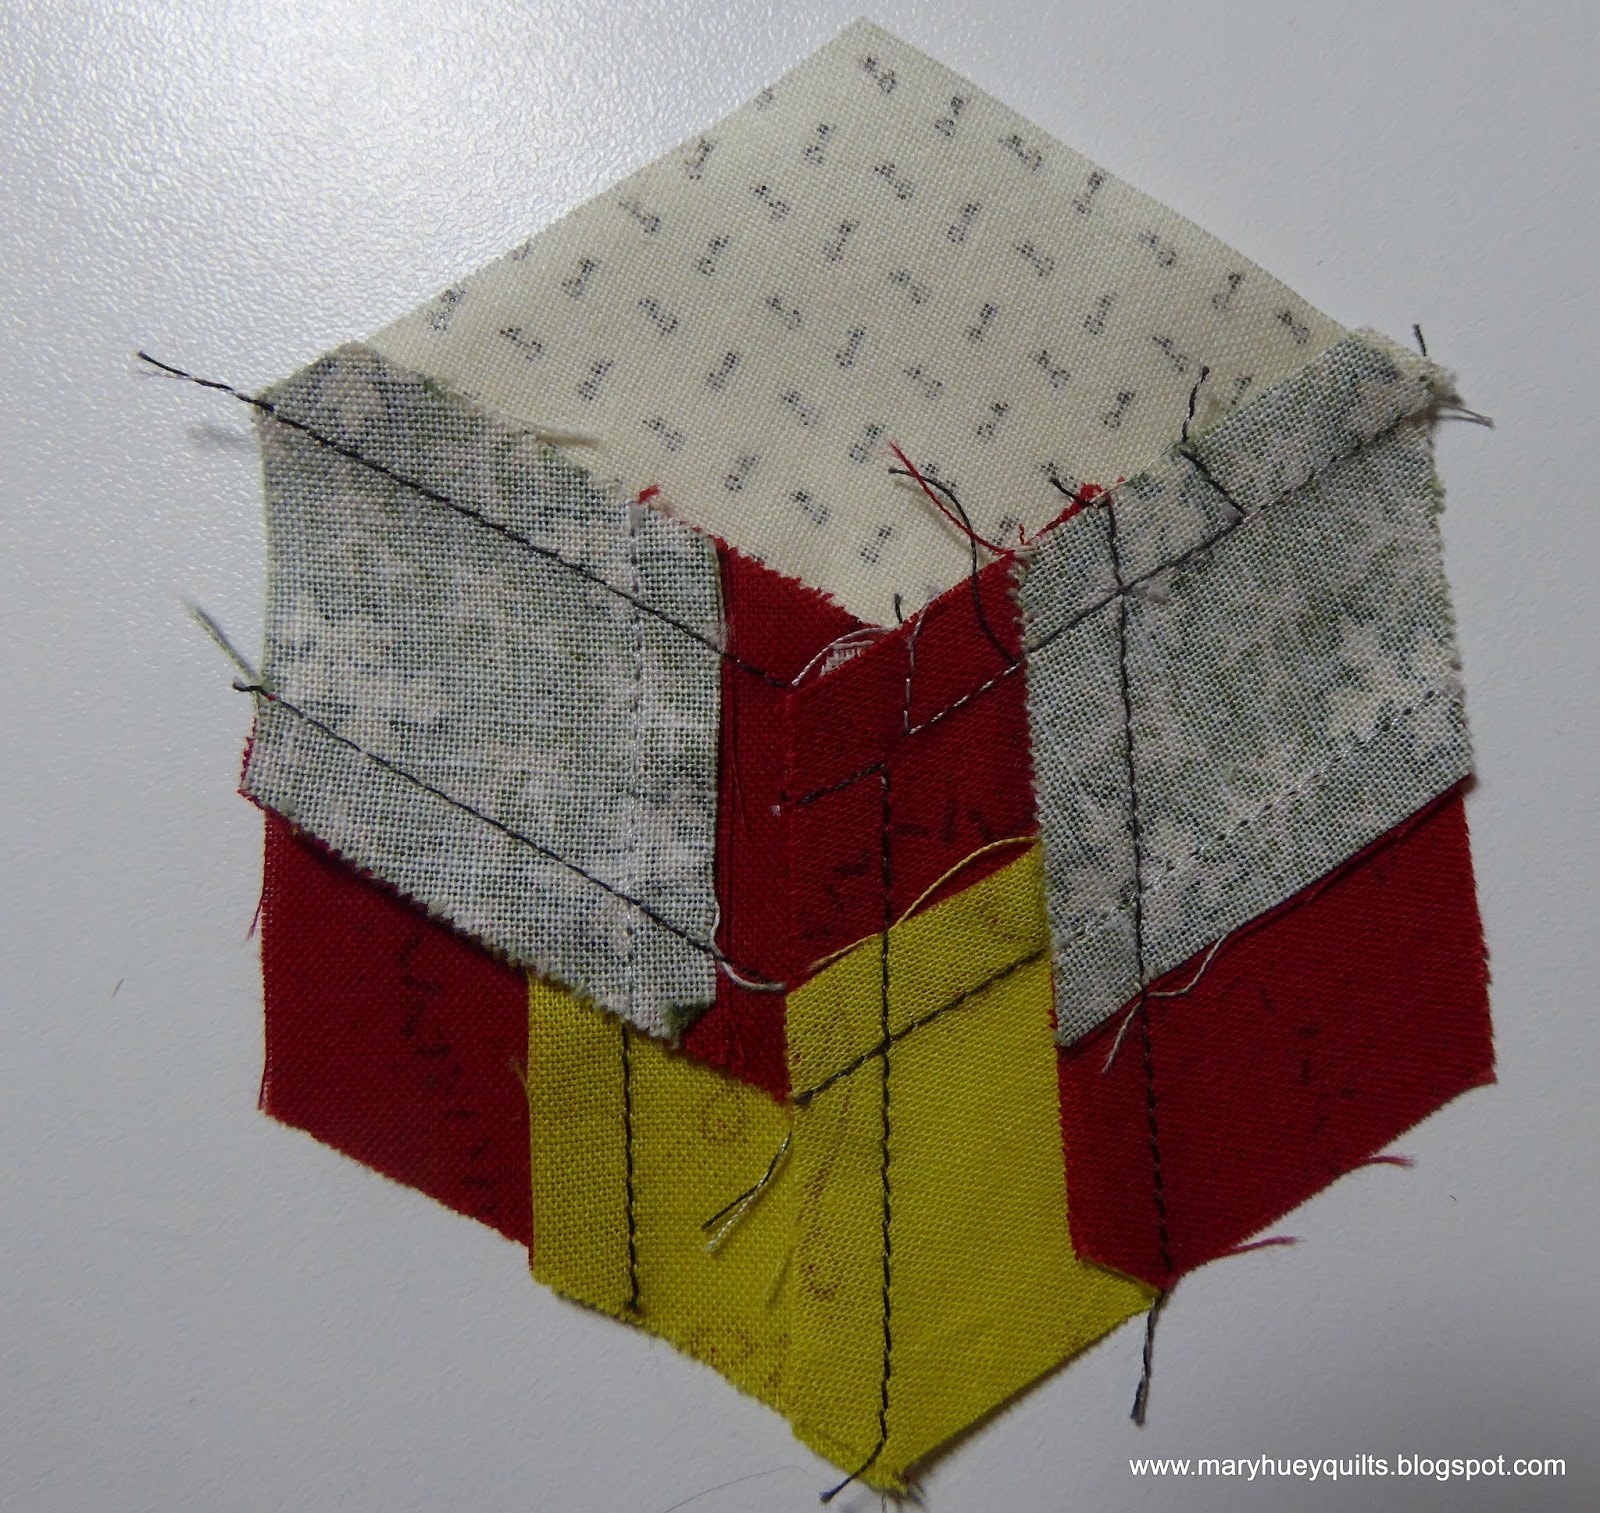
Showing posts with label y-seam warrior. Show all posts

Tuesday, January 30, 2018

Opal Essence Finish!!

While it's not my first finish of 2018, Opal Essence (pattern from Lorena Uriarte) is January's "one monthly goal" finish!
The deadline of getting it ready to exhibit in the "workshop" section for the upcoming regional quilt show keep me moving on this one.  Saturday it was time to ponder the binding -- my first inclination was black, but when this hank of binding left over from a project last fall caught my eye, that changed!  (As you can see, I neither press my binding in half or roll it up tidy before working with it.)
And there was almost exactly enough!?!
Several years ago, during one my stash busting marathons, I realized that some of my projects stall because I can't find the perfect fabric or more of "that" fabric.  So the rule became, you have one week to find what you think you want to use and then you have to settle for the best available alternative.  Interestingly, as time goes by, that process gets faster and faster for me.
The almost perfect stripe was in place almost before I could hesitate.
Now it's perfect!!
Here's a tip for simplifying the mitering process when hand stitching the back side of your binding in place.  Stitch all the way to the edge of the quilt.
Now when you fold the adjacent edge into place, everything is snug underneath and a perfect miter is almost guaranteed!!
Look at that!! 
I wrote a post a couple years ago on how I handle the corners while doing the first round of stitching the binding by machine -- click HERE to check that out!
With the binding finished, I used a permanent fabric pen to write out a "label" onto the backing -- adding on labels is lovely but I skip them pretty regularly so this is a simple and good alternative.
And how about that backing fabric??
From my hoard, couldn't cut it up for anything, don't want it to be in the "big yard sale".
Perfect backing!!
Most of the quilting is done by machine but I used some silk pearle cotton weight thread my mother brought me from Europe years ago to stitch circles inside the circles! 
Our world is pretty brown right now -- waiting for snow but by then the light would be gone outdoors so here it is in my brown backyard.   Tomorrow it's off to hang at the show for a couple weeks and recruit students. 
In the meantime, I've started organizing some demonstration samples in other colors palettes to expand my students' perception of the design.  This cluster of blues and aquas is a mixture of modern prints and reproductions -- working with what I have for the sake of my students!!
Looks fine!
Lots of yellow arcs for the circles. 
And I'm refreshing my applique skill set by using freezer paper with this group.
Linking up over at Elm Street Quilts One Monthly Goal HERE!!
Need Lorena's pattern -- click HERE to get to her shop -- it's a downloadable PDF so you can be working on your version tonight!!

Next!!
Mary


Tuesday, January 31, 2017

Diamond Star Sampler Finish

I woke up Monday morning feeling overwhelmed. 
Too many deadlines (and perhaps too much upsetting news) are making it hard to prioritize a day's demands. 

There was a little downy woodpecker in my pantry and I needed to take him to the wildlife rehab center.  He's "my" little downy who comes to the feeders faithfully every day.  This fall, I watched him work hard for a week to enlarge the hole on my chickadee house so he could get inside.  Then the clever little bugger figured out how to land on the finch feeder and gobble up chipped sunflower seed.  Sunday evening, I found him on the ground under the feeders at dusk.
Once I determined that he could not fly, I scooped him up and put him in a cat carrier. 
He ate some suet after I put him in the carrier and spent a quiet warm night in my pantry.
So he was my first priority!

Off we went to the local wildlife rehab center where I was warmly greeted -- I'm something of a regular visitor -- and on examination, they found a broken wing.  The swelling needs to come down before they will be able to determine the exact location of the break and his recovery potential.  If it's not treatable, they will put him down but if it is and he responds well, there is a chance he'll be able to return to the neighborhood!

UPDATE -- 3/10/2017
Two days ago, I headed back out to the rehab center to pick up "my" downy woodpecker!!  He was much admired by the center's staff for his feisty resilience and making such a good recovery!  I released him back into "his" yard and have been waiting for 36 hours to catch a sight of him. 
At 8:30 a.m., I was delighted to see him land on the finch feeder for a quick feed!!
Yea!!!

We had fresh snow overnight and since I was in a park, I headed down the trail to get a bit of exercise (walking in the snow is a good aerobic activity). I was delighted to discover that I was only the third person to walk the trail and as is always the case, the beauty around me soothed my soul and prepared me to head back into the studio and tackle the next priority
 In 2014, I ran a series here on the blog, the Diamond Star Sampler, to show how to apply the techniques featured in Set-In Piecing Simplified, my DVD workshop that teaches how to chain piece through y-seams. 
All the posts are gathered together under that tab up at the top of the page -- Diamond Star Playtime!

This set of stars appeared in many of those posts to demonstrate working with strips, fussy cutting, and using other shapes related to 60 degree diamonds plus more.
When I assembled the blocks into a quilt top, I chose to use a honeycomb setting with half stars to complete the center row. 
And this is where I left it two years ago -- auditioning possible border fabrics.
This past fall, I pulled the stars out again as I began to plan and prepare for a two-day workshop in March, Studying the Stars.  One of my goals for the workshop is to provide multiple setting examples for hexagonal blocks to inspire my students.
Finally I had the motivation (and a deadline) to make a decision about the border fabrics and quilt this piece.

I've been chipping away at the quilting since the first of January and finally finished over the weekend.  Monday's task was to bind it and get it ready to display in the teacher's gallery at the Lake Metroparks Farm Park annual show which opens February 17.
There were still four openings in the workshop, Studying the Stars on 3/17 & 3/18 if you can come!!
It was my intention to confine the quilting to basic straight lines or a simple grid.
But when I sat down at the machine, arcs started happening on the stars.
And a stylized trillium appeared in the background hexagons.
I finally got around to the straight lines to frame the central part of the quilt and in the border.
Now it just needed binding and tying off some odd threads to get it ready to display.
I finished listening to Jane Austen's Persuasion on Hoopla (perhaps my fifth "reading" of it) while working.  
(Much as I love Pride and Prejudice, Persuasion is my favorite Austen story!)
Then I rushed to get outdoors for some photos before the good light disappeared.
Happily my yard is encircled with split rail fencing, but avoiding all the garages and sheds in the background can be a bit of a challenge.
How about hanging in a tree?
Finished!! 
Bonus -- it is one of my 2017 Finish Along goals for the first quarter, too!!
Check out the first quarter link-up HERE!
Here's one more photo from the park this morning.
One of my favorite winter scenes is when the snow sticks in the trees and outlines the architecture of the trees.  I love the way it highlights their structure.
I'm seeing lots of "impatience" expressed on Instagram -- folks (in the Northern hemisphere) are anxious for spring -- but I find it beneficial to my mental health to enjoy winter -- and we still have a couple months of it to go!!

Mary  


Tuesday, August 16, 2016

Catching up with Myself -- Morris Hexathon #12, #13, #14, and #15

". . . . though I get no more tired now than I did when I was younger, I take much longer to get un-tired afterwards."  C.S. Lewis

So it goes this week for me as I putter along at catching up with myself and get back into a home/studio routine.  Although it looked like I was here in my studio plugging along last week, I was actually on a family camping trip with my adult children and my grandchildren! 

I had a backlog of four blocks for Barbara Brackman's Morris Hexathon by the time I returned and spent my first afternoon back in the studio working through those.  Oxford Rose, #13 was easy!  I was able to use the kite template from Marti Michell's 3" Kite and Crown set to cut the pieces and although it is a bit large, it will be easy enough to trim the block at the end of the project.

I need more dark blocks and favored these two directional reproduction prints for a contrast of print. 
Canterbury, #14 was fun to make once I determined a piecing strategy.  I used templates #46 and #48 from Marti's Set G plus some strip piecing and cutting tricks.
Rather than cut individual diamonds with template #48, I pieced a strip set of the red and green prints using the template to determine the width of each strip.
Once they were pieced together and pressed, I struggled to determine the correct angle to start cutting the diamond pairs until I laid the pattern sheet directly above the strip set and lined up my ruler in the direction that matched the diagram!  Once that was done, I aligned the ruler's 60 degree line with the edge of the green strip and cut the angle.
I proceeded to cut six diamond pairs using the template to measure the width of each one.
I used the same strategy to get the starter angle for the background parallelograms.
Again, I was stumped for a minute on how to measure the length of the background units, but realized I could just lay a pieced diamond unit right side down on the strip and use that for a "pattern" to cut the parallelograms.  Notice that I used the diamond template and dutifully trimmed the points of the units and marked the "dots" to guide me with the y-seams.
Here is the block laid out and ready to assemble.  There are 18 seams in this block -- interestingly, the seams around the center hexagon are not y-seams but all the rest are.  Because I always want to chain piece, I organized everything for the next block in the series and worked back and forth between the two blocks to maintain my set-in piecing simplified strategy!!  That is why there are stacks of something else at the bottom of this picture.
These are the beginning units for #15, Kelmscott Tile.  It's made up of twelve 4-piece diamond units though the option was presented to use single larger diamonds for the outer "background" diamonds which is what I did. 
Again, I chose to take a short cut and made two strip sets for my 4-piece diamond units.
I cut six units from each strip set and assembled them into the main diamond units.
My first attempt at this block was a bit too small so I remade the diamond units using 1 1/4" strips and trimmed them to the correct size with Template H53 -- the block is the right size now!
Now for the piecing process!  Adding the diamond units to the hexagon center of the Canterbury block is not a y-seam at both ends!  It's a blend of a "partial seam" around the hexagon and a y-seam at the outer edge.  So the first pair is added to one side of the hexagon but I stopped about 2/3 of the way across and left the seam unfinished.  The second pair will be added to the right side of this section and stitching from hexagon end to a dot at the end of the diamond unit.
Press the seams away from the hexagon!
At the end of each of those seams, I stitched together a pair of the strip units for the other block to assemble the 4-piece diamond units for the other block.
Back and forth, back and forth.
The right end of this seam is open for the y-seam needed to insert the background parallelograms. 
(I need a tutorial on how to "draw" arrows on my pictures!!)
Here it is before inserting the background pieces -- these will all be y-seams.
The 4-piece diamonds were finished and ready to begin assembling the second star.  This photo shows the pressing of the "tumbling" units which is the first step of assembling a six-pointed star.
(See a complete explanation of how I piece six-pointed stars HERE.)
All the units are pressed identically.
To keep the points of the first block flat and crisp, I inserted every other background piece, then pressed it before inserting the final three pieces.
And here are final pictures of Canterbury, front
and back.   I like this block and plan to make a larger version of it -- maybe slip one into my Smitten quilt top!?!
And this is Kelmscott Tile front 
and back.  It took a month, but I convinced myself to remake this block so it fits together with the rest!!
 
Now to catch up with the #smorgasblocks project.  I'm three blocks behind on that -- but it was totally worth it to spend 5 days puttering around with my clan.  Here are the grown-ups headed out for a morning paddle while my grands and I indulged in some butterfly chasing and other silliness!!
 
Have a good week!!
 
Mary


Friday, April 22, 2016

Y-Seam Warrior Link-up #3

 Have you indulged in any y-seam piecing during the past month?   
 I've been working my way through this little pile of bouquet blocks by using them as the "sew-offs" while chain piecing through other projects -- didn't know that was possible?  Well, it is!!
 
  This week I arrived at the point where I sat down and did the final assembly.
 For some reason there were only eight blocks in the set and if there's one thing I've learned the hard way, it's don't try to make more blocks to fit with some that have been ageing for a while on the WIP shelf!  I put them up on the design wall and went back to work sanding and scrubbing for the next painting session.  Every time I needed a break from that, I puttered with this!!
I added the floral that inspired the color combination to the wall first.
What would the blocks look like if I turned them this way?  Corners look clunky.
What if I turned the corner blocks, too? And added a plain square in the center, maybe with an applique motif?  Better.
Hey, there's a star in the center!
Time to get out the graph paper and sketch out a piecing diagram.
I discovered that I could treat the layout as a 9-patch if I framed the pieced blocks with background fabric -- square in a square for the on-point ones and sashing for the four corners -- it looks quite nice.
I've been seeing lots of little Dresden plate blocks so I pulled out my templates to see how small I could get and noticed this sample of a 3/4" hexie flower in with another template set.
I like it -- and so I have another WIP well down the road to being finished!
Once the hexie motif is appliqued to the center square, I'll start to experiment with borders.  My blocks are 6" finished and I cut them using Marti Michell's Template Set E for 8-pointed stars.  After framing, the blocks are now 9" square before squaring them up. 
 
I'm wondering about making it with 12" stars? 
And that's how I end up with so many projects going at the same time . . .
 
Now it's time to share your y-seam projects. 
If you are hesitant to give them a try, consider looking into my DVD,
It's an amazing technique that makes y-seams easier than you are expecting!
 
Mary Huey