Showing posts with label Mississippi Mud. Show all posts

Friday, July 5, 2024

An Ode to Straight Lines

 Okay, maybe this won't exactly be an "ode" but as I was quilting this Mississippi Mud over the past couple weeks, I found myself expressing gratitude to my brain for finally coming up with a good quilting strategy for this pattern.  

How many of these have I made?  
How many of these have I convinced other quilters to make?  
How many hours have I struggled to meander quilt Mississippi Mud with consistent spacing and scale?
"Straight lines" or almost straight lines is what enabled me to quilt 21 tops in 2021!
Remember all those quilts that moved off the "to be finished"?
About half of them were quilted with straight lines or straight meanders.
And many more have recieved the same treatment since then.
I can do either on my big APQS George or my standard Bernina with a walking foot.
Not only is it easier to do, it's become easier to figure out how to do it!
So reconsider the straight line and quilt one of those tops in your stash this month!!

I've prepped a scrappy binding from my 2 1/2" strip box -- there's another idea that just dawned on me?!?
How many scrappy bindings have I made and never thought to dig through that box?
I layered up the second one of these Mississippi Mud lap robes yesterday and began the machine quilting this morning.
While you are here, type Mississippi Mud into the search bar (right side near the top) and see all the variations over the years of my pattern -- many are from students.   Quilting these two tops has another idea brewing in my head for a variation of it - if it happens, I'll share it.

And you can purchase a copy of the pattern HERE -- downloadable PDF so you can start a new project right away!?!  

Finally, I'm going to break one of my personal rules and make a current affairs statement.
If you are concerned about the Supreme Court ruling about "presidential immunity" this past week and the potential danger of this distortion of the Founding Fathers' intention for balanced government -- I urge you to write to your federal legislator's and express your concerns.
I saw on Instagram this morning that the ACLU is urging us to take action.  
As one commentator said last week, we the people need to act for the good of our descendants.
We elect presidents not kings and that's what set the United States apart 248 years ago.
This isn't about political parties -- this is about democracy.
Don't ignore this.

Respectfully,
Mary


Monday, February 8, 2021

Momentum?

 Hello!!  How are you doing?

We seem to be finally having a bit of winter here in Northeast Ohio.  There is snow on the ground with more coming and it's cold enough that it's staying.  All the small lakes are frozen over and Lake Erie is freezing up, too.  We've even had some February sunshine -- not a typical part of winter here on the south shore of Lake Erie.

And I've been able to build up some momentum working on quilting up that pile of tops.  Last week I finished this little 30's version of my Mississippi Mud pattern.  I know lots of you have bought this pattern from me so I decided to try a new to me quilting strategy for this one and I'm quite pleased with the outcome.

It was a simple process of stitching point to point arcs from one edge of the quilt to the opposite edge doing a separate pass down the right side of the seams and then down the left side.  I'm always reluctant to mask the stars with the quilting and while this idea does that to some extent, I'm okay with it!
And there's a lot to be said for a finished quilt!!
And look at this cute print I've been sitting on forever -- there was enough for the backing and a little leftover to play with another day.  I'm determined to use up all the beautiful prints in my stash instead of leaving them for the big yard sale.
I took a short break from machine quilting to put together a simple little piece using some perhaps 125 year old hand pieced quilt blocks that a friend passed off to me last month rather than shove them onto the shelf where all the antique treasures live.
After looking at them on the design wall for a couple weeks, I decided they would need to be trimmed in order to set them together easily.  That's always a hard decision for me, but it was trim them and use them or put them on a shelf for another 10 years.
As I worked with the blocks, I realized these were perhaps pieced by my friend's grandmother as her mother taught her to stitch.  Grandma Saffron grew up to be an excellent seamstress and although her skills didn't move down the family line any further, the memory of the things she made for them is special.
The finished result is a simple little tabletopper with no batting, lined with a vintage piece of fabric.  It tells a story of a mother teaching her daughter a life skill using bits and pieces of leftover garment fabrics that would have been familiar to her as a woman.  The fact that she saved them for so many years (she died in her late 80's) speaks to their meaningfulness to her.
And now my friend will be reminded of a beloved grandmother daily.
It was time to layer up #4!  My choice of the next quilt top was spontaneous and influenced by all the "arcing" on the Mississippi Mud.  I'm sure you notice when you are quilting that it's always better by the end of the project, so while the arcing was flowing, it made sense to keep it going.
This 8-pointed star was pieced from a jelly roll using Marti Michell's Stripper Template Set which contains an assortment of templates sized for 2 1/2" strips.  These blocks were demonstration blocks for my Set-In Piecing Simplified workshops and set together with leftover strips from the jelly roll, so the sashing and cornerstones are random! Fun, fun, fun!!

And look at the backing!?!  This print has been on the shelf for at least 15 years and I could never cut into it even though I had "a plan".  It wasn't quite long enough so I cut the bands apart and inserted strips of the polka dot.  There was scarcely enough polka dot so it needed to be stretched with the bands of bright prints.  So at last, I got to use this print myself!!

I expect to finish this quilt by the end of the week (keeping it simple is the key) putting me around the 20% mark towards my goal.  Almost every evening finds me hand quilting for an hour or so on the big dodecagon quilt -- steady progress there, too!!!

I'm feeling confidently cocky at this point but maintaining the momentum to reach big goals is always a challenge.  I'm sure you've experienced being puzzled about why it took so long to get around to something when it was such an easy task once you tackled it.  So in truth, I'll be happy with any progress made this year!

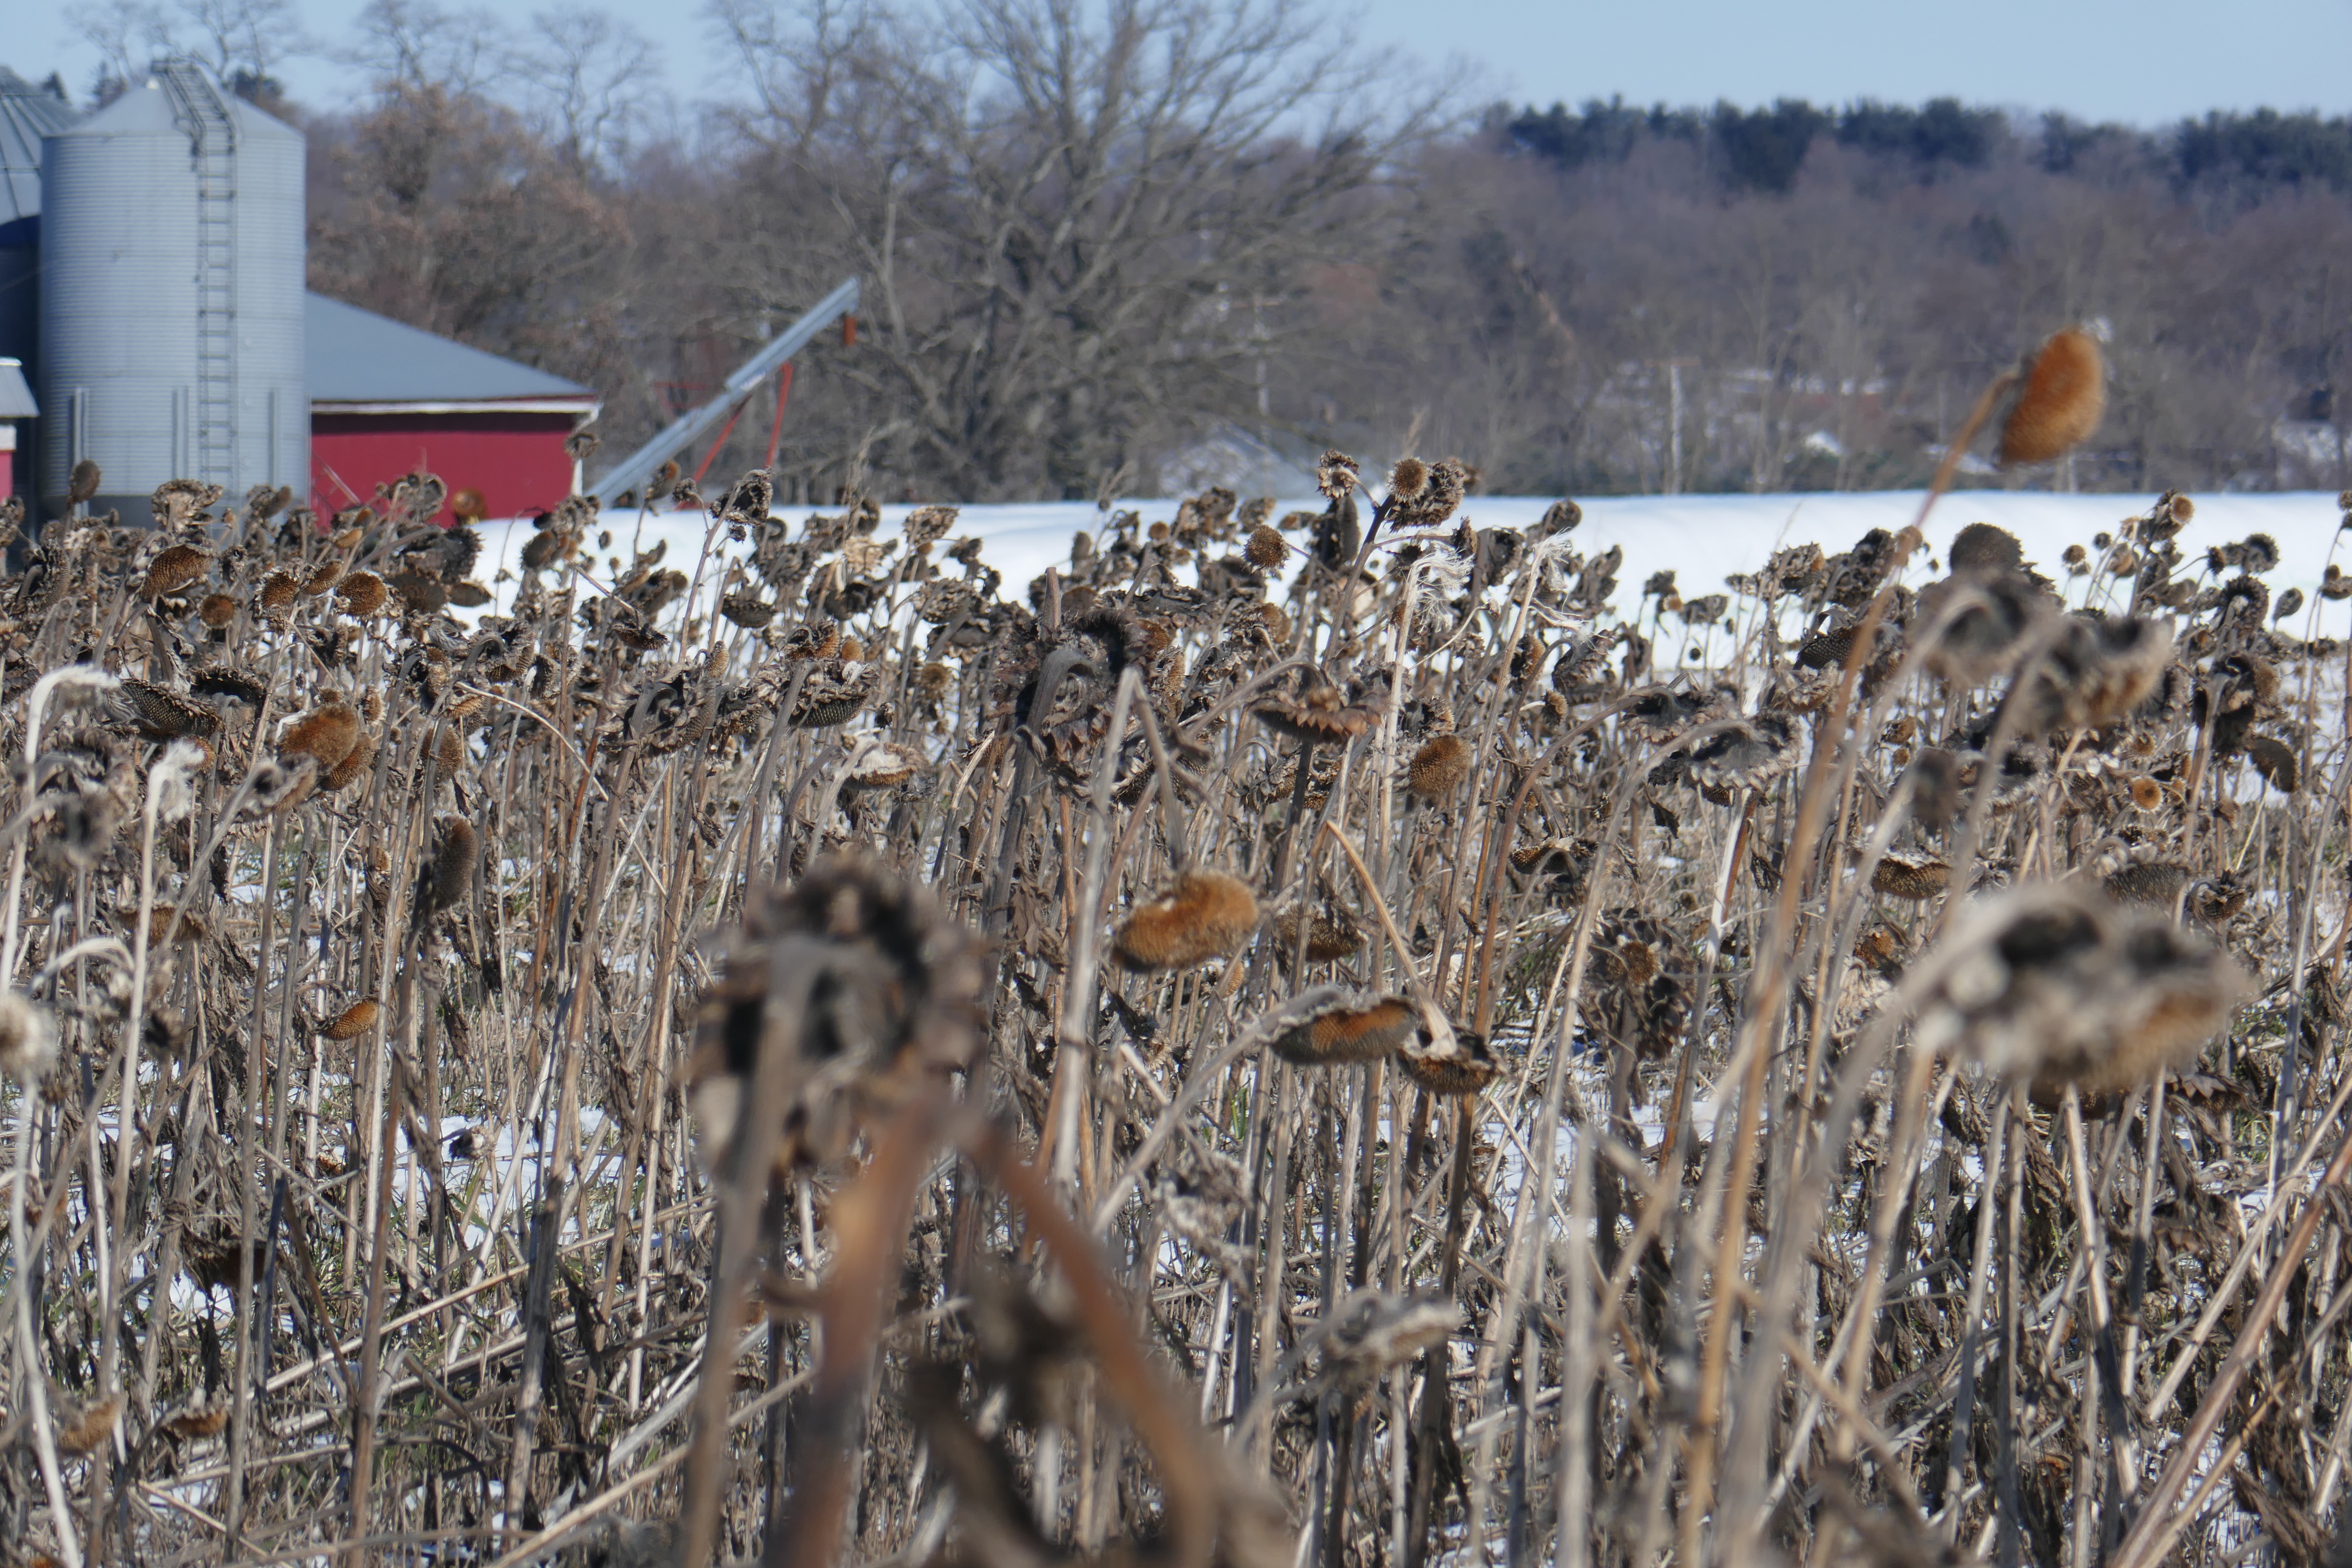
I'll leave you with a picture of a special place and a special bird nearby.  A local farmer has planted and left standing about 20 rows of sunflowers down the middle of a large crop field.  And he's gone one step further and welcomes birders to wander in the field during the winter months.

Generous man!!!  

So my daughter (who I raised to bird with me) and I stood in the middle of this field Saturday morning and watched several hundred common redpolls and American goldfinch swoop in and out of the field.  The longer we stood, the closer they came!

Delightful!!

Here's to all of us finishing something this week!!

Mary


Friday, May 29, 2020

Tips for Piecing Mississippi Mud Blocks

"Are you in" as they say?
If you don't want to start a new quilt, give my assembly technique a try using 16 squares, any size.
(Think potholder?)  If you are just going to experiment, you can skip "piecing the star points".
Let's go!! 
Piecing the star points -- you will need eight star point units for the main block.
The instructions on how to piece these are at the top of page 5 in the pattern if this technique is new to you.  Just do eight for now because as I piece a block, I make the star point units for the next block as my "leader and enders" while chain piecing.

If you are using one fabric for all the stars, piece eight star point units using the small squares you've cut and eight different "background" squares.
If you want to use two different star fabrics, piece four of each color on different "background" squares.
If you want to use lots of different star fabrics, piece four points of one color, two of a second color and one of a third and fourth color.

Layout a block as below next to your machine -- if this is the beginning of a quilt, try to use fourteen different "background" prints in the block.  The star points in the upper right corner and lower left corner will complete stars in adjacent blocks as you set the blocks together.  If you are using two star fabrics, both of those corners and the partial star in the lower right corner will be fabric #2 while the complete star will be fabric #1.

TIP:  Laying the complete star out first is the quickest way to begin -- and double check that all the star points are angled as in this photo.  It's easy to get one rotated 90 degrees (wrong!!) so stop and look before you start to sew.
I always hung a sample block in front of my classroom when teaching this quilt so students could look up and quickly check the star points positions!
Assembling a block -- Flip the squares in the second vertical row (from the left side of the photo) right side down on top of the first row squares.
This sets up each pair of squares with the seam edge on the same side as you will stitch, so no need to twist or rotate the pair as you align the edges.
Chain piece the four sets starting with the top set and working down to the bottom set. 
Don't cut anything apart yet!!
Before clipping off this string of squares, piece a star point unit for the next block as your "ender". 
This star point unit will stay under your needle and you'll clip the complete chain off the back of it and head to the ironing board.
No clipping of the thread chains yet!!
Lay it on the ironing board with each pair's open side facing toward you.
Clip off that star point unit (which was my "leader) and set it aside.   The "ender" is still under the needle at my machine!
Flip the second and fourth units (counting from the right) up.
Press the seams flat to set the stitching. 
Then work along the chain and flip the top piece up (away from yourself), press the seam to one side.
Flip the second one down (towards yourself) and press the seam to one side.
Continue alternating along the chain. 
I know lots of quilters these days are pressing seams open but I prefer pressing to one side for a couple reasons.  The most important reason to me is that when the seams oppose each other, 
I can feel when they are matching up more accurately.  
To understand this better -- lay two pairs right sides together.
Manipulate the seams back and forth between your fingers and feel the alignment.
If you feel a gap or a lump where the seams lines intersect, it's not quite right yet.
It should feel smooth on both sides of the stitching line when the seams are snug against each other.
I also believe the quilt top is weaker when the seams are pressed open plus it's just too much work to press them open.  
(I've tried the open seam approach and frankly my matching stinks when I do it.)

Repeat the process for the third/fourth vertical rows remembering to start at the top of the block and work down.  At first this may not seem intuitive to you but it's a common mistake during workshops.  If you start at the bottom and work up -- everything gets twisted around and you'll get frustrated.
Don't forget to "ender" with another star point.
Now you have eight pairs of squares. 
At this point, I clip the thread chain between the second and third pairs in each column. 
Flip the top pair face down on the lower pair
until you have four sets as below. 
The sewing begins with the upper left pair -- still chain piecing -- and move to the 
 upper right pair, then the lower left pair, then the lower right pair.
Do another star point unit as your "ender".
Back to the ironing board with the complete chain in tact -- see that "leader" on the left? 
The pressing is the same -- first set down, second set up, third set down, fourth set up. 
Head back to the machine, layout the block, cutting the thread chains as needed -- 
the block is now four 4-patch units. 
Flip the right side units onto the left side units and chain piece to assemble. 
One reason I leave the thread chains is that it makes it easier to be sure which edges I want to stitch together -- it there is a chain, I know to seam those two edges together.
No chain, no stitching! 
Last trip to the ironing board -- I forgot to take a picture of the second part of this step but again, the first one on the right stays down and the left one is flipped up before pressing the seams to one side.
Two halves, ready for the final seam!! 
As you prepare to stitch the two halves together,  notice this is the first time you've had more than one seam intersection to match!   In the previous step when I laid one 4-patch on top of the other to sew the seam, I actually matched the seams all the way around so the two units are centered on top of each other -- then when I stitched the seam, I measured the 1/4" from the raw edge of the largest 4-patch, consistently.
What this achieves is that any slight size variations are adjusted consistently so when I put the two halves together, all three seam intersections align correctly. 
 My blocks are perfect from the right side and fit together well with the rest of my blocks.
 (I never trim blocks to the "correct" size, but that's a sermon for another day.)
Often times, I don't press this final seam until I begin to layout the blocks since I don't know if it should go up or down at this point.  Once I lay the blocks out, I pick up a row of blocks and press all the final seams in the same direction.  The next row is pressed in the opposite direction.
This has saved me lots of annoyed frustration when setting the blocks together.
With this new version, since every block was assigned a specific position in the quilt, I could press that final seam as I made them before adding them to the design wall. 
So here's a basic finished block for the multi-color star version. 
I learned this approach to piecing blocks (it works for setting blocks together, too) from my long time teacher/mentor/friend, Mary Ellen Hopkins almost forty years ago.  She referred to it as working in "twosy/foursy".  And I've been using it and teaching it for just as long.

TIP:  For edge-to-edge quilt settings, all the blocks should pressed identically (except for that last seam) if made from an even number of units (2 by 2, 4 by 4, etc.).    If the block is an odd number of units (5 by 5, etc.), every other block needs to be pressed in the opposite order.  Then when the blocks are set together, the seams will automatically be opposing making the matching simple.

I wish you could sit in a workshop with me and learn this technique face-to-face but hopefully I've been able to explain it clearly with my pictures and text.
And here are my "leader/ender" star point units ready for the next block! 
With both the one color stars and the two color stars versions, you can literally piece blocks and keep them in a box until you are ready to set the blocks together.  With a large variety of "background" prints, there is very little chance of any print ending up next to itself in my experience.
That's what makes it such a great stash busting quilt -- plus it's a great place to use up some of the tired old fabric that you don't want to use but can't throw away.

This variation was different because I pieced it block by block.  I placed each one on the design wall as it was finished.  Originally the background was all white squares, no black "border" squares -- but it just wasn't working for me -- all that light needed a frame.  So I un-stitched the outside edges of the first four blocks I made and changed the outer squares to black print. (Ugh!)
I kept getting bogged down with the color placement decisions for the stars until I realized
 I could "plan" the star colors for the entire next row by simply laying the main square of each star on the design wall -- so much easier!!  I think the seed of this idea was all the "rainbow" style quilts I see on Instagram.

The checkerboard border is the result of cutting too many black squares and not wanting to put them back into the stash.  I auditioned several ideas but settled on this one in the end. 
I went back after all the blocks were pieced with the black border squares and added the checker board squares -- but I included a diagram at the end of the updated pattern showing this variation so you don't have to do that.  You can add the checkerboard squares as you piece the blocks.  It will be so much easier!!

This is the upper left corner block with the extra squares added on the left and upper edges.
I used 40 black squares and 40 white squares for the my laprobe size quilt top but I'm sorry I didn't count how many you need for any of the other sizes.  My guesstimate is that for every block needed to change the length or width of the quilt,  it would change that count by four squares of each color.
So my top is 4 by 5 blocks -- if I want it longer (4 by 6 blocks), I think I would need four more black and four more white squares.  I might be off one or two . . . . let me know!

So my quilt top is finished and currently on the "ready to quilt" shelf.  I stopped assembling  when I got four sections together as you see below -- it will be easier for me to quilt it this way. 
Okay, I have written and edited and re-read and edited and proofed and read it again. 
It's as ready as I can make it, but if I've left out something, raise your hand and leave a comment!

Share your test run on Instagram and tag me @hueymary and use the hashtag #mississippimudquilt
-- I want to see what you do!

And if you hesitated to buy the pattern at first, but now you are ready 

Still mostly isolating up here in NEOhio -- have a good weekend!

Mary


Monday, May 25, 2020

Mississippi Mud Revisited

If you are familiar with my first pattern, Mississippi Mud (circa 1985), this new version breaks all of my old rules about the fabric selection!  
And how about that checkerboard border?!?
This design is a simplification of the traditional quilt block, Mississippi, which I found in Mary Ellen Hopkins' book, Even More Well Connected.  Mary Ellen introduced her teaching seminar students to a simple-to-piece "connector corner" in the mid 1980's.  It's a common technique today, but thirty-plus years ago, stitching a small square diagonally from corner-to-corner on top of a larger square to make a triangle was revolutionary!!
I eliminated some of the "connectors" in the original block because they bothered me visually and flipped the color values using lights for the star and darks for the background of the block.  The result was floating stars on a scrappy background that my students loved and they soon nicknamed it Mississippi Mud because of that jumbled assortment of prints used for the background of the first quilt.  It was such a popular workshop for me that I wrote a pattern and it has been a long-time best seller for me.
I've pieced this quilt at least a half dozen times over the years and between my versions and all the quilts my students have made, I know the larger the assortment of prints used, the better the quilt looks.  I would never use less than seventeen different prints.  
This "muckled up" (Mary Ellen's word) approach to the fabrics works best if you have a theme.  Examples include -- a mixture of batiks; or all 30's reproductions; or an analogous colors assortment (side by side colors on the color wheel - purple & blue, etc.); or a monochromatic color assortment (one color family).  I haven't tried using a designer's fat quarter assortment but I think it would work as long as any light background prints were left out.
I've always told students that medium to dark colors in small to medium scale prints make it easier to find a fabric for the stars that will pop against the muckled, scrappy background fabrics.
But when a student showed up with all the wrong fabrics several years ago during a workshop, I began to think differently.
She had lots of large scale prints which made it challenging to chose a fabric for the stars with a good contrast so the stars were obvious -- but after some experimenting, we came up with this effective solution!

At the time, it was just another opportunity to wrangle a contrary student who wasn't following my very clear instructions about fabric selection (are you smiling here?).   However, the seed of this successful variation has been germinating in my head for a while.

Another question that has surfaced on and off over the years is "can you use more than one fabric for the stars".  Well, it's easier if you don't (obviously).  I placated some of those contrarians by "allowing" them to use two different fabrics for the stars -- its easy to set that up so the two fabrics alternate in the finished quilt although I just looked through all my photos and apparently haven't actually done that myself.
So who knows what events led me to make this new version with a completely light background and thirty-two different star fabrics?  I think the "white with black" prints background idea started to develop while I was piecing Jen Kingwell's Long Time Gone sampler a couple years ago.  Then this past year, as I started working on the Kinship Sampler, since I was pulling out lots of prints from my stash, I started to cut pieces for two other scrappy quilts -- a multi-color stars version of Mississippi Mud being one of them.

As I started to piece the quilt top this winter, I had an idea to lead a sew-along with you to make your own version of this quilt.  It would require an edit of my pattern to update the suggested piecing tools and expand the layout options and I've done that!  My plan was to launch April 1 but the Covid19 shutdown interrupted that -- not because I wasn't ready, but everyone was organizing sew-alongs.  And then there is mask making?!?  I felt like launching one more sew-along would just contribute to everyone's state of "overwhelmed" -- I know I want to do them all and you probably do as well?

So here we are two months down the road we didn't know was ahead and I have a finished quilt top and a newly edited pattern uploaded in my Etsy shop HERE.
What shall I do?

Instead, I'm promoting the pattern today if you don't already own it.
(Sorry you missed the party with Mississippi Mud cake when I sold the 500th copy of the pattern.)
 
If you already own the pattern, the edit has been cosmetic for the most part so your copy is good.
The basics are the same -- cutting, assembly, all of it.

Then on Friday, May 29 I'll walk you through my piecing strategy for the blocks.
You can decide it you want to add this quilt to your "to-do" list.  But maybe the design variation ideas or my piecing strategy will give you ideas that relate to your own creative process?
So you decide and you benefit from it either way!
Then pick through your scrap basket over the next few days and cut enough pieces for four blocks so you are ready to follow along next weekend and piece a few blocks to get the feel of my piecing strategy.

If you don't enjoy the process or aren't totally happy with your fabric choices, those four blocks will make a 24" square -- big enough for a nice dog quilt!?!

Fabric advice?  I've simplified my "rules" -- whatever you choose is good just make sure the star fabric contrast suits your eye!

Questions?  Leave them in the comments because someone else wants to know, too!
See you on Friday!

Mary