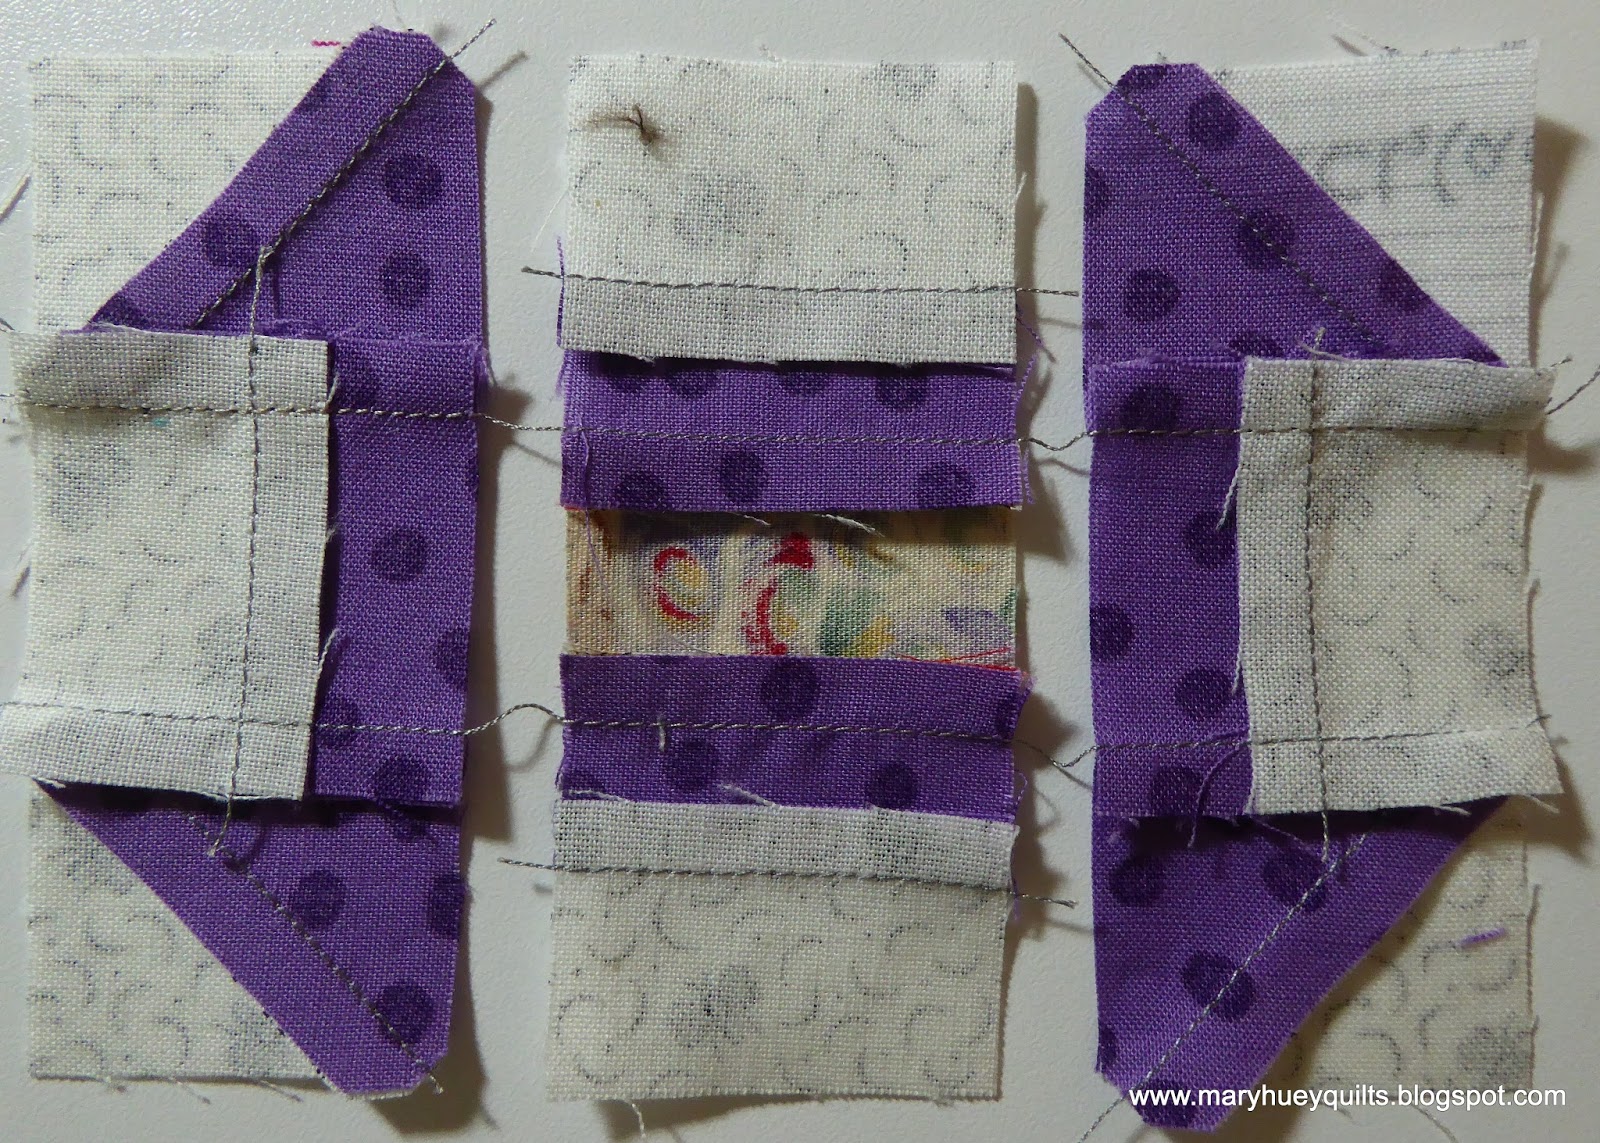
Showing posts with label pressing patchwork. Show all posts

Tuesday, February 6, 2024

Revisiting Pressing Matters

Apparently I've been blogging for just over a decade?!?  As I was working on a couple projects during our gray typical January the past couple weeks, I recalled writing a blogpost about "pressing".  When I went back to revisit it -- there is actually a series of three posts.  

I think good pressing habits make for better piecing and while the tips and techniques I shared in these tutorials aren't the only best practices, they certainly have served me well over the past 30 years of piecing.

The first one deals with the basics that apply to any piecing project.  

 https://maryhueyquilts.blogspot.com/2013/10/my-first-tutorial-pressing-basics-for.html

Over the past couple weeks I've been turning a layer cake into the sampler blocks from the 2021 summer time Moda sampler -- thirteen of the fourteen 12" blocks are pieced along with four 6" blocks and two 4" blocks.  I have to say the wool pressing pads that have become so popular are a game changer! 

One thing you will notice when reading that post is I don't press seams open.  It wasn't a "thing" back in the "old" days when I learned to piece and I have tried it off and on over the past couple years but I'm not a fan.  My piecing skill depends on a side-pressed seam too much.
\All that is left of the layer cake is this pile of scraps!  I was lucky to find a couple of the prints which were released in 2019 to fill in some gaps and make a binding.  I was wise enough to purchase a two yard length of the large scale print from the collection so that will be the borders!

The second tutorial in the series shares tips I learned from teaching mentor, the marvelous Mary Ellen Hopkins.  That woman could stream line any process which fit right into my work ethic.  Chain-piecing was new to me when I started taking workshops with Mary Ellen and this tutorial shares some of what I learned from her about pressing.

https://maryhueyquilts.blogspot.com/2013/10/pressing-basics-for-piecing-part-2.html

I have a side-project going as leaders and enders making these cute scrappy star blocks inspired by a pattern shared by The Stash Bandit (Diane Harris) in the August 2022 issue of American Patchwork and Quilting.  The fabrics are being sourced out of my 2 1/2" scrap stash -- squares, triangles, and strips.  No idea yet how large this quilt will be or what it's destiny might be once finished -- I'm just having fun piecing the blocks!

The third tutorial has applied to this scrappy project -- it is my "go-to" method for edge-to-edge block settings regardless of whether the blocks are an even grid or an odd grid -- the method always applies!! And I find it especially useful for those patterns where the designer never mentions "how to press" the blocks!

https://maryhueyquilts.blogspot.com/2013/10/pressing-basics-for-piecing-part-3.html

I'll bet you have some go-to tips I've missed when it comes to pressing -- share them in the comments so we can all learn more!

Looking forward to more guilt-free gray winter days of piecing!  

Mary


Friday, May 29, 2020

Tips for Piecing Mississippi Mud Blocks

"Are you in" as they say?
If you don't want to start a new quilt, give my assembly technique a try using 16 squares, any size.
(Think potholder?)  If you are just going to experiment, you can skip "piecing the star points".
Let's go!! 
Piecing the star points -- you will need eight star point units for the main block.
The instructions on how to piece these are at the top of page 5 in the pattern if this technique is new to you.  Just do eight for now because as I piece a block, I make the star point units for the next block as my "leader and enders" while chain piecing.

If you are using one fabric for all the stars, piece eight star point units using the small squares you've cut and eight different "background" squares.
If you want to use two different star fabrics, piece four of each color on different "background" squares.
If you want to use lots of different star fabrics, piece four points of one color, two of a second color and one of a third and fourth color.

Layout a block as below next to your machine -- if this is the beginning of a quilt, try to use fourteen different "background" prints in the block.  The star points in the upper right corner and lower left corner will complete stars in adjacent blocks as you set the blocks together.  If you are using two star fabrics, both of those corners and the partial star in the lower right corner will be fabric #2 while the complete star will be fabric #1.

TIP:  Laying the complete star out first is the quickest way to begin -- and double check that all the star points are angled as in this photo.  It's easy to get one rotated 90 degrees (wrong!!) so stop and look before you start to sew.
I always hung a sample block in front of my classroom when teaching this quilt so students could look up and quickly check the star points positions!
Assembling a block -- Flip the squares in the second vertical row (from the left side of the photo) right side down on top of the first row squares.
This sets up each pair of squares with the seam edge on the same side as you will stitch, so no need to twist or rotate the pair as you align the edges.
Chain piece the four sets starting with the top set and working down to the bottom set. 
Don't cut anything apart yet!!
Before clipping off this string of squares, piece a star point unit for the next block as your "ender". 
This star point unit will stay under your needle and you'll clip the complete chain off the back of it and head to the ironing board.
No clipping of the thread chains yet!!
Lay it on the ironing board with each pair's open side facing toward you.
Clip off that star point unit (which was my "leader) and set it aside.   The "ender" is still under the needle at my machine!
Flip the second and fourth units (counting from the right) up.
Press the seams flat to set the stitching. 
Then work along the chain and flip the top piece up (away from yourself), press the seam to one side.
Flip the second one down (towards yourself) and press the seam to one side.
Continue alternating along the chain. 
I know lots of quilters these days are pressing seams open but I prefer pressing to one side for a couple reasons.  The most important reason to me is that when the seams oppose each other, 
I can feel when they are matching up more accurately.  
To understand this better -- lay two pairs right sides together.
Manipulate the seams back and forth between your fingers and feel the alignment.
If you feel a gap or a lump where the seams lines intersect, it's not quite right yet.
It should feel smooth on both sides of the stitching line when the seams are snug against each other.
I also believe the quilt top is weaker when the seams are pressed open plus it's just too much work to press them open.  
(I've tried the open seam approach and frankly my matching stinks when I do it.)

Repeat the process for the third/fourth vertical rows remembering to start at the top of the block and work down.  At first this may not seem intuitive to you but it's a common mistake during workshops.  If you start at the bottom and work up -- everything gets twisted around and you'll get frustrated.
Don't forget to "ender" with another star point.
Now you have eight pairs of squares. 
At this point, I clip the thread chain between the second and third pairs in each column. 
Flip the top pair face down on the lower pair
until you have four sets as below. 
The sewing begins with the upper left pair -- still chain piecing -- and move to the 
 upper right pair, then the lower left pair, then the lower right pair.
Do another star point unit as your "ender".
Back to the ironing board with the complete chain in tact -- see that "leader" on the left? 
The pressing is the same -- first set down, second set up, third set down, fourth set up. 
Head back to the machine, layout the block, cutting the thread chains as needed -- 
the block is now four 4-patch units. 
Flip the right side units onto the left side units and chain piece to assemble. 
One reason I leave the thread chains is that it makes it easier to be sure which edges I want to stitch together -- it there is a chain, I know to seam those two edges together.
No chain, no stitching! 
Last trip to the ironing board -- I forgot to take a picture of the second part of this step but again, the first one on the right stays down and the left one is flipped up before pressing the seams to one side.
Two halves, ready for the final seam!! 
As you prepare to stitch the two halves together,  notice this is the first time you've had more than one seam intersection to match!   In the previous step when I laid one 4-patch on top of the other to sew the seam, I actually matched the seams all the way around so the two units are centered on top of each other -- then when I stitched the seam, I measured the 1/4" from the raw edge of the largest 4-patch, consistently.
What this achieves is that any slight size variations are adjusted consistently so when I put the two halves together, all three seam intersections align correctly. 
 My blocks are perfect from the right side and fit together well with the rest of my blocks.
 (I never trim blocks to the "correct" size, but that's a sermon for another day.)
Often times, I don't press this final seam until I begin to layout the blocks since I don't know if it should go up or down at this point.  Once I lay the blocks out, I pick up a row of blocks and press all the final seams in the same direction.  The next row is pressed in the opposite direction.
This has saved me lots of annoyed frustration when setting the blocks together.
With this new version, since every block was assigned a specific position in the quilt, I could press that final seam as I made them before adding them to the design wall. 
So here's a basic finished block for the multi-color star version. 
I learned this approach to piecing blocks (it works for setting blocks together, too) from my long time teacher/mentor/friend, Mary Ellen Hopkins almost forty years ago.  She referred to it as working in "twosy/foursy".  And I've been using it and teaching it for just as long.

TIP:  For edge-to-edge quilt settings, all the blocks should pressed identically (except for that last seam) if made from an even number of units (2 by 2, 4 by 4, etc.).    If the block is an odd number of units (5 by 5, etc.), every other block needs to be pressed in the opposite order.  Then when the blocks are set together, the seams will automatically be opposing making the matching simple.

I wish you could sit in a workshop with me and learn this technique face-to-face but hopefully I've been able to explain it clearly with my pictures and text.
And here are my "leader/ender" star point units ready for the next block! 
With both the one color stars and the two color stars versions, you can literally piece blocks and keep them in a box until you are ready to set the blocks together.  With a large variety of "background" prints, there is very little chance of any print ending up next to itself in my experience.
That's what makes it such a great stash busting quilt -- plus it's a great place to use up some of the tired old fabric that you don't want to use but can't throw away.

This variation was different because I pieced it block by block.  I placed each one on the design wall as it was finished.  Originally the background was all white squares, no black "border" squares -- but it just wasn't working for me -- all that light needed a frame.  So I un-stitched the outside edges of the first four blocks I made and changed the outer squares to black print. (Ugh!)
I kept getting bogged down with the color placement decisions for the stars until I realized
 I could "plan" the star colors for the entire next row by simply laying the main square of each star on the design wall -- so much easier!!  I think the seed of this idea was all the "rainbow" style quilts I see on Instagram.

The checkerboard border is the result of cutting too many black squares and not wanting to put them back into the stash.  I auditioned several ideas but settled on this one in the end. 
I went back after all the blocks were pieced with the black border squares and added the checker board squares -- but I included a diagram at the end of the updated pattern showing this variation so you don't have to do that.  You can add the checkerboard squares as you piece the blocks.  It will be so much easier!!

This is the upper left corner block with the extra squares added on the left and upper edges.
I used 40 black squares and 40 white squares for the my laprobe size quilt top but I'm sorry I didn't count how many you need for any of the other sizes.  My guesstimate is that for every block needed to change the length or width of the quilt,  it would change that count by four squares of each color.
So my top is 4 by 5 blocks -- if I want it longer (4 by 6 blocks), I think I would need four more black and four more white squares.  I might be off one or two . . . . let me know!

So my quilt top is finished and currently on the "ready to quilt" shelf.  I stopped assembling  when I got four sections together as you see below -- it will be easier for me to quilt it this way. 
Okay, I have written and edited and re-read and edited and proofed and read it again. 
It's as ready as I can make it, but if I've left out something, raise your hand and leave a comment!

Share your test run on Instagram and tag me @hueymary and use the hashtag #mississippimudquilt
-- I want to see what you do!

And if you hesitated to buy the pattern at first, but now you are ready 

Still mostly isolating up here in NEOhio -- have a good weekend!

Mary


Tuesday, May 2, 2017

Welcoming May

After a busy weekend, I'm having a quiet rainy day at home!
I spent Friday teaching at Mercantile on Main in Coshocton, Ohio -- sweet shop and always have lovely students when I visit there!
I enjoyed the drive through an area of Ohio where wild dogwoods are more common and they are blooming prolifically after a mild winter.
Sights like this are one of the blessings of our interstate highway system it creates "forest edges" that are the perfect habitat for dogwoods and redbud trees.
On the way home, I took a side trip to walk the prairie at Springfield Bog Metro Park east of Akron, Ohio in hopes that I might catch the sight (or sound) of bobwhite quail which were introduced back into that area a few years ago.  No luck on that front but there were some spectacular dandelions!
The flowers are such a gorgeous shade of yellow and this one was easily 2" across! 
Many Americans hate dandelions mostly because of these seeds!
But who can resist blowing a perfect head of them into the breeze!
I love the birds they draw to my lawn during migration which I might not see otherwise such as white-crowned sparrows and indigo buntings!! 
My weekend stitching was focused on the seventh installment of the Long Time Gone SAL.  Churn Dash is a simple block but making 3" ones is a bit challenging.
I followed Marti Michell's guidelines for cutting the 21 blocks using her templates.
I find that the smaller the pieces needed for blocks, the happier I am to use the templates.
My cutting is more accurate and there is less need to "fudge" during the piecing process. 
Once I had the block units stitched and pressed, I was inspired by photos on Instagram to experiment with reversing the lights and darks to make positive and negative blocks.
This tactic introduces a twist that holds a viewer's eye longer.
To maintain that impact, I only reversed 1/3 of the blocks -- to do half and half would have diluted the effect. 
I have also cut the centers and first round for the (tiny) pineapple blocks so I used those as my "leaders and enders" while stitching up the Churn Dash blocks. 
I realized while trolling through other SAL participants' pictures on Instagram that the "edge to edge" assembly of the finished blocks was often resulting in chopped off triangle tips.
I read all three of the leaders' blogs and took my own pressing approach to manage this better (in my opinion).
I pressed half of the blocks with the HST seams pointing to the center of the finished blocks as below. 
After assembling the rows, I pressed the seams away from the HST's (the easiest direction to push them) as below. 
And again, in the finished blocks, I went to the easiest alternative -- away from the HST's.
This assures less bulk at the tips of the HST's. 
But if all the blocks are pressed as above, there is a lump of six layers of fabric at the outer points of each triangle making it challenging to set the blocks together and be happy with the results.
Minimizing that bulk is the challenge and this is how I accomplished it.

I pressed half the blocks as explained above.
For the remaining blocks, I pressed the HST seams towards the outer corners of the blocks as below.
It breaks the "press toward the dark" rule in some cases, but less bulk always trumps that rule in my world!! 
I pressed the seams in the rows towards the HST's -- in other words, opposite to what I did in the first half of the blocks.
And again, after stitching the rows together.
So the second group of blocks are pressed opposite of the first and I can nestle the seams together as I stitch the blocks into the finished groups.
No nicked off triangle tips (well, almost none)!
I'm pleased with the results!! 
My mind is starting to think about the sashing that will separate the blocks and I think I have enough blocks assembled to make that decision so I'll start to audition candidates over the next couple weeks. 
Now that I've shared these thoughts with you, I'm going to check if the birds nearby come out in the drizzly weather we are having today! 
My idea of excitement!!

Mary


Tuesday, January 10, 2017

Scrappy, Scrappy, Scrappy

During December, I "proquiltinated" a start on this scrappy quilt. 
It was all perfectly justifiable?!?
I needed to clear out the overflowing box of 2 1/2" strips and I have been wanting to work with Lissa Alexander's Color Me Crochet pattern (April, 2013, American Patchwork & Quilting) since first seeing it in the magazine.  It is similar to Bonnie Hunter's Scrappy Trips but would enable me to use lots of the short strips in the box.   If the piecing was fun, it would be a good pattern for my "good deed" quilting group to use this winter.

The group has used Bonnie Hunter's Scrappy Bargello quilt pattern to make some delightful children's quilts and I thought they would enjoy working with this pattern, too.  So in the beginning, the intention was to experiment with the piecing process, be sure I understood the instructions and prepare for instructing the group.  A side benefit was that it would give me some non-deadline stitching and a brief daily respite from holiday fussing and fretting.

During the first three experiments, the accidental color combination of this block called out to me to expand it into a quilt and so I ransacked my strip box for all the reds, greens, browns, and golds.
(At the same time, I pulled out all the blue strips for one of the gals in the group to try her first 1600 quilt -- I haven't seen the results yet, but her top is finished and ready to layer up later this week!)
Lissa's pattern calls for 2" cut strips so I had to recalculate the measurements for my 2 1/2" strips.
Eventually, I realized that sorting my strips into piles by the length of each strip helped me stay organized and saved time when pulling the assortment for each block.
Here is one of the assortments ready to piece into the necessary strip set.  The red/green hombre with the black polka dots will be the central row of squares in the finished block. 
I made one small change to Lissa's instructions -- I pieced all 11 strips together before cutting the rows.  It saves a little time but my main reason for doing this was to simplify the pressing for me.

My teaching experience has made me fussy about pressing -- I want it to be systematic, straight forward and set me up for easy assembly as I move through the steps of making a block. 
The strategy we used for the Scrappy Bargello quilts worked well and I intended to apply it to these blocks.  While Bonnie doesn't specifically write out instructions for her pressing strategy, it is apparent from the pictures that she alternates the seams as in the photo below.
This pressing strategy is easier than it looks!
I begin by stitching my strips together in pairs and pressing those seams before stitching the pairs together into the final strip set.  My experiments also helped me discover that the seam direction needs to alternate with each block.  In the photos above and below, the seams of the center strip (reds) are pressed away from the strip.  That sets up the pressing direction for the rest of the block.
In the next block I "reversed" the seam direction of the center strip -- both seams of the center strip are pressed towards the center strip.  Now when the two finished blocks are joined, the seams nest together perfectly. 

To read some of my other thoughts about "pressing patchwork", HERE is a link to the first of a three part series of posts I wrote in 2013.  Parts 2 and 3 follow it when you get there.

To cut the rows, first you need to know I cut each strip 1" longer than needed to give myself a cushion so that  is why there are odd bits at the top of these rows. 
That yellow piece will be removed.
In the above photo, I have cut 3 rows starting at the left edge of the strip set and removed the extra pieces and laid them in the correct order below.
To cut the remaining 3 rows, I began cutting from the right edge and that skinny band you see in the photo below is the remainder from the center of the strip center (which must be thrown away because the whole point of this exercise is to use up fabric, not make more bits to save). 
I made the blocks one at a time and placed them on the design wall.  From the beginning, I planned each block with a "dark" print for the center diagonal row of squares.  By the fourth block, I decided I needed to be sure there was some gold/yellow in each block to keep the cheerful look of the color palette and some black was pulled into the assortment to create more drama.

Here are the first 8 blocks set together.  The strips hanging across the bottom of the design wall will be the center strips of the next row of blocks.  That was the only planning I did to assure that the darks were distributed evenly across the quilt.
It took a couple blocks for me to realize that I needed to lay each block out BEFORE I stitched the row together so the diagonals were going in the correct direction.  Try as I might, rotating the block never changed the direction and maintained my pressing order of the diagonals once the block was finished!!

I laid out half the rows in this block with the diagonal going from the upper left to the lower right (on the left) and the other 3 rows with the diagonal going from the lower left to the upper right (on the right).   Just trust me on this one -- I've already made the mistakes!
Once I had all the color and pressing experiments sorted, the blocks went quickly.  As I finished each block, I would organize the fabric combination for the next one so when I came back to it, I was able to piece a block in about 30 minutes.  This proved to be just enough of an escape from the holiday deadlines to calm me down and prepare me to "go back at it"!!
I finished the top, added borders and made a backing last weekend -- ready to quilt!! 
It's 56" by 68" and the top and backing used approximately 6 yards of my stash -- wahoo!
I love looking at  it and discovering all the "spontaneous" design that is happening.
Between this quilt and the blue 1600 strip quilt, half the strips in the scrap box have been used and the box is ready to restock!!  While piecing this quilt, I decided on a destination for it plus I'm ready to share the process with my "good deed" quilt group!

Happy piecing this week!!

Mary