I've said it before and I'll say it again, there's nothing like a deadline!!
This is my second finish for the third quarter of the 2016 Finish Along!!
I'm still burying thread tails and stitching the binding down, but by the time you read this, it will be on it's way to the Appleseed Quilters Guild in Ft. Wayne, IN to recruit students for my workshop there in October.
I will be in Southeast Ohio cooking for my church's mission team for a week and this is my last task before I leave.
It only took three days to quilt -- I'm not able to quilt for hours on end thanks to arthritis but I can manage two or three hour-long sessions spread through out a day. My standard design for 8-pointed stars is to do continuous curve quilting around the entire star.
I did some parallel lines through the sashing that intersect in the cornerstones and then took a pause to decide whether and if to quilt the background of the stars. I didn't like the un-quilted look but it took a day to get inspired.
In the end, I settled on "simple" by expanding a box in each corner to a maze-like design that crosses over the sashing. I like it!
I practiced the best route to take by finger tracing the design several times and then used my straight line guide for the stitching. Love that tool!!
Keeping the designs simple meant I was trimming and ready to bind on schedule!
Happily, there was a good batik for the binding on my shelves that repeated the cool colors of blue, green, and aqua in the quilt.
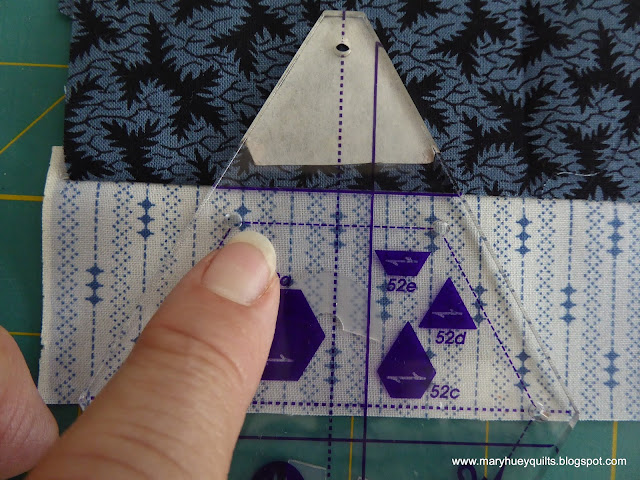
I used Marti Michell's 2 1/2" Stripper Set to create these 9 1/2" stars and assembled them using the Set-In Piecing Simplified technique from my DVD. Even after 4 years of teaching the technique, I'm still amazed at how consistent and perfect my y-seam blocks are!
If you don't have the DVD yet, you can order it HERE.
I've taken some hand-stitching with me for the week, but I'll be itching to get at my machine come tomorrow morning!!
Mary Huey
Linking up to the third quarter 2016 Finish Along Link-up HERE!!


