Friday, March 24, 2017

Exploring Improvisational Piecing

Lichens, a unique group of plants, "typically live for ten years or more, and in some species the lichen body can survive for more than a hundred years." according to "life of plant" blog (HERE).
I first noticed them as "something interesting" on a walking tour in Dorset, England 15 years ago.  One of the group members had taken several courses on lichen and was sharing what she knew while we explored a cemetery full of lichen covered grave markers. 
 
Since then, I've taken photos of them whenever I encounter a "unique" specimen.  I can't identify any of them but I know they are an excellent indicator of air quality, so if you don't see them where you live, that's probably not an endorsement for your local air quality.
About 10 years ago, I came across a large tree after a windy snowstorm that made quite an impression on me.  The lower portion of the main trunk was covered with lichen and the snowstorm had "iced" the trunk with patches of snow that was engrossing to look at.  I had completed a couple of improvisational quilts using color palettes inspired by nature and set about doing the same with the colors of the tree trunk covered in lichen and snow.
For some reason long forgotten, the project stalled and the blocks I did make were put on a shelf along with the pile of fabric I had pulled for it. Perhaps my subconscious knew that they are a slow growing species and this idea would need time to mature?  During my annual review of "stuff not finished" in December, the pile resurfaced and I put it on my first quarter list of goals for the 2017 Finish Along (my complete list is HERE). 
 
The blocks went up on my design wall along with a couple photos for inspiration and waited for something to happen! 
This strategy sounds too simple but it always works for me!
The first step was stumbling across this wonderful fabric from Robert Kaufman's Sound of the Woods collection -- the print extends across the width of the fabric and the color palette is perfect! 
Once this fabric joined the blocks on the work wall, my interest was sparked and I began to move the blocks around leaving them to "simmer" for a day or two and making adjustments until I began to see the trunk of a tree emerge!  I needed more primarily dark blocks, so I pulled six prints from the fabric stack and cut a couple rectangles of each to make some quick six-patch blocks.
To do this, I stack the fabrics right side up and cut them into six pieces. 
Then I "shuffle" them. 
Leave the first stack alone. 
Move the top piece on the second stack to the bottom. 
Move the top two pieces on the third stack to the bottom. 
Continue until there are six different fabrics on top of all the stacks. 
Here they are sewn together and ready to add to the mix! 
(For another example of how I used this style of blocks, read this POST.)
Finally, last week, I was satisfied with the arrangement of the blocks and began to set them together.
The quickest way to work is to overlap two blocks and trim them straight.
Here are the trimmings and the blocks are ready to be stitched together.
Sometimes I simply added a strip of fabric to expand the length of a "row" when less than a "block" was needed.
Once the rows were assembled, I began to stitch them to each other.  Here you can see some "freehand" rotary straightening to prepare for stitching.
The trunk of the tree has emerged!!
In the pile of rejects was a group of very light blocks which became a "layer of snow" that was plastered on the northwest side of the tree.
After two days of gazing and thinking about "how" to get all this together, I set about it (timidly).
The "band of snow" is slightly curved to define the left side of the tree and eliminate some of the random dark squares. 
 
I carefully laid the band of snow over the edge of the trunk, checking and rechecking the alignment.
After several deep breaths, I trimmed away the left side of the trunk to match the right edge of the band of snow. 
Whew, it worked!! 
It's a very gentle curve so the stitching was easy! 
At this point I am delighted with the results but it's time for another pause -- overnight should do it -- to organize the next phase of construction.
I had 3/4 yard of the gray tree scene and the rest of the bolt is 1000 miles away so I had to get this right.  The plan is to put some of it on each side of the trunk. 
How much on the left?
How much on the right? 
Feeling (fairly) confident the next morning, I laid the trunk unit on the tree fabric.
More deep breaths and the cutting began -- smooth the edge of the trunk unit and cutting the tree print at the same time so the edges match. 
Looks good!!
To the machine!! 
Press and repeat for the left side!
And here it is!!
You'll notice the "extension" at the top of the tree trunk.  When I aligned the pieces to trim the left side of the trunk, it was a couple inches shorter than the fabric, so I added a few "squares" and the "extension" is the result. 
Now I'm back to a thinking phase. 
How to quilt it?
My initial idea is beginning to expand so I'm going to let the piece simmer on the design wall over the weekend.
 
Here's to a productive stitch-filled weekend!!
Mary


Tuesday, March 21, 2017

Ahhhhhhhhhhhhhhhhhhhhhhhh

The seasons changed today -- spring is in the air here Northeast Ohio -- yeaaa!!
I've spent the last few hours organizing a new page for the blog!!
And I was playing around with the layout, too.
So if things look a bit different today, it's because my "tech" skills aren't quite up to my piecing skills.
(I'll be e-mailing my tech advisor right after this -- HELP!!!)

But now I'm too tired to write much of anything?!?

The new page -- (see the new tab up top?) -- is a collection of all my posts from last year as I followed Barbara Brackman's Morris Hexathon.  As I taught my Studying the Stars workshop this weekend, I realized it would be great for my students to have easy access to those posts to help them as they continue to work with 6-pointed stars and related hexagonal blocks.
And now that's done!!
I'm also adding the two-day
workshop to my teaching page -- if your guild or shop is looking for an intensive machine piecing introduction to 6-pointed stars, I'd love to talk with you! 

And since I had the blocks out for the setting experiments part of the workshop, I made a few new ones and will continue to add more blocks until I have enough to do a lap size quilt!
Just needed a break, I guess?!
I should make "keeping the studio in a state of chaos" to my list of goals because I started the Long Time Gone SAL based on Jen Kingwell's BOM Sunday evening!?! 
It's only one block a week???
Marti is blogging instructions to use her templates as part of the three blogger SAL. 
You can check her first post out HERE just in case you need another project???
I'm going to use my stash of "text prints" and scrappy brights!
If you aren't a Marti template enthusiast, there are two other bloggers posting alternative instructions and you can access them from Marti's first post.

I also went "duck hunting" for a couple hours earlier today so I can blame some of my tiredness on all that cold fresh air!  I'm up to 15 duck species seen so far this year -- still a few to go for a complete list of all the usual suspects!!

Look for signs of spring!!
Mary


Friday, March 17, 2017

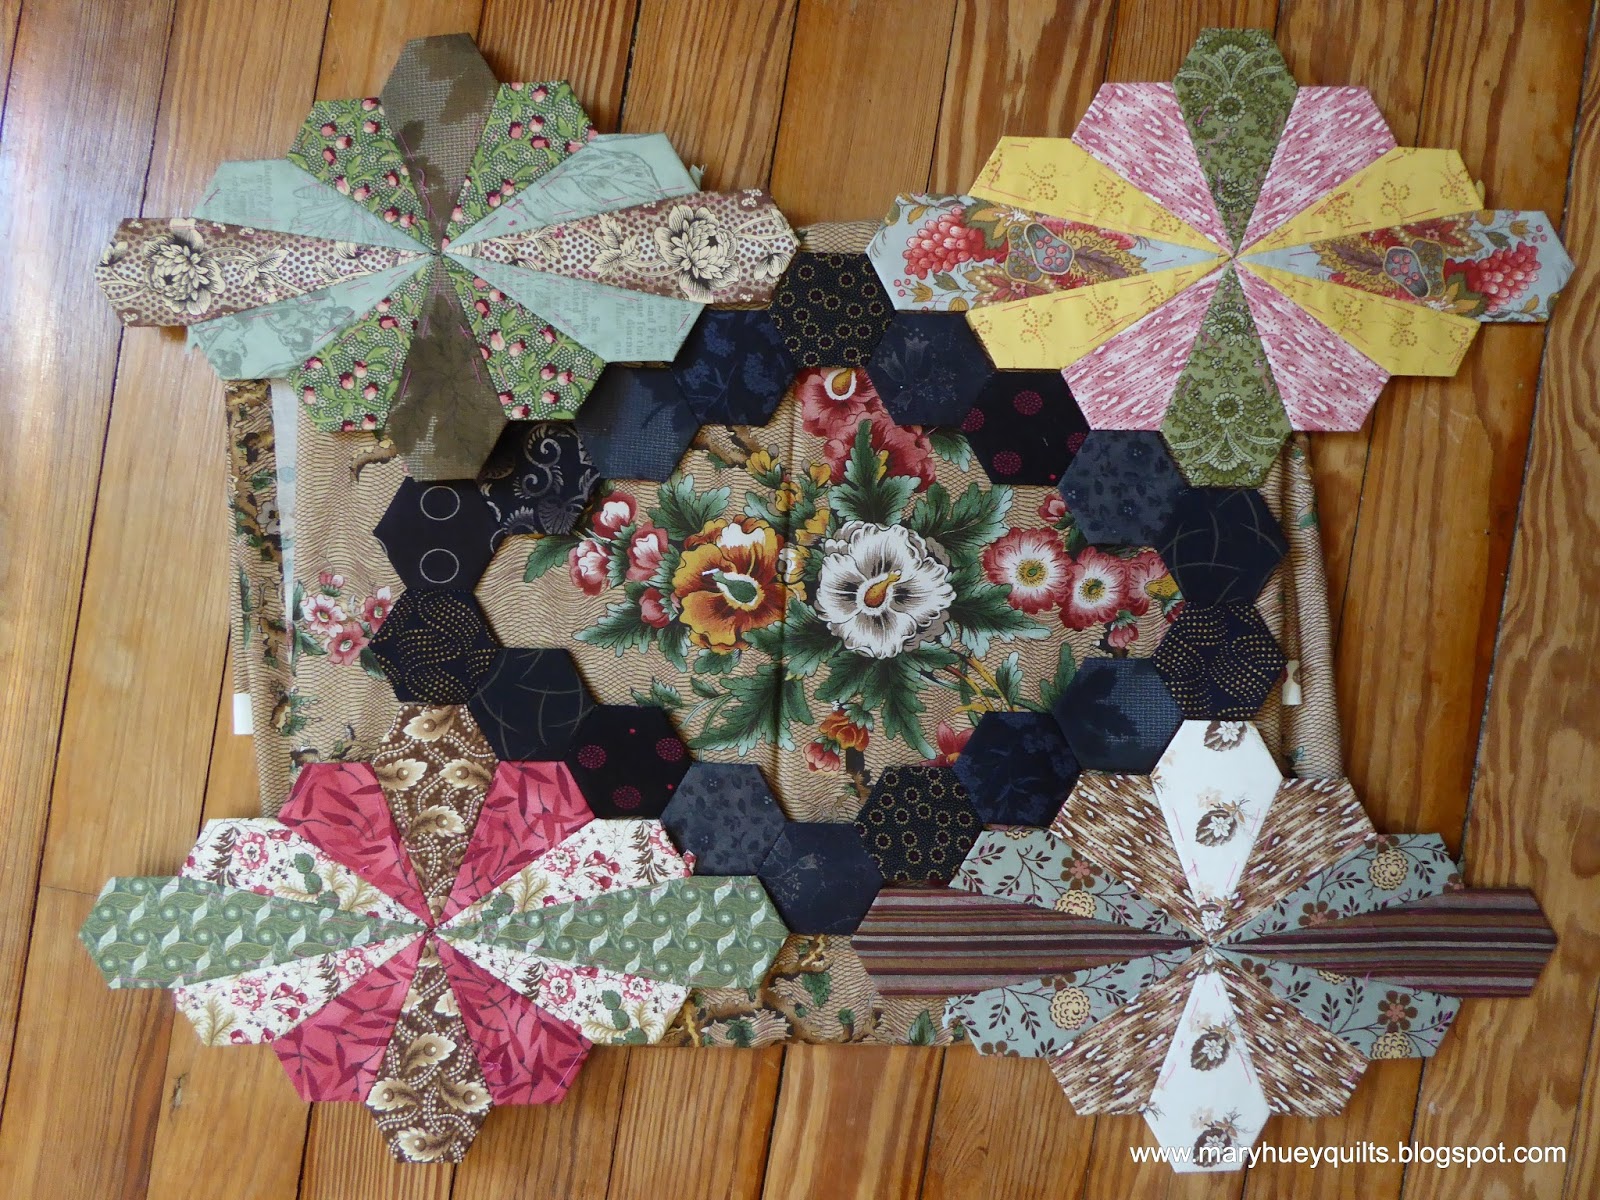
Dodecagon Progress

Early in February I shared the start of a new project -- Marge Sampson-George's lovely Dodecagon pattern which is now available in this Etsy shop -- pattern, templates, and papers!  Click HERE.

  I didn't make as much progress on it while vacationing in Florida (all the birding and fresh air left me pretty tired at the end of the day), but I've been chipping away at it since my return and a more concrete plan for my version has begun to evolve.

I started with a set of Andover reproduction style fabrics purchased at Mary Koval's shop in Bedford, PA.  The one on the left is from Di Ford and I think the one on the right is one of Mary's lines.
I've added lots more pieces to the assortment from my stash -- the number of yellows has grown as I love the pop that color brings to the individual blocks.
Isn't this one great?
I started with quite a few greens and . . .
 reds but have been adding to the assortment whenever I come across another piece that will add some texture or an unexpected element.
I've added more grays and blacks to enrich the palette.
Plus a few interesting browns. 
The first audition together felt a little blah -- especially when one looks at the versions of this quilt on Instagram coming out of Marge's workshops in Australia.
One of the lasting lessons I learned from Mary Ellen Hopkins was black always fixes "blahs".  So I put together a ring of black hexies for one of the setting necklaces and have been auditioning it with some large prints I want to incorporate to replace four or five of the dodecagons.
I took photos of all three so I can study them side by side to decide whether to just use one or two of them or all three. 
At this point, it's a real toss-up.  They all look great to me!
More staring and contemplation are required. 
Here's more close-ups of the individual units I've assembled so far.
I've decided against doing any really tightly managed fussy cutting but am controlling the directional prints to they don't distract the eye. 
So far this is the most somber one -- I'll have to be sure to make one or two more that are similar so it doesn't stand out. 
I'm finding the little binding clips helpful to hold pieces together once I get them aligned.
I can get one basted in an evening and the next evening, I stitch it together.
I'm making it smaller than Marge's suggested plan -- there are too many other EPP projects waiting for me out there so cutting the size down helps me hurry towards those faster!

Last weekend of winter here in Northeast Ohio! 
Hope you are having lots of stitching time this weekend!
Mary


Tuesday, March 14, 2017

2017 Finish-Along -- #3 is DONE!

My first plus quilt -- scrappy blues from my diverse stash!
Made for a special young man who has been my "yard boy" for the past 5 years!
He graduates from high school this year and I'm going to have to find another young man in the neighborhood to train as my gardening sidekick!!
I committed to quilting it this winter to be sure it was ready for his summer graduation celebrations!  Layering with a good movie seems to be a key to success for me.
It was Woman in Gold this time -- fascinating story and such a timely perspective in these days of international refuge crisis.
As I sat down with George to contemplate the quilting, my intention was to use straight lines (matchstick quilting) but as I pondered the best spacing I found myself thinking about the "maze" that was used as an event ice breaker a couple weeks ago. 

Could I quilt a maze?
How appropriate to use that for a graduation quilt? 
You know, "life is a maze" with lots of choices and paths that can lead to so many outcomes?!?

I started sketching out ideas and realized I have no idea how to create a maze.
Of course, that's "google-able".
I thought the explanation HERE was interesting.  It didn't completely solve my "how-to" problem, but it helped me understand the mechanics of making one which enabled me to commence stitching.

The first few lines were intimidating as always -- but after working across one corner of the quilt, I was able to find a rhythm of spacing the lines and building the channels. 
I worked from side to side across four to five rows of the squares at a time and it took about four sessions to finish the lap size quilt.
I have been thinking about how to explain my "process" but can't come up with much more than stitch for a ways, make a right angle turn and stitch some more, repeat, repeat, repeat.
I like the texture it adds to the quilt.  I took quite a few pictures to remind me "how" I quilted this one as it will be a good strategy in the future. 

The cold weather has been scarce here this winter but it's back now that the daffodils are blooming?!?  My daughter graciously consented to hold up the finished quilt outside.
It's 44" by 58" and you can read about my piecing strategy HERE.
So that's three finishes for the first quarter -- wahoo!!
One more to go and it's been on the design wall simmering for a couple weeks so I might be ready for the "full steam ahead" stage!!

Some of you may recall my story about finding "my" downy woodpecker under my feeder in late January (see my January 30 post). 
Good news!!
One March 8, I headed back out to the rehab center to pick him up!!  He was much admired by the center's staff for his feisty resilience and making such a good recovery!  I released him back into "his" yard and waited for 36 hours to catch a sight of him. 
At 8:30 a.m. on March 10, I was delighted to see him land on the finch feeder for a quick feed!!
Yea!!!

To the studio!!
Mary


Friday, March 10, 2017

Caught Up!!

I love to be caught up, don't you? 
This winter/spring I'm stitching along with Lorna at Sew Fresh Quilts making the sampler blocks for her 2017 Christmas quilt.
 
I'm hoping to knit some patterned wool mittens this year, but in the meantime, Lorna's mitten block inspired me to dig out a very precious piece of Alexander Henry to "fussy" cut the body of the mittens.
I used up what I had left and now there is no danger of it getting lost in the stash!! 
I like the way Lorna organizes the cutting for the blocks -- it's easy to understand though I do have to "check" each piece off the list so I don't miss anything.
Once the cutting is finished, the stitching is straight forward with easy piecing. 
Here are my two bow blocks -- green for my grandson and red for my granddaughter 
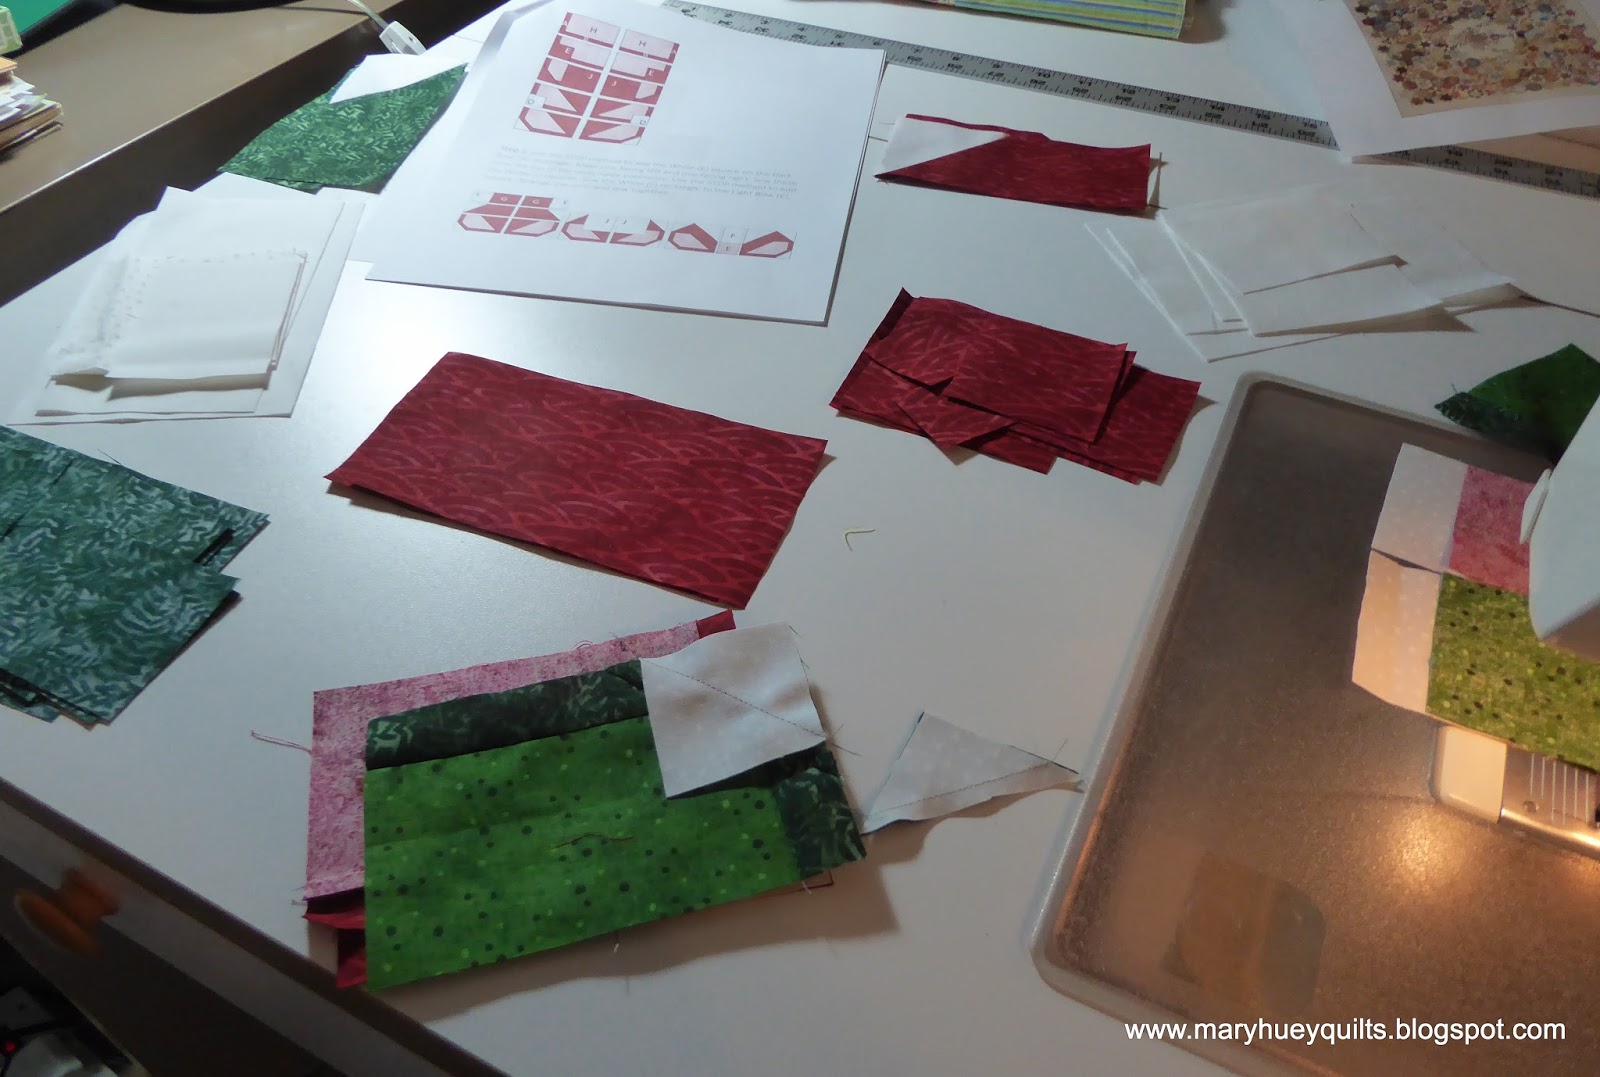
During the retreat last weekend, I took along an assortment of fabrics to cut and piece the fifth block -- the poinsettia block.
Now I'm all caught up and ready for the sixth block which will be available on Saturday on the Sew Fresh Quilts blog HERE 
Good grief, that block is wrong -- okay, so I'll be caught up in a bit!?! 
We are headed for a sampler style quilt but Lorna has also been sharing other inspiring makes using the blocks.  I never get such an early start on Christmas so thank you, Lorna!!
 
Zoom, zoom!!
Mary


Tuesday, March 7, 2017

The Retreat Aftermath!!

Many of you attend an annual stitching retreat and some of you are lucky enough to have the time and resources to do it several times a year.  I'm just home from the annual retreat with "my people" -- a group of students who were long time customers in my shop and we go back a long way!  They are inspiring to be with because they are so independent and creative.  I also love to see all the friendships that started in workshops and classes at my shop -- still going strong and growing!! 

The rural setting we enjoy is lovely no matter the time of year -- I took this picture early Friday morning with the sun shining across the snow dusted fields.  The large lone tree to the right is an oak, a favorite of mine -- I think farmers often left them growing in pastures because they live a long time and offer shade to animals during the summer.  Love the shadows in this scene!!
Two years ago, we expanded the length of the weekend and now start on Thursday morning.  As you can see, it doesn't take us long to take over the large sunny room and fill it up with stuff!!
Most of the group devoted Friday to shopping as there are several quilt shops in the area.
Saturday, it was all business and the room was full of cheerful conversation and serious stitching.
I decided to focus on making progress if not finishing an assortment of older projects.
The oldest was Doug's Market Ties -- quilted and bound, ready for a casing and a new life on the wall in my studio instead of on a shelf in my studio!  Working on it this weekend brought up some happy memories of my husband's cheerful attitude!
I layered up this giant beauty -- we always make sure there are two or three empty tables available for layering up and cutting out and problem solving sessions -- plus I rarely have another set of hands around the house to help with one this large (81" by 90"). 
Now I have no excuses -- the hand quilting can commence!
This is a close-up of a stack of placemats I pieced several years ago.  I love piecing them but find myself grumbling through the finishing process.  With a couple weddings coming up this year, I decided to push forward finally -- that wasn't so bad!?!  A second set that was still in the construction stage also got enough attention to get it back on track -- hopefully I'll find another 1/8th yard of the border print in my stash as I'm short 3 squares. 
One of the highlights of the weekend was a surprise birthday party.  I think it went something like this . . . . "since we are all together this weekend and someone is having a milestone birthday this year" . . . . I was so surprised that I could hardly put a coherent sentence together.
There was a singing hat?!? (Thank you for not making me take that home!)
There was a yummy cake!
There was a miniature topiary (long standing joke) which is a must-have for all important occasions.
And they gave me a quilt signed by everyone?!? 
This is only the third quilt someone has made for me.
I'm not sure it's the crowning event, but supper together on Saturday evening is always a happy affair.  By this point in the weekend, most of us are suffering from a serious carb overload but it's hard to pass up the country-style food.
At the end, we achieved a grand total of 119 goals (not the same thing as "finishes").
And we didn't have to drive home in a snow storm -- that was a welcome treat!!
I hope you have a "retreat" with your quilting friends in your future!
 
Mary
 
P.S. My actual birthday is still 3 months off but I'm partying all year!!


Friday, March 3, 2017

Project Quilting Season 8 -- Challenge 5

When I read the fifth challenge for Project Quilting Season 8 on Sunday evening, I thought -- "what?" -- "a well-dressed man"?  No way!!
 
But Monday morning as I was waking up, there it was -- Doug's Market ties!
My husband was the marketing director for Paisley Farms (a local specialty food processor). 
He loved that job -- got to talk to people all day long about his favorite thing -- food!!
RJR had just introduced their first collection of veggie prints.
So I made him an assortment of ties to wear at trade shows -- proved to be quite a conversation opener!!
 
Now I don't have time this week to work on a "from scratch" project (prepping for my annual student retreat in Amish country) but I've been spurred into taking it along to the retreat to finish.
Just needs quilted and it's only about 30" square!
But after looking it at all day on Tuesday, I decided the borders need reworked.
Something was wrong and the whole quilt buckled.
At first it seemed like taking off the last two border strips I had added would enable me to straighten everything up and put the borders back on. 
Ummm, nope! 
Look how out of whack this is!?! 
In the end and in the interest of maintaining momentum (it's already been waiting in the "to be quilted" queue for about 20 years), once I took off the other two border strips, I decided to eliminate the green border completely. 
I'll bind it in green!
So it's layered and packed for a quick finish this weekend!!
Going to keep it simple with a crosshatch grid and my walking foot.
Watch for it's progress on Instagram (I'm @hueymary)!!
I hope you get to do lots of stitching this weekend, too!!
 
Mary
 
Monday, March 6
Here is the finished quilt.  As often is the case, I'm finding myself wondering why it took so long to finish it -- 20 years?!?  My plan is to hang it in my studio (once I get the casing added) and enjoy the happy memories it evokes of my husband and his cheerful attitude.