Monday, December 22, 2014

Binding in a Hurry!!

I am D-O-N-E with the six quilts I'm giving to my children and grandchildren for Christmas!!  I'll show them off to you after Christmas -- doesn't seem right to show them to the world first.

Last Thursday, Nathalie at Les Ouvrages de Nat asked me how I do my binding, by hand or machine.  I do both and which I use depends on how close the "deadline" is looming. 

The deadline was looming last evening!!

So this one received the full machine treatment and I took some pictures to share with you!
 I use 2 1/2" wide strips folded in half cut on the crosswise grain or bias depending on the fabric (I use stripes on the bias).    If I'm doing the second side by hand, I use 2 1/4" strips, but for an all-machine, I want the binding to be a bit wider on the top. 

I put the walking foot on my machine and use a size 80 denim needle (because it has a sharper point).

Several years ago, I decided or realized it was easier to keep the top side of the quilt looking good if I stitched the binding to the back side first. 
 I push the needle position all the way to the right for this seam, taking a seam allowance that will give me a slightly wider binding on the front than on the back.  You will have to experiment with the best position for your walking foot.
Before stitching the second side, I trim JUST the corners of the quilt, NOT the binding, to eliminate some bulk at the corners. 
Now I move the needle to the left of center, one position -- not all the way to the left.
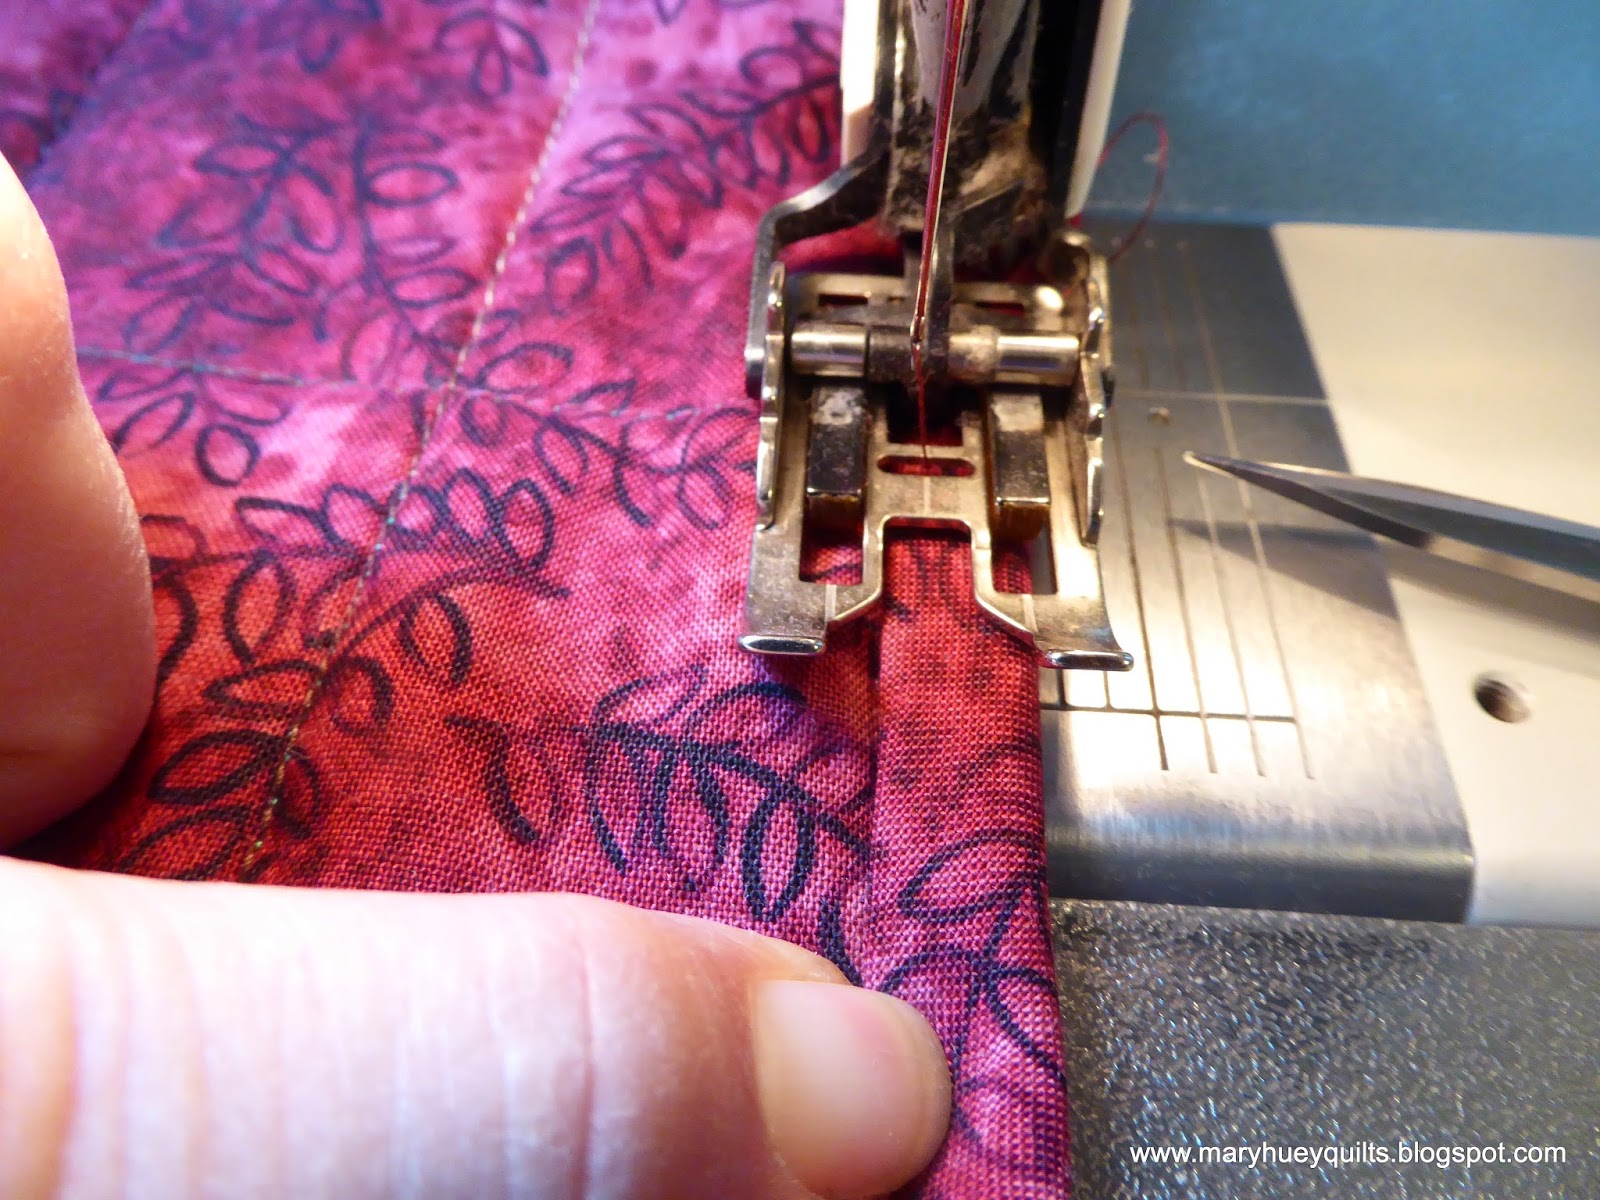
I don't pin, but if you prefer to pin, I suggest "aiming" the pins towards the presser foot so they are easier to pull out as you get to them.  Notice I am following the fold of the binding with the inside edge of the walking foot's left side toe (as you look at it).
When I'm about 2" from a corner, I begin to organize the pivot by folding up the next edge first.
Then I fold in the binding on the edge I'm currently stitching to create the miter and secure it with a pin. 
 At this point, I'm taking one stitch at a time until I get to the corner.  I stop with the needle down.
Now I lift the presser foot, turn the corner (don't break the thread here) and keep going.  If the walking foot doesn't seem to be moving forward, just stop with the needle down.  Lift the presser foot to release the back edge of the foot which can get caught hanging off the edge of the quilt behind the presser foot. 
This is what I want to see on the top of the quilt when I'm finished -- an even line of stitching that is a uniform distance from the edge of the binding.
When the binding is a bit wider on the front side, the stitching on the back side falls just off the edge of the binding strip as show in the picture below.  That means the thread on the top is chosen to match the binding and the bobbin thread matches the backing of the quilt.
Sometimes my stitching slips onto the binding and then I need to make a decision whether to go back and fix it or just move on to the label.  Since the person who is getting this one doesn't quilt -- (-; -- I moved on!!  Sometimes we have to remember that other folks can't get past the fact that we cut all this stuff up and sew it back together (really???), so they don't notice the tiny defects that often intimidate us into downgrading our work.
This is a large laprobe (56" by 78") and the binding was finished in one hour -- it may take you longer the first time you try it but I've been doing this for 15 years so I'm fast. 

Hooray, there will be no unfinished Christmas gifts this year (even though my children will miss them).

Thanks to all of you who have started reading and following for helping me grow my blog this year -- I'm enjoying all the sharing and exchange involved in being a "blogger"!

Merry Christmas!!

Mary Huey


Thursday, December 18, 2014

Delivery Day!!

Wednesday was the day to deliver 17 children's quilts to Laura's Home, a ministry of the Cleveland City Mission, for them to use as gifts for their current residents.   My little quilting group of friends has been working on these quilts since September and we were delightfully surprised at how many we finished once again.  It always seems as if we'll be lucky to get six finished!?! 
 
One of our members makes these wonderful tote bags "to wrap" the quilts.  Since the purpose of Laura's Home is to transition women and their children into a self-supporting life, they will be moving to permanent housing and so we hope having their own tote will lift their spirits. 
This year, we were given a bag full of Beany Babies and so those were also tucked down into each tote.  These cute little creatures always elicit delight, don't they?
So here is a look at the quilts we made this fall -- perhaps it will inspire your own charitable quiltmaking?!!  The pictures aren't my best -- taken in the evening and standing on a chair looking down on them -- so I apologize for that.
 
The scrappy bargello quilts we make (inspired by Bonnie Hunter's instructions) never cease to amaze me. 
This one is all flannels and uses a simple quilting strategy!
We start with this box of ugly strips and we make the strata with the help of elderly women with memory issues.  Every time we get these delightful results!!  (I wrote about it earlier this year.)   Actually, I believe they do a better job than we could because they are working from their intuition -- not out of worry about what someone will think. 
And if the quilt isn't quite as long as we want, we have adopted this habit of adding borders to the top and bottom only -- great way to use some of that stash of novelty prints. 
Some are retired teaching samples from my stash -- better to have them covering someone than wasting away in my stash.
When I give one of these away, it means I get to make another one!!  Love using this tool from Marti Michell, the Tessellating Windmill template. 
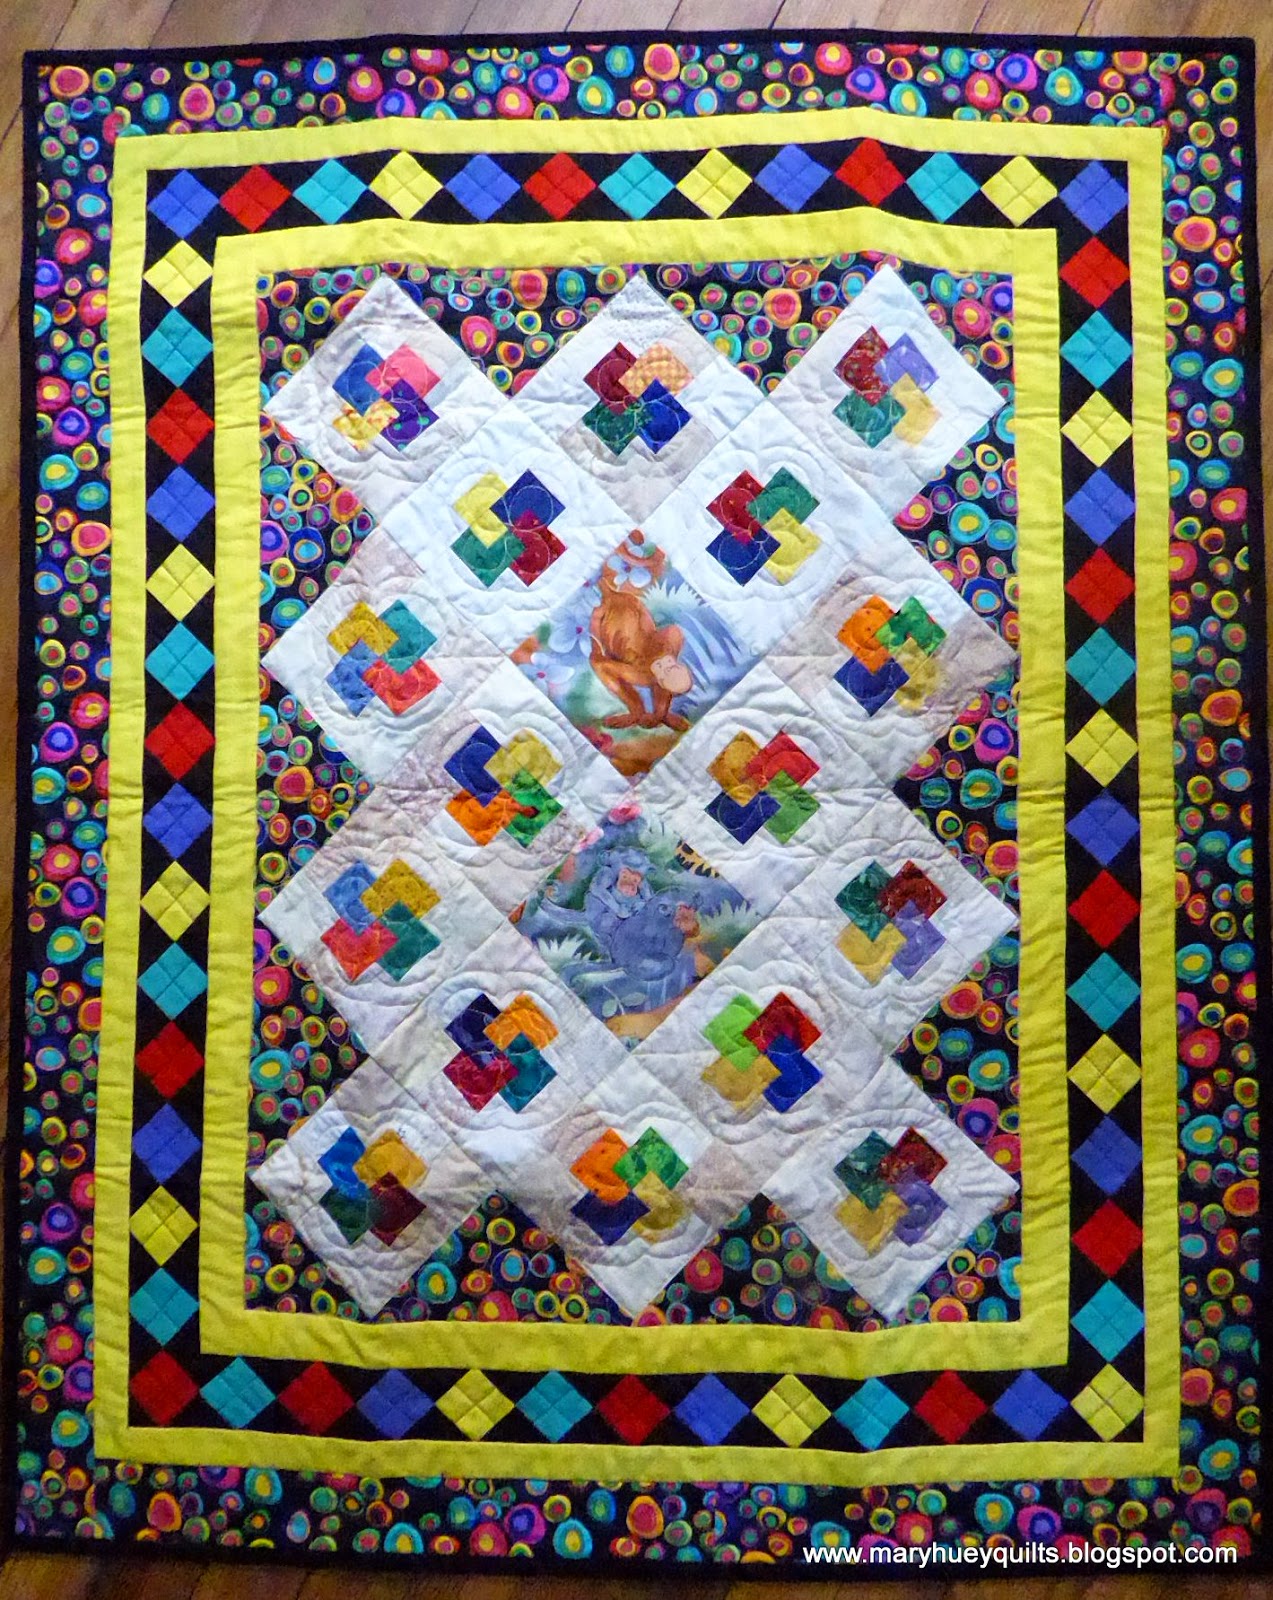
And some are old UFO's that we rescue and repurpose.  These little card trick blocks provided a perfect way for me to try out this diamond border idea again.
This twin size rail fence became three cozy quilts perfect for some lucky children -- I wonder if there is currently a set of triplets at Laura's Home? 
These basket blocks were cast-offs we rescued (rather nicely if I do say so).  Does anyone recognize them?
Here's a set of pillow panels I just had to have (twenty-five years ago).
And this top was made about 10 years ago because I just had to use that periwinkle floral.
I did one of those "1660" quilts -- jelly roll race -- didn't like the finished size of it -- and so it was split into half, trimmed a bit and became a couple little lap quilts.  Check out the fun quilting!
The next few were started from "scratch" -- leftover squares from someone, now working together! 
A little charm pak that became a wonky 4-patch! 
And the center of this was suppose to be a backing for another quilt, but we decided it was too much fun and converted it into a quilt top by adding borders.  Perfect for a boy! 
Sharing is one of the great blessings of the Christmas season.  Being able to use my skills (which sustain me so richly) to bless other people is important -- keeps me from becoming self-indulgent!!
 
Back to the cleaning and I hope a bit of baking this afternoon -- want to make biscotti!!
 
Merry Christmas!
Mary Huey


Monday, December 1, 2014

A HEXAGON TABLEMAT FINISH and a tutorial!!

I'm making a few of these tablemats for Christmas gifts this year.  My friend, Carol is crazy about chickens and I have an embarrassing quantity of chicken fabric! 
I've been cutting and piecing them as demonstrations during my fall vending appearances using Marti Michell's templates and the chain-piecing technique for y-seam piecing in my DVD workshop, Set-In Piecing Simplified.  

I love the zig-zag edge but knew I would not enjoy working that hard to bind it!  So I started to think about using Marti's no-bind finish technique that she shares in the instructional leaflet that comes with her fusible tape products.   Nathalie Delarge (my friend in France) has a video showing how to do it and even though it's in French (and my grasp of that language is embarrassingly poor), it helped me "see" the process and enhanced Marti's instructions.
So I decided to give it a try - after all, it couldn't be any more time consuming than a binding?!
The tape can be used to "baste" batting leftovers together and that was how I started.
Here are two "leftovers" -- I overlapped the edges about 1".
Then I centered a rotary ruler on the overlap and cut across.  You can also cut it freehand with your cutter. 
This makes matching edges on the batting that can be butted together more easily. 
Remove and discard the trimmings. 
Now lay a length of the fusible tape in place and apply with an iron following the instructions that come with in the package with the tape. 
Then center the tablemat on the batting.
Trim the batting with scissors following the edges of the tablemat.
Remove the tablemat and trim the batting so it will be smaller than the pieced top. 
This was the part I didn't get quite right the first time.
I trimmed off a bit over 1/4" and I should have trimmed off between 3/8" and 1/2". 
 The pin in the photo above is my reminder of where I started. 
Here are all trimmings!  It took about 30 minutes to get the batting pieced and trimmed.
Now when I center the batting on the wrong side of the pieced top, the edges of the top are exposed. 
Marti has both 1" and 2" wide tape.  I used the 1" for this project.   I cut 2" segments of the tape.
Then I put the tape segments on each edge of the zig-zags with the edge just inside the edge of the fabric and lapping onto the batting.    Time to fuse those in place! 
Finally, I centered the pieced top with the batting right sides together on the backing (more chickens).   So the layers are -- backing right side up, then pieced top right side down, and finally the batting.
One of the advantages of this approach is that it's easy to follow the zig-zag edge of the pieced top!  I made the backing in two pieces (you can read my tutorial about doing that HERE), so I could stitch all the way around the piece with no worries about trying to finish the edges once the piece is turned right side out. 
All that remains to do is trim the extra backing away, trim the outside corners to reduce bulk and clip the backing fabric at the inside corners.   Since the batting isn't caught in this seam, the corners are easy to manage.  And the fusible tape keeps the batting from pulling away from the edges!!  Genius!!
  Here's the finished mat!!  I kept the quilting simple working with a complementary cotton thread and my walking foot.  I outlined each round by echo quilting 1/4" from seams.   TA-DA!!! Finished!
I'm so pleased with it that I've organized a cutting and layout guide for you Michell template lovers which is available in my Etsy Shop.  You can use it with any of Marti Michell's large hexagon tools (Set G, Set H, or the Multi-sized Hexagon Ruler) and my teaching guide, SET-IN PIECING SIMPLIFIED, also available on Etsy.  The larger size hexagons will give you an easy project to test out the chain piecing technique!

And of course, if you have questions, I'm just an e-mail away (maryhueyquilts@hotmail.com) or friend me on Facebook (Mary Brower Huey) and we can use their "messaging" feature to chat!!

Linking up over at Freshly Pieced's WIP Wednesday because it's so much fun to see what other quilters are doing!!

Happy Piecing!!
Mary Huey


Saturday, November 29, 2014

Some thoughts on efficiency for stitchers!

With Thanksgiving past and marketing wizards trying to whip up the annual American Christmas shopping frenzy, I realize my plans for making Christmas gifts may have exceeded a realistic level.  To assure that I succeed, I rely on my daily habit of stitching every day!
 
And the most important key to being able to maintain that daily habit is to always leave something ready for my return the next day!!  I started this habit many years ago when I was still operating my quilt shop.  I discovered that taking a few minutes to set up the next day's work enabled me to come home and no matter how tired I was, it was easy to pick up something and begin to stitch. 
 
The hardest part of staying motivated for me is getting started when I'm tired.  If I don't have to think about "what to do", it's so much easier to start.  And once I start, the work calms and soothes me.  When it's time to stop, it's easy to decide what needs to be done next and lay it out for tomorrow.
 
I have three sewing areas (what a luxury!) and generally, there is something going on in each of them.  I invested in an APQS George quilting machine a year and a half ago.  It lives in my office adjacent to the kitchen.   I work there in 30 minute spurts to prevent neck and shoulder discomfort.  If I'm not working on one of my own pieces, there is usually a charity quilt on the table.  My machine quilting skill remains well honed if I quilt regularly so a bit every day is best.
Then there is my studio with my beloved and reliable Bernina 1031 - I've used it so much over the past 25 years that I wore out the feeddogs and had them replaced last year!  I never leave without setting up the next phase of the current project. And I never work on a project without something there on the right to use as "leaders and enders" (ala Bonnie Hunter). 
And finally there is my little cozy hole in the living room where I do all my hand stitching.  It is stocked with everything I might need -- fine scissors, a variety of hand sewing needles, basic threads, pincushions, and thimbles.  None of those items are allowed to leave there under any circumstances!!  If I'm traveling with hand stitching, there is a separate pouch with another set of those items.  Right now, I'm spending most evenings knitting for my family -- sweaters for the grands and socks for everyone who has ever said they "love them" to me.
So if you are under the gun to get too many Christmas gifts made in time, try this approach to keeping yourself motivated.  Let me know how it works for you!!
 
Must go piece!!
Mary Huey
www.maryhueyquilts.com