Tuesday, January 21, 2014

Adding a hanging sleeve to a quilt

As I was adding a casing to the quilt I finished this past Friday, I recalled how many questions I get from my students here in NE Ohio about the way I do this.  So I took some pics so I can share it this morning and now my students will have the step-by-step of my technique at their fingertips!

I start with the finished measurement of the quilt edge where the casing will be added and the size of the bar/rod/rail that will be inserted into it.  The requirements for the Lake Metroparks Farmpark Quilt Show call for a 4" sleeve -- normally, I use a narrower sleeve but I'll use this size as an example for my math.  I actually make a separate sleeve/casing, so I need 4" plus 2" for the headers (6").  I double that (12") and add 3/4" for seams.   The fabric I cut for this quilt is 49"  (the width of my quilt) by 13".
 
After finishing the two short ends with a quick hem, I fold it in half lengthwise (like a hotdog bun) with right sides together and stitch about a 3/8" seam.
At the ironing board, I press the seam flat, then turn the casing right side out and press the tube while rolling the seam to the back side of the casing.  It runs horizontal across the middle of this picture.  (It's easier to roll the seam to the back side than to try to press it straight along the top or bottom edge -- can't tell you how many years it took me to figure that simple trick out!?!?)
At this point the tube is about 6" wide (the math worked!!).
Before attaching it to the quilt, I topstitch two rows approximately 1" from each fold making the sleeve into a casing.
And here I am stitching off the casing onto my current hexie by machine project -- no wasted time here!!  By the time I finished making the casing, I had added two more hexagons to the motif!
At this point, the opening for the rail that will be inserted when the quilt is hung for display at the show is 4" wide and the rail should go through smoothly without touching my quilt.  That's one of the reasons I do it this way.

Now it's time to center the sleeve/casing on the back of the quilt and pin it into place for stitching.  It's important to be sure the sleeve/casing is horizontal on the quilt and attached to the correct edge!!  I like it to be about 1" shorter than the edge of the quilt on both ends so that the rail doesn't extend past the edge of the quilt.
Time for the hand stitching!  I use the longest double strand of thread I can manage and a stitch I learned back 40 years ago during my tailoring courses -- the catch stitch.
Start at the left end, anchor the thread and secure with a couple stitches up and down.  The needle goes through the casing/sleeve from right to left catching the backing and some of the batting without going through to the right side. 
It alternates one stitch up and one stitch down.
.
As you work towards the left edge of the quilt, the stitches form a criss-cross design.
Stitch both the upper and lower edges of the casing this way and -- Ta-da!! It's ready to go the show committee on Wednesday! 
 
Two other reasons I prefer this method is that if I want to remove the sleeve, it comes off quickly and doesn't leave any marks.  I also feel that it puts less strain on the top edge of the quilt. 
 
In the morning, since I don't live in a pet-free zone, I'll take the quilts somewhere and roll the sticky thing all over it until I can't find a single cat or dog hair on it!!
 
The next finish is in progress . . . . . sort of . . . . .
I keep telling Harry he's not accomplishing anything because you can't quilt while you are watching the birds?!?

Mary Huey
www.maryhueyquilts.com


Tuesday, January 14, 2014

Adapting Patterns -- Part IV (that's 4 for those of you who don't remember "roman numerals")

Do you have a favorite quilt pattern that you've used more than once because you always get good results and recipients love it? 

Mine is a pattern I designed about 15 years ago -- it's simple, only uses 6 fabrics, and I've quilted it so many times, I don't have to think about "how" to do that! 

There it is, hanging on the right while vending at a show sometime in the past!

 
I call it Sandstone and the pattern is available on my website.   Here is another version. 
 
 
I love the fabric assortment in this one!  It belongs to my younger daughter and features the best feather motifs I've yet to accomplish in the large spaces which seemed empty before it was quilted.
 
 
Years ago I challenged a group of students to "adapt" this pattern and show me what else could be done with it.  One gal pieced it with all neutrals and then appliqued a beautiful floral motif on it.   Another quilter who also pieced it in neutrals used it as the background for redwork embroidery.  (Unfortunately, it was before the digital photo era, so I don't have photos of either -- but you have a good imagination!!)
 
But I'm a "piecer" first and so a few years ago, I substituted clusters of flying geese units for some of the larger pieces in the layout.  A lack of fabric was the motivation for my adaptation.  The border print provided the color theme but I had a limited amount of it and so to be sure I had enough for the border, I cut those first which left less than was needed for the body of the quilt. 

 
Students who saw it loved the variation and so I edited the pattern to include instructions for adding the flying geese.

 
Here's a crib size top that is waiting patiently on my shelves to be quilted -- just need a baby shower invite to finish it! 

 
I love the border fabric!  It was the new piece of fabric and everything else was "from the stash".

 
So now it's time for you to look at some of your favorite patterns.  Do you have Turning Twenty?  That has been a favorite quickie for lots of my friends and one of the pieces is a good size square -- what could you plug in there for some added interest? 
 
Even better, what do you have in your UFO stash that would plug in there -- maybe a few Farmer's Wife blocks -- I'm never going to finish that project!!
 
All of the ideas shared in this series of tutorials on Adapting Patterns are from my workshop on the same topic.  I hope they've given you ideas and inspiration!
  I'd love to see any photos of adaptations you've made based on my ideas! 
 
Check in with me on Friday to see if that "finishing" surge is still active!!
 
Mary Huey
 
P.S.  Does anyone remember why we had to learn to read Roman numerals?


Monday, January 6, 2014

Adapting Patterns -- Part III and Bonnie's Mystery Reveal

What a nice surprise on New Year's Day morning to find that Bonnie Hunter had revealed the blocks and the layout for the Celtic Solstice Mystery!!  I've been stitching the blocks together a few each day since and so far there are 15 on the work wall.  What do you think?


Oops, I can see that I have a couple mistakes to fix -- all the orange squares are suppose to be going the same way -- well, the blocks aren't set together yet, so I'm okay.   Since I intend to donate this quilt, I'm undecided whether to make a twin (5 by 7 blocks) or two crib (3 by 5 blocks) size tops. 
 
I'm not sure how I looked at the layout for Bonnie's Birthday Girl block and reversed the direction of the green chevron units . . . . la, la,la . . . . but I love the large light star  that is created by alternating it with 54-40 or Fight blocks.  It would make a great setting for any star block based on a 3 by 3 block grid.  All I can think of is Ohio Star without pulling out my block books, but I'm sure there are others. 


I'm really looking forward to seeing all the color combinations this week as quilters who've been working on Celtic Solstice for the past month "link up" this week!!  And mine will look a bit different because I flipped that one unit.  hmmm!  Better make a note to myself on the instructions I've printed out.  
  
And that brings me to the third part of my series on "adapting patterns".   I often change the size of a quilt by changing the size of the individual blocks rather than changing the number of blocks.  And Bonnie's Celtic Solstice is a perfect candidate. 
 
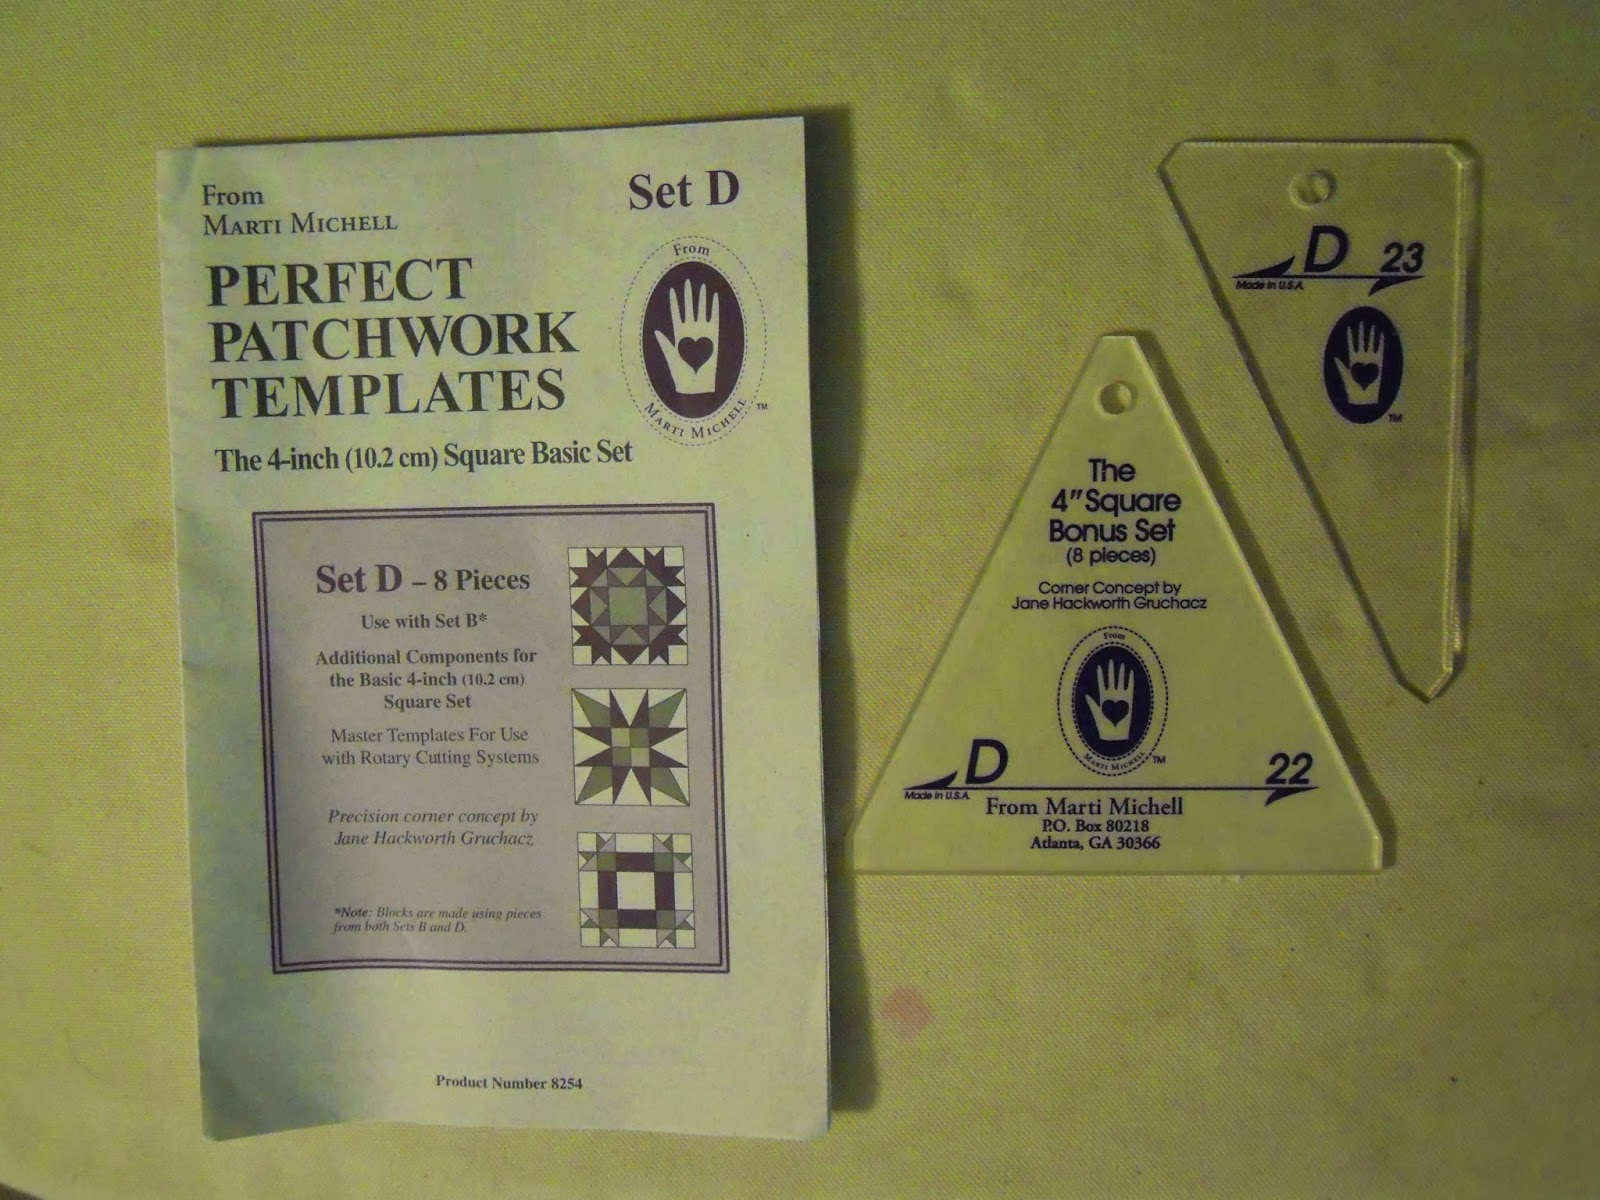
These blocks finish at 9" and I used Marti Michell's Sets A and C to cut all my pieces.  Those two sets have a variety of basic shapes designed to make 3" finished units which can be combined to create a wide variety of blocks. 
 
 Had I used Sets B and D, I would have the same shapes but the finished size of the units is 4".
 
And if I used Sets T and R, the units would have   
finished at 5".  So each block of the quilt would have been 15" finished.  That size block would bring a king size quilt top together pretty fast!!
 
I first did this 15 years ago with my pattern, Marie's Scraps.  Each size of the quilt uses the same number of pieces, but by using Set A I made a crib/laprobe size quilt.  Set B is used for the twin size and Set Q for double/queen. 
 
 
More recently, A Trip to the Stars, which I designed to introduce my students to Marti's Sashing Star Tool Set follows the same principles of changing the size by working with a different set of templates for each size quilt. 


 So take a second look at those quilts photos you love -- could it be made larger or smaller simply by changing the scale of the pieces?  If you love small pieces, you can translate those king size blocks into a small scale quilt and vice versa.  Don't let a pattern limit you!
 
Mary Huey
 

Saturday, January 4, 2014

Set-in Piecing Simplified

Yes, you read that right -- set-in piecing (you know, y-seams) simplified.  I now offer a downloadable PDF teaching guide so you can learn this technique in the comfort of your own sewing space!

For those of you who haven't already heard the story, let me give the background of this convergence of tools, desire, and a great technique!

For the past 8 years, I've been working with Marti Michell as a certified educator for her wonderful line of rotary cutting templates and tools.  In the spring of 2011, I taught a set-in piecing workshop in Watertown, NY for 20 gals from the local quilt guild.  The project was my Jelly Stars tablemat and the tool for the workshop was a new set of Marti Michell's templates, the 2 1/2" Stripper Set, designed to use with "jelly roll" strips. 


This popular class introduces students to how Marti's templates improve accuracy with set-in designs.  At the end of my first stitching demo, I confessed that the most challenging part of set-in piecing for me was all the "start and stop" stitching but there was no other way and so one must learn to be patient and look forward to good results.

It was a large group and I was on the move constantly, making sure everyone was staying on track, clarifying the fine points of matching, and enjoying their progress and fabric combinations.  I paused at the machine of one student -- it appeared that she was "chain-piecing" and of course, we all know one can't chain-piece with set-in seams. 

Well, I was wrong and boy am I glad that Mary O'Keefe was in my workshop because she shared her discovery with me and it lit a fire in me!!  Her technique (which I think occurred to her during the workshop) and my enjoyment of teaching with Marti's templates and all the current interest in hexagons and 60 degree diamonds have converged to ignite a firestorm of activity for me.  Just look at some of the pieces I've done since that workshop as I perfect and teach this technique to quilters.

First there was the scrappy tumbling blocks -- I've always loved this design and now piecing it is as simple as making 4-patches (no kidding).


Then I decided to try the technique out on a pile of hexagons -- these are 2" and used the large hexagon in Marti Michell's Set G.


Now I was ready to teach the technique (with Mary's blessing) and designed this large scale piece using the Multi-size Diamond and Multi-size Hexagon tools to make 4" tumbling blocks and hexagons with a great focus fabric.


At that point, I discovered Kerry Dear's now famous Candied Hexagons which is inspiring so many quilters around the world -- she did that with Marti's first set of hexagon and companions templates in 2005.  So I went to work with Set H playing with 6-pointed star possibilities. 


It's bright and busy, but it was so much fun to make!  I scored the border fabric on a teaching trip to Colorado in August of 2012 and it inspired the fabric pull from my stash when I got home.  By January of 2013, it was ready to enter in the regional quilt show (where it won a ribbon - yeah!!) at Lake Farmpark in Kirtland, Ohio. 


I'm currently finishing up this more subdued sampler of 6-pointed stars and relatives.  As I finished each phase of this quilt, I'm still amazed by how much easier set-in piecing has become for me thanks to Mary's insight.  Plus the accuracy I achieve using Marti's templates is remarkable.

And this is my current "sew-off" project as I work toward reproducing the old mosaic quilt in the photographs using 1" hexagons pieced by machine with the technique included in my teaching guide, Set-In Piecing Simplified.


The Set-In Piecing Simplified teaching guide is based on a year and a half of teaching and testing the best way to teach it to all levels of quilters -- beginning to advanced.  In it, I cover cutting and marking the pieces with Marti's templates (there are a half dozen options).  The demonstration project is tumbling blocks and I cover the sewing from piecing the basic units to setting them together in a quilt.  (You can order a downloadable PDF from my Etsy Shop by clicking on my face up there at the top of the right side column!)

If you love the look of hexagons and 6-pointed stars, tumbling blocks, and 8-pointed stars (the technique works for those just as well) -- you need to learn this technique.  And if you need more ideas for working with those shapes, you can follow me on Pinterest.   Once you view the video and practice the technique, you'll soon be wondering why you thought it was difficult to stitch y-seam blocks.

Because piecing should be fun!!

Mary Huey


Tuesday, December 3, 2013

Adapting Quilt Patterns -- Part II

What is the first thing about a quilt design that catches your eye?  Have you stopped to think about that?  For me, it's often the setting of a quilt and so I've trained myself to look beyond the color and the specific quilt block paying attention to the design of the setting.  How does the sashing or alternate blocks affect the overall design.  And when I find one I like, I save that idea to apply later with my own quilt blocks.

This is the second way to adapt a quilt pattern -- use the setting of the design. I'll use two of my patterns, Mary's Holiday Baskets and Courthouse Stars to illustrate my point.

 
Holiday Baskets is a basic basket block set together with a simple alternate setting block that is then modified around the outside edges to create an interesting overall design of framed basket blocks.  That alternate block frame can be used with any block that looks good set on-point!  The easiest adaptation of this setting will be to use the same size quilt block that is a "5-patch" block (which means it can be draw on a grid of squares that is 5 by 5).  But if you aren't afraid of the math, you could adapt it to other sizes of 5 by 5 grid blocks.


Courthouse Stars was the last mystery quilt I offered to my customers in 2005 before closing my shop in Willoughby, Ohio.  It uses Courthouse Log Cabin blocks to frame a double star block and has been a very popular pattern with my customers.  Once again, the star block which is the design block could be replaced with other blocks.  Modifying the size of the log cabin blocks would be fairly easy math -- might be as simple as adding a strip. 

I think either of these settings would be perfect for a set of blocks from a block of the month project.  I have a couple stacks of these languishing on my UFQ (unfinished quilts) shelves.  Either setting would frame up the blocks nicely and the setting would be my unique touch.

So here's a design challenge exercise.  Look through your favorite patterns for quilts that use an alternate block setting.  Sort out which are the design blocks and which are the setting blocks or sashing that make the overall design.  Now think about other blocks you could substitute for the "design" blocks.  You don't have to start a new quilt!  Just think.  By exploring this idea in your head, you'll start to look at patterns in more depth and see the possibilities beyond what is printed on the pattern cover.   

Next week, we'll look at adapting a quilt pattern by changing the scale of it!

Mary Huey
www.maryhueyquilts.com

Tuesday, November 26, 2013

Adapting Quilt Patterns -- Part I

My day is off to a perky beginning.  It's only 10 a.m. and I've done my morning devotions, the dishwasher is hard at work in the kitchen and the bread machine is hopefully producing an excellent loaf of sourdough artisan bread for Thursday's turkey stuffing!  (Though I am still in my jammies.)

One of the lectures and a workshop that I've offered for the past few years is titled ADAPTING PATTERNS.  During it, listeners and students are guided through some steps to open up new options for using some of that pile of patterns and tabbed pages in our favorite magazines.  This series (I think there will be 4 parts) will share some of those ideas with you.

We'll start with the easiest way to adapt a pattern -- changing the color and/or fabric style.  And I'm going to use my pattern, MISSISSIPPI MUD, as an illustration.  That's it on the left in this booth photo from one of my road trips.  It's the oldest pattern in my line, Mary Huey Quilts.

 
Mississippi Mud came to life in the late 1980's (I think).  My teaching mentor, Mary Ellen Hopkins, of It's Okay To Sit On My Quilt fame shared a pattern called Mississippi Simplified that would make good use of what we called "connector corners".  Most gals call them "snowball corners" today.  When I began to putter with the block design, there were two triangles whose placement bothered me, so I eliminated them.  When I shared the design with my Quilt Sitters Circle group, they were excited enough about my modified design that I began to offer workshops. 
 
To say it was popular would be an understatement.  During the late 80's and early 90's, I taught it so often that I got tired of it.  I finally wrote the pattern so that when customers whined about my not offering the class, I could set them up with the pattern and they could make the quilt.  The photo on the front of the pattern is traditional reproduction style fabrics and frankly that is way many quilters organize their fabrics when making it.  Everyone sees it as a "traditional" quilt because of the cover photo. 
 
I've made at least a half dozen of them over the years from crib to queen size and my students are always amazed when they meet someone here in Northeast Ohio who hasn't made Mississippi Mud.
 
A student's signature version.
Over 25 years, it's an easy quilt for me to produce (I can knock out a crib size top in a day) and I like to make it for gifts since it's a "signature" Mary Huey design.
 
My granddaughter, Grace, with her big girl bed quilt.


As you look at the three versions of the pattern, which one catches your eye?  Most of us are more heavily influenced by the color and fabric style of a quilt than we realize.  To see a pattern in your preferred style is challenging until you manipulate your mind into thinking about it that way.  It's hard to subdue the instant "yuck" and look at the design for itself, but once you train yourself to take this deeper look, you will discover some wonderful patterns. 
 
Two weeks ago, I taught workshops for the Chambersburg Quilt Guild in Pennsylvania and the Towpath Quilt Guild near Syracuse, NY using this pattern.  I can't remember the last time I got to teach Mud -- it must have been quite a while because when it came time to send samples to each guild, there was nothing to send.  So I had to make two new ones.  When explaining to gals how to chose the fabric, I suggest that they "theme" it -- all one color family or all one print style -- and make certain the fabric chosen for the star contrasts strongly with the other fabrics. 


Both of these versions differ enough from the photo on the pattern cover plus I send out small scale mock-ups in two other color ways -- my goal is to help students see more possibilities.  But I have to tell you, what happened in those workshops was very exciting. 


Belinda arrived with this assortment of black and white prints -- it broke one of my cardinal rules for this design -- no light background prints.  But it works!!  I'm not sure it would work with other color families but who knows?  And that lime green star may not work for you, but how about orange or hot pink or turquoise?  Mmmmm!! 
 
Fran took one of the popular new Christmas collections and did this -- I never would have thought to do it in all pastels with a dark star.  You don't need to find this fabric collection -- you need to think about the effect of using a pastel group of a color family.


Bali's always work well with this pattern, but I've never had a student do it with the entire color palette and be able to find a batik that contrasts as well as these pink stars.  Generally, I suggest students use only a cool palette (greens, blues, purples) so they can chose a warm color (yellow or orange) for the stars (or vice versa).  But this works just fine!


Ann's assortment of large scale florals looked chaotic when she first pulled it out -- but I think I need some of this chaos myself.  What a great look!  This time the contrast of the star is established by the scale of the print, not the color. That's a new idea for me.  Do you think polka dots are the new neutral?

So take another look at that latest magazine today and explore the possibilities of the patterns you don't like in it.  Ask yourself "how would changing the color palette or the style of the fabrics effect this design?"  And then listen to your brain's answer.

Pull out some of your favorite patterns to revisit them by updating with a change of the color palette or fabric style.  I enjoy making patterns again -- it's easier the second time because I know the "in's and out's" of it. 

Let me know what discoveries you make -- as for me, I need to go now.  The dishwasher is finished and the loaf of bread is looking good.  But more important, there is another version of Mississippi Mud I need to make!!

Mary Huey
www.maryhueyquilts.com

Tuesday, November 19, 2013

Sashed Quilt Settings -- Construction

To finish this series on working with sashing for setting quilt blocks together I want to share my construction approach.  I haven't seen this approach in any books but that doesn't mean there aren't other quilters using it.  It's an extension of a setting technique which Mary Ellen Hopkins taught me in the 1980's called "twosy-foursy".   She encouraged her students to set blocks together in clusters rather than rows as a way to get a quilt top that was truer to square. 

Somewhere along the way, I began to adapt this idea to sashing blocks.  Instead of creating rows of blocks that alternate with sashing to attach to rows of sashing and cornerstones, I add a sashing unit to two adjacent edges of my blocks with the cornerstone.  I like this technique because I can do all that before laying the blocks out so there are fewer trips back and forth to the work wall.  Plus I can continue to chain piece which always makes me feel so efficient.


This photo is from my pattern, Trip to the Stars, (available in my Etsy shop, MaryHueyQuilts) which I wrote to use Marti Michell's Sashing Stars Set.  It enables you to trim the sashing and cut the star points for a basic star (as illustrated) and also for a long pointed star in 3 different sizes -- for 2" wide, 3" wide, and 4" wide sashing -- any length!  It's a very versatile and handy tool!!

I begin by adding a sashing unit to one edge of each block -- in this photo, I've already added them to the left side of my train print squares -- I chain pieced!!

Snip them apart and press all of them. 

Next I sew the cornerstone to one end of another stack of sashing units -- chain-piecing again. 

Snip those apart and press them so the seam will oppose the seam on the sashing/block unit. 

Finally, stitch a sashing/cornerstone unit to an adjacent side of each sashing/block unit.  Still chain-piecing.  These are going onto the top edge of each square in this photo.


Snip these apart and press the final seam -- I press half the units to the left and half to the right. 

Now I'm ready to put the quilt up on the work wall.  Once the arrangement suits me, I will need to add sashing and cornerstones to the block units along one side and the lower edge of the quilt.


Once that is done, I'm ready to set the quilt together, add the borders and quilt!

This is my grandson, Bennett's quilt -- it was fun to make because I got to use lots of my orange stash!
Next week, I'll begin a series on Adapting Quilt Patterns.  We all own lots of those I imagine and I'm going to look at ways to get more out of a pattern than just what appears on the cover!
Keep piecing!!
Mary Huey


Tuesday, November 5, 2013

Sashed Quilt Settings -- Pieced Sashing

 I collect setting ideas and so I'm delighted to discover Pinterest as a vehicle for keeping track of some good ones!!  Many unique settings feature pieced sashing -- it's a lot more work but it can take a simple block and add another element of design to a quilt.  So today I'm featuring 3 quilts that I've made recently with pieced sashing.
 
These big scrappy string stars (each star is about 22" square) came from the home of my husband's paternal grandmother.  They lived on her shelves for quite a long time and they lived on my shelves for over 30 years.  There are 12 blocks and I've made them into identical quilts for my 3 children. 
 
 I had to add the background triangles and squares so made them larger than necessary so I could square all the blocks up without losing any points.  The sashing was inspired by a small antique quilt I saw on e-bay.  I pieced the sashing from my "sourdough" box of 2 1/2" strips and squares.  The squares were sewn together in pairs (as leaders and enders, Bonnie Hunter style) and then into the sashing units -- 12 pairs long -- and that was too long for my star blocks.  So it had to be 11 pairs and the stars blocks were trimmed to 22 1/2" AFTER the sashing units were finished -- so I guess you could say I backed into the math.


Interesting thing about the string pieced stars -- as I looked closely at them while reworking them, I realized the fabric was much earlier than the 1930's and 40's when Grandma Huey might have been sewing.  Was she using her mother's scrap bag?  Or were the blocks perhaps made by her mother or mother-in-law?  No one will ever know.  But it will be a nice piece of family history for each of my children to own.

This is a close-up of one of the blocks from the top I showed off a couple weeks ago.  The source of the rail fence sashing idea is a mystery to me.  There was another plan for these blocks --  but that was over 10 years ago and if there were notes, they were long lost.

There was a pile of blue blocks and a pile of blue and yellow rail fence blocks in the box and no memory of the original plan.  Two of the blue blocks were bordered with blue strips.  The plan to use the rail fence blocks evolved as things went up on my work wall. 

As I set the rail fence blocks into groups of 4, I discovered that I needed to "organize" them carefully to maintain an alternation of horizontal and vertical rails.    Again, the blue bordered blocks were trimmed to fit the sashing units AFTER I had sewn groups of 4 together. 


First plan for these applique blocks was to use one fabric for the sashing but when I started to audition  fabrics, I did not like the plain strips  -- and a row of squares pieced together looked clunky, too.  So the answer was triangles!  Trouble was that I couldn't organize the design of their layout, so I took a random approach, used squares for cornerstones and kept the value of the blues and greens fairly close so none would stand out too much.  There was quite a bit of "math puttering" to find just the right size for triangles that would fit around the blocks but once again I trimmed the blocks after the sashing was pieced.

Generally, the pieced units used for sashing are simple such as the 3 I've illustrated.  Flying geese are another good one for sashing as they add movement to a quilt.   This is a quilt one of student/friends displayed in a recent quilt show -- since the log cabin blocks are not very trimmable, the math for the sashing would need to be figured and tested to be sure everything fit.

And with most pieced sashing, the size of the individual pieced units will determine the width of the sashing. 

One of my favorite all-time books about settings for quilts is Sharyn Craig's Setting Solutions.  It has been out of print but sometimes you can find copies on Amazon or e-bay (be prepared to pay a healthy price) but there is also now a Kindle edition. 

So start to pay attention to sashing, save the ideas you like and start to apply them to your quilts.  If you'd like to check out my Pinterest board, it's call "sashing ideas".

Next week, I'll share some construction ideas with you pertaining to sashing!

Piece on!!
Mary Huey
www.maryhueyquilts.com