Showing posts with label Marti Michell Sashing Stars Set. Show all posts

Monday, January 6, 2014

Adapting Patterns -- Part III and Bonnie's Mystery Reveal

What a nice surprise on New Year's Day morning to find that Bonnie Hunter had revealed the blocks and the layout for the Celtic Solstice Mystery!!  I've been stitching the blocks together a few each day since and so far there are 15 on the work wall.  What do you think?


Oops, I can see that I have a couple mistakes to fix -- all the orange squares are suppose to be going the same way -- well, the blocks aren't set together yet, so I'm okay.   Since I intend to donate this quilt, I'm undecided whether to make a twin (5 by 7 blocks) or two crib (3 by 5 blocks) size tops. 
 
I'm not sure how I looked at the layout for Bonnie's Birthday Girl block and reversed the direction of the green chevron units . . . . la, la,la . . . . but I love the large light star  that is created by alternating it with 54-40 or Fight blocks.  It would make a great setting for any star block based on a 3 by 3 block grid.  All I can think of is Ohio Star without pulling out my block books, but I'm sure there are others. 


I'm really looking forward to seeing all the color combinations this week as quilters who've been working on Celtic Solstice for the past month "link up" this week!!  And mine will look a bit different because I flipped that one unit.  hmmm!  Better make a note to myself on the instructions I've printed out.  
  
And that brings me to the third part of my series on "adapting patterns".   I often change the size of a quilt by changing the size of the individual blocks rather than changing the number of blocks.  And Bonnie's Celtic Solstice is a perfect candidate. 
 
These blocks finish at 9" and I used Marti Michell's Sets A and C to cut all my pieces.  Those two sets have a variety of basic shapes designed to make 3" finished units which can be combined to create a wide variety of blocks. 
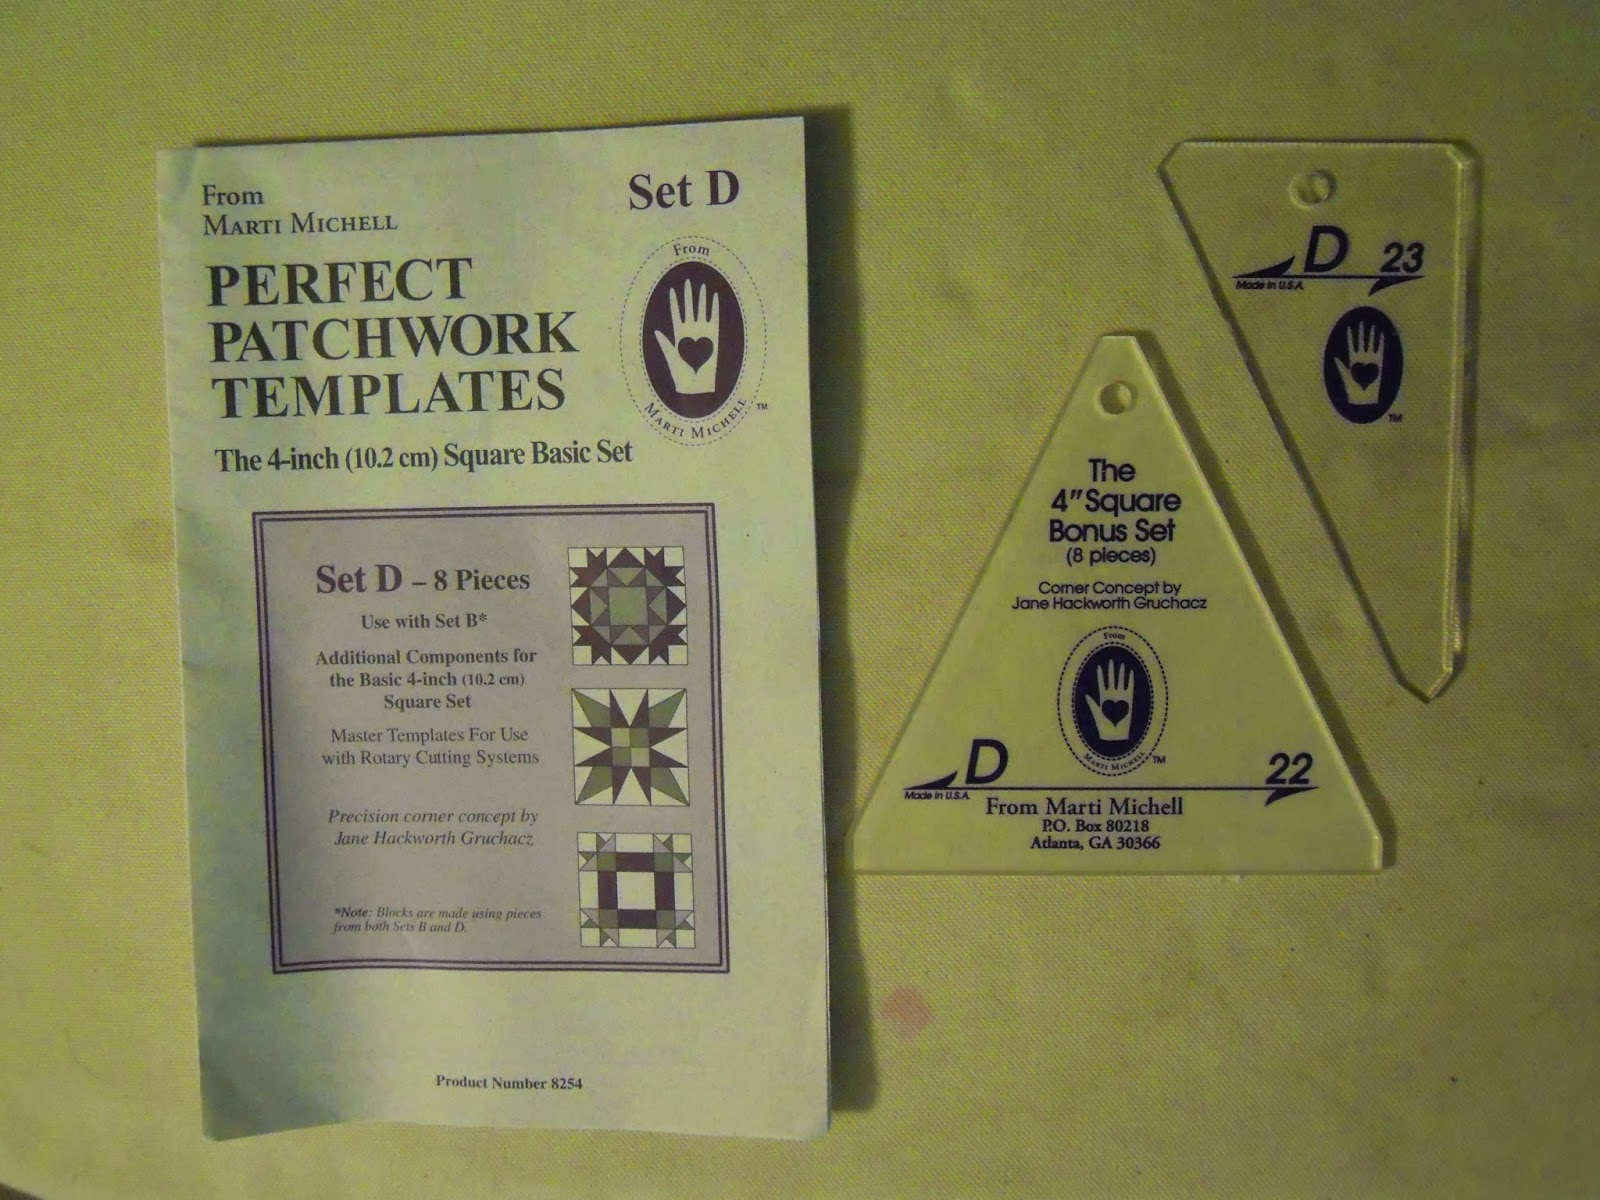
 
 Had I used Sets B and D, I would have the same shapes but the finished size of the units is 4".
 
And if I used Sets T and R, the units would have   
finished at 5".  So each block of the quilt would have been 15" finished.  That size block would bring a king size quilt top together pretty fast!!
 
I first did this 15 years ago with my pattern, Marie's Scraps.  Each size of the quilt uses the same number of pieces, but by using Set A I made a crib/laprobe size quilt.  Set B is used for the twin size and Set Q for double/queen. 
 
 
More recently, A Trip to the Stars, which I designed to introduce my students to Marti's Sashing Star Tool Set follows the same principles of changing the size by working with a different set of templates for each size quilt. 


 So take a second look at those quilts photos you love -- could it be made larger or smaller simply by changing the scale of the pieces?  If you love small pieces, you can translate those king size blocks into a small scale quilt and vice versa.  Don't let a pattern limit you!
 
Mary Huey
 

Tuesday, November 19, 2013

Sashed Quilt Settings -- Construction

To finish this series on working with sashing for setting quilt blocks together I want to share my construction approach.  I haven't seen this approach in any books but that doesn't mean there aren't other quilters using it.  It's an extension of a setting technique which Mary Ellen Hopkins taught me in the 1980's called "twosy-foursy".   She encouraged her students to set blocks together in clusters rather than rows as a way to get a quilt top that was truer to square. 

Somewhere along the way, I began to adapt this idea to sashing blocks.  Instead of creating rows of blocks that alternate with sashing to attach to rows of sashing and cornerstones, I add a sashing unit to two adjacent edges of my blocks with the cornerstone.  I like this technique because I can do all that before laying the blocks out so there are fewer trips back and forth to the work wall.  Plus I can continue to chain piece which always makes me feel so efficient.


This photo is from my pattern, Trip to the Stars, (available in my Etsy shop, MaryHueyQuilts) which I wrote to use Marti Michell's Sashing Stars Set.  It enables you to trim the sashing and cut the star points for a basic star (as illustrated) and also for a long pointed star in 3 different sizes -- for 2" wide, 3" wide, and 4" wide sashing -- any length!  It's a very versatile and handy tool!!

I begin by adding a sashing unit to one edge of each block -- in this photo, I've already added them to the left side of my train print squares -- I chain pieced!!

Snip them apart and press all of them. 

Next I sew the cornerstone to one end of another stack of sashing units -- chain-piecing again. 

Snip those apart and press them so the seam will oppose the seam on the sashing/block unit. 

Finally, stitch a sashing/cornerstone unit to an adjacent side of each sashing/block unit.  Still chain-piecing.  These are going onto the top edge of each square in this photo.


Snip these apart and press the final seam -- I press half the units to the left and half to the right. 

Now I'm ready to put the quilt up on the work wall.  Once the arrangement suits me, I will need to add sashing and cornerstones to the block units along one side and the lower edge of the quilt.


Once that is done, I'm ready to set the quilt together, add the borders and quilt!

This is my grandson, Bennett's quilt -- it was fun to make because I got to use lots of my orange stash!
Next week, I'll begin a series on Adapting Quilt Patterns.  We all own lots of those I imagine and I'm going to look at ways to get more out of a pattern than just what appears on the cover!
Keep piecing!!
Mary Huey