Showing posts with label Trip to the Stars. Show all posts

Wednesday, August 4, 2021

I understand the world is halfway through the current season -- summer for us up here and winter for you down there.  Everyone here is saying "where is the summer going" and probably everyone down there is saying "this is the longest winter ever".  We need to watch out for those "never happy" moments, don't we?  Embrace the moment -- I hope that's something each of us has come to understand in new ways over the past 18 months especially now with the news media warning us, "it ain't over yet"!!

Before I forget, one thing I need to share with any of you who receive an e-mail notification that I have a new blogpost up -- that notification system is going away.  It's not my doing.  I don't understand it and while there might be a way I could set up something, I'm not going to do anything -- not because I don't want you to know what I'm doing but because I don't understand it.  I'm old(ish) and frankly this constant updating of systems is beyond my energy -- I don't want to be updated -- anyone else with me on this?

That being said, the Bloglovin' connection will still function as usual so you could set yourself up to receive notifications via that website.  (Ask a teenager to help you figure it out.)  I also share on my Facebook page each time I activate a post so you could request to be a follower?  Other than that, you could just stop by every couple weeks and see what's new?  

Aren't I helpful???

The fun news is there is another finish (#11) and an almost finish (#12),

Here is #11 lounging in the back yard.  

TRIP TO THE STARS

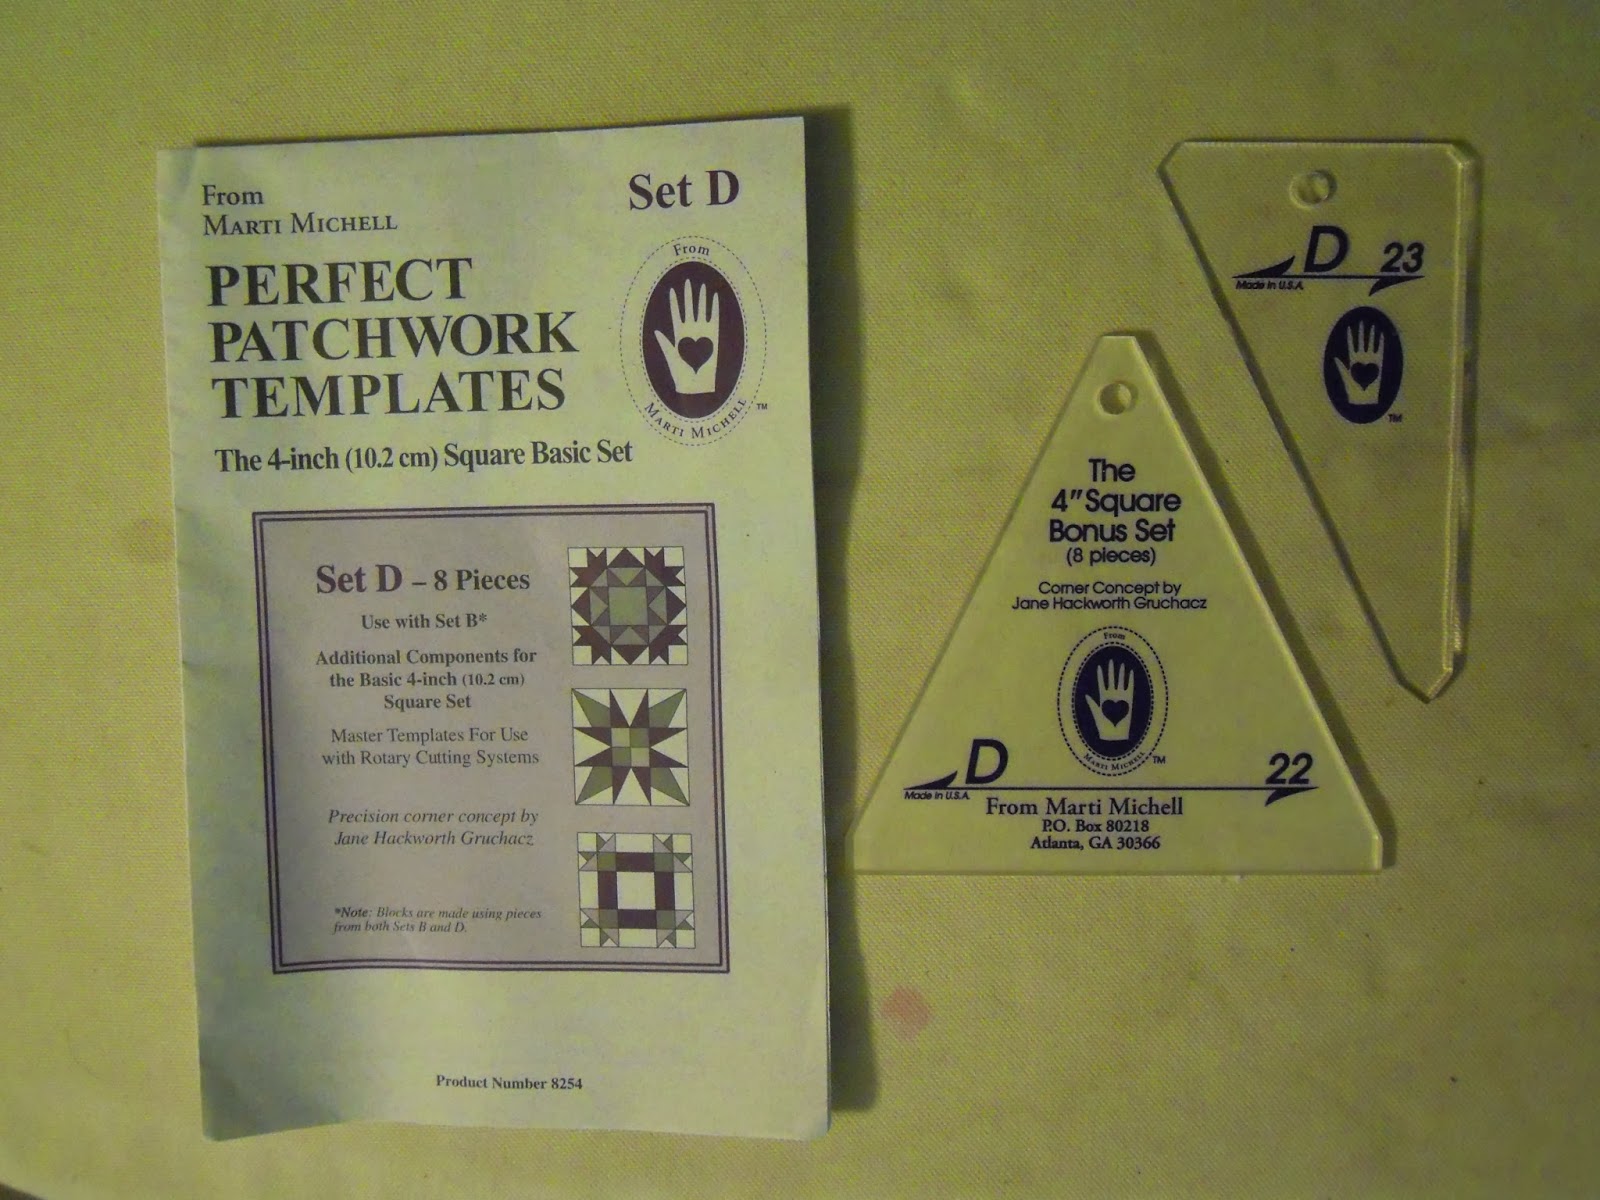
I wrote this pattern, circa 2007, as a mystery quilt for my students when Marti Michell introduced her Sashing Stars tool set. The pattern includes three sizes -- 92" square, 69" square, and 46" square (which is what this one is).  To change the size of the quilt, I simply changed the size of the blocks so no matter what size the quilt, it's only sixteen blocks.  The sashing is what creates the stars and Marti's set includes the templates for both the typical star and the elongated point stars.  Because the sashing rectangles are trimmed with the tool the points are easier, the piecing is accurate and there is very little fabric waste.

Once again, I started quilting without a complete plan -- if I wait for a complete plan to emerge, I never seem to start.   And I stayed with design ideas that I can execute well!  That means "continuous curve" for the patchwork and straight lines!!
The continuous curve in the soft green triangles and the straight lines down through the peach  colored squares were done first and with only a start and one stop.  To do this, I quilted diagonally across the first 4-patch, paused, then continuous curve around the triangles to the right and left ending at the corner of the first 4-patch.  I continued down the second 4-patch, paused, continuous curve right and left, and then one through the third 4-patch across the 4-patch in the middle of the star and on to the next block until I reached the end of that row.
Now go back and trace that along the photo with your finger. 
 Make sense?

At this point there was a three or four day pause while I figured out what to do with all the background space.  My goal was to reinforce the diagonal grid of the overall design and call attention to the stars, not the blocks.  A longarm quilter might have used dense quilting to flatten the background down around each of the elongated point stars but I don't do that well and so elected to outline the entire diagonal square with a series of three lines.  

There was another break in the action before I echoed those lines in the triangular areas.  I use to get frustrated by my inability to make a decision about how to quilt a section but I've learned that inspirations come just by looking at the quilt for a few days, tracing design ideas on the quilt surface with my finger or a chalk wheel -- eventually, something clicks and I can move forward again.


I was going to hand-quilt with pearle cotton around each of the stars, but opted to do it by machine in the interest of getting it done -- after all, I still have 9 more quilt tops to quilt this year!?!

The border print was the inspiration for the color palette.  Since it's a busy print and to keep in sync with the clean look of the rest of the quilt, I returned to the good old reliable "piano keys" quilting . . . . plus it's quick!!

The pattern PDF is still available in my Etsy shop -- MaryHueyQuilts -- and if you want to add it to your "to-do" list, I'd be honored.  You can enjoy a 10% discount on the pattern by going to the shop, mark the pattern as a "favorite" and I'll send you a coupon you can use.  If your local quilt shop doesn't carry Marti's tools, you can find all of them on her website HERE.

I found a picture of another version I made of Trip to The Stars!  I sold it a couple years ago at the Sisters, Oregon outdoor quilt show.
There is a third one -- it's the big one and very scrappy with a slight variation in the setting.  It spends part of every year on my bed but I can't find a picture of it and am feeling too lazy to go set up a picture of it.  Maybe I'll add it later???

Then yesterday, this happened!!
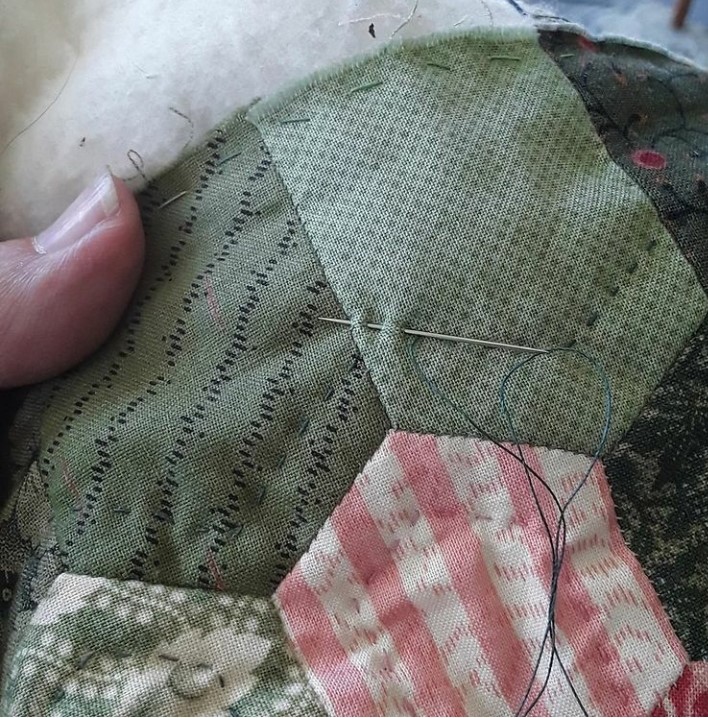
It's the very last quilting stitches in my Dodecagon quilt!! 
I spent a good bit of the day in my pajamas on the front porch and finished the hand quilting!!!
Today I trimmed it, piece together a scrappy binding and set it onto the quilt.  All that is left to do is the hand stitching.
So pleased to have this one finished -- I'll post lots of pictures next week! 

Keep finishing!!
Mary


Monday, January 6, 2014

Adapting Patterns -- Part III and Bonnie's Mystery Reveal

What a nice surprise on New Year's Day morning to find that Bonnie Hunter had revealed the blocks and the layout for the Celtic Solstice Mystery!!  I've been stitching the blocks together a few each day since and so far there are 15 on the work wall.  What do you think?


Oops, I can see that I have a couple mistakes to fix -- all the orange squares are suppose to be going the same way -- well, the blocks aren't set together yet, so I'm okay.   Since I intend to donate this quilt, I'm undecided whether to make a twin (5 by 7 blocks) or two crib (3 by 5 blocks) size tops. 
 
I'm not sure how I looked at the layout for Bonnie's Birthday Girl block and reversed the direction of the green chevron units . . . . la, la,la . . . . but I love the large light star  that is created by alternating it with 54-40 or Fight blocks.  It would make a great setting for any star block based on a 3 by 3 block grid.  All I can think of is Ohio Star without pulling out my block books, but I'm sure there are others. 


I'm really looking forward to seeing all the color combinations this week as quilters who've been working on Celtic Solstice for the past month "link up" this week!!  And mine will look a bit different because I flipped that one unit.  hmmm!  Better make a note to myself on the instructions I've printed out.  
  
And that brings me to the third part of my series on "adapting patterns".   I often change the size of a quilt by changing the size of the individual blocks rather than changing the number of blocks.  And Bonnie's Celtic Solstice is a perfect candidate. 
 
These blocks finish at 9" and I used Marti Michell's Sets A and C to cut all my pieces.  Those two sets have a variety of basic shapes designed to make 3" finished units which can be combined to create a wide variety of blocks. 
 
 Had I used Sets B and D, I would have the same shapes but the finished size of the units is 4".
 
And if I used Sets T and R, the units would have   
finished at 5".  So each block of the quilt would have been 15" finished.  That size block would bring a king size quilt top together pretty fast!!
 
I first did this 15 years ago with my pattern, Marie's Scraps.  Each size of the quilt uses the same number of pieces, but by using Set A I made a crib/laprobe size quilt.  Set B is used for the twin size and Set Q for double/queen. 
 
 
More recently, A Trip to the Stars, which I designed to introduce my students to Marti's Sashing Star Tool Set follows the same principles of changing the size by working with a different set of templates for each size quilt. 


 So take a second look at those quilts photos you love -- could it be made larger or smaller simply by changing the scale of the pieces?  If you love small pieces, you can translate those king size blocks into a small scale quilt and vice versa.  Don't let a pattern limit you!
 
Mary Huey
 

Tuesday, November 19, 2013

Sashed Quilt Settings -- Construction

To finish this series on working with sashing for setting quilt blocks together I want to share my construction approach.  I haven't seen this approach in any books but that doesn't mean there aren't other quilters using it.  It's an extension of a setting technique which Mary Ellen Hopkins taught me in the 1980's called "twosy-foursy".   She encouraged her students to set blocks together in clusters rather than rows as a way to get a quilt top that was truer to square. 

Somewhere along the way, I began to adapt this idea to sashing blocks.  Instead of creating rows of blocks that alternate with sashing to attach to rows of sashing and cornerstones, I add a sashing unit to two adjacent edges of my blocks with the cornerstone.  I like this technique because I can do all that before laying the blocks out so there are fewer trips back and forth to the work wall.  Plus I can continue to chain piece which always makes me feel so efficient.


This photo is from my pattern, Trip to the Stars, (available in my Etsy shop, MaryHueyQuilts) which I wrote to use Marti Michell's Sashing Stars Set.  It enables you to trim the sashing and cut the star points for a basic star (as illustrated) and also for a long pointed star in 3 different sizes -- for 2" wide, 3" wide, and 4" wide sashing -- any length!  It's a very versatile and handy tool!!

I begin by adding a sashing unit to one edge of each block -- in this photo, I've already added them to the left side of my train print squares -- I chain pieced!!

Snip them apart and press all of them. 

Next I sew the cornerstone to one end of another stack of sashing units -- chain-piecing again. 

Snip those apart and press them so the seam will oppose the seam on the sashing/block unit. 

Finally, stitch a sashing/cornerstone unit to an adjacent side of each sashing/block unit.  Still chain-piecing.  These are going onto the top edge of each square in this photo.


Snip these apart and press the final seam -- I press half the units to the left and half to the right. 

Now I'm ready to put the quilt up on the work wall.  Once the arrangement suits me, I will need to add sashing and cornerstones to the block units along one side and the lower edge of the quilt.


Once that is done, I'm ready to set the quilt together, add the borders and quilt!

This is my grandson, Bennett's quilt -- it was fun to make because I got to use lots of my orange stash!
Next week, I'll begin a series on Adapting Quilt Patterns.  We all own lots of those I imagine and I'm going to look at ways to get more out of a pattern than just what appears on the cover!
Keep piecing!!
Mary Huey