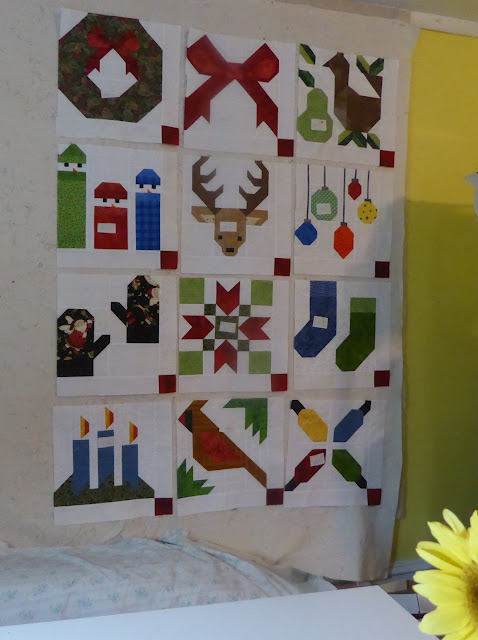
Over the next 6 months, I'll be teaching Piecing the Feathered Star with Marti Michell's templates several times. I made a new set of "step samples" to use in the workshops alongside the finished tops. This morning, I pulled fabrics, cut all the pieces and assembled the various steps while reviewing my teaching outline to get my head back into that groove.
As I was working, I was thinking about the frustrations I sometimes encounter in the classroom so today I'm sharing a few tips from this teacher's point of view that I think will improve your workshop experiences.
Fall is always busy, isn't it? So being efficient is good.
Over the past few years, I've discovered that going straight to my stash of "sacred piles" is the quickest way to gather up the fabrics for a new project.
Tip #1 -- when you need fabric for a workshop project, check out the sacred stacks first -- most of the "choosing" is already done -- so much less stress!!
Of course, you know what a "sacred pile" is, don't you?
(It's a stack of fabric that looks great together and you are saving it for just the right project.)
I won't ask how long your stacks have been "sacred" if you don't ask how long mine have been.
Thing is, if I don't use them, they will end up in the BIG yard sale so these days, I always go there first. And sure enough -- this stack of prints just needed a background and one more green.
Perfect!!
Tip #2 -- iron the fabrics at home before the workshop!
It means you will be ready to cut with the teacher and won't lose valuable time (which you have paid for with cash) just ironing.
Besides, your iron is probably better than the classroom iron!
Skipping the ironing step isn't the answer either -- wrinkled rumpled fabric is the first step to inaccurate cutting results.
Tip #3 -- know the machine you take to class really well and make sure it works!!!
When I was a Bernina dealer, most of my students owned Berninas (bless them) and I could help them with machine problems but these days, NO CAN DO!!
Look at my machine!?!
It's a 30 year old mechanical machine -- I have no clue how to do most of the things your computerized machine does!
I don't want you to be frustrated but I'm not going down that road with you.
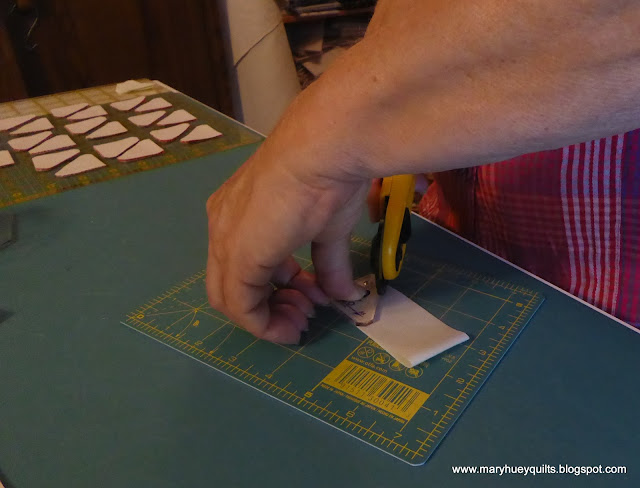
Tip #4 -- Use your rotary cutter like a grown-up!
This is my number 1 complaint about students.
First make sure you have a working blade.
When it's not cutting on the mat, CLOSE IT!!!
You are a danger to yourself and everyone around you if you are sloppy about this.
More rotary accidents happen in workshops and as a teacher, I give students one "free pass" before I confiscate cutters -- you have to buy them back from me -- $10 a pop!!
(And nurses are the worst!?!)
Do not cut under your wrist or towards yourself!!
Why do I even need to say that?
Marti taught me to use a small rotary mat on top of my large one so I could always rotate my work into the safest cutting position. These little mats (about 6" by 8") cost $5 or less.
If you cut with your right hand, you should always be cutting on the right side or across the top of a tool and vice versa for lefties.
Tip #5 -- Since you paid for the class, why don't you try the techniques and ideas the teacher is sharing? Pay careful attention to the demonstrations and take some of your own notes.
My quilt making skills were built a little here and a little there with ideas I learned from other teachers. I may think "my way" is better, but I need to try "their way", too -- just in case.
Don't chain piece? I teach it in every workshop because it's one of the keys to my efficiency so I hope students who don't already chain will try it out and let me help them make it their own.
Tip #6 -- Keep up during the workshop.
If the teacher wants you to move onto the next step, do it even if you don't have all the pieces done.
You are there to learn, not finish a project.
The teacher has planned a time-line for the workshop designed to teach all the steps.
If you don't move onto each step with her, it might be hard to pick up again at home.
Okay, that sort of became a rant, didn't it?!?
If you always close your cutter and come to class with all the supplies and pressed fabric, thank you!
To the rest of you -- come on.
Better preparation is a good investment and worth it!!
See you in a workshop??
Mary


