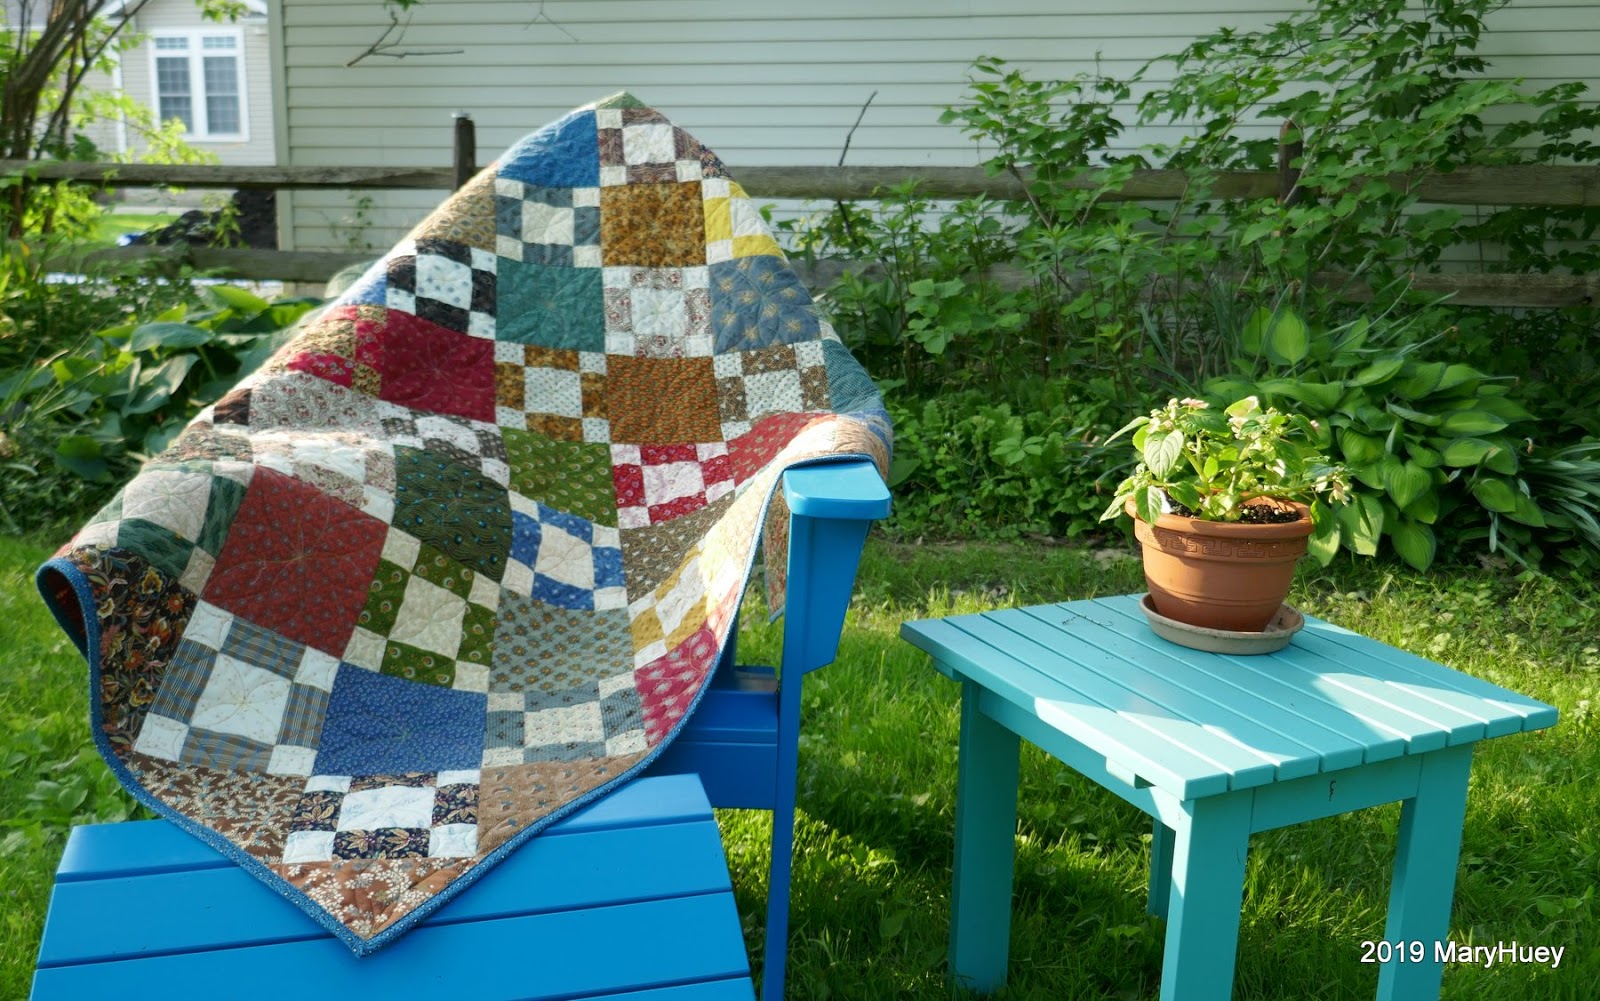
Thursday, June 13, 2019

Scrappy Triple Irish Chain with a Twist

At the end of May, I shared the beginning of this new scrap quilt with you.
I'm making very good progress for gardening season (it's been raining quite a bit).
I will donate it to a local "recovery" home for women that will be opening at the end of 2019.
Wait until you see what I'm doing with the alternate blocks!!
The prospect of quilting the big alternate (14") mostly white blocks with a lovely design intimidates me.  I worry I'll "ruin" the quilt.  So I started to think about using a 6" "fussy cut" fabric square as the center of the alternate blocks to eliminate the issue but before I could even start to audition possible prints, I came up with a simpler (to me) idea.
A pieced block using the same 7 by 7 grid of 2 1/2" squares!!
I like the way yellow brightens up an ugly batch of scrappy squares so to add more of it to the quilt, I combined it with the green to pull the motley collection of fabric together.
I am using up lots of my basket of squares (yea!!!) -- so far I've only had to cut more green squares.
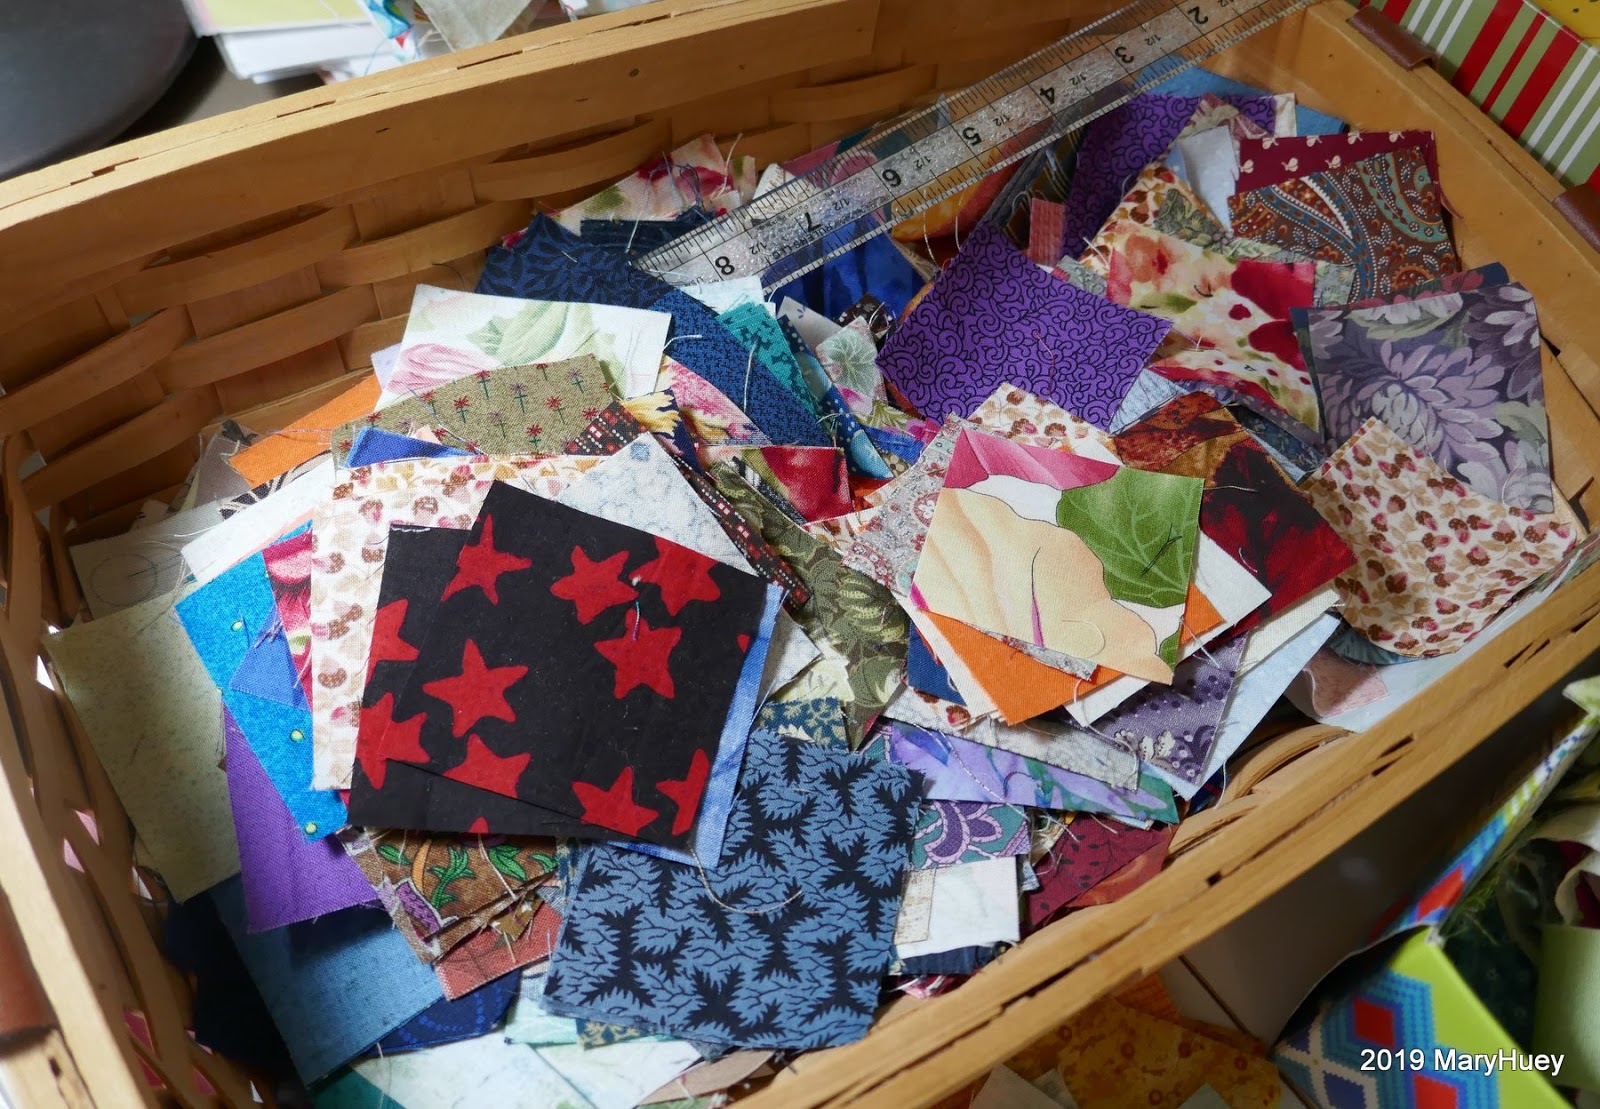
Here's my assembly breakdown for the alternate blocks -- more 2 1/2" squares and rectangles cut from 2 1/2" strips of white -- four 4 1/2" long and four 6 1/2" long rectangles for each block.
All alternate block settings need to use odd numbers of blocks to maintain their visual balance -- so 3 by 5 blocks or 5 by 7 blocks.  An even number results in different corner blocks.  
As I worked out the math, I decided 5 by 7 blocks was a bit too large and 3 by 5 too small.
4 blocks by 6 blocks would be the perfect size but the corners would not match and the quilt would look awkward to me.  I did audition it on the design wall just to confirm -- definitely awkward!!!

Then a Mary Ellen Hopkins design idea crept out of my sub-conscious cache of ideas.  Back in the mid 1980's, Mary Ellen taught her teacher trainees (I was one) to create borders by carrying the design of the patchwork out into the border in such a way as to create a balanced, finished design.

I shifted blocks around the design wall to a 3 by 5 setting with the alternate blocks in the corners rather than the main blocks.  Then by adding half blocks around the edges of the setting, I was able to get the perfect 4 by 6 blocks setting!!
I love it when old lessons inspire new ideas!!
This idea could be adapted to so many blocks!

This is my layout so far.  The blocks are easy to piece and I've streamlined my process so that it takes me about 45 minutes to make one -- just enough time to "rest" from all the other stuff that needs to be done!!
Here are the four units I'm piecing, separated so you can see how they connect together to create the overall design.
These are the two different "half blocks" used to make the "border"
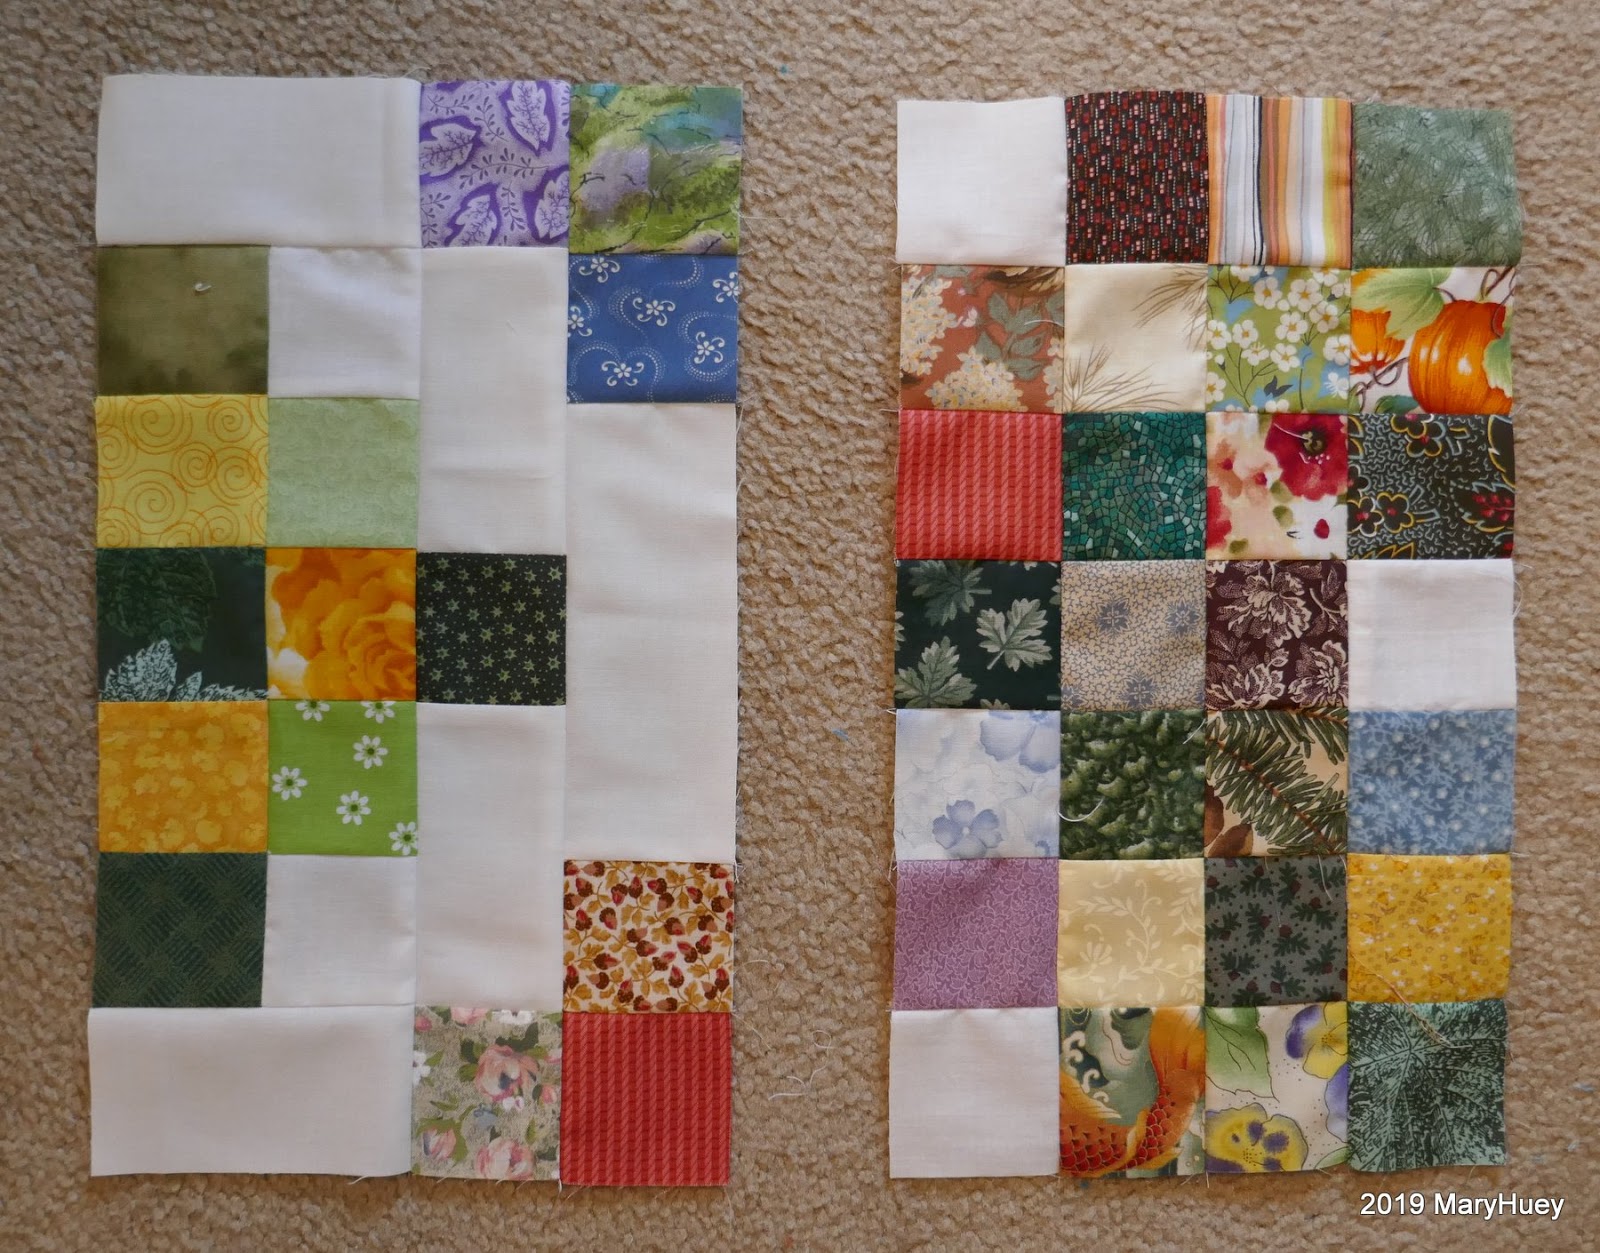
and this is the corner block. 
I still have about ten of the "border" blocks to piece and when I get the top set together, I'll think about organizing a guide for making this top that will include yardages needed if one isn't chopping up scraps, and a cutting list for the twin size I'm making if anyone is interested.  I won't write instructions for piecing the blocks (remember, I'm retired) -- you already know how to do that, right?  Just leave a comment below.

To finish off today, here's a few of my favorite pictures from my walks this week.
This was the view at one of my creekside stops -- just two buddies hanging out at the beach -- Northern Cardinal on the left and an American Goldfinch on the right.
I'm trying to learn dragonfly identification -- it's a slow process.
I'm pretty sure this is a blue dasher.  Aren't those eyes gorgeous?!?
I'll submit the photo to the I-naturalist app and they'll confirm it or correct me.
It's hard to resist the male Ebony Jewelwing!!  They are about 2" long and so delicate looking.
So here's hoping those of us who are being overwhelmed with rain get none this weekend and those of you who need it get your fair share!!

Mary

and at Oh, Scrap linkies!


Friday, May 31, 2019

And I Finished a Quilt!!

What did you do today?
I watched my neighbor attempt to spread a huge pile of mulch around his yard . . . . 
. . . . . and I drank a lot of tea . . . .  
. . . . . . and I finished this quilt!
Finishing it was my #onemonthlygoal for May's Elm Street Quilts linkup and today is the last day to share the results for this month.
I layered it on May 1 and quickly stitched this first pattern row down the length of the quilt.
And then I got distracted or bored or disappointed with the design???
I don't know but there it sat until May 29 -- that was the day I cleared all the stuff off of it so I could get back to work on it.
I ditched between all the blocks hoping to for fresh inspiration as I engaged with the process of machine quilting.  

Quilting a top continues to be a "speed bump" for me but I do find that starting with the simplest approach (often stitch in the ditch) can break the creative jam for me.

I decided to continue with my original idea and finished the pieced blocks.
I've been doing so much straight line quilting for the past couple years that my free motion curves are a little rusty and that shows up with a variegated thread but . . . . must persist!!
Once they were all finished, it looked much better!
Now for the plain blocks -- at 6", they are too large to leave empty even if the batting is stable.
I decided to build on the design I used for the center square of the pieced blocks but my first experiment looked too empty so I added four more "petals" for a total of eight.
Much better!! 
Rather than mark them or use a ruler, I marked the center of each plain square 
and the center of each side of the plain squares.
I stitched "graceful arcs" from "dot-to-dot" -- this is where building muscle memory by doodling quilting designs pays off.  Happily I figured out how to start at one edge of the quilt and work across all the blocks in one continuous line.
Here I've stitched down the right side of the block continuing through all the blocks in that row until I reach the opposite side.  Then I stitched the left side as I came back across the quilt. 
After finishing the first row of plain blocks, I decided the pieced blocks looked too puffy, so I used my straight edge to add a box to those blocks to flatten them down a bit.
Happily, I was able to figure out how to do that as part of the plain square quilting lines by taking a short detour when I connected with the center of one of the rectangles and then come back into the plain square with no extra stops and starts. 
Moving from motif to motif smoothly is a great strategy because it cuts down on the "thread burying".  So the only threads I needed to bury were when the bobbin needed to be changed or the thread broke!!  Yea!!  Plus I do it at once because I hate spending an evening burying threads.
I spent most of the 31st quilting though I did take out time to do a few chores including mowing the back lawn.  Now my daughter and I can have a relaxing weekend outside!
The finished quilt is 42" by 60" and will be donated to one of my causes.
It's made completely from my reproduction stash and I estimated it used up about 4 1/4 yards of stash!!  That's a good thing because now I don't need to feel guilty about that layer cake I bought last week!!


Mary

(By the way, my neighbor did move a lot of mulch around but he didn't finish!!)


Tuesday, May 28, 2019

I Might Have Started a New Project?!?

Yep, there is something taking over the design wall in my studio!
Inspired by Jessie Fincham's (aka @messyjessy1 on Instagram) tutorial on piecing a Scrappy Irish Chain (HERE) and . . . . . . 
. . . . . . my bulging basket of 2 1/2" squares, I launched a modified version a couple weeks ago.
My modification is that my blocks are 7 by 7 squares (her's are 9 by 9) and
I'm setting scrappy dark greens squares to criss-cross each block on the diagonals.
There are white squares (the background fabric) in the #4 position around the outside edges and everything else is scrappy, scrappy, scrappy!!
One of the pitfalls of making a truly scrappy quilt is getting caught up in making it "pretty".
"Pretty" has it's place in quiltmaking, but it's tough to achieve in a truly scrappy quilt.
"Go with the flow" has to be the watchword during the piecing process or you won't use up many scraps.
That being said, it is a good idea to pay attention to "value".
To illustrate, this corner of one of the blocks is scrappy and the greens are in the correct positions, but if you squint at it, that top center blue square is so close in value to the green squares it touches that it interrupts the green diagonal pattern. 
However, if I switch the blue square and the yellow floral, now squint, the green diagonal is more distinct and that's good.  You might not think this block is "pretty", but that won't matter once we get a bunch of blocks set together.
Value is the critical element of fabric placement in scrappy quilts! 
I'm chain piecing the blocks together in rows -- here are the first and second rows pieced into pairs.
Now I'm leaving everything attached and adding the third row. 
Here's the fourth row being added. 
Once I add a row of squares to the "grid" (on the right and coming off the back of my machine), my "ender" or "sew-off" is to stitch two rows of the previous block together (on the left).
I leave all the thread chains in place -- no clipping apart -- so nothing gets tangled. 
It took a little trial and error to figure out the easiest way to press the seams in opposite directions without clipping all those chain threads, but then a happy accident presented the solution.
If I let the pressed rows hang off the edge of the ironing board, they aren't in the way. 
Now I can slide my iron right (or left) down the next row effortlessly, pressing the seams in the opposite direction of the previous row which is hanging down over the edge of the ironing board.
At this point, I can work up one of these blocks in about an hour!
And happily each block uses 45 squares from my basket!
That means I'll use 1014 squares for the twin size quilt I have planned!!
Don't worry, there's a backup box of 2 1/2" strips if I start to run low or the assortment of squares gets too ugly.
With no deadline for this quilt top, it could take much of the summer but it's a perfect escape from "the world" when I just want to piece something without starting a new project!!

Oh, yea -- it is a new project?!?

Birding migration is winding down here in Ohio, so I'll be spending more time at my sewing machine There have been a couple fun new additions to my backyard garden in the past couple weeks!
A green frog has moved into my little pond.  It's taken us two weeks to spot and identify him.  Up to now, it's just been "something just jumped into the pond!!"  I'm not sure if he is coexisting with the hundreds of American toad tadpoles in the pond or eating them -- there are so many it's hard to tell?!? 
And while this fellow isn't a new resident (he was likely born in the pond sometime in the past couple years), hanging out on the back porch is a new venue for him.  I say "him" because since toads began to breed in my pond a couple years ago, I've learned the males are smaller than the females.
He spent most of the morning sitting along the edge of the back porch while I came and went - just sunning and watching!  Very chill fellow!
Next week, I'll show you the progress I made on my big English paper piecing project over the past month!!

Mary


Sunday, May 5, 2019

Some Creative Thoughts

Five days ago, I posted a picture on my Instagram feed and declared my intention for the week as part of the #onethingwithamy hashtag -- "turn this motley group of leftover y-seam demo units into a cute baby quilt flimsy as I continue to clear out the aftermath of 35 years of teaching quiltmaking". 

This is where it was a couple days ago when last you saw me!
I finished setting it together and then . . . . how am I going to make this "cute"???

It needed to be a bit longer and so I fell back onto my often used strategy of adding a pieced band top and bottom plus more of the "float" bands of fabric.  There were leftover diamonds I could use.
Taking time to trim the points of the diamonds with Marti Michell's Point Trimmer*** make assembling a row of these diamonds easy and accurate.
Perfect alignment every time. 
And a straight band of pieced diamonds. 
The ends ones were cut on the angle at just the end being joined to the band so they could be trimmed straight on the outside end. 
That was easy!!  But now what?
Nothing to be done but pull out anything with lots of color that might say "cute" loudly!!
(I didn't photograph the rejects, but I did put them away.)
And the winner is . . . 
this cute farm print I grabbed at an end-of-bolt sale!!

I needed to piece the upper and lower borders to make the best use of the fabric I had.
To make the joining seam less obvious and eliminate "cow-butts" and "headless cows"
I folded back the end of the right hand strip until I found a less obvious area for the seam. 
Then I cut off sections at the correct ends of the strips being joined. 
The seam isn't a perfect match but it is less obvious! 
And here is the "cute" quilt!!!

So here's the "creative thought" for the day -- if I had not defined the look I wanted this quilt to have before I started working on it, I think I would still be stuck up in the studio trying to figure out how to border this piece.  It's not just a jumble of colors, it's a jumble of print styles and while that makes it a true scrap quilt, it can also make it harder to unify the finished look of the quilt.  

When I started pulling potential borders fabrics, "cute" defined where I started -- if it was a cute, multi-colored print, I auditioned it!  The moment I laid this hunk of fabric next to the pieced center, I knew immediately it was the right piece because it was colorful and "cute".

So thank goodness, I defined my creative goal for this motley stack of pieces.
I'm not sure I always do that but I'll pay more attention in the future because it certainly made this project come together easier and more successfully than I imagined!

This quilt is destined to become one of my charity makes.
It measures 44" by 58".
I even pulled the backing together today!

Check out the hashtag #onethingwithamy to see what other quilters are doing!

Mary  


***EDIT April 2025
Marti Michel closed her business in late in 2024 and while some shops may still have a stock of her templates, you can also find them on Ebay and Etsy.