Tuesday, January 3, 2017

2017 Goal Pondering

I spent time over the New Year's weekend reading other quilters "goal setting" posts to help me focus on my own process.  If you are new to goal setting or struggle with the process there's lots to read out there and it might just trigger some productive pondering.  A student e-mailed me last week looking for some insight and so much of what I'm sharing today is based on what I said to her. 

The source of some of her frustrations in 2016 were family health issues which demanded her attention.  I know from my own experience that it's hard to keep focused on personal goals when the people around you require your attention.   It's important to refocus one's energy in those circumstances.  But it's also important to take care of oneself by maintaining a connection with the craft that energizes and calms you. Designating daily time just to stitch works wonders for me when I feel like I'm going off the rails -- stitching for a little bit calms me down enough to reassess the situation and move forward.  It's a healthy habit but it needs developed BEFORE the chaos.  So if it's not already part of your daily life, I urge you to start today!! 
A current hand-stitching project nestled in the "new" hand-stitching corner of my studio.
As usual, my projects that were deadline or purpose driven were the ones that got done in 2016.  Out of the 9 projects I put on the 2016 APQ list --four were completely finished, good progress was made on three, and nothing what so ever happened on two of them.  I left 3 blanks at the bottom of the list and used those months to revisit a project on the list which didn't get finished in "it's" month.  That worked well and I'll do that again.  I tend to put rather large projects on that list and used smaller projects for the 2016 Finish Along quarterly lists.  Sometimes, okay much of the time, my lists were simply unrealistic because I didn't allow for the distractions and inspiration that sets me off down yet another path.  One can't read magazines and blogs and follow quilting on Instagram and troll through Pinterest and not be distracted!?! 
Brainstorming results for a (distraction) challenge project!
The challenge this year is to be more realistic.  Historically over the past few years, I am able to finish two quilted projects a month plus a couple general sewing projects and a couple knitted items.  I'm going to base my 2017 goals on that track record.  And remember, setting goals hasn't necessary failed just because we don't reach all of them -- we have also striven and that's just as important as finishing.  I'd also like to develop the habit of finishing a big quilt project several weeks ahead of the deadline rather than on my way to the party!
Need to allow more time this year for clothing sewing!
My thought for the 2017 APQ Challenge list is to confine it to quilting tops that I like from my stack that have loose deadlines and as yet undefined purposes -- so the one I need to finish for a graduation gift in June won't be on that list.
A dozen or so tops (with backing) ready to meet George (my APQS quilting machine).
My quarterly 2017 Finish Along lists need a more thoughtful approach.  Not only do I need to consider specific deadlines or purposes, I also need to pay attention to my "life schedule".  I'm turning 70 this year and planning some travel adventures to celebrate -- that will impact my "at a machine in studio" time but will also allow me time to focus on hand-stitching projects that I can take along with me.  There are also "important quilts" that I don't want to slip into the big yard sale -- I want to finish them and give them away myself!!
Destined to be this year's BIG hand quilting project.
That will require orderly prioritizing of my projects -- which goals are the most important -- so I can focus on those and use the less important ones to fill gaps of time that occur during the year. I used a couple of my APQ goal projects in 2016 as "leaders and enders" while working on other more pressing (deadline driven) project sewing.  That is a great strategy and I was able to finish all the piecing on two or three projects that way.
Blocks finished, top set together, purpose determined!
Another strategy that has worked well for me for many years is to merge two or three goals together.  For example, I want to give my niece's three children and her husband quilts this year -- notice that I said, "give" not "start" or "make" -- right now I'm reviewing my finished stock and my UFQ's to see if there are any that will fill that purpose.   There are two finished quilts and a third top ready to quilt that will fit the need.  That means only one new project to be started.  And it's already underway -- I was inspired to begin a quilt I've wanted to make for quite some time (a bit of pre-Christmas proquiltinating) and happily a pleasing scrappy color palette emerged during the experimentation -- it will be a perfect 4th quilt for this goal!    I'm experiencing a win-win!  I'll reduce my stock of finished quilts (with close to 100 in the house, that's necessary), I have a purpose for quilting another top from that UFQ pile, I get to play around with an appealing pattern/technique and I'm using up stash!  Doesn't get much better than that!!
A block a day is moving me rapidly towards a finished top!
Finally, I'm finding so much more satisfaction with my machine quilting since accepting it's not the part I love best.  Since simplifying my expectations and going the utilitarian route (thank you modern quilt makers),  I can envision that pile of tops shrinking even more this year.  One of the things we often say to each other when we are working on our "good deed" quilts is that "it's going to a five-year old not an art critic" -- the most important aspect then becomes that it's sturdy, cheerful, and warm.  Yes, I want every quilt to improve my skill at my craft but if I can't move forward because I don't think my work is "perfect" yet, I won't have the opportunity to build my skill -- think that's called a vicious circle.
One of several "good deed" quilts I finished in 2016.
So bring on 2017 and all the interesting, exciting ideas and challenges!! 
I'm ready!!

Friday, December 30, 2016

And it's a Wrap!!

There it is, my fifth finish for the fourth quarter of the 2016 Finish Along!!
It's also my final finish for the year.
This evening it will be covering my lap when I settle in for an evening of murder mystery and knitting.
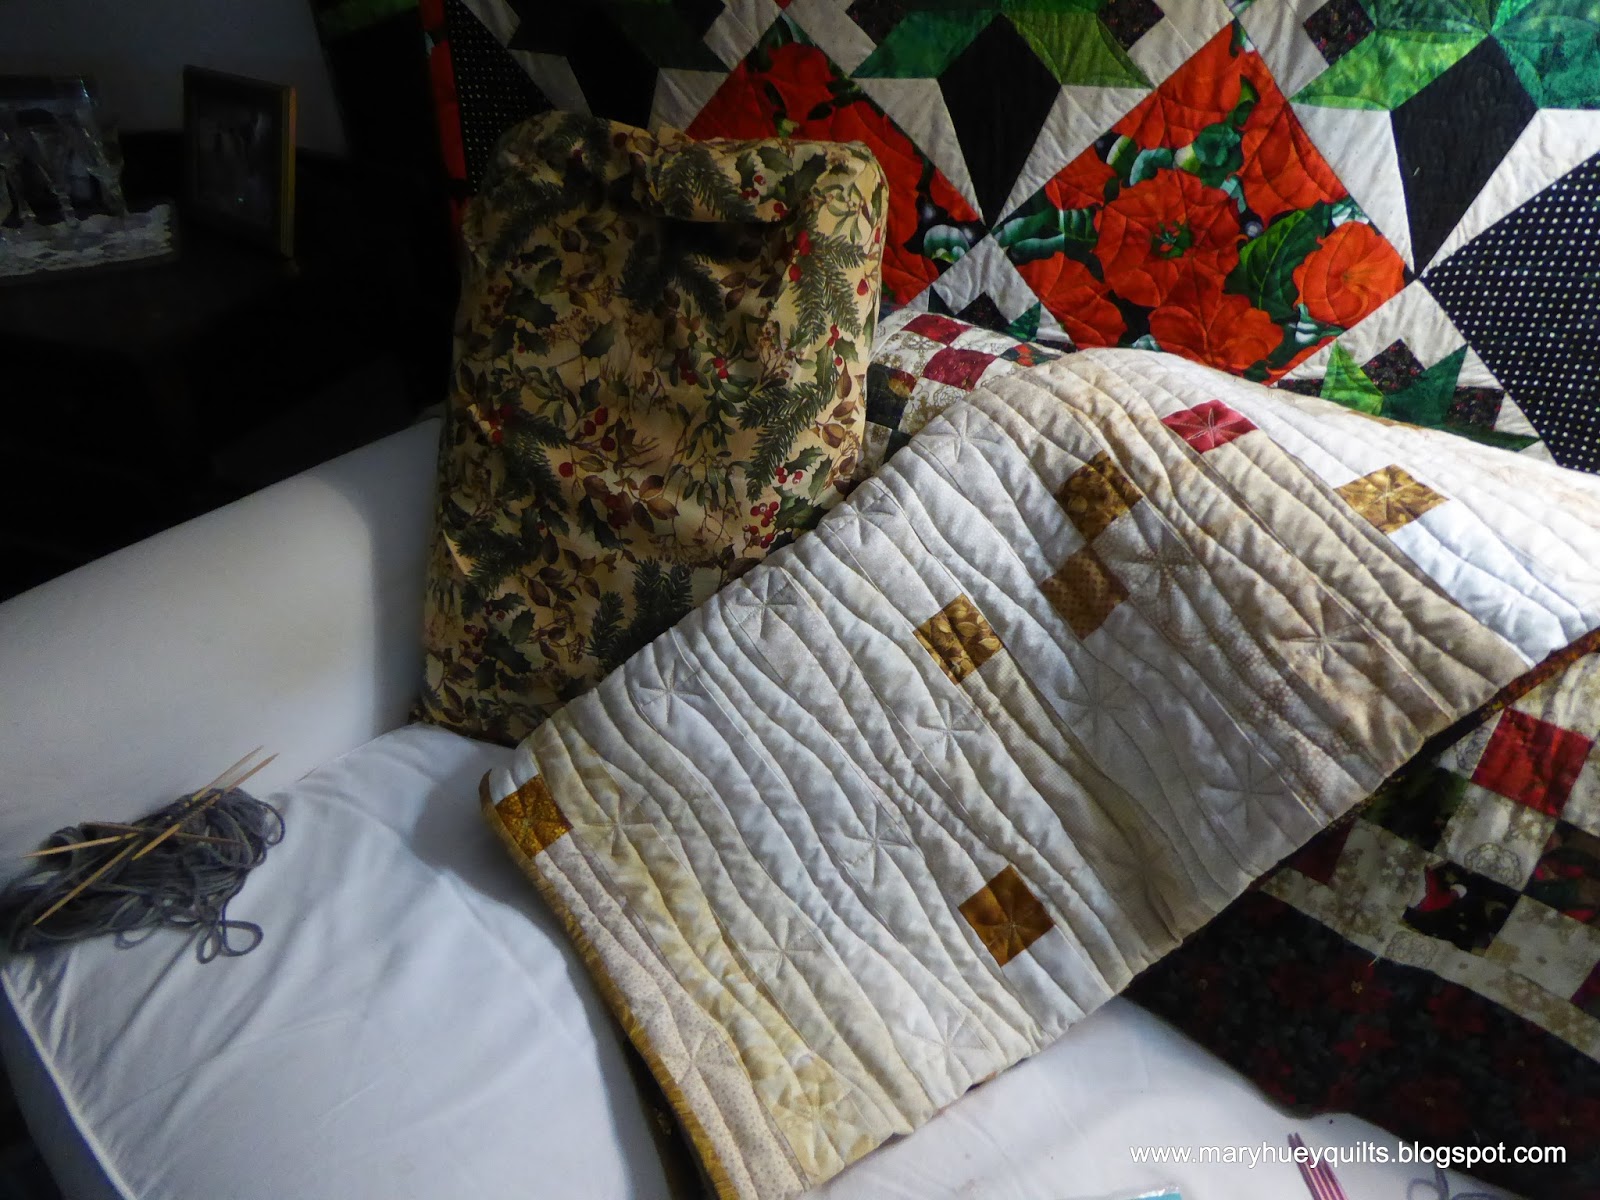
I pieced this quilt which I call Cardinals in the Snow during my annual piecing retreat in January 2015.  You can visit the original post HERE.  At the end of that post, I mentioned that I might unstitch the center seam and make two lap size quilts rather than one generous twin size. 
That's exactly what I did so I was able to share half with someone and keep half for myself.

Earlier this fall I spent an evening layering up both of them. 
Arrrggggh!?!
The first one was quilted quickly in November and two weeks ago, it went to a young person whose family is in transition with the help of Cleveland's City Mission.
I wanted to evoke the feeling of falling snow with the quilting, so rambled from top to bottom with vertical lines of stitching.  I alternated a straight(ish) line interrupted with "snowflakes" with three rambling lines.  The quilting went quickly which was good since our delivery deadline was impending, but I wasn't completely satisfied with the result.
Keeping such long lines straight is not easy for me.
 I decided to use all rambling lines on the second one.
Happily, I chanced onto one of Lori Kennedy of The Inbox Jaunt's tutorials on Pinterest! 
You can check it out HERE.  I incorporated her snowflake stitching process and the idea of staggering their placement into my rambling lines.  I started in the center strip of the quilt and set up the first snowflakes at approximately 12" intervals. 
The snowflakes in the next strip were centered approximately between the snowflakes in the first strip setting up a staggered placement pattern.
On my practice piece, I inserted two "plain" rambling rows of stitching but that didn't seem to work as well on the quilt.  In this picture I have just stitched the snowflake line down the center of a strip.
After a little trial and error, I realized it was easier to maintain some balance of the lines by stitching the snowflake line down the center of a strip first.  Then it was easier to insert a no-snowflake line between two lines of snowflakes lines.
I've been quilting at a steady pace each day and today it was ready to trim and bind.  This afternoon was dreary so I turned on all the lights in the studio, made a pot of tea, chopped up the last of the fruitcake and pushed through the binding process while listening to Levison Wood's book, Walking the Nile on Hoopla. 
I enjoy a good walking adventure, but Wood's is over the top -- and bonus, he's a good writer!
I backed the quilt with one of my favorite "I can't cut it up" fabrics!!
It's a great accomplishment to finish all five of the projects I put on my fourth quarter list!  HERE is the original list!  Now it's time to reflect on my finishes during 2016 and set my sights on more finishes in 2017.  As I do that I find I have a new sense of personal realism about the quilting part of making a quilt  as a result of all the machine quilting I've done this year. 

I'm ready to admit I'm primarily a utilitarian quilter who quilts my tops because they are more useful finished and I'm not fussy enough to do best of show work.  It's a very freeing acknowledgement and the energy it's bringing to my work is terrific.

So adieu to 2016 and on to 2017!!
Happy New Year!!
Mary


Tuesday, December 27, 2016

My Favorite 2016 Posts!

Today I'm linking up with Meadow Mist Designs BEST of 2016 Linky.
It was fun to go through all my 2016 posts and pick five for  GOLD STARS.

First, thank you for visiting if this is your first encounter with me and thank you for "following" my blog if you are a regular visitor.  I enjoy the preparation and writing of the blog but there would be no point to doing it without your interest!!  So I'm grateful for your interest!!

One of my work goals in 2016 was to finish a UFQ each month.  Since the majority of those are quilt tops, I've been doing lots of machine quilting and sharing my solutions for quilting my stack of tops.  The main reason I quilt my own work is because as a teacher I find it's hard to help students figure out how to quilt something unless I'm quilting some things as well. 
Experience seems important to me!

 My favorite post about one of those journeys is from August and shares some of the motifs I used to quilt my version of Lucy Carson Kingwell's Smitten.  You can explore my designs up close HERE.
(It will open in a new window, so you won't have any trouble finishing reading this post!)
I also enjoyed sharing some of the big stitch hand quilting HERE that I did on my round robin quilt, The Bug Hut.  I love the look and enjoy the process of big stitch hand quilting more with every quilt on which I use it!
Without a doubt, the most viewed and complimented post this year was when I shared how I set together a group of wonky pieced bird blocks HERE from the 2015 Stash Bee.  The quilt is now finished and everyone loves it -- you can also read about the quilting process HERE!!
A post I wrote in October about working through speed bumps and around road blocks came out of my lecture, UFQ Assault Tactics which was very popular with guilds this year.  My biggest roadblock for many years has been the quilting of a top and I hope sharing my strategies for overcoming that inspired some others to tackle their personal road blocks thoughtfully.  I was glad to reread it HERE last week as I did my preparation for this post and you might enjoy reading it, too.
Like many of you, I also garden and I think the post I wrote at the beginning of May about my spring flowers was the prettiest post I wrote this year -- especially since I'm looking out the office window at a brown garden (the lovely snow melted over the weekend)!  You can enjoy it HERE!
 Later this week, I'll be reflecting on the goal successes I've had in 2016 and thinking about the direction I'd like to take with my quilt making in 2017!  I hope you take time to reflect on your accomplishments and to set goals for your continuing enjoyment of quilting.  Since I've started to reflect and set goals, I've found a new stimulus for my work and greater enjoyment!!

Check out the rest of the linky party HERE.

Happy New Year!!
Mary


Tuesday, December 20, 2016

Quilting a Vintage Top

I should go back and see how many times I've had finishing this quilt on my goal list.  Finally, I'm right on the edge of success.  I layered it up at the end of November and have been slowly moving through the quilting process. 
I began with almost no plan for the quilting so I ditch quilted all the sashing and blocks hoping that was enough engagement with the process to kick start some clever quilting ideas.
The blocks are around 80 years old -- they were started by a lifelong friend of mine when she was in her teens.  She in turn gave me the blocks to finish when I was in high school.

I asked myself how it would have been quilted in the 1930's when it was started? 
The best answer to that question is "simple" and probably by outlining the appliques and using a grid  for the background.

Since I don't feel my skill is good enough to outline the applique right at the edge, I echoed the shapes instead.
A grid would have meant so much stop and start work so I experimented with this inner frame of three lines 1/4" apart.  It was easy to do with a straight ruler and my ruler foot.
I also echoed the shapes 1/4" inside the appliques -- I'm really pleased with the impact it has on the flowers!
A simple 4-petal flower in the cornerstones repeated the shapes of the flowers and leaves and was easy to stitch.
I was pleasantly surprised at how well a spool of standard Mettler cotton thread worked on my machine -- meant not having to leave the house on a hunting foray for thread!
Up to that point, the ideas came steadily and the stitching progressed!
But then it was time to quilt the sashing.
I drew on it with my chalk wheel.
I drew on paper. 
 I pulled out quilting stencils and books of designs
I made a mock-up and experimented with different designs.
Nothing!
So I quit experimenting and jumped to the borders -- simple lines 1" apart perpendicular to the edge of the quilt -- no picture because it doesn't show up enough.

I came back to the sashing and decided to just start by stitching a box 1/2" inside of each rectangle.
As I did the first box and pondered how to fill it in, two chance events the day before resulted in an idea!!
On Instagram, a gal shared her experiments with quilting a repeating design inside boxes which she had drawn on her fabric.  Later the same day, I had a conversation with a friend about using "dots" to mark alignment points to use with quilting rulers.
When the idea came, it seemed very quick but there had been a week or more of contemplation and experimentation which probably had to precede the final result.
The two diamonds came first and are the result of dividing the space into quarters.
Marks along the edges were used to align the quilting ruler. 
I realized that by starting at the center of the end of the sashing, that would set me up to start the diamonds without breaking the thread.  I hope I can remember that strategy in the future! 
Here's my ruler in place for the longest line as I zigzagged across the center of the sashing. 
On the way back up the sashing, I finished the diamonds. 
and added the floating (and very organic) circles, one half circle at a time --  
 over to the opposite point and back, retracing the lines connecting to the diamonds and finishing the circle.  The first circles were an after thought since the diamonds looked empty, clunky.
The entire design was stitched continuously with the help of dots to guide my ruler placement.
Each motif is taking about 8 minutes to complete including the time to mark it. 
I'm very pleased with the impact of the sashing design on the overall quilt -- it has an art deco look that I think fits perfectly with the design.  There are only a dozen sashing units left to quilt and then I'll be ready to bind and cross another UFO off the lists.  Hooray!!
Update -- 12/27/2016
It's completely finished -- I took this picture just before putting it into the washing machine.
I took it along for the Christmas weekend in Pennsylvania and finished stitching the binding and tying off all the quilting threads (I hope).
Later this week, I'll deliver it to it's new home!!
My fourth finish for the fourth quarter 2016 Finish Along goals!!
I think I'm going to finish all the pieces on this quarter's list HERE!!

Mary


Friday, December 16, 2016

Plus Pillow Christmas Gift

This week, I made a pillow for my granddaughter's newly redecorated bedroom using the popular "plus" design.  Have you ever searched for "plus quilt" on Pinterest -- there are so many variations and I am drawn to it's graphic clean lines.
 
  After a series of photos and texts back and forth with my daughter, I settled on soft blues for the color scheme.  This darling print from the Heartwood collection by The Henley Studio for Makower  is a new acquisition for which I had no particular project in mind. 
 Grace is currently passionate about Harry Potter so I think the owl will be perfect! 
I'm expecting squealing! 
I pulled a few more fabrics from my extensive supply to give a variety of lights, mediums, and medium darks.
A few greens helped make the assortment more interesting.
 I sketched out a draft for an 18" pillow cover to help me with the cutting and layout process.
My plan is laid out for a grid of 2" finished squares.
Each complete plus requires two squares (2 1/2" cut) and a rectangle (2 1/2" by 6 1/2").
I laid out the pieces on my sewing table for easy access while sewing.
Starting with the center four pluses and comparing my progress to my diagram helped me stay on track with the arrangement.  It took longer to arrange the pluses for balance and contrast than it did to stitch the top together.  This design is stitched in horizontal rows, not blocks and pressing the seams in each row opposite to the previous row assures that seam intersections will nestle together.
I made a large laprobe earlier this year (I wrote about that quilt top HERE) which I'll need to quilt this spring and so decided to make this pillow cover a quilting experiment in preparation for the quilt.
I quilted it with a variegated blues Valdani thread using a walking foot.
The finished results -- a grid. 
 I'm not sure I like the finished result for a large quilt so I'm glad I tested the idea out on this small piece.
Once the top was quilted, I found a recycled zipper in my zipper box -- removing the old fabric was a bit tedious but I was glad not to have to make a trip to the local fabric shop to find it!  I hate to leave when I'm in a productive zone!!
 I used this precious print from my bird stash for the back of the pillow cover. 
The zipper installation went well -- and I remembered to open the zipper a few inches before sewing the back to the front so I could turn the finished cover!! 
The back!! 
It's on display in my studio for a few days until it's time to wrap it up for our Christmas exchange!
The Christmas sewing is finished!!
The Christmas knitting is not finished -- still two and a half socks to go!!
How about you?  Finished or still stitching?
 
Enjoy the weekend!
Mary