Tuesday, August 16, 2016

Catching up with Myself -- Morris Hexathon #12, #13, #14, and #15

". . . . though I get no more tired now than I did when I was younger, I take much longer to get un-tired afterwards."  C.S. Lewis

So it goes this week for me as I putter along at catching up with myself and get back into a home/studio routine.  Although it looked like I was here in my studio plugging along last week, I was actually on a family camping trip with my adult children and my grandchildren! 

I had a backlog of four blocks for Barbara Brackman's Morris Hexathon by the time I returned and spent my first afternoon back in the studio working through those.  Oxford Rose, #13 was easy!  I was able to use the kite template from Marti Michell's 3" Kite and Crown set to cut the pieces and although it is a bit large, it will be easy enough to trim the block at the end of the project.

I need more dark blocks and favored these two directional reproduction prints for a contrast of print. 
Canterbury, #14 was fun to make once I determined a piecing strategy.  I used templates #46 and #48 from Marti's Set G plus some strip piecing and cutting tricks.
Rather than cut individual diamonds with template #48, I pieced a strip set of the red and green prints using the template to determine the width of each strip.
Once they were pieced together and pressed, I struggled to determine the correct angle to start cutting the diamond pairs until I laid the pattern sheet directly above the strip set and lined up my ruler in the direction that matched the diagram!  Once that was done, I aligned the ruler's 60 degree line with the edge of the green strip and cut the angle.
I proceeded to cut six diamond pairs using the template to measure the width of each one.
I used the same strategy to get the starter angle for the background parallelograms.
Again, I was stumped for a minute on how to measure the length of the background units, but realized I could just lay a pieced diamond unit right side down on the strip and use that for a "pattern" to cut the parallelograms.  Notice that I used the diamond template and dutifully trimmed the points of the units and marked the "dots" to guide me with the y-seams.
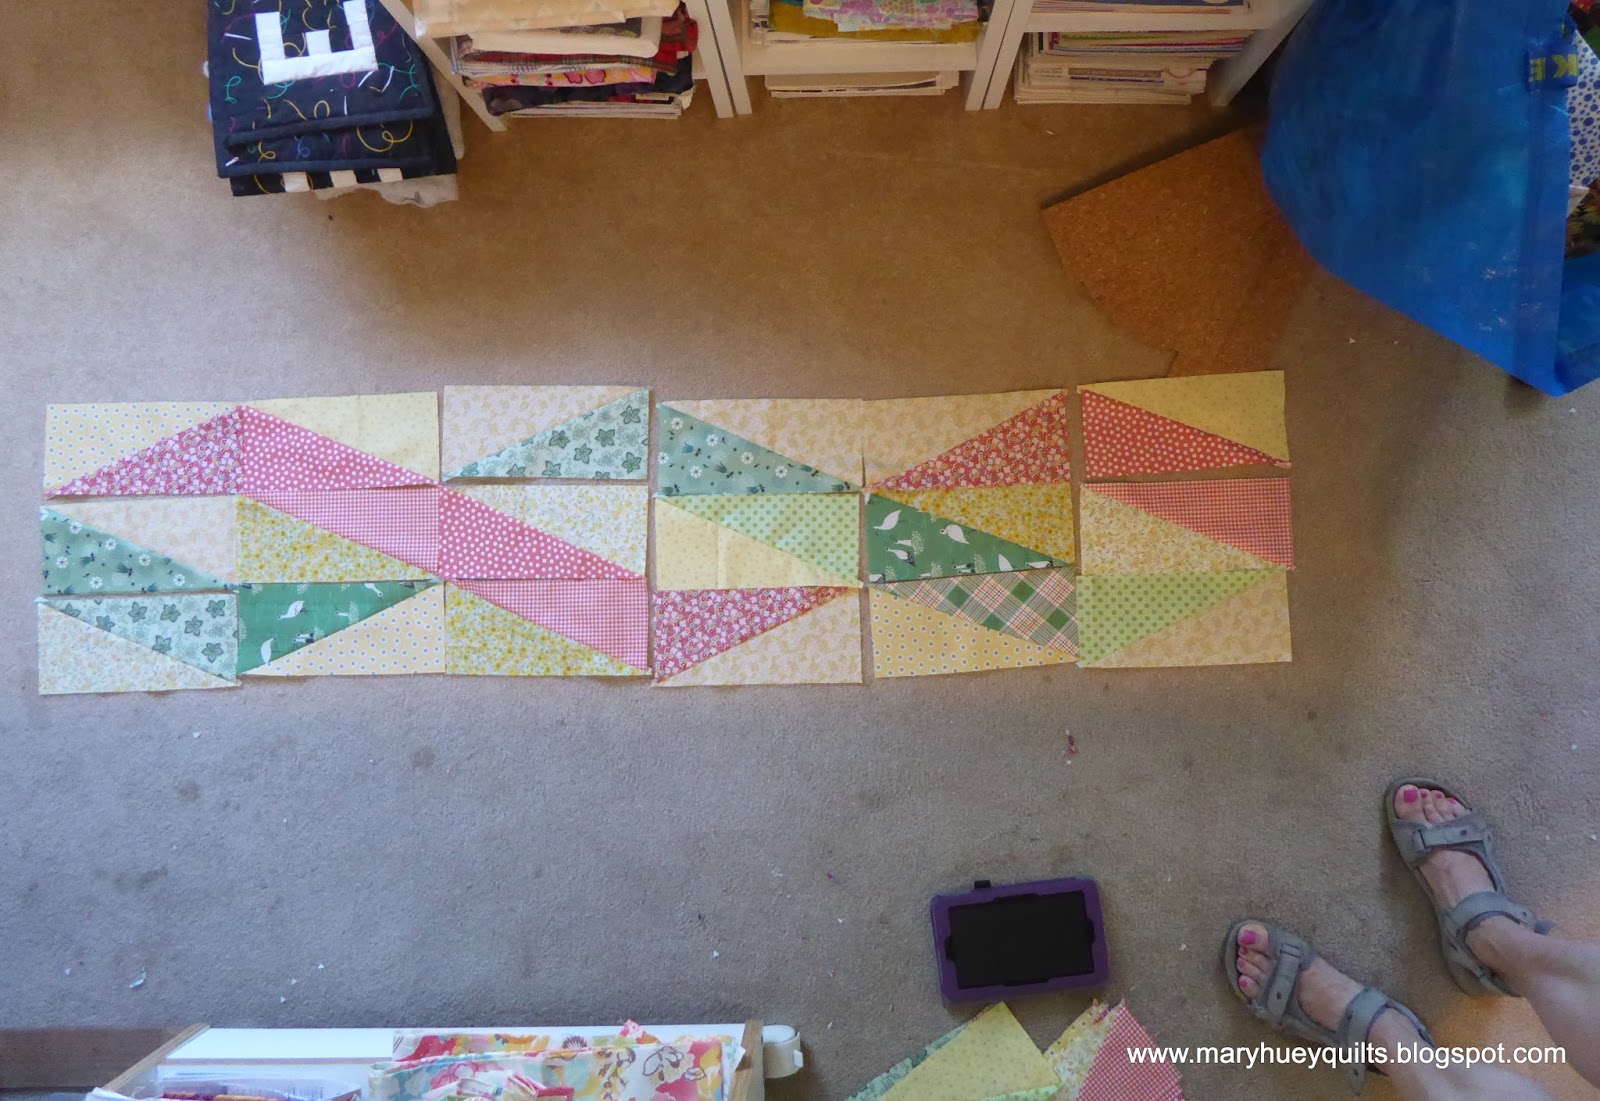
Here is the block laid out and ready to assemble.  There are 18 seams in this block -- interestingly, the seams around the center hexagon are not y-seams but all the rest are.  Because I always want to chain piece, I organized everything for the next block in the series and worked back and forth between the two blocks to maintain my set-in piecing simplified strategy!!  That is why there are stacks of something else at the bottom of this picture.
These are the beginning units for #15, Kelmscott Tile.  It's made up of twelve 4-piece diamond units though the option was presented to use single larger diamonds for the outer "background" diamonds which is what I did. 
Again, I chose to take a short cut and made two strip sets for my 4-piece diamond units.
I cut six units from each strip set and assembled them into the main diamond units.
My first attempt at this block was a bit too small so I remade the diamond units using 1 1/4" strips and trimmed them to the correct size with Template H53 -- the block is the right size now!
Now for the piecing process!  Adding the diamond units to the hexagon center of the Canterbury block is not a y-seam at both ends!  It's a blend of a "partial seam" around the hexagon and a y-seam at the outer edge.  So the first pair is added to one side of the hexagon but I stopped about 2/3 of the way across and left the seam unfinished.  The second pair will be added to the right side of this section and stitching from hexagon end to a dot at the end of the diamond unit.
Press the seams away from the hexagon!
At the end of each of those seams, I stitched together a pair of the strip units for the other block to assemble the 4-piece diamond units for the other block.
Back and forth, back and forth.
The right end of this seam is open for the y-seam needed to insert the background parallelograms. 
(I need a tutorial on how to "draw" arrows on my pictures!!)
Here it is before inserting the background pieces -- these will all be y-seams.
The 4-piece diamonds were finished and ready to begin assembling the second star.  This photo shows the pressing of the "tumbling" units which is the first step of assembling a six-pointed star.
(See a complete explanation of how I piece six-pointed stars HERE.)
All the units are pressed identically.
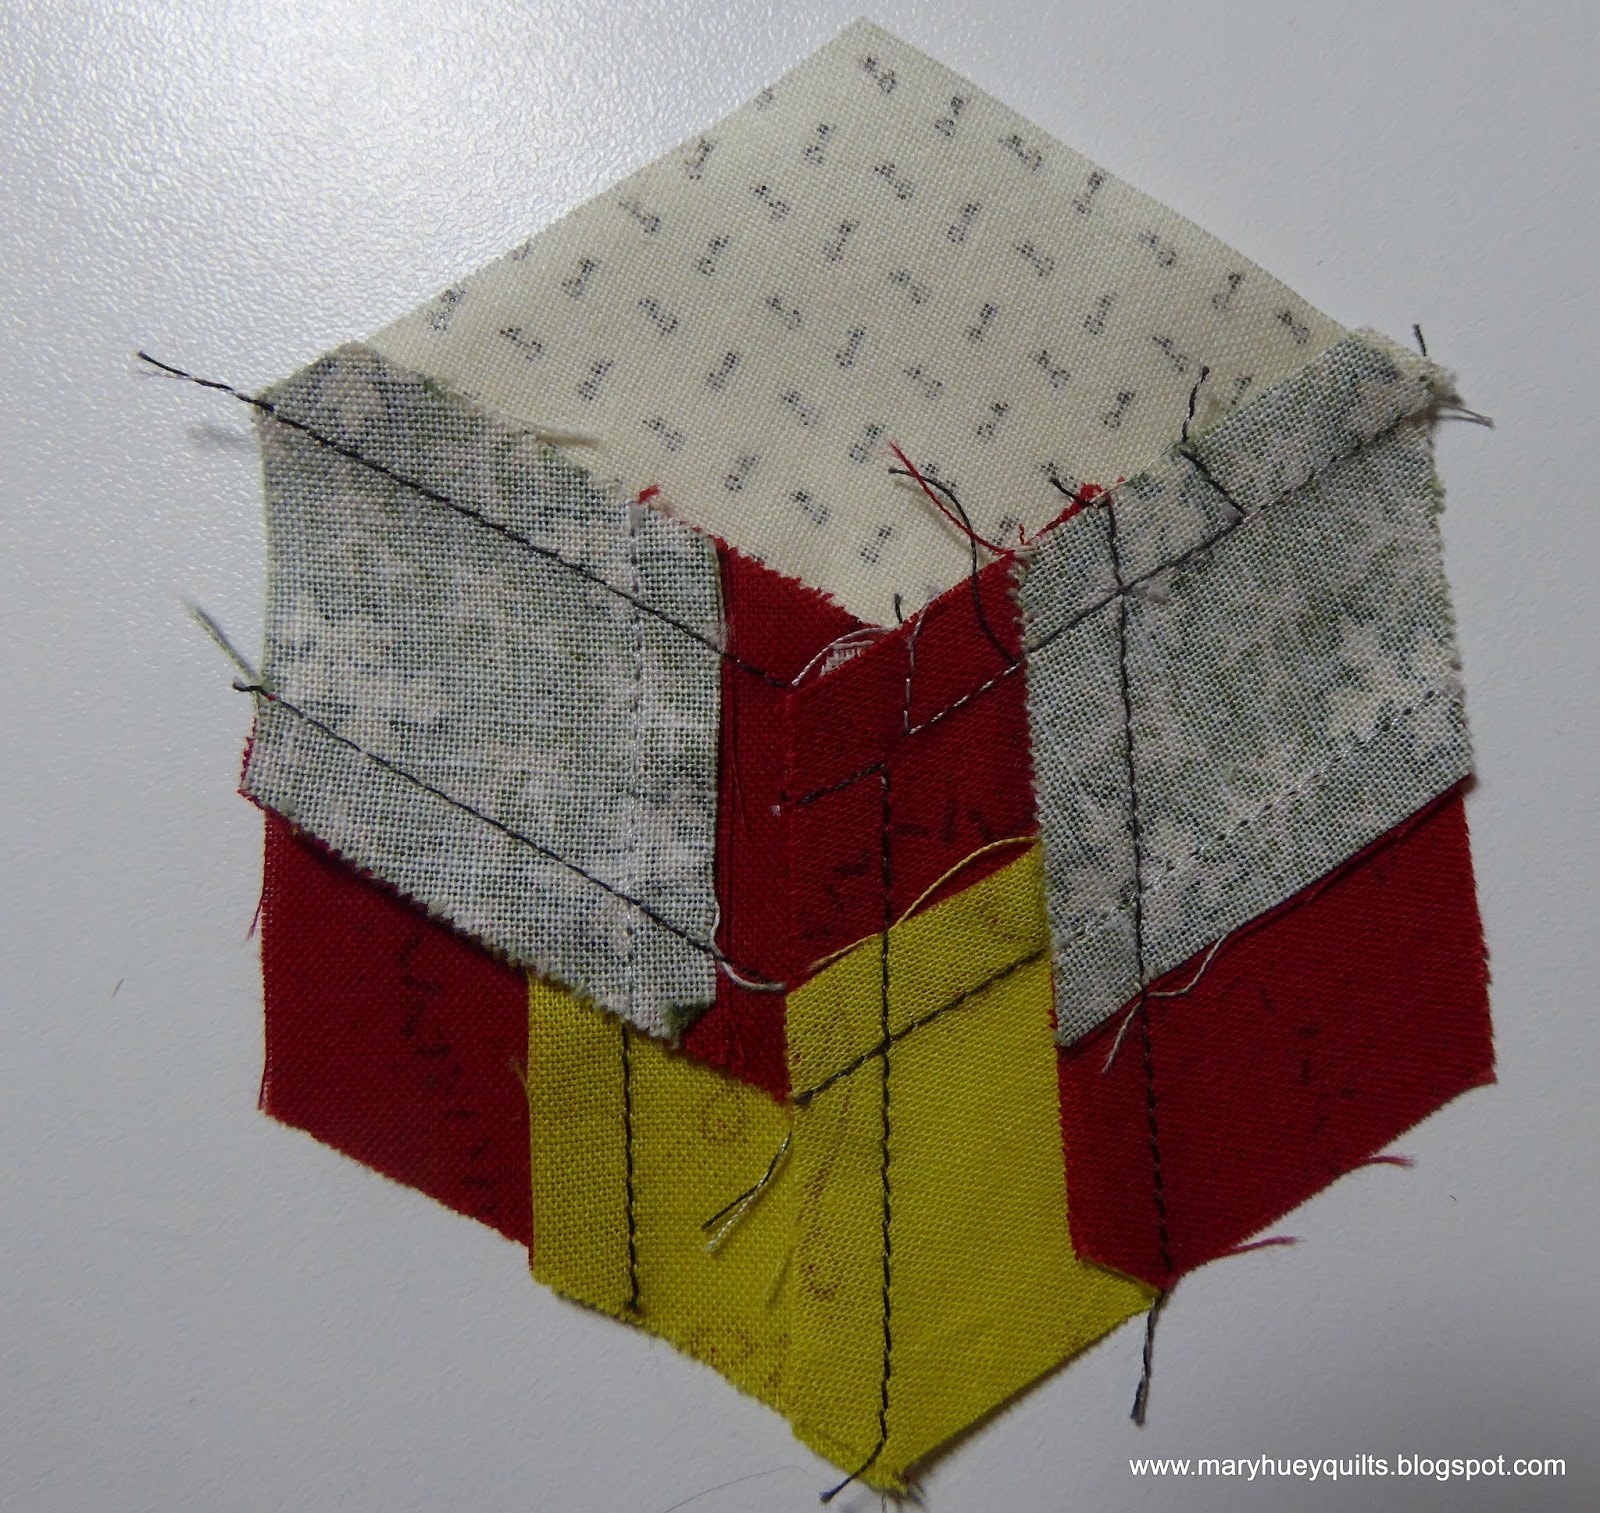
To keep the points of the first block flat and crisp, I inserted every other background piece, then pressed it before inserting the final three pieces.
And here are final pictures of Canterbury, front
and back.   I like this block and plan to make a larger version of it -- maybe slip one into my Smitten quilt top!?!
And this is Kelmscott Tile front 
and back.  It took a month, but I convinced myself to remake this block so it fits together with the rest!!
 
Now to catch up with the #smorgasblocks project.  I'm three blocks behind on that -- but it was totally worth it to spend 5 days puttering around with my clan.  Here are the grown-ups headed out for a morning paddle while my grands and I indulged in some butterfly chasing and other silliness!!
 
Have a good week!!
 
Mary


Friday, August 12, 2016

Progress!!

Earlier this week, I shared my renewed efforts to finish my version of Lucy Carson Kingwell's Smitten quilt.
The work continues and I'm very close to getting the top completed.  In this photo, the upper left corner is assembled and the next diagonal row is set together.  Since these are y-seams, the seams stop at the 1/4" seam and don't go all the way to the raw edge of the blocks.  I find it's better to leave the seams between the hexagon blocks unpressed for now.  It's easier to move them out of the way if they haven't been pressed.
I'm working from the left side diagonally towards the upper right side.  For those of you who have invested in my DVD workshop, Set-In Piecing Simplified (order it HERE) this is another look at the approach I take for setting hexagonal blocks together (this is covered in the second half of the DVD).

Half triangles are used to straighten the left and right sides of the quilt and it's easiest to add those to the hexagon block before you begin to attach the blocks together.
Of course, each seam is a stop and start process but it is greatly simplified by using the chain-piecing process featured in the DVD. 
It's also more accurate and more secure than any y-seam technique I've tried.

Here is the first seam stitched together between two rows.
I have discovered (and perhaps others have as well) that after completing the first seam, if I skip the next seam and go to the third one, this process is half as challenging.  So in the picture below, I have the third seam pinned and am holding open the second seam so you can see it easier. 
This is the result after stitching the third seam pair. 
Now you can fold the entire piece matching the second pair of seams and all the rest of the quilt top falls out of your way easily.  For me, this simplifies the process a great deal!
I continue to hop over a pair of seams, stitch a pair of seams, and then return to close up the gap.
Give it a try and let me know what you think!
Two rows joined!  Everything is flat and secure!! 
Here it is with three rows joined!  I still have to cut and piece about 10 small hexagon blocks which will be assembled into clusters of three to match the size of the large blocks plus the half blocks for the lower edge.
This is going to be an exciting workshop to teach!! 
 I love the combination of teaching a great technique (Set-In Piecing Simplified) and helping students discover all the possibilities of experimenting with value and color.  The two-day format will enable students to leave with a working plan well underway! 
If you can't get to Northeast Ohio, I travel!! 
 Give me a shout at maryhueyquilts@hotmail.com if you like to discuss having me come to teach for your guild/shop/group!
 
There's still some summer to be enjoyed up here, so get out there this weekend and do it!!
 
Mary Huey


Tuesday, August 9, 2016

Another UFQ Adventure and Some Ideas on Getting Unstuck!

Once again, there is nothing like a deadline to motivate me!
I started piecing Lucy Carson Kingwell's Smitten over a year ago and as is so often the case with me, other projects pushed in and took priority.
This year, I listed it as one of my "goal" projects for the APQ Resolution challenge which helped me get back at it briefly earlier in the year.  Then a student asked me to consider using the pattern for a future workshop and the idea formed to follow through on that for my 2017 Farmpark Workshop.
 
It's too early to book for it at this point, but I can tell you it's
Friday and Saturday, March 17 and 18
at Lake Metroparks Farmpark Quilt Show!
 
So back out everything came and the finished blocks took over the design wall.
Now I have a deadline to motivate me but I need stimulation to actually do the work!
I find that a good place to start is to sort through all that fabric pulled for the project and reorganize it.
Nothing gets my juices moving like sorting fabric into color and value piles!
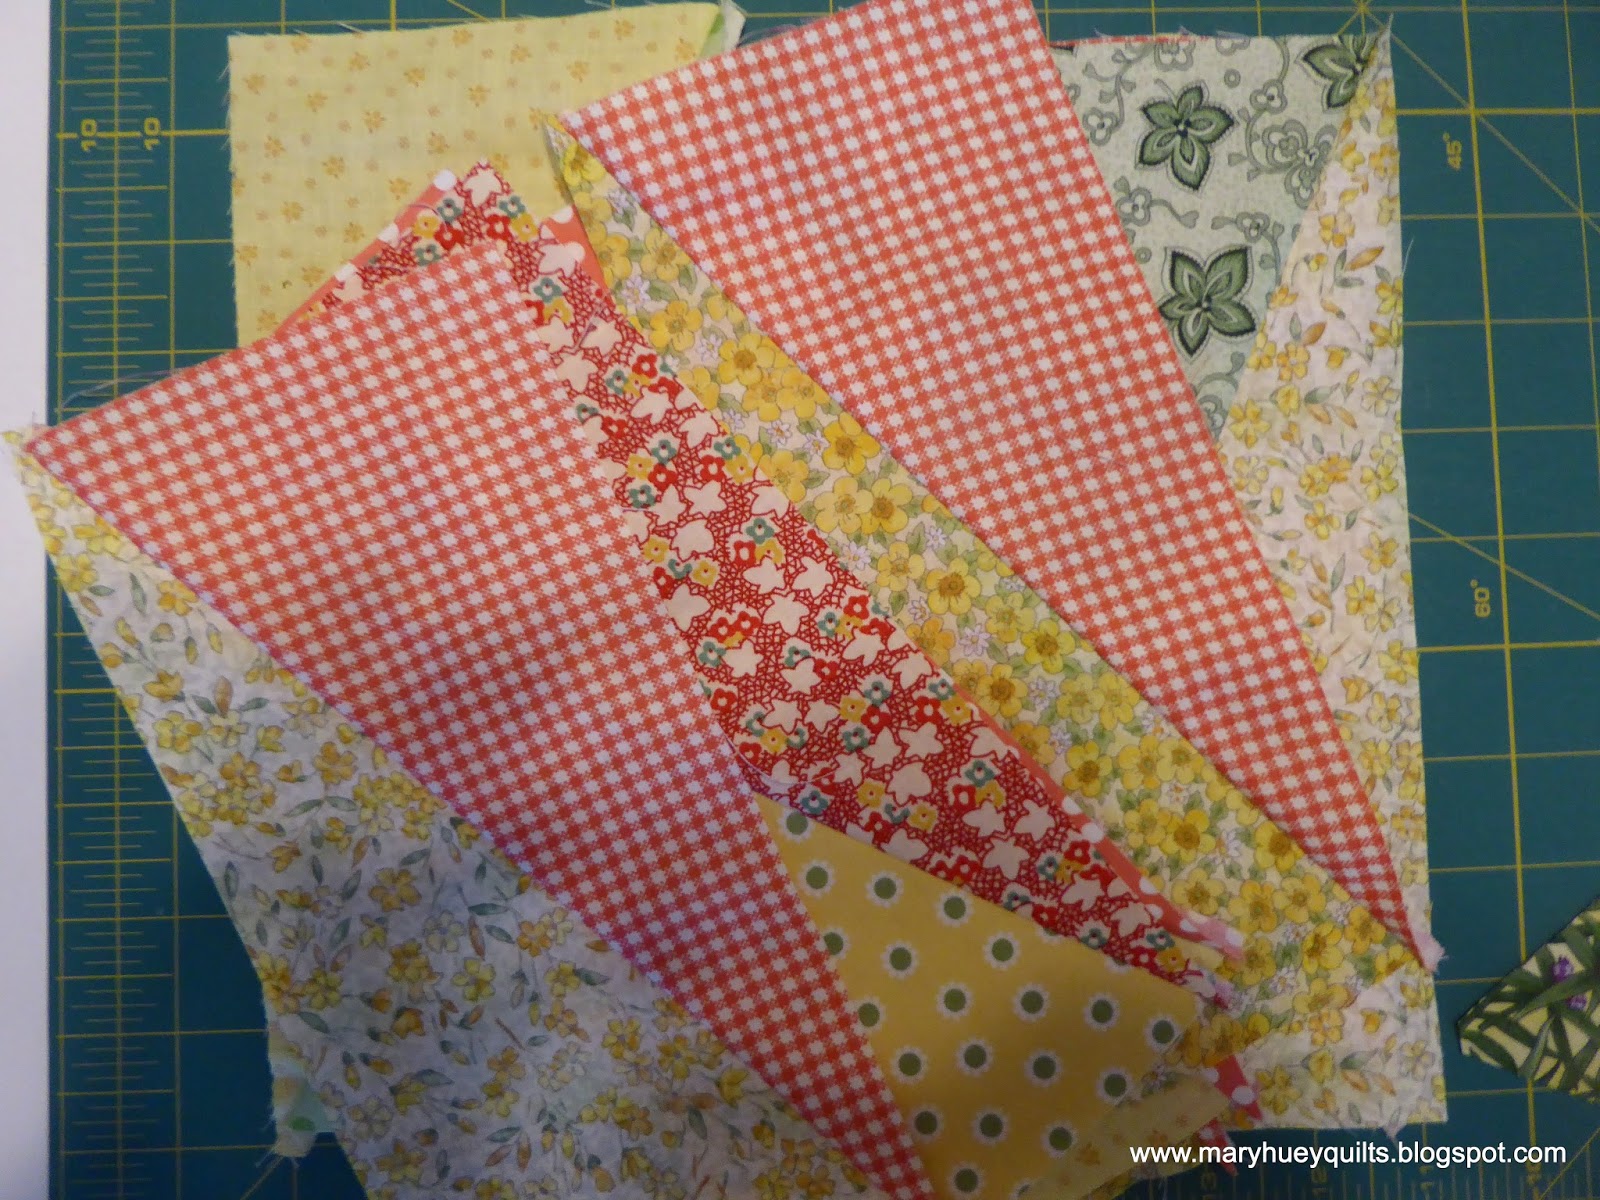
Another useful strategy for me is to start cutting pieces without making "matching" decisions.  For this set of small blocks I needed a central hexagon.  Cutting some that I thought were pretty is the quickest way to move forward. 
The "visual" of the shape laying there suggests what to use more quickly than other approaches.
And as I was handling a piece of fabric, I cut some extra pieces -- large diamonds for fillers I would need, a set of background diamonds for a small star, triangle wedges.
(A good pot of tea and a lovely teacup help stimulate creativity.)
Soon I was back in the groove and piecing blocks at a productive rate! 
By adding the newly pieced units to the design wall as they were finished, I can evaluate where I need more of the three main color families -- pink, green, and yellow.  If you don't have a design wall, it is such a helpful resource you might want to give it some thought.
Even though I haven't finished all the interior blocks, I stared to create the half blocks needed for the upper and lower edges.  I have a photo deadline I'm trying to meet!!
I've also begun to incorporate ideas from other sources to build my enthusiasm and maintain momentum -- sometimes I get bored with doing what someone else has done and just need to give it a twist!  Treehouse Textiles is a shop in Australia that I follow on Instagram and they often post ideas for using vintage textiles in their quilted projects (such as this). 
I had three of these tea towels too precious to "use" but if I didn't do something with them, they were doomed for a donation box someday -- now they will always be fondled and appreciated!
I've started to assemble the upper left side working in diagonal rows. 
Friday, I'll share some tips on how I manage this part of the process.
Must head back to the studio for now and stitch, stitch, stitch!!
 
Mary Huey


Friday, August 5, 2016

The Importance of READING ALL THE WORDS!!

Now you would think with over 35 years of teaching quilt making and writing instructions, I would not need to be reminded of how important it is to
 READ ALL THE WORDS, not just look at the pictures!!

Sometimes it results in a subtle "design variation" like the diagonal cross blocks which were "supposed" to be framed with the background fabric rather than a third fabric. 
But this time, it resulted in the beginning of the backing?!?
In other words, units not usable to create the intended design.  The fifth set of blocks for Anneliese's #smorgasblocks Instagram follow-along reminded me how important it is to read all the words.  I rushed past a critical sentence and was so puzzled with the results of my first work session.
There was no way I could organize these blocks to make the intended design!
Long story short -- an exasperated Mary went back and read ALL the words slowly and made half the blocks over so that I could finish part five!  It's very cool but it's a bit embarrassing to admit that skimming the words and trying to glean all the information I needed from the pictures stopped me in my tracks.
I've put the first four parts together at this point (following Anneliese's instructions), stitched this Twizzle band together and am in the process of cutting and piecing part six (after reading the instructions carefully, twice).
If you are curious about the sew-along, you can read all the posts HERE.
I'm enjoying discovering new designers and the piecing challenges!
And if you an Instagrammer, search for the #smorgasblocks hashtag and see all the color variations -- very inspiring!!
Just remember to READ ALL THE WORDS!!

Thanks!
Mary Huey


Tuesday, August 2, 2016

A Day in the Prairie

Like most of you, I don't quilt all the time.  My other passion is exploring natural areas.
A couple years ago, I joined a group of like-minded folks here in Ohio who love our natural spaces and work hard to protect them by supporting the skeleton state staff of the Natural Areas and Preserves section of Ohio's Department of Natural Resources.
This past Saturday, a large group of us enjoyed a warm sunny visit to the founder's beautiful 20 acre prairie in central Ohio.  Twenty years ago, he purchased a fifty-plus acre farm and began to convert the abandoned fields into a showcase for native plants.
As one walks past the small barn, a vista opens up before your eyes of native grasses and blooming plants that is breath taking. 
Wide mown paths allow one to wander around and through the grasses that tower overhead.  The paths are lines with a variety of flowering prairie species which are visited by hummingbirds and dozen of species of bees and butterflies during the course of the growing season.
I took two walks around the entire prairie -- the first time with a guided group for a refresher on the names of the plants.  The tallest plants in this picture are prairie dock -- their rhubarb size leaves are hidden in the tall grasses but the golden flowers wave high above at 7 and 8 feet.
The owner of the prairie includes native plants from around Ohio such as this royal catchfly which is commonly red, but Adams county has a small population of a salmon variety.
This gray-headed coneflower is an easy species to grow and my own specimens of it attract lots of insects.  This dragonfly (a common whitetail) is likely looking for other insects rather than nectar. 
Two ponds have been incorporated into the landscape and the native hibiscus had just started to bloom along the edges.
After lunch, I returned to the prairie for a solitary walk to enjoy the sights and sounds without any narration from other admirers.
There were more butterflies about than earlier and this red-spotted purple gave me a run for my money but I did manage to get two or three "not-blurry" photos of him.
This meadow fritillary was one of the reasons the purple was constantly moving around -- it seemed like the purple was chasing the fritillary away, protecting a section of the mowed path.
As I walked I reviewed the names I learned in the morning in hopes that I'll remember them on a future prairie visit -- this is downy (or hairy) sunflower -- facing the sun of course!
The rattlesnake master (on the left) is another one I grow here in my garden, but the Virginia mountain mint (on the right) was new to me.  There was a viceroy butterfly fiercely patrolling this patch but he eluded my camera.
The mix of purple coneflower (front), native monarda (center) and gray-headed coneflower (back) near the end of my second trip around the prairie had attracted a beautiful and rare (to me) butterfly.
The giant swallowtail -- 50% larger than other swallowtail species -- perhaps the size of a hummingbird.  This one was freshly emerged with no signs of wear on his wings.
What a lovely way to spend a summer day!
 
If you are interested in learning more about ONAPA, you can visit their website HERE.
They sponsor many work projects to help preserve unique Ohio natural areas as well as enjoying trips to explore and learn more about the flora of Ohio.
If you join, perhaps we'll meet face to face one of these days!
 
Mary Huey