The two most recent blocks for Barbara Brackman's Morris Hexathon were simple to construct and even used the same template, #52, from Marti Michell's Set H.
#10, Thames Path sent me to my English walking maps to see if I've walked any part of it -- HERE is the original post. No, I haven't but I'm thinking it might be a good addition to a list for a future trip! Here is template #52 on the printout of the block -- as long as the "dashed" lines match the pattern, I'm good to go!
#52 is a multi-shape template and I used "part d" -- it's so helpful that each different shape is labeled!

I chose to use two fabrics and made a short strip set for a quicker finish. The"dashed" line where I'm pointing indicates the finished seam line of the equilateral triangle unit when it's pieced.

It might be hard to see but the "marking" holes are at each end of the "dashed" line and by lining it up on the seam line of the strip set, I can cut consistent segments. The strips are a smidge wider than necessary (just in case) but a quick twist of the template enables me to clean that up.

Then I can twist the template 180 degrees and cut the other segment needed for this block.

Here they are ready to stitch up -- no y-seams and the seams are opposing making the matching easy.

And here it is sewn together wrong?!? Moving too quickly never pays off does it?

#11, Merton Mill was named for one of Morris' manufacturing facilities -- HERE is the original post. Barbara has shared some interesting information about this versatile artist/artisan so even if you aren't interested in making the quilt, you will enjoy reading the posts for their historical information.
The half equilateral triangle shape used for this block isn't "silhouetted" on the template, but all the lines are there for your use.

Cutting is more consistent when you lay two strips together, right sides facing as shown here.
Since they are cut together, there is no matching required as long as you don't separate them.

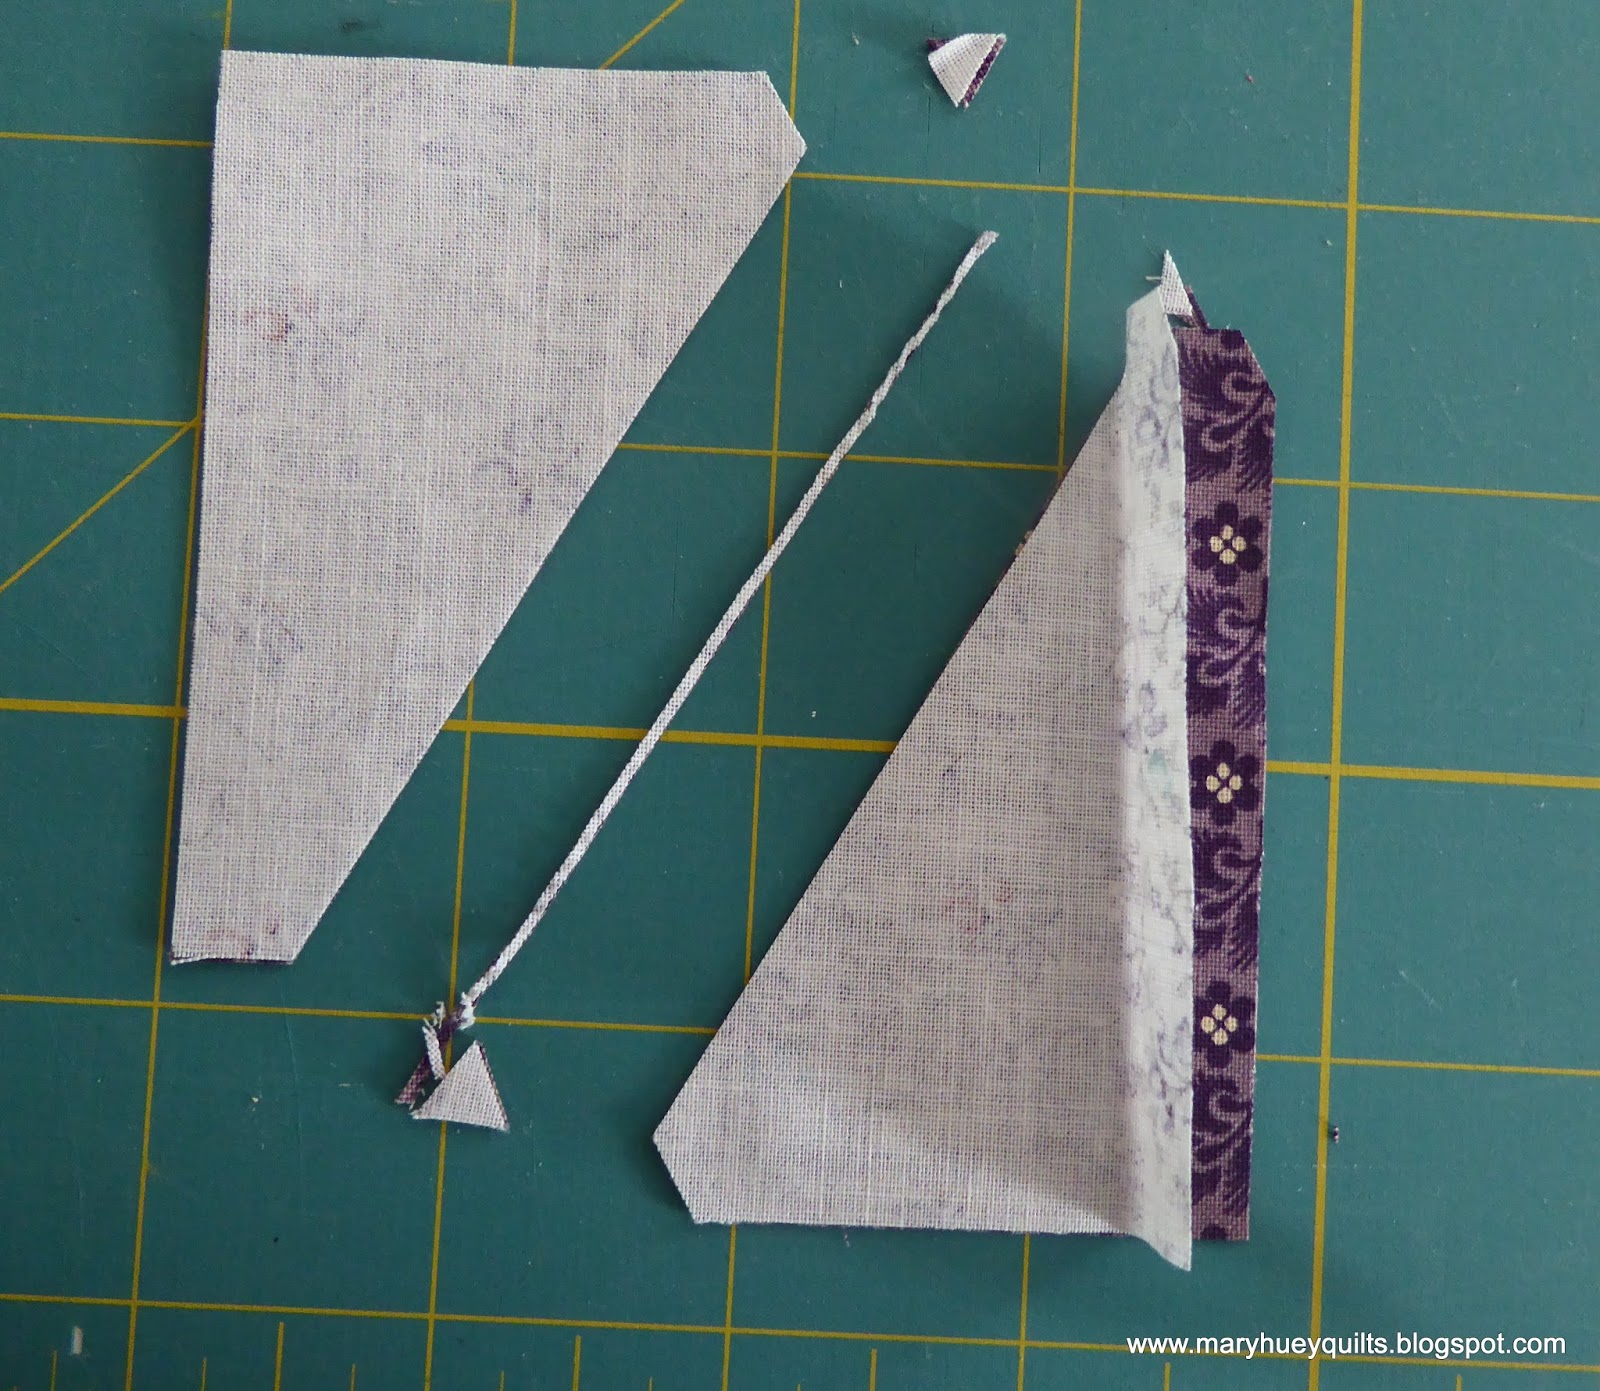
This photo shows you the shape I cut. The solid lines represent the edges of the shape with 1/4" seams included. So the first pair is cut.

However, when I twisted the template to cut the second pair, I realized that won't work. After several minutes of "template juggling" I remembered a trick Marti uses with another one of her tools.

I flipped open the first pair on top of a ruler to determine what size rectangle is needed to cut two pairs of triangles. It's a 3 1/8" strip, and I need three 2 3/4" sections to cut six pairs of triangles.

Now I can work from opposite corners of the rectangles. Here is the first cut.

And here is the second cut -- just a sliver of a trim off the inside edge and nipping the corners!
I'm ready to stitch!
Once the triangle units were pieced, I auditioned one of the other layout suggestions.
No, don't like that.

I went a little slower and eliminated the "ripping" step of getting this block together.

Two more blocks finished!!

Barbara shared a diagram of the layout plan in the first post so I arranged them on my design wall for a preview of where this is going. I think it's time to start digging through the stash for a wonderful print to serve as the plain hexagons between the pieced ones!!

I'll leave you with a photo of King Willie relaxing in the wet grass surveying his kingdom!
I couldn't enjoy my garden without his companionship!

By the way, this post was written to the accompaniment of politicians' jets arriving in Cleveland for the Republican National Convention -- I live under the flight paths of two small airports popular with the private jet set. Seems like they are arriving at the rate of one every four or five minutes?!
Have a stitching good week!!
Mary Huey
Your blocks look great Mary and you really make it look easy to use Marti's templates! Thanks for sharing and I hope the planes weren't too loud!
ReplyDeleteYour blocks are all so pretty. Love the picture of King Willie in his kingdom. :)
ReplyDeleteLovely blocks Mary. I haven't used those templates before and it's great to read your posts, thank you.
ReplyDeleteSmiles
Kate
This looks like a fun project, but I will not be tempted even though it bears my name.
ReplyDeleteI hope the noisy jetset have all left you in peace now. The convention was mentioned on the news here a few days ago. How long do these things last?
Hi Mary, your blocks are lovely.
ReplyDeleteYour blocks look lovely upon the design wall together! I'm curious to see what you use now for the 'between' parts!
ReplyDelete