Let's look again at the top I set together for Step 10 -- doesn't look any different, does it? I've been auditioning border options off and on over the past month, but nothing is clicking . . . . so I'm beginning to think -- "no borders on this one". I find that when I can't make a "decision", what is often really happening is my intuition is saying "it's fine just like that" while my alter-ego is saying "this could be fabulous if you could just find the perfect . . . . ". I'm trying to listen to my intuition these days because in general I find it creates a lot less work for me than my alter-ego. And I have a pretty long "to-do" list all the time so I don't need "bigger" jobs -- I need doable jobs.

Regardless of the "border" outcome, staring at the quilt top on my workwall has me thinking about the quilting and at this point, it revolves around something simple and big stitch hand quilting. But that could change -- those hexagons of background fabric could handle an interesting quilting motif.
I'm not going to tell you "how" to quilt once of these pieces. Rather my intention is to share what I've done and hope it stimulates your own ideas. So lets start with the first sampler I made using the chain piecing through set-in seams technique.
It's a very busy quilt -- lots of variety of prints and textures -- no blank space. I can take one of two approaches to this type of quilt -- keep the quilting simple because the detail won't show up OR use it as an experimental canvas for quilting designs because the detail won't show up (no one will see the goofs). I took the latter approach and I'll try to show you some on my design experimenting.

When doing free motion machine quilting, the most comfortable stroke for me is the continuous curve arc from corner-to-corner of a patch. So each star's quilting is based on that arc but a bit different. I think the next few close-ups are self-explanatory.

The "background" diamonds in each star are all quilted with the same "maze" trail -- it meant more stops and starts than I like but apparently I couldn't figure out how to get "in and out" in a continuous line and get that look. I wanted to flatten the background down more and liked the contrast of the angular maze with the soft arcs.
This is without a doubt my favorite quilting motif for 6-pointed stars -- I've use it over and over and have adapted it in other blocks.

Here it is again but this time the petals are echoed and there is an extra inner petal in the small stripped diamonds.

It reappeared in my second sampler as an alternate design.

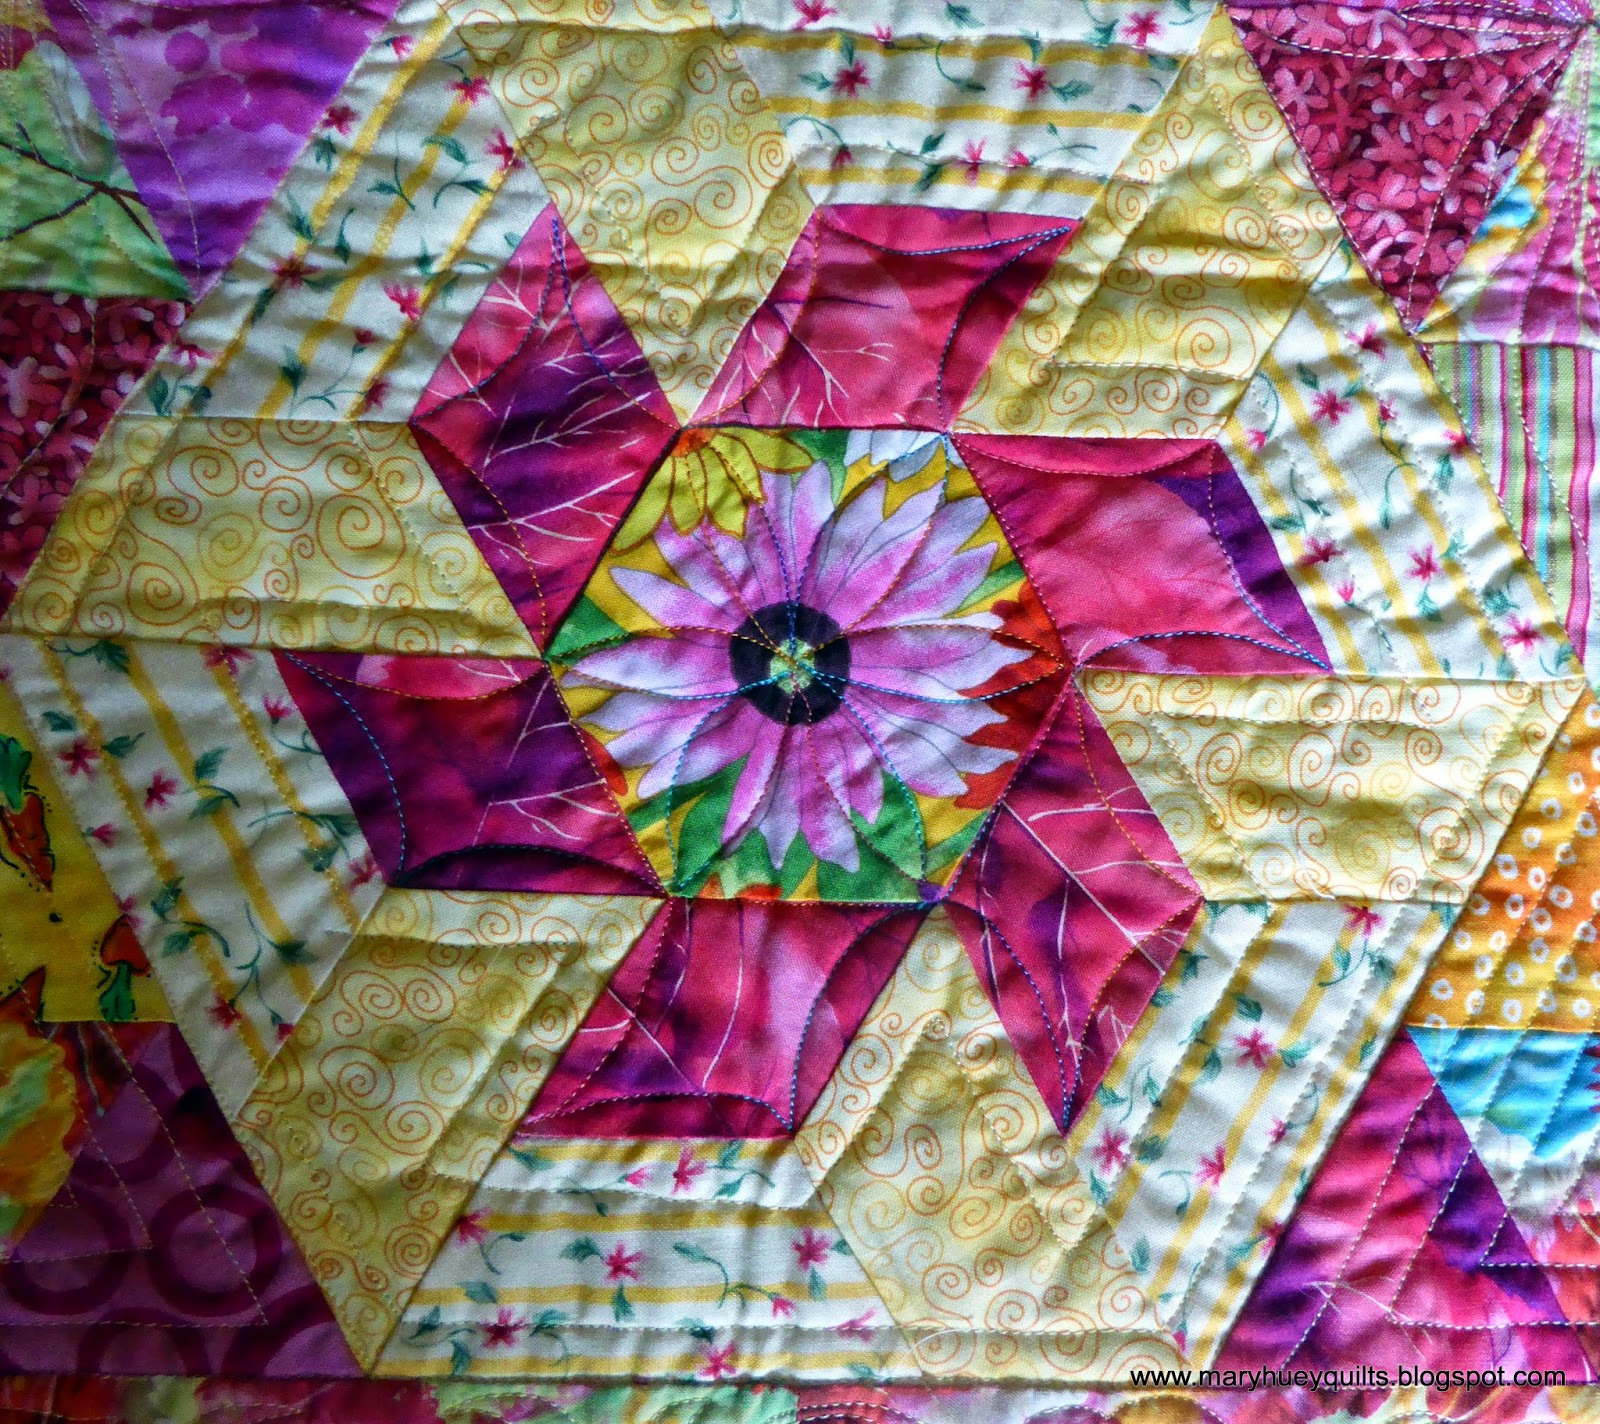
I also have used a spontaneous flower design like the center of this block a great deal -- the concept of "echo" quilting these really improves their appeal. This one started out with the continuous "heart" shapes around a center.

On this quilt I left the "filler" diamonds to the last. This six-petalflower motif was perfect once I added the "leaves" and it reappeared in my next sampler as the border design.

I drew a grid with chalk of equilateral triangles and then stitched the arcs to fit the grid -- the alternate center stitching helps define the design better and was added during the practice phase of creating this design.

On this piece, I echoed the outer arcs in the background diamonds to define the periphery of each star.

I hope some of these ideas stimulate your approach to quilting your own Diamond Star Sampler. If you can only figure out how to quilt one aspect of your piece, go for it. I find that is often the case and if I start, other ideas will present themselves as I engage with the quilting process. Some of them don't work, but most of them do. And nothing happens without you, so get in there and do it!!
This completes the Diamond Star Playtime Sew-Along.
I hope you are happy with the quilt you are creating!!
Mary Huey
No borders? I could get behind that option. Honestly I don't think it needs it but I might be biased.
ReplyDeleteThanks for your encouragement in that direction, Lori!! (-;
DeleteYour quilting is lovely!
ReplyDeleteThanks, Vera!
DeleteThank you, Mary. I'm bookmarking this post for the great ideas for FMQ. I personally like the light green border you show first. I would machine applique the center piece to the borders. Just me.
ReplyDeleteActually, the "light green border" is already on the quilt -- it was originally to be the float before a darker border, but that isn't working with what I have, so the more I look at it, the more inclined I am to stop at this point, layer it up and quilt it!! Check out Step 10 -- http://maryhueyquilts.blogspot.com/2014/07/diamond-star-playtime-sew-along-looking.html -- to see how those light green pieces went onto the quilt.
DeleteBeautiful! Thanks for the inspiration!
ReplyDeleteSo love your stars and cubes. Great fabrics as well.
ReplyDelete