Tuesday, January 12, 2016

Quilting Immersion!

This morning's post is a little late, but I have an excellent excuse!
Early January, every year, it's the same story as I quilt my annual entry in our regional quilt show.
Total immersion!! 
Me and George (my APQS machine) and Pandora and a lot of strong, sweet tea!
I'll show the final results next week, but as I've been listening to the "relaxation" channel on Pandora non-stop for days, I've also been recalling many of the machine quilting pointers I received from master quilter, Sue Nickels.
 
Around the turn of the century (don't you love being able to use that expression?), I was part of a small group of shop owning teacher disciples of Mary Ellen Hopkins.  We met up for a week every summer and swapped workshop ideas and talked about everything.  One year, we had two days with Sue focusing on machine quilting skills.  It was a turning point, break through experience for me.
 
We spent one day working on a technique sampler and then executed this 18" piece which I finished into a pillow.  Sue's is not just an expert technician, she is a professional teacher with the ability to clearly explain and encourage students.  I never look at this piece without a sense of awe that I actually did this.
Do you want a closer look?
The feathers and cables were marked before we started and we had practiced maintaining consistent density of background quilting.
So here is a quick review of the three pointers I learned from her that come back to me whenever I machine quilt.
 
First, she compared machine quilting to driving -- when you drive, you are always thinking about where you are going -- it's subconscious, but without that focus you won't get there.
So when I'm quilting arcs that I hope will be graceful, I'm focused on the end point and thinking about stitching a graceful arc.
Second, when you feel "lost",  just stop.  Get your bearing and then continue.
Third, stop with the needle down and then start each line slowly. 
Be ready to move along when you start the machine to prevent stitch pile-ups (which show more on the back where you can't see them until it's annoyingly late).
 
Finally, she introduced me to "self-threading" needles and how to use them to bury my thread ends.
Leah Day justed posted a video that illustrates the method perfectly HERE.
 
The kettle is whistling, so it's time to go back at it -- two more days, I think. 
Focused on the borders -- have a design planned based on elements from the center of the quilt.
I will get this done!!
 
If you aren't familiar with Sue -- HERE is a link to her website where you can get acquainted with her books, review her teaching schedule, and get inspired.
 
Remember we can't use these quilt tops until they are quilted!!
Mary Huey
 

Friday, January 8, 2016

2016 Finish-A-Long -- First Quarter Goals

Three months -- six projects!
Seems reasonable doesn't it?
Here we go!
 
#1 -- quilt and bind my hexagon mosaic quilt!
#2 -- finish my Glitter teaching sample -- lap size -- 60 blocks!
#3 -- make a second teaching sample using at least six of the Dresden Star blocks (this is the first sample) using a new assortment of bright prints.
  #4 -- have fun creating a quilt with the wonky bird blocks from my 2015 Stash Bee swap blocks! 
 #5 -- make a twin size quilt from my (extensive) blue stash using the "plus" design that I see so often and love -- to be donated to a good cause!  I plan to take this one and #6 to my annual winter stitching retreat at the end of January and get all the cutting for them done while there!
#6 -- make a new quilt using a simple design and this assortment of soft greens for my daughter's redecorated guest room.
That should keep me busy for a few months!
Now I think I'll head over to one of the link-ups and see how crazy everyone else is getting with their goals!!  You can check it out too by clicking on the logo for the 2016 Finish-A-Long in the upper right corner of this page.
 
I hope you'll find as much time to stitch as you want this weekend!
 
Mary Huey
 
UPDATE:  Here's a link to a very helpful post about participating in the 2016 Finish-A-Long!


Tuesday, January 5, 2016

A Special Quilt

This Rose Wreath quilt which I estimate dates to the 1870's was given to me by a lifelong friend and mentor, Gretta, who passed away a year ago at the age of 96.  She gave it to me about six years ago and since then I've used it on my bed during the Christmas season. 
I met Gretta at Girl Scout daycamp during the summer of 1958 -- she was my unit leader and we bonded quickly -- she knew so much about birds and plants and I was just beginning to stalk birds.  She began to include me on many hiking and birding adventures and until the day she died, the first topic we discussed whenever we met or talked on the phone was what birds we were seeing.
So it was a great honor to be given this quilt that was made by her great-grandmother, Sara Elizabeth Young Lee.  Sara was born in Morris, NJ in 1831 and lived in that area throughout her life.  Her husband, John's occupation was listed as a "watchman" in the 1880 federal census for Newark, NJ.  They had two daughters, Augusta and Ida.  Ida married an architect, Thomas Cressey who immigrated from England in the 1870's. 
Their oldest surviving child, Clare was Gretta's mother.  Clare married a young chemist in the early 1900's and together they moved to my home town in Ohio to begin a new company in 1917.
Almost immediately, Gretta's father, Charles Shipman became one of the outstanding naturalists in this area.  One of the most significant legacies he left our region was Gretta who herself was an eager naturalist and conservation activist.
The quilt must not have been used very much and I think I might be the first person to have laundered it -- that was a scary experience but everything was fine!!   Using it once in a while has expanded my appreciation for the quilt and led to some little discoveries I thought you might enjoy.
Since I can't tuck quilts in at the foot of my bed, I often lay quilts sideways.  Here you can see the view from the bottom edge of the quilt.  There is no border across the top edge.  When I have it out, I go over it carefully looking for wear and tear and make small repairs such as spots where the appliques have come loose.
This year as I was going over it, I realized the wreaths have an up and down?!?
See how the leaves are arranged?
Except for this one which sits at the upper right corner of the quilt.  As I look at this picture, the leaves in that wreath look "plumper" and I wonder if that block was made later or if it was the first block and she modified the pattern a bit?  We'll never know.
Last year, I came across some loose threads along a seam in the lower left corner where the lower border was joined to the quilt.  I went hunting for a pair of scissors and needle to tie them off or trim them.  But when I looked more closely, I realized they were basting stitches that served as a guideline for the cross hatch quilting she did.  What a brilliant idea!!
I decided to leave the loose threads -- it gives the quilt a special touch. 
This week, I'm finishing up a label for the quilt that will include the family line from Sara to Gretta so that no one looses track of the history which has been carefully documented by four generations.
What an honor to own this special quilt from a woman who had such a big impact on my life!!

Mary Huey


Thursday, December 31, 2015

2016 Quilting Goals

I've been writing out annual quilting goals since 2011 -- that first year, it was simple -- reduce my fabric stash by 100 yards.  I had tough rules -- any fabric purchased set me back a few yards.  By the end of the year, I had managed to pull it off right at the wire -- 163.5 yards used (but 63 yards purchased which left me with a net reduction of 100.5 yards.

In 2012, I used my  2011 success as a springboard and set the goal of using 212 yards of fabric in the course of the year.  I eased up on myself and ditched the "purchase-debit" rule.  Once again, I made it just under the wire with 212 5/8 yards used!!  It also resulted in one of my most popular guild lectures -- How to Use 212 Yards of Fabric in One Year.  My best strategy was making lots of quilt backings to go with my stacks of finished tops -- oops, there goes another 7 yards!!  Best part?  It led to a life-style change as the stacks of fabric continue to shrink -- shelves that vomit fabric are a thing of the past!! 
Those goals of using my stash first really taught me to enjoy "shopping" there -- it's a great challenge to use what I have and it has pushed me to a more confident creative point of view.  Now I actually am excited to run out of fabric because some of the quilts I finished were so much better than if I had gone out shopping for "more-of" . . . . . !!  This gem is one of my stash-only accomplishments and there is another one just as big!!  Exciting!!
In 2013, I was loosey-goosey and had no specific goals -- I lost my mother that winter and I think I was unable to think ahead.  I stitched relentlessly to carry me through those emotional days.  There are always plenty of UFQ's in my studio -- so when I felt restless or unable to settle on a project, I would just pull out another old one and focus on it.  My stitching journal records 26 quilt finishes!

2014 found me starting the year with a detailed survey of UFQ's -- there were 44 finished quilt tops (down from 72 in 2005) and 14 sets of quilt blocks.  I had two goals for the year -- to continue to whittle away at the UFQ's and to transform myself into a quilt maker who proceeds through a project from start to finish in one smooth process more often.  That was huge!!  I made good progress on both fronts though I realized I'll always have three or four projects going at the same time.  One being planned, one being pieced (or maybe two), one being machine quilted, and one being hand quilted.  By the end of the year, I'd finished 23 quilts and reduced the UFQ list of finished tops to 30!!  I can remember when these two shelves were packed to the top -- now they look a bit empty, don't they?
My favorite finishes for 2014 were the three string star quilts I made for my children -- the star blocks were from my husband's grandmother's estate though I think her mother-in-law pieced them in the early 1900's.  It took a century to put them into the hands of Huey's but Mary Emma is smiling now!!
 At the beginning of 2015, I found the APQ's UFO Challenge chart and filled it with some of my oldest UFQ's.  If you aren't familiar with the APQ Challenge, they draw a number each month and that's the project you tackle.  You can see my notations for what month each project drew.  There were just three complete finishes but up until the fall, I made significant progress on most of the projects and they've been added to my "ready-to-quilt" shelves!! 
In addition, I intended to make a scrappy twin size donation quilt every month as I worked through the color shelves in my studio to tidy them up.  I made it through 3 months -- pink, white and beige neutrals, and green (seen below).  There is a blue one underway as well, but I just ran out of steam -- probably because I realized what a challenge it was to piece and quilt a top with everything else I was doing -- or perhaps it was the challenge of finding a pattern to use with the orange and yellow shelf?
  There is just a few more hours of 2015 left and I've been spending quiet time in my studio -- tidying up and reviewing what I accomplished over the past year, so I feel ready to set some (realistic) goals for 2016.
 
First, I'll try to finish a UFQ each month!  I haven't decided if I'll carry over the balance from 2015 -- I learned just how important a purpose and a deadline are for me to get an old project finished so my plan is to chose 12 that have a destiny in 2016!!
Second, I'm going to try to generate four new twin size scrappy charity quilts -- one every three months -- I came so close to doing this in 2015 I feel certain that I can accomplish this one!!
 
Third, I want to get the last half dozen sets of quilt blocks malingering in boxes and baskets pieced into quilt tops so they don't go astray when they clear out my studio in the distant future!!
 
And finally, I want to continue to explore piecing designs and offer workshops where quilters can apply the Set-In Piecing Simplified technique featured in my DVD.  That will actually be the easiest goal to accomplish because I'm very easily distracted from everything by an interesting quilt block with y-seams!!
 
So how about you?  Are you setting stitching goals?  You should!!
The most exciting discoveries I've made as a quilt maker over the past few years are almost all the results of goals I've set -- achieved and unachieved.
 
If you want some more inspiration for goal setting -- head on over to the 2016 Planning Linky Party at Quilt Jetgirl by clicking HERE!!
 
2016PlanningParty
 
Happy New Year!!
Mary Huey


Saturday, December 26, 2015

My Fab Five for 2015

I hope everyone who celebrates Christmas had a delightful one and for those who don't, thanks for allowing us the freedom to celebrate!
 
Today is the beginning of my transition to a New Year, 2016 -- time to look back over the year and marvel at all I was able to accomplish as a quilt maker.  I'm enjoying participating in the blogging quilt scene -- so many new friends made and so many ideas shared!
 
These are five of my favorite posts from 2015 -- I had fun creating them and I appreciated all the responses from you, my readers!!
 
I participated in the Tree Bird Blog Hop in March and wrote about the wall hanging I created just for it on March 19, A BIRDER'S DREAM.  I had so many wonderful compliments about it and it's had a very successful tour of quilt guilds during the fall.  If you haven't already read the post, it includes instructions on how I make wonky, scrappy 9-patch blocks.
In May, I shared a new strategy for CUTTING ANTIQUE ROSE STAR blocks with Marti Michell's **Kite and Crown Templates.  One of the challenges of teaching is to create a fulfilling experience for my students.  Choosing fabric and cutting this block can be exhausting which made my students' workshop experience less fun than I wanted it to be.  This set of blocks still isn't finished but it has grown to almost enough for a twin size quilt that will be on my 2016 "to-finish" list!!
The third one was written in June, PILLOW MAKING IS TIME CONSUMING, as I set up my front porch summer living area!  I shared my Pieced Alphabet Pattern** and my love for fruit and veggie inspired fabrics.  The large letters are the first letter of the featured veggie on each pillow -- only when a reader commented she thought it was a "fall" arrangment did I realize I had set the pillows up to say OCT (the abbreviation for October).
I took my grade school age grandchildren camping at the end of the summer and in August I shared the special backpacks I made for them in JUST FOR MY GRANDS.  I'm happy to report that these have become the "go-to" accessory for our adventures together!  And I've made several more of them using the highlighted tutorial.
My final pick for my fab five was written in early December as I returned to one of my older patterns, **FAT QUARTER PLACEMATS.  I created these two sets of placemats with a special person in mind and I'm happy to report that she is soon to become more special as she and my son became engaged for Christmas!!  We are so excited that she and her two lovely children will be joining our family in 2016!!  This set of placemats looks great with her Fiesta Ware!!
I'm looking forward to 2016 and all the creative stimulation waiting for us as quilt makers!!
Thank you for visiting my blog today.  If you aren't already following me, I'd be delighted to have you join the group!!  It's such a joy to share my ideas and knowledge with so many. 
The blogosphere is a great place to hang out!!
 
To see more bloggers "fab five" click HERE to visit the linky party at Meadow Mist Design with 110 other bloggers sharing the "best of 2015"!!
 
 
Happy New Year!!
Mary Huey
 
 
You can read any of the highlighted posts by clicking on the title of it and the link will open it up for you in a new window.
 
** indicates that I have those items for sale.  Since I don't have a sales compatible website at this point (simplifying my life), you can e-mail me at maryhueyquilts@hotmail.com to inquire about any of the products.


Tuesday, December 22, 2015

Last Minute Gift with "gathering" tips!

Are you a last minute gift maker? 
I am!! 
There are still hand knit socks in production and someone may get a box of yarn but yesterday I was able to call my usually dormant clothing construction background into service and produce a cute (easy) little dress for my potential granddaughter.
 
My serger has been on-line all week as my housemate daughter is making mermaid and shark snuggle sacks for her nieces and nephews.   
I made a change of thread colors and set to work clean finishing and roll hemming a set of ruffles to jazz up a cute t-shirt.  Violet is 4 and the t-shirt dress will be a cute addition to her playschool wardrobe as she can use it over tights and a long-sleeve shirt or alone when the weather warms up.
I learned to make ruffles back in grade school by stitching parallel rows of machine basting and then pulling them up.  There were frustrations with this method, the most annoying being when the thread broke during the pulling up process. 
But I learned an easier and less frustrating technique when I was a Bernina sewing machine dealer.
This stash of saved string (from pet food bags) is just right!!
Presser foot #6 has a small hole in the front of it that is meant for a cord to be run through it.  By setting up a simple zigzag stitch (length 2.5 and width 5), you can zigzag over the string without catching it in the stitching.  I've learned not to use a longer stitch which seems faster but the ruffles aren't as tight and even.
I break the strings at the seams and begin a new piece -- it's easier to manage the gathering by doing this.  I mark four equal divisions on the bottom of the t-shirt and the edges of the ruffles to help distribute the fullness evening. 
After matching the four quadrants of the ruffle to the four quadrants of the t-shirt, it's time to pull on the strings from each end and gather up the fabric!
To keep the gathers in place while you adjust them, simply do a figure 8 wrap around a pin and now you can slide the gathers back and forth without losing them so the gathering is consistent.
I added two ruffles -- the deeper one is cut 6 1/2" and the shallower one is cut 3".  Once they were pinned to the lower edge of the t-shirt, I was ready to stitch everything together.  Getting them pinned in place takes the most time on this project.
Here they are, stitched on with my sewing machine.  To control all the ravels, I overcast all these layers together using the wider stitch on my serger.
Last step was a topstitch in contrasting yellow thread from the front to keep the ruffle from flipping up and a quick shake out. 
Here it is -- ready to wrap!!
Back to my knitting needles!!
 
Merry Christmas!!
 
Mary Huey


Friday, December 18, 2015

Little Gifts -- sometimes they are the best!!

This past week, my quilting gang met for our annual Christmas luncheon to celebrate another year of making quilts to donate to others!!  Since I'm the matriarch of the group (that just means I store all the stuff and set the schedule), I always give them a small token of appreciation. 
 
As I was pondering what I could make that was sweet and simple, I noticed my little thread catcher (given to me after a speaking engagement by a local quilt guild).  I wondered if I could find a tutorial for it and sure enough, a quick google led me straight to the source!
 
The best part of making something is digging through my fabric!!  And then I discovered that my Marti Michell 60 Degree Triangle Ruler (the large one) was just the right size!!
(If you can't find one of these locally, I have some in stock! Just e-mail me at maryhueyquilts@hotmail.com)
It didn't take long to get a stack of ten cut and ready to stitch up!
And I kept my chain-piecing going by stitching together another Glitter block!!
If you don't already know this trick -- it makes managing the opening so much easier.  See how I stitched in from the edge to the 1/4" seam, then around the triangle and off when it was time to end.
Those few extra stitches make it easier to turn the seam allowance into the opening so you can press it straight across without much effort!
Here's another tip -- after turning right sides out, I pull the seam to one side and crease it with my finger nail for most of it's length (can't get into the corners).
A wooden press from my paper-piecing supplies works well, too.  Now it's easier to press the seam right on the edge instead of fiddling your way into frustration trying to "roll" everything into place!
Once they were all turned and press and the final stitching done to sculpt the shape, they were ready for their buttons!!  Since I use my buttons for embellishment most of the time, I keep all of them sorted by color in cute jars on a shelf in the studio!
And here they are -- ready to party!!  I filled them with Hershey kisses and off we went!!
We've had a good year.  Together we've made 31 quilts to share.
Now we'll take a break until mid-January and start up again!
 
I'll wish you a Merry Christmas today -- I'm taking a break for the coming week to catch up with sock knitting for my crew!!  I hope we all get our gift stitching finished!!
 
Mary Huey


Tuesday, December 15, 2015

An Epic Finish!!

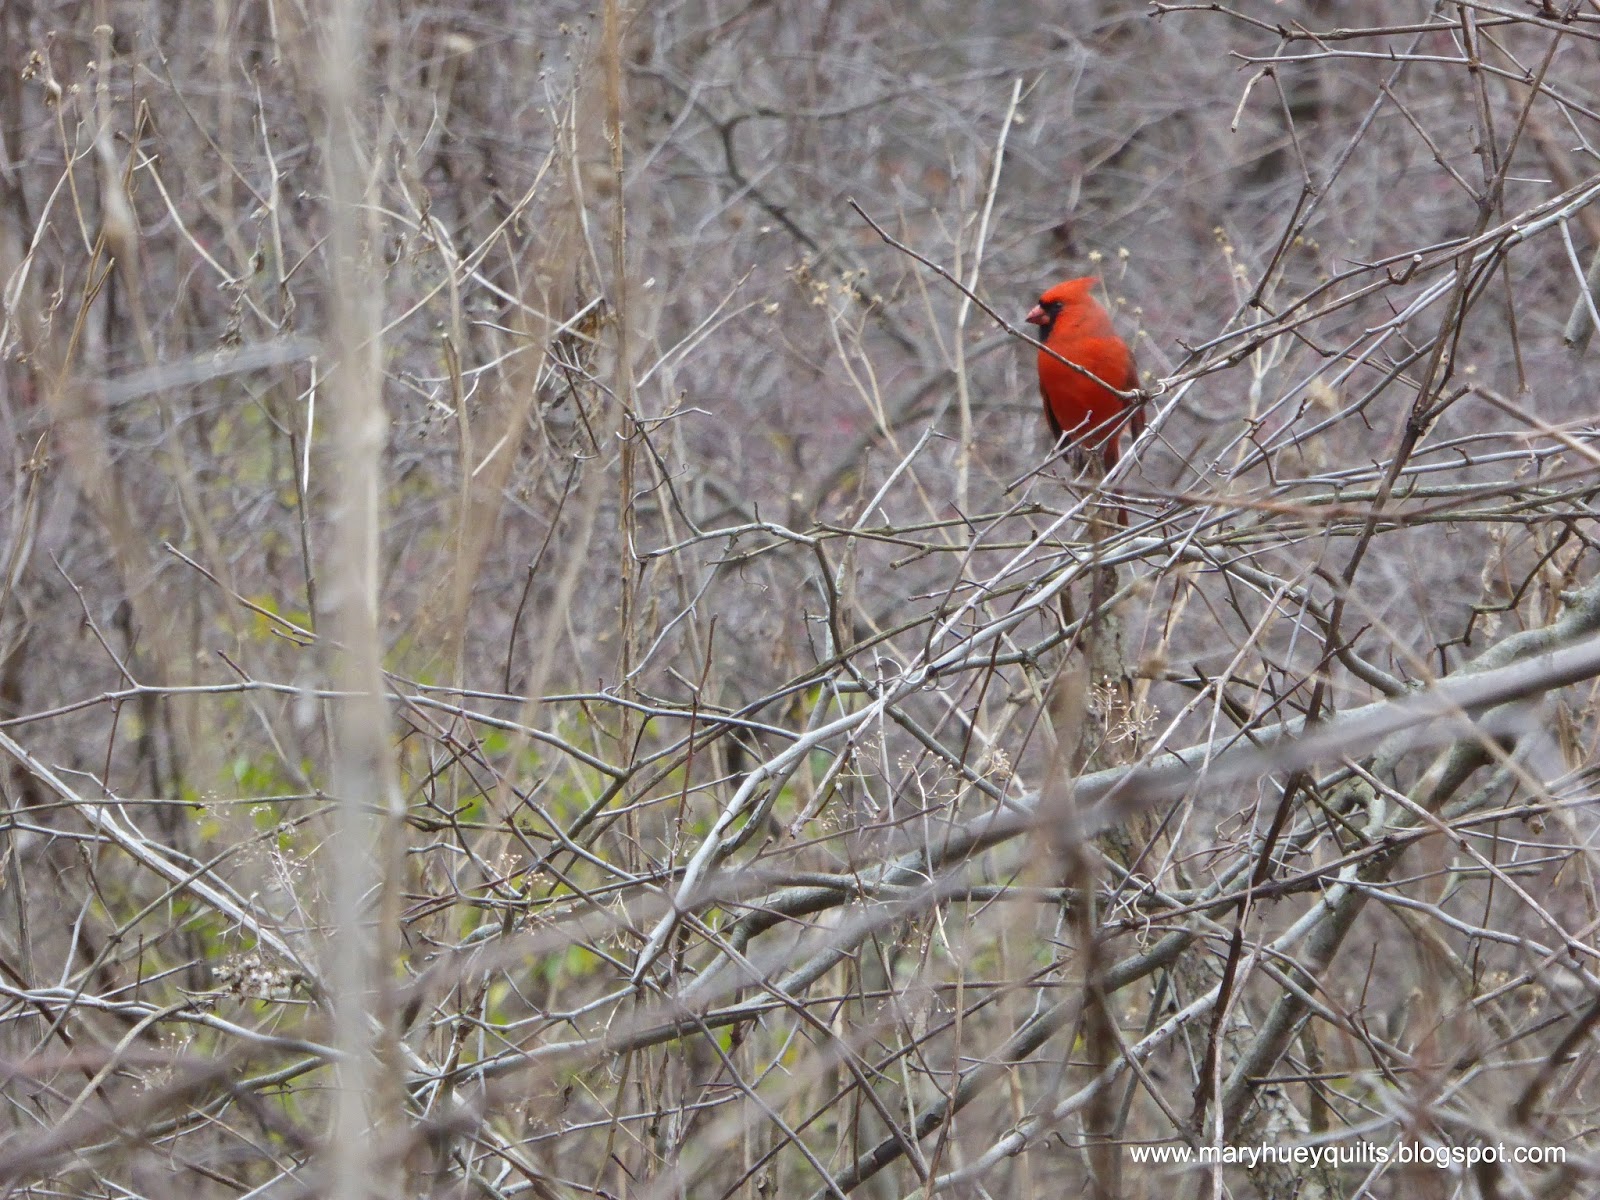
This is what winter looks like in Northeast Ohio -- not much color -- thank goodness for Cardinals!! 
After many years of lying about on my UFQ shelves, the Baltimore Album applique quilt which I started in 199? is finished and ready to pass onto my younger daughter!
It was mild here today (64 degrees - about 30 degrees above average) so I was able to grab a couple photos of it on the front porch.
I used Elly Sienkiewicz's first book, Baltimore Album Applique published in 1990 for the block patterns.  It was to be one of three completely hand pieced or appliqued quilts for my three children. 
 There were a group of us that worked on these blocks together and the only other one that I know was finished was my mother's.  I crashed and burned before getting all the blocks stitched for the original plan but after helping a family liquidate their mother's estate which included the most amazing set of Baltimore-style blocks, I was determined to finish these quilts!!
And I'm done!!  I've been hand quilting on this one off and on all year!  I used Quilter's Dream Wool batting which is easy to hand quilt and holds a nice loft.  I've kept the quilting simple so that I would get finished -- lots of straight lines and echo quilting.  A couple of the original blocks were eliminated -- either not finished or the color scheme didn't fit.  I balanced the layout by keeping the placement of the color and design styles symmetrical.
Now it's ready for a gentle washing (must do that since it's been in process for so long) and then it's off to it's permanent home at the end of December.
 
It's my only complete finish from my fourth quarter list of goals for the 2015 Finish Along over at On the Windy Side with Adrienne though progress was made on several others!  Maybe next quarter will be a bigger one for complete finishes!!
 
So good to have this goal completely achieved!!
 
Mary Huey