Saturday, June 6, 2015

Pillow Making is Time Consuming!!

I live on a street of front porches!  Most of the homes were built prior to WWII and just about every house has a porch that runs all the way across the front.  Many of us create a cozy living space where we can spend part of the day relaxing and visiting.  This year, I'm redoing the soft furnishings to coordinate with my fruit and veggie Tessellated Windmill quilt
For the past few days, I've been making new covers for the small pillows.   I started with my Alphabet Sampler pattern (now available in my Etsy Shop HERE) and made the largest size letters (7 1/2" tall).
 
The letters are easy to make.  I did "C" for carrots, "O" for onions, and "T" for tomatoes!
I had small amounts of each of the prints so had to do some creative stretching and adding to get panels the right size.
Since my APQS George is in rehab, I played with straight line walking foot quilting ideas on my Bernina.
It's hard to see what I did on the fronts so I took some photos of the backs to share. 
I used up some fabric from the "don't want it anymore" box
I outlined each letter so they stand out. 
You can tell this was the last one -- my "straight" lines are a bit wobbly. 
Once the quilting was finished, it was time to trim them to size and do the finishing!
Ugh!!  The finishing.  I don't enjoy making pillows covers.  It's the edges.  Ruffles are out of style these days which is fine with me, but a corded edge really gives a pillow a nice look.
Since I really wanted to be outside, I set up my satellite studio out on the back patio and stayed put until the job was finished.
I used 3/16" upholstery cording and bias cut 2" wide strips of fabric.
The zipper foot does a pretty good job for sewing right up against the edge of the cording though I think my older machine has a special foot for that.  Must remember to look! 
I use a longer stitch as this seam will be stitched a couple more times. 
And matching thread is a better choice in case the stitching shows in a few places on the finished pillow cover. 
Once the cording is covered, I trim the seam allowance down to approximately 1/4".  Then I baste the covered cording to the pillow front.
Rounding the corners is the easiest and I start clipping the seam allowance every 1/4" starting about 1" before the corner until I'm 1" past the corner. 
I do an overlapping join.  There is a couple inches of covered cording at the beginning that I did not stitch down.  I've trimmed it (the left side piece).  I stop stitching several inches before the end and at that point, I cut the end off a couple inches past the beginning. 
Now I pull loose the stitching until the cord is exposed. 
I trim just the cord flush with the beginning. 
Now I fold back at least 1/2" of the fabric. 
And insert the beginning of the covered cording into the folded back end so the two ends of the cord are nestled together. 
Finally, I tuck everything in place -- it usually takes some poking with the tip of my scissors.
 
And finishing stitching across to meet the beginning. 
Now I'm ready to add the backing piece, trim the corners, and turn it right side out.
There, that wasn't so bad and now I'm ready to clean the porch and get it set up this weekend for some summer relaxing!!
 
All the fabric came out of my stash -- I even completely wiped out a few pieces of fabric plus I can cross another goal off my second quarter list for 2015 Finish Along. 
 
Placemats are next!!
 
Mary Huey
 
Linking up over at PINK DOXIES PET PROJECT!
 
Linking up with all the other finishers at the


Tuesday, June 2, 2015

Coping with a Full Moon?

I will begin today with the news that I've shut down my website.  It's a step towards simplifying my life as I move further into retirement.  The decision has been months in the making.  These days, I prefer planning and writing for this blog to share my quilting knowledge and experience. 
I'll continue to teach piecing concentrating on set-in piecing and present lectures that reflect 40 years of experience as a quilt maker.  My teaching information now resides here on the blog -- see that tab up at the top of this page?
I won't be vending as often (boy, is that a lot of work) but I'll continue to stock Marti Michell's products and while I figure out my on-line presence to sell her products, just e-mail me at maryhueyquilts@hotmail.com with any requests you have.
For many years, I've focused much of my quilt making on what will appeal to others.  So moving forward, I'm going to narrow that focus and concentrate on what excites me.  I'll continue to intersperse my explorations of new ideas for quilts with tackling my shrinking quantity of UFO's!!
 
There that's said!
 
What amazed me about this process was that it was so simple to accomplish!  I really had myself primed for a lot of frustration with the process of getting the website closed and setting up forwarding to my blog.
Especially during a full moon week. 
I am very aware of the monthly reign of the full moon.  Perhaps it's because I had so many nurses for customers and students during my shop owner days who often regaled us with stories from the local ER when the full moon was exerting its pull on the world.
 
One of the things I hoped would happen with the advent of menopause in my life was that the "crazy irritable attitude state of mind" part of the month would disappear from my life.
It didn't and that was disappointing!!
Now I've decided the full moon is to blame!!
Several years ago, I began to develop a strategy for overriding some of the natural impact of the full moon on my body.
 
What brought this up you ask?  Crazy, weeping children in church on Sunday. 
As we talked about "why" they were so upset, we decided to blame it on the waxing of the full moon.
Here in the USA, it happens tonight, June 2.
 (I got up this morning thinking, is it the same date around the world?)
I might "google" that later!?!
 
So I was moved to share my "strategy" with a friend and as I revisited it, I thought it might prick the imagination of some of my quilting friends as well. 
Ready? 
Here goes.
 
1. Start the day with a walk (that could be any exercise actually, but walking is my preference).
2.  Don't eat junk food!  Now I try to follow that rule everyday, but during the ascent of the full moon, the agitation I experience often "compels" me to gobble down entire ________ (you fill in the blank) and then wondering why I did that?
3.  Be social with a favorite friend -- preferably someone who can make you laugh and smile -- she might just need a social break as well -- after all, the full moon shines down on all of us.
4.  Do something nice for someone else.  I've found that being a bit selfless is a mood booster.  My favorite is to take something from my kitchen to a harried friend.  Easily accomplished as everyone seems harried during the full moon!!
5.  Go to bed early or take a nap.  I consider both to be luxuries and indulging lifts my mood.
6.  Focus on finishing -- don't start new projects.  The point of this is to reap the good feeling that comes with completing a task instead of adding to the "burdens" list. 
7.  Keep the day's goals simple.  One of my talents is the ability to create overwhelming "to-do" lists, the kind that one can only complete if you have a staff to whom you can assign 2/3 of the tasks. When I limit the list to 4 or 5 tasks, a day's worth, and then focus on what I accomplished, not what I didn't get done, it works so much better.
 
One of my favorite primroses -- primula japonica
 
 So there it is.  It's a good list for my life -- some of it might help you but life is different for you so the list needs to fit you and your life.  Those of you who still have children at home will have different challenges.  Those of you who work for someone else may have less time to indulge yourself. 
I hope my list will motivate you to develop your own strategies for the crazy days -- full moon or otherwise?
 
Enjoy the full moon tonight!!
 
Now it's time for me to go for a walk.
 
Mary Huey


Sunday, May 31, 2015

Really Finished!!

After a setback on Thursday and a conversation with an APQS technician, I headed for the old Bernina and finished this quilt up today!!
I had started a wonky diamond cable on George when it jammed up.  The first time I did this border design, I was still working on my Bernina with the walking foot so it was easy to go back to that equipment and not get out-of-control about George being jammed up.
The longer I machine quilt, the more I realize that very highly skilled machine quilters (regardless of what type of machine they use) are much more particular souls than I am.  I piece because I love to do it but I quilt because I have to do it.
 
So at this point, I've taken an adaptive attitude -- since I don't have the patience (?) to deal with fine detail, my quilting style is improvisational and whimsical! 
 
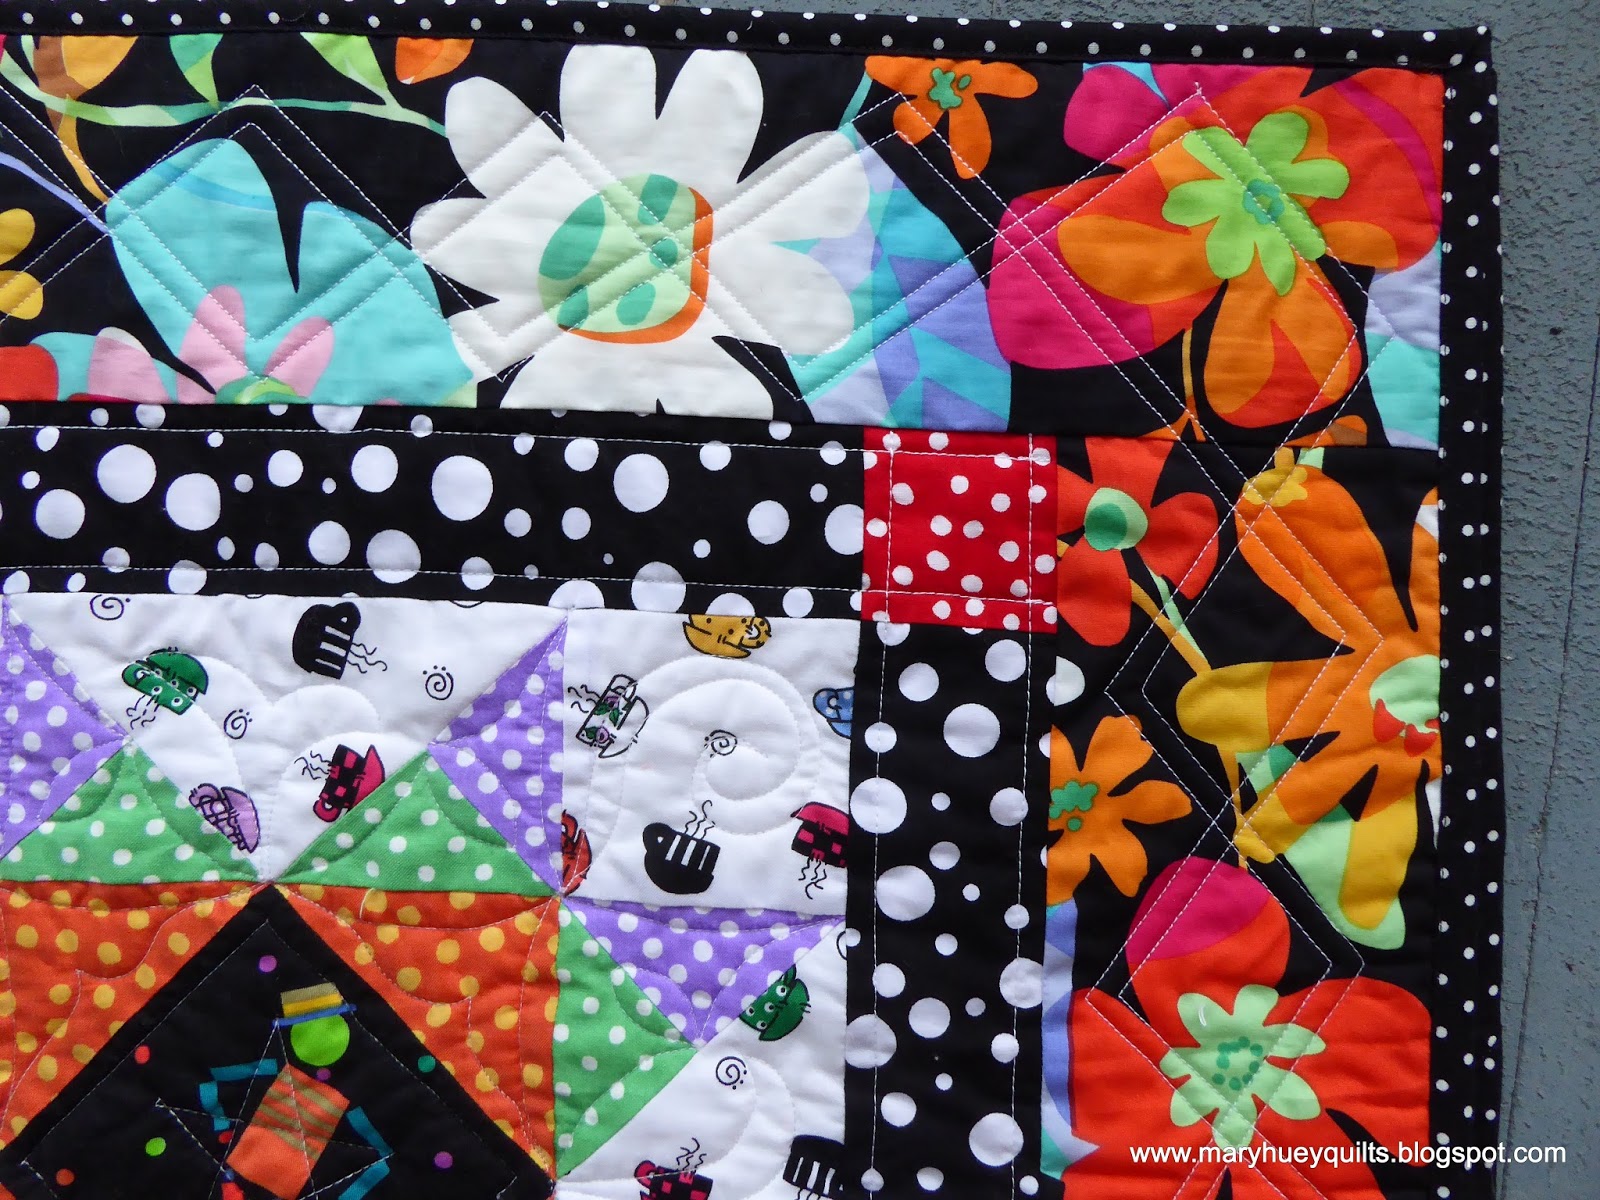
The wonky diamond cable!
I stitch across the border at an angle until I get within about 1" of the edge.
Pivot about 45 degrees more or less and head back across the border to the opposite side.
When I get to a corner, depending on where I land I execute a "box" in the corner or head directly across to the opposite edge.
I echo both lines to emphasize the diamonds.
It's a perfect border design for this assortment of fabrics -- just the right amount of whimsy!
As I was doing it this time, I thought it might be fun to add another pair of lines in a different thread color to make the design look like an argyle -- but that's for another quilt. 
I will sketch it out so I don't forget the idea and file it in my pile of quilting design inspirations.
 
Feels good to have another project crossed off the second quarter list for the 2015 Finish Along!!
Bring on the next deadline!!
 
Mary Huey
 
Linking up with all the other finishers at the


Friday, May 29, 2015

An Almost Finished Quilt

With the end of May starring me in the face and several still unfinished pieces on my second quarter list for the 2015 Finish-Along with Adrianne over at On the Windy Side, I've been focusing on quilting for the past week.  The goal has been to spend at least an hour every day hand quilting this masterpiece (hopefully, I'll be sharing it's finish by the end of June) and another hour machine quilting (there are four pieces in that queue?!). 
I'm happy to report that good progress is being made on both fronts . . . . well, it was good until last evening.  There I was moving smoothly through quilting the borders on my dotty sampler from Alison's QCQAL over at Little Bunny Quilts -- on the cusp of a finish!! 
 
WHAM!!  George stopped dead in his tracks.   The needle broke. 
 
I disassembled carefully looking for all the pieces of the needle (grateful for my days as a Bernina mechanic) and found the tip lodged in a very bad place.  Out of my depth!! 
So after I'm done writing today's post, I'll be talking to a technician at APQS. 
Grrrr.
 
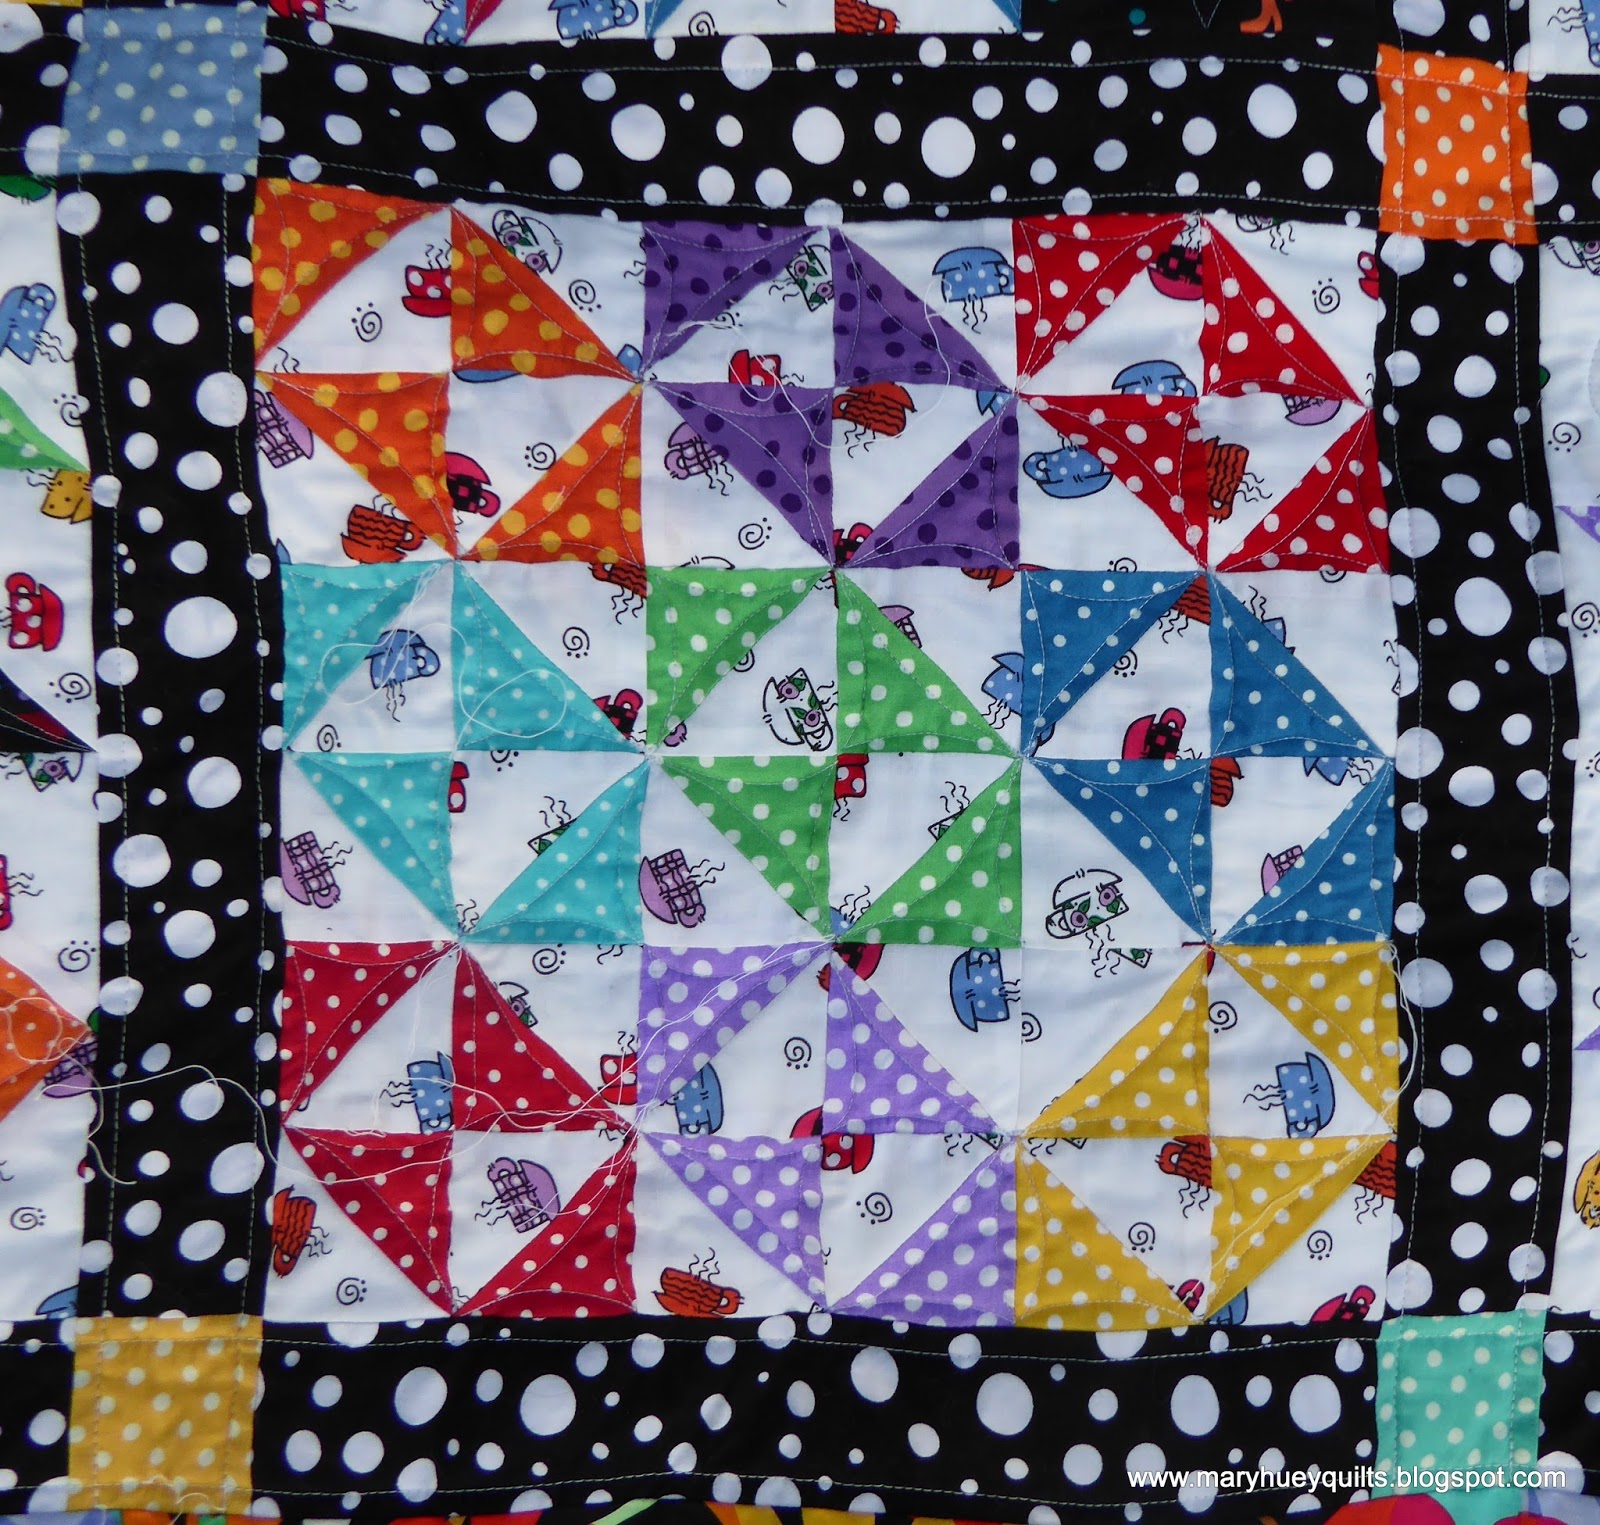
But I can still share with you what I planned for today.  I spread out the almost finished quilt on the lawn for some close-ups of my machine quilting experiments.  Warning -- there are threads exposed in the following pictures and if you find that offensive, I apologize.  Just needed to calm down and divert myself from the panic I was feeling. 
Continuous curve quilting is my happy place -- I've been using that "design" for years.
Sometimes I experiment with "line dancing" -- sometimes it works for me (visually) but most of the time I'm not crazy about the results.  This one is okay (apparently I didn't photograph the two blocks that didn't make me happy).
 At some point, since I wasn't totally satisfied with the results of my design efforts, I decided to experiment with some of the straight line ideas I find reading blogs and looking at Instagram.
I'm liking the results and with my straight ruler and the new ruler foot, it goes smoothly.  I need lots more practice on the balance of the spacing but that will come!
I like the results but I haven't completely figured out how to travel through the transitions and it feels like more starts and stops than I enjoy.   So I started to combine the continuous curve idea and the straight lines to help with that.  This block had one start point and one stop point!!  Yea!!  It also helps blend my experimenting in with the first four blocks I quilted. 
 I love "drawing" these crazy stars -- a little oops there, better the next time! 
This quilt is designated for donation and I use these quilts to accumulate machine quilting experience and to experiment with designs and ideas.  I prefer to quilt (rather than tie) these quilts so they are more durable (most of mine go to hard working underemployed or disabled people in Appalachia and my goal is that they will bring a useful element of beauty into their homes).  
And the quilt isn't as wobbly as it appears in this photo -- remember it's laying on the lawn.
 
Photographing and organizing my thoughts calmed me down.  I spent the rest of the evening burying the thread tails and I'll finish the border quilting today on my Bernina.  If I stay on task, the quilt will be finished this weekend and I'll share some pics early next week.
 
 I'll call APQS later this morning and get George fixed -- hopefully it will be painless for both of us!!
 
I hope you get to score a finish this weekend!!
 
Mary Huey 


Tuesday, May 26, 2015

Lovely Hexie Weekend

It was a long holiday weekend here in the USA -- Memorial Day and happily it coincided with the best stretch of pleasant weather we've had since last fall!!  When I wasn't weeding or planting, I was plopped here with a box of EPP hexies! 
The view is quite pleasant and there is just the perfect amount of shade.
And this weekend, the air was filled with the perfume of this very old fringe tree -- if I could keep one plant in bloom year round in my garden, this would be it!!
A week ago, I finished the last motif from Karen H's Value Proposition series that she led over at Faeries and Fibres  (www.faeriesandfibres.blogspot.com -- check out the Quilt Alongs tab) last year. They are 1" hexies and I'm doing EPP to assemble them.  It's very relaxing.
Now I have to add the background hexies around 5 or so and then the path hexies around 3 sides of most of the motifs.  I've organized the layout and numbered all the motifs so I don't have to figure that out again.
As is so often the case with me, I thought I had an inspiration about changing to a slightly darker background color for the fill-in hexies around the outside edges.   Not sure yet, ivory or the pinkish beige (which looks perfect with the fabric I'm using for the path).
But look at this beauty I found while searching for the extra background fabric -- it's the perfect border!!  Colors, style, everything!!  Wahoo!! 
But that wasn't the only hexie-piecing going on here!!  I have another big traditional reproduction hexie quilt going, but I'm doing it by machine using the chain-piecing technique I teach.  It's been hogging the workwall in my studio for a couple months.  It's time for it to move along and so I'm adding dozens of ivory background hexies and merging the units together.  I only have 21 hexies to stitch in place!!
The two missing segments along the lower edge spent the afternoon at the machine with me. If I work on two of them at a time, the chain-piecing rhythm works perfectly!  I was wondering how many 1" seams I've stitched on this piece but I'll leave that for a more focused person to figure out.  I'm using Marti Michell's new 1" Hexagon Set which is three templates from Set G -- a hexagon, diamond, and equilateral triangle.
In the DVD, Set-In Piecing Simplified, I suggest learning the technique by piecing a tumbling block quilt but you can start with any y-seam design.  I don't suggest learning the technique on 1" hexies -- 2" would be a better place to begin, but once you're comfortable with the process, any size is manageable.
 I leave the pressing go since it seems easier to keep the adjacent seams out of the way when doing a y-seam.  So I spent some time beginning at the center of the big star motif and pressing, pressing, pressing.  This is going to be time-consuming!!  I'll work my way out to the final row of the star and then using that as a starting point as I add the other motifs.  Won't the back look nice when it's all pressed -- so symmetrical?!?
As I flip the calendar to the coming week, I'm happy to see very little on my schedule -- more time for hexies!! 
 
As I flip back through to edit this evening's essay, I realize that every fabric I used in both of these projects came from my stash -- I have an awesome stash!!
 
Hope your week is off to a good beginning!!
 
Mary Huey


Friday, May 22, 2015

A UFO Assault!!

At the beginning of the year, I decided to participate in APQ's challenge to finish 12 UFO's during 2015 -- or at least deal with them?  I have a list of 12 oldies on the back of the studio door and this month's lucky number was 12 -- a very old scrappy Lone Star made in the early 90's using The New Lone Star Handbook by Blanche and Helen Young.  This mother/daughter duo pioneered strip piecing techniques for old standards like Trip Around the World and Lone Star.   
It was a teaching sample and the only reason I still have it (besides that it isn't finished) is that a good friend asked if she could have it when I was finished using it as a teaching sample.  I've been finished teaching with it for quite some time and everytime I come across it, I think, "this is nice, I should finish it and give it to here!"  Then I carefully fold it up and put it back on the shelf.
 
It's 44" square and a bit small for a lap quilt which I think will be more useful to my friend at this point in her life.  So do I have any fabric that I used in it or that will work with it still in my stash?
Not much but it will have to do.  Some are in the quilt top and others date from that era and are compatible.
 
Now how to I make the quilt slightly longer?
First I auditioned the idea of small stars (using some from another UFO) -- no, I didn't like the way it pulled my eye away from the central star. 
I used a row of leftover diamonds on an 8-pointed star quilt several years ago and liked that look but it needs to go all the way around and that didn't help me create a rectangular quilt. 
The winner of the auditioning process (over a period of several days) is this zigzag of diamonds -- it compliments the center star visually.  It will elongate the quilt by about 11".  And it will be easy to cut and piece. 
 I don't have the book anymore, so resorted to measuring the original diamonds -- they were cut from 2 1/4" strips.  I have a diamond template from Marti Michell's 2 1/2" Stripper Set that will be close to the same size and when paired with template B11, all the pieces can be cut from 2 1/2" strips, trimmed and "dotted" for easy assembly using the chain piecing technique featured in Set-In Piecing Simplified. 
(There's a button to buy a copy of the DVD up to the right side of the blog!)
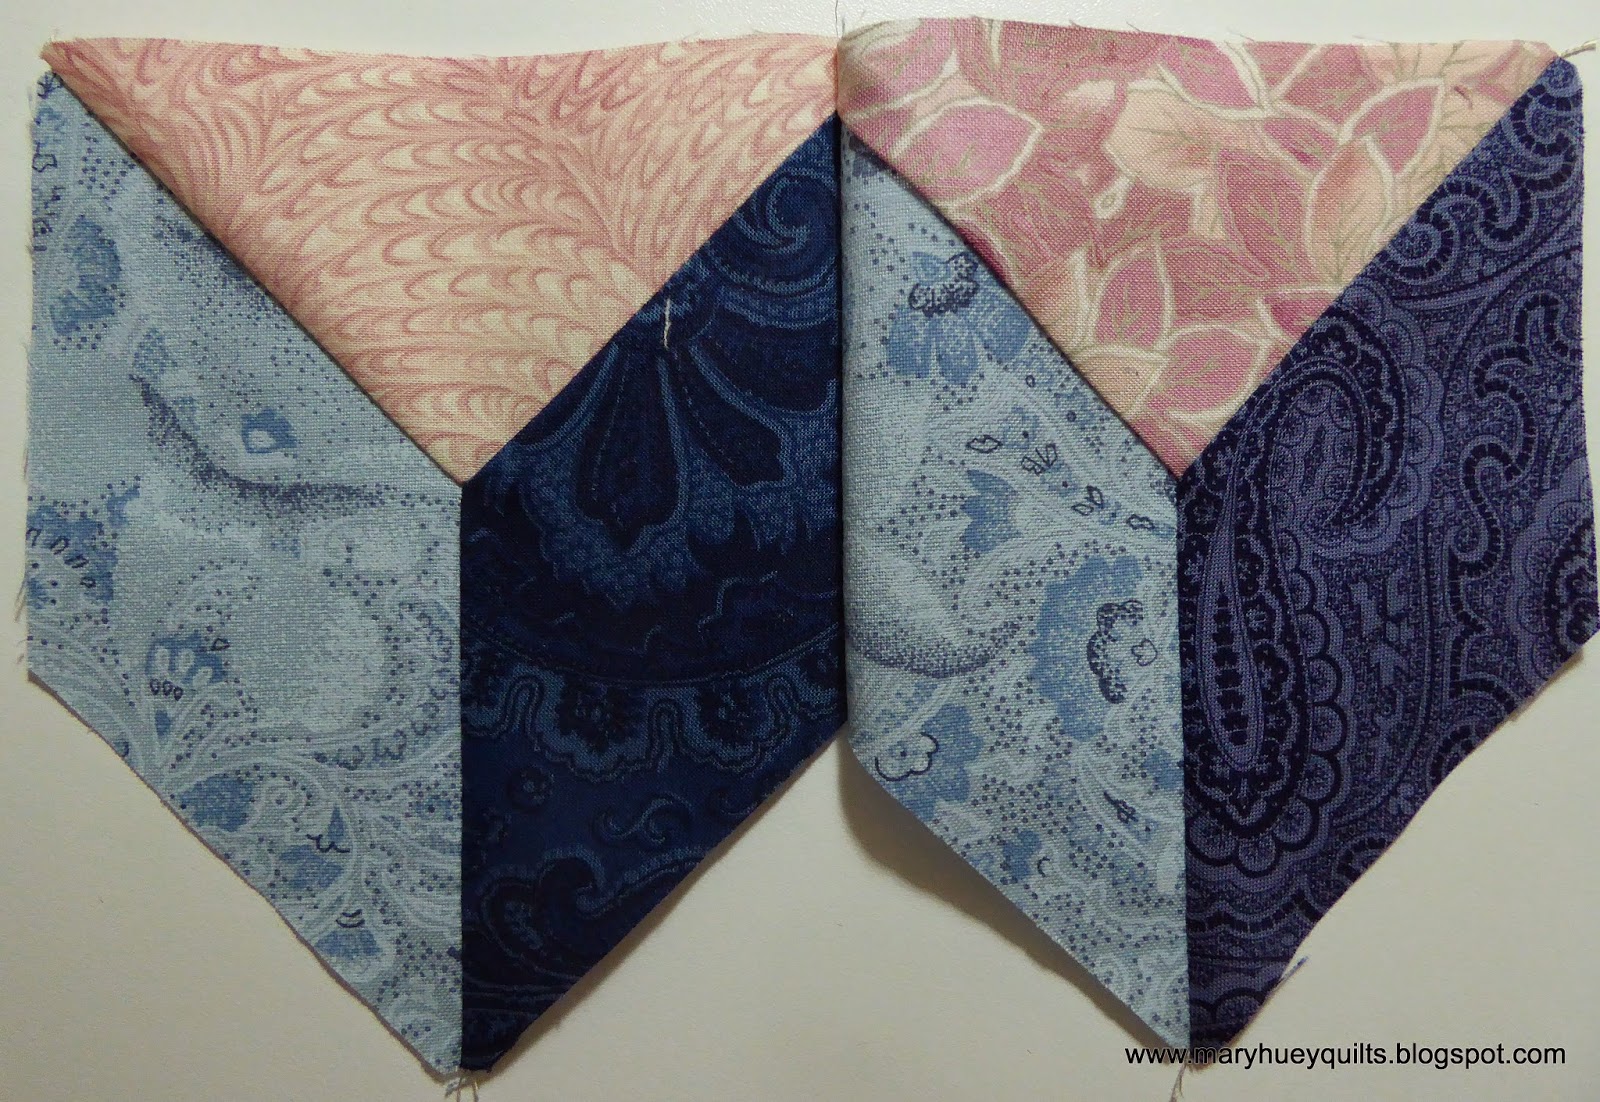
After some sorting and organizing of the fabrics, it only took a couple hours to piece the starting segments and get them into two borders.  The segments go together the same way that is demonstrated for a tumbling block in the DVD.
If you've worked with the technique, remember not to press the seams until the basic units are pieced!  It helps with the set-in part if the seam can be easily flipped out of the way and once it's pressed, that isn't the case.  
Another sort and I was ready to pair up the units. 
It was easier to add the bottom pink triangles at this point. 
Then put together pairs again and add the triangles until I had two borders of 11 units each.  The math was a rough approximation -- I measured the "finished" width of one of the 3-piece units (4") and divided that into the size of the top (44").  The borders are a bit longer but rather than agonize over the exact math, I'll modify each end of the border (whack it off) when I get to that point.
 
I like it!!  What do you think?  It was easier to assemble than expected (that always thrilling!!) and it doesn't draw my eye away from the center.  Now I am auditioning old fabrics for an outer border. 
While I like the lightest one with the border, it doesn't do anything for the quilt.  I left them simmering on the work wall and when I return to the studio this weekend, the first thing I'll see is this. 
I hope my brain will yell out the better choice (it's leaning towards the lower right print) and I can finish the top and organize the backing! 
 
If I had finished the quilt 20+ years ago, I might have made different choices but today my choices are limited.  Fabric from the 80's and 90's looks dated at this point and maintaining the integrity of a piece was my challenge. 
 
 The key for me is to audition, audition, audition until it "feels" right.  I pull out anything that has the colors without regard to value or style.  Then I let my brain eliminate pieces naturally and visually.  The fabric I'm leaning towards is quite odd and not as pretty as the upper right one, but it plays better with the fabrics in the star.  It also helps me to let fabric decisions simmer and not push too hard.  The answer always presents itself.
 
It will be great to have this quilt off the UFO shelf -- it's a lovely quilt and I remember being thrilled with it when I finished it.  I wonder if my friend will remember she expressed a desire to have it?
 
Enjoy your friends and family this weekend!!
 
Mary Huey