Not a very catchy title for a quick tutorial, but it says what it's about.
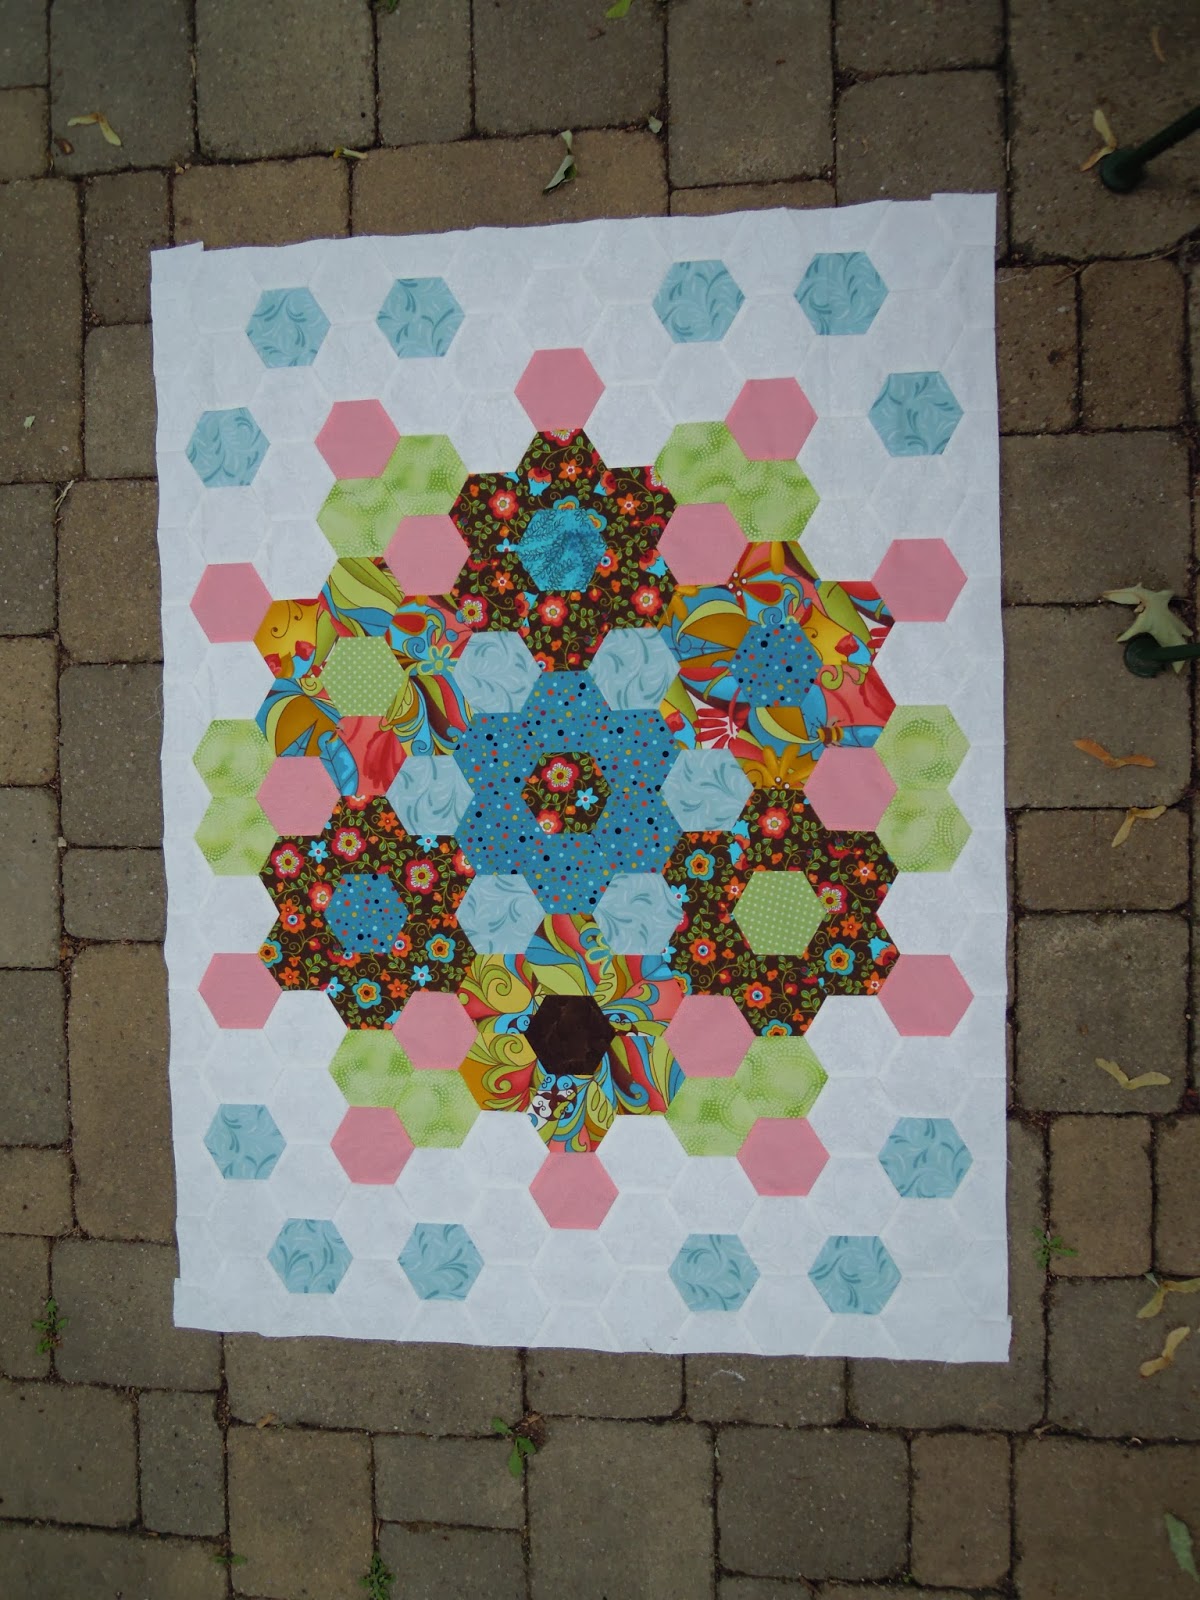
During my annual January retreat with a loyal group of students, I finished this table topper which I use in my Hexagon Seminar. Several of the gals asked me to post my method, so here it is.

The crazy string pieced hexagons are BIG -- I pieced them onto some "ugly" fabric and then used Marti Michell's Hexagon Ruler to trim them to size (the biggest -- 4 1/2" on each side).

Once I set them into a "grandmother's flower garden" motif, it sat unfinished for a year while I contemplated how to back it and not have to bind it. In the end, I opted for an adaptation of a pillow-back.
To begin, I cut a piece of fabric larger than the topper. I sliced it in half and then seamed it back together as you can see. This technique is from back in the days of inserting zippers in garments. I used a regular length stitch about 25% of the way down the seam, backstitched, and then lengthened the stitch out to my longest basting stitch for about 10", then back to a normal stitch starting with a backstitch and continuing to the end. The seam is pressed open.

The topper was centered on the backing, right sides facing and I stitched around the entire piece. I don't put batting into table toppers and placemats -- I prefer a flatter piece (so the wine glasses don't tip over so easily). This piece was pretty thick already but when I feel I need an interlining to add body to a table piece, I use flannel which I've washed and dried a couple times.

It's easy to trim around the shape with scissors. I clipped each inside corner and trimmed the outside corners to reduce the bulk.

The next step is to remove the basting stitches in the center part of the backing seam and turn it right side out.


Be sure to gently push all the corners out for a crisp finish but not with the ripper. Yes, it's handy but the point will poke through the corner and you'll be cross.

Because the seam of the backing was pressed open, there is no struggle to get the edges of the opening turned under smoothly. It's a simple matter to hand stitch the opening closed. I would rather do this than use an opening in the outer edge seam.

I secured the edges using the triple-straight stitch on my machine which gives a heavy line of stitching that is attractive. (You can see it along the left side on the first photo.) On this piece, I also stitched "in the ditch" around the center hexagon to make sure the layers don't shift if I need to launder it in the future.

All finished and once again I've proven that it usually takes longer to begin than it did to finish. I should make another one?!?
I hope you can use this technique to finish one of your UFO's this week!
Mary Huey