Wednesday, November 29, 2017

Experimenting with Set-In Piecing Simplified

Have you discovered Jodi of Tales Of Cloth in Australia on Instagram?
She and her husband cut and sell precut pieces for English paper piecing and she is very creative!
Her Instagram name is @talesofcloth and you can browse their website HERE.

For the past year, she's offered a monthly program for a block she named Ice Cream Soda.  It's perfect for fussy cutting and dozens of stitchers have been posting their blocks -- check it out for yourself and search the hashtag #icecreamsodaquilt -- there are 3277 posts!?!

So I thought I'd give machine piecing it a whirl!
Inspired by everyone's fussy cutting I cut into this hoarded piece of Charley Harper's sandpiper fabric -- perfect.  I have a sacred stash of "landscape" fabrics that offered several possibilities.
The pieces were easy to cut using Marti Michell's Set G and 2" Kite and Crown set.
The first step is to fiddle around with the pieces to determine the best piecing order.
This step is such a valuable skill -- learned it from Mary Ellen Hopkins years ago!!
I often begin with a unit of three pieces -- it's usually a good starting point!
As I've said before, I get more accurate centers when machine piecing for 6-pointed stars by working in thirds.
If you are new to my blog, I chain piece through y-seams -- that's what Set-In Piecing Simplified is all about!!  Click on the picture of my face up there on the right to read about the teaching guide I see on Etsy!
So far so good!!
Then things began to unravel a bit -- because the y-seam intersection has four seams coming into it, it was more challenging.  That made stopping in the right place more challenging and took some of the fun out it for me.  It was days before I got the block completely assembled.
It looks good here, but the effort to assemble it was frustrating and I still need to add some little diamonds to finish off this experiment.
I came and went from it so many times, that I mixed up two of the bird pieces and lost the symmetry of their direction (go back up and look at the beginning layout).
Do I go back and fix it??
Conclusion -- this block will be easier and more enjoyable to paper piece!!
So after the first of the year, I'll be ordering the papers so I can be part of the fun on Instagram, too!!

There's another experiment on the cutting wall!
The inspiration is from an excellent EPP tutorial by blogger Aylin that she wrote for the Finish-A-Long 2013.  She called the pattern Ferris Wheel.
You can read it HERE.
The cutting is plodding along and with Christmas gift deadlines, I won't have time to experiment with the stitching until the New Year.  It could be another fail but we'll see??

If you follow me on Instagram, I just reached 600 followers over there and have a GIVEAWAY posted -- closes Friday morning, 12/1 at 8 a.m. EST.

Keep stitching!!
Mary


Thursday, November 16, 2017

Big Finish!!

Two weeks ago, I decided to finish up my grands' Jolly Little Christmas sampler quilts and hand them off to their mother this weekend to save on mailing.  The quilts are their BIG present from Grandma this year but I wanted them to be able to enjoy the quilts throughout December!!
By keeping the quilting simple and staying focused I was able to have the quilting finished in a week!?!  I used long vertical wavy lines with snowflakes inserted randomly.
Lori Kennedy's Snowflake tutorial was the inspiration -- check it out HERE
To have them ready in spite of being on the road for six days, I cut the bindings and packed the trimmed quilts and my machine in the car. 
As good luck would have it, the hotel on my free evening had a desk that was perfect to get the job done and enjoy another episode of Vera (my current English crime favorite). 
I returned home yesterday afternoon and after putting away the stack of quilts from my lecture for the National Road Quilt Guild in St. Clairsville, Ohio -- I was ready to wash and dry the newly finished quilts so they are ready to wrap and hand off this weekend! 
I always wash quilts before giving them away.  My go to settings are lots of cold water on gentle cycle with an extra rinse.
I have used Quilt Soap for over 30 years and it always does the job well!  It's gentle, pure, and rinses out completely.  It's also very concentrated, so a little goes a long way.
Thankfully, I noticed this little bleed mark when I was binding the quilts.
That meant, add ColorCatcher sheets.  The box says two but I put in three just in case.
Then I had to find something to do so I could hear the washing machine when it finished -- it doesn't do to leave wet quilts laying in the machine when you are trying to control bleeding.
Glad I did that!!
Look what's down there at the bottom of the machine!?! 
Pink!!
I ran each quilt through another rinse just to be sure all the renegade red was out. 
Fifteen minutes in the dryer on low and then I hung them outside to take advantage of today's breeze to finish the job!
My grandson's version has a male cardinal and the moose.  I used green for the cornerstones and the binding.
The backing is so cute and so perfect for this kid who loves to be outdoors.
He doesn't have a red pickup yet (he's only 9) but I wouldn't be surprised if there's one in his future. 
My granddaughter's quilt has a female cardinal and the reindeer block.  I used red for the cornerstones and the binding. 
The backing is a beautiful print of pine boughs from Hoffman Fabrics that I have been hoarding for years! 
I signed both quilts, dated them, and quilted the kids names into them.
I used Quilter's Dream Machine Blend batting and a silvery gray Isacord rayon thread left over from my machine embroidery days.  
You can find the patterns for these blocks and a few more over at Sew Fresh Quilts!

So two BIG presents done and two finishes from my fourth quarter 2017 Finish A Long list!!
What's next?!?
If you follow @52quilters on Instagram, I'm next week's host!!
Lots of y-seam fun stuff planned!!

Enjoy the weekend!
Mary


Wednesday, November 8, 2017

Taking a few days off . . . .

. . . . . . because I was 15 minutes (and six days?) early for my doctor's appointment this morning and then I didn't show up for a work session (that I scheduled) for my quilting group?!?  I'm off for a long weekend to see the grands and do some family history research, so I'll be back at the blogging in a week (or so). 

In the meantime, here's pictures from a walk yesterday to show you some of the fall foliage inspiration here in Northeast Ohio!!

I might miss the big leaf drop -- almost every leaf is now yellow and we are waiting for the first frost that will bring all of them down.  Looking up into the woods nearby (mostly maple and beech), the foliage is thinning.
The ground is covered with yellow leaves that quickly turn brown and the occasional red maple leaf lays on top of the layer like an accent.
The acorn crop is plentiful this year and the squirrels can't seem to eat or bury all of them.
The mitten-shaped sassafras leaves are among the most colorful but it also looks like they are delicious -- look at all those little holes -- must remember to look up what caterpillars eat them!
The only green left on the forest floor are the evergreen Christmas ferns which will soon be peeking up through a layer of snow.
The trail ends at the top of a crumbling bluff and one can survey the river valley 50 feet below.
The panorama of rust and gold sparkles in the sporadic afternoon sunshine.
The stately sycamores have already lost most of their leaves and they look like ghost trees.
One of the parts of a season with no leaves that I love is being able to see the architecture of the woods -- stately trees such as these that are hidden from view by summer's leaves.
It will be dark soon so time to go home and stitch something.
As I walk back to my car, I stop to look for the source of the soft tapping I can hear overhead.
There he is -- a handsome male pileated woodpecker!
We've lost lots of trees in our woodlands to invasive insects and diseases and it makes me sad. 
But I have to celebrate the expansion of these magnificent woodpeckers who benefit from all the dead trees.

Have a pleasant weekend -- soak up the changing seasons and do some stitching!!

Mary


Friday, November 3, 2017

Winter Workshop Preparations`

Last week, I got a reminder from the Lake Farmparks Quilt Show coordinator that it was time to submit a supply list for my February workshop and then the brochure arrived for this winter's classes.  Time to drop everything and organize some more for this workshop.  Registration begins on November 13, so there is time to consult your calendar and make plans!  I hope you'll consider joining me to start your own version of Lorena Uriarte's Opal Essence!

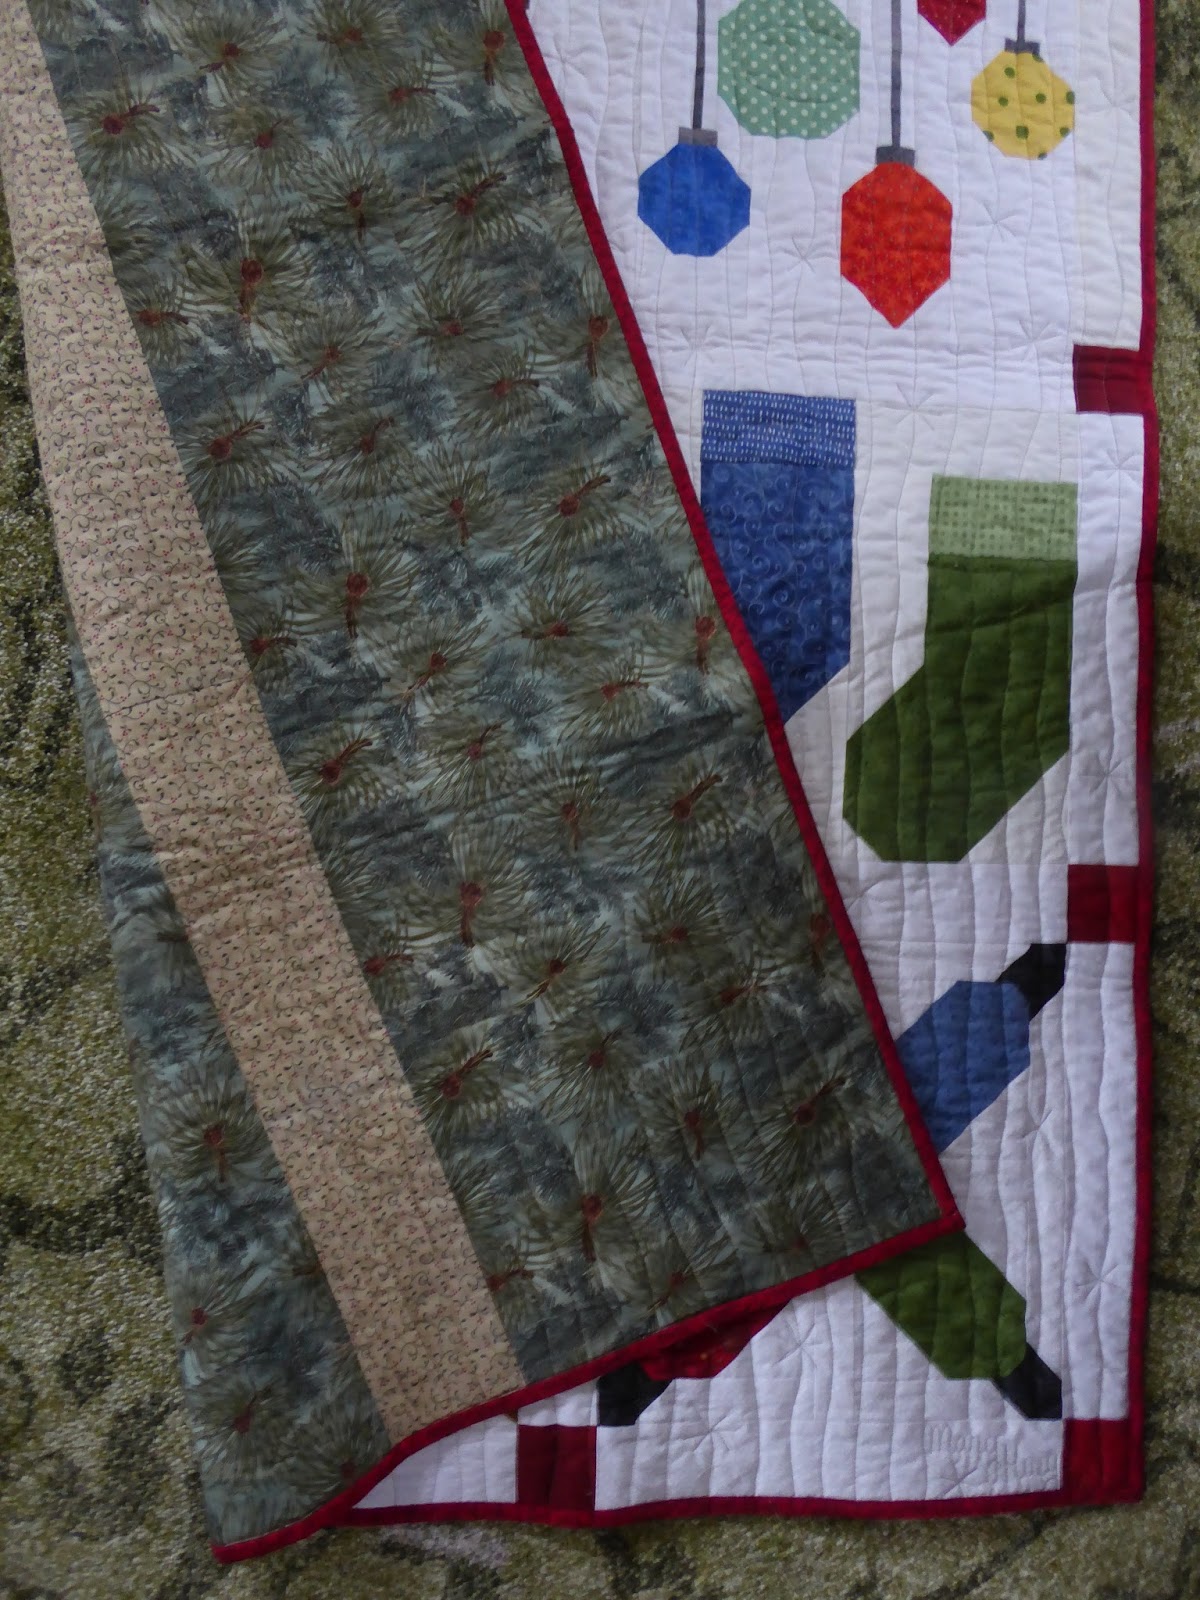
My first contact with the pattern was via Instagram when it was first released in Desert to Sea, a compilation of original quilt patterns from 10 Australian designers.  I ordered the book as soon as it was available and have leisurely been making blocks.  This week, I pushed my dodecagon blocks to one side of the design wall and put up the large scale tumbling blocks for Opal Essence!  Lorena made the pattern available this past year as a digital download -- you can order your copy HERE .
I was so inspired by Lorena's color scheme that I'm using it, but there are other possibilities in my head!  At this point, I've decided to make a large lap size quilt using 15 blocks (though it might get larger). With an eye to "what colors are missing", I prepped another stack of pieces yesterday.
Last year when I was re-organizing the studio (again), I set up a hand stitching area with a much loved wooden rocker that fits me perfectly by a window overlooking a little wild area of my yard.
However, since I do most of my hand stitching in the evening in front of television, I have rarely used this cozy corner.  Yesterday, I changed that and spent a happy hour doing the hand applique and enjoying the sounds of a warm fall day. 
Adding the arcs to the diamonds can be machine pieced, but I have decided to ease myself back into hand applique (big project waiting on the "to-do" shelf) so this project is a good preparation.  I'm doing needle-turned applique.  I baste the arcs in position and finger pinch the line before I begin to stitch.
Lorena uses freezer paper templates to prepare her appliques and describes it on her blog HERE
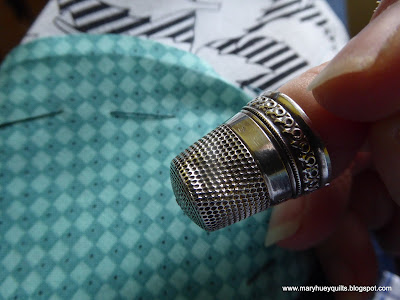
A thimble is a must use tool for me -- I hear lots of protests about the awkwardness of a thimble from new hand stitchers but after pushing the eye end of a needle into my finger many, many years ago, it only took me about 3 weeks of daily practice to fall in love with thimbles!
This is my favorite and it belonged to my husband's grandmother!
I am listening to a book on tape, but I'm not loving the reader of this one, so after about 30 minutes I'm ready to take a break.  I was glad that the weather was warm enough to have the window open and enjoy the sounds of the foraging birds below the window. 
Once the hand stitching is complete, I remove the basting thread and cut out the diamond behind the applique. 
I recently invested in this collection of MasterPiece thread and this is the first time I've used it for applique -- love it!!
No matter what color the fabric is, there is a color in here that will blend nicely. 
Once the applique is finished it takes about two minutes to stitch the block together and of course, I'm applying my "set-in piecing simplified" technique at this point!
Chain-piecing for the quickest most secure assembly of y-seams!
Order my new downloadable version of SET-IN PIECING SIMPLIFIED from my Etsy Shop.
Making a few blocks at a time and adding them to the mix is the best way to maintain color balance.  I've seen other color palettes on Instagram and have an idea in my head to work with a collection of green, aqua, and blue backgrounds with yellow and orange arcs.
You can explore Lorena's students' work on Instagram by searching the hashtag - #opalessencequilt -and I will continue to share my color experiments here on the blog.
I just need one more block and then I can begin to cut the fill-ins for the outer edges.
I'll look at it over the weekend and decide if the size is good before I start the final assembly.
The surprising aspect of this quilt is how easy the block is to construct. 
The scale of the blocks is large so the quilt is coming together faster than I expected!
(Look back up at the picture of the block with my hand on it.)
My Opal Essence Workshop is two days (Friday, 2/16/18 and Saturday 2/17/18 from 9:30 to 4:30) at Lake Metroparks Farmpark during the annual show, Quilts 2018.
The fee is $125 plus you will need to purchase the pattern from Lorena ($12 Australian which is about $9 US).  (If you are looking at the workshop booklet, ordering the pattern yourself is a change since the descriptions were written this summer.) 
 I advocate shopping in your stash for the majority of the fabrics but have determined that one can cut six large diamonds from a fat quarter so thinking some swapping could happen during the workshop to help everyone expand their range of backgrounds.

The website for the show is live so you can review it HERE and has all the information including an entry form if you'd like to show off a quilt, but registration doesn't open until 11/13/2017.
If you live in Northeast Ohio or Western Pennsylvania -- this show is accessible.
For those farther away, I'd be glad to help you find accommodation locally.

Since yesterday might have been our last pleasant day before winter, I headed to the closest woods once I was satisfied with the day's stitching progress.  I often feel a little guilty about these escapes but that evaporated quickly when the first sight waiting for me was this young red-tailed hawk!
I think he was trying to catch a squirrel but the squirrel was too feisty (this time).
We watched one another for about 10 minutes and I hope we'll meet again during the course of the winter.
I hope your weekend includes time with the world around you!!
I'm anticipating the "big leaf drop" any day now and want to be out in it!!
Think yellow leaves falling all around you while scuffling down a trail!

Mary