Last summer, my youngest daughter requested a "simple" quilt in muted greens for their redecorated guest room bed. "Muted" isn't my comfort zone so it's taken longer to get a fabric assortment pulled that fulfills that requirement.
To carry out the "simple" theme, I chose to make a Giant Rick Rack quilt using Marti Michell's Flying Geese ruler. It's a multi-size tool that I've used many times and I've made some delightful pieces with it like this batik laprobe.
The graphic element of this design is perfect for "simple".
Here are a couple pictures to illustrate how the ruler is used -- there is no waste! The first cut is a standard half square triangle. If you are making basic flying geese units, these will be the "background" smaller triangles. The ruler is designed so you can cut both size triangles using one tool. For the Giant Rick Rack, these smaller triangles will be used at the ends of the rows.
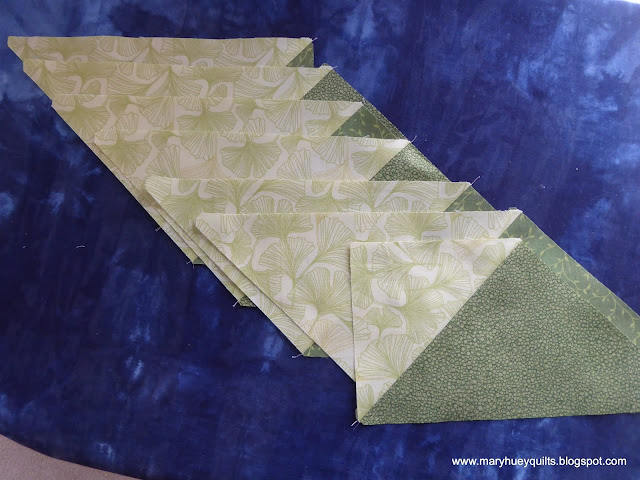
I needed fourteen of the large triangles cut from strips with the straight grain on the longest edges as illustrated. Five sizes can be cut with this tool and I used the second largest.
Before moving onto the next cut, I pull the corner of the tool up to match the corner of the triangle and trim that off -- very important step as you will see.
In this picture, you can see both the trimmed and untrimmed triangles.
Once all twenty-some fabrics were cut, I played with the order of them on my work wall (for about two days). My goal was to minimize strong contrasts so there was lots of shifting around to achieve that. I avoided setting the lightest prints next to the darkest prints choosing instead to gradate the values (light to medium to dark). It's not a very exciting picture but a very necessary step!
The design is pieced in rows and I begin by assembling pairs.
This is where the trimmed corners simplify the process of matching the triangles perfectly.
You may feel confident about "eyeballing" but these trimmed corners speed up the alignment process and assure straight rows. Nothing goes askew!!
Once the rows are assembled, it's time to stitch them together and I have a tip to help with that.
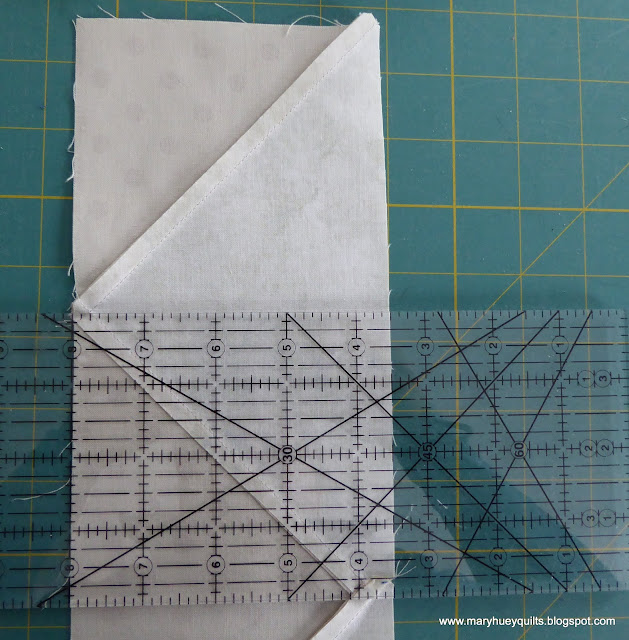
Working with a basic ruler, line up one edge with the intersection of the seams at the point on the triangles. Align one of the ruler's perpendicular lines with the opposite raw edge of the triangle (on the right in this picture). Make a pencil mark at the right edge.
Now when you pin the rows together, you can match the pencil line to the point of the triangle on the row underneath.
This assures you that the points of the zig zag rows will be level as you look across the quilt.
At this point, I have the rows set together into three sections of six rows ready to quilt.
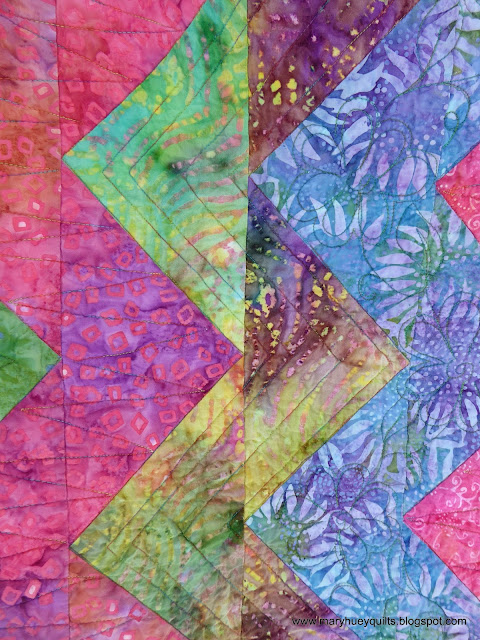
Once the Aurifil 40 wt thread arrives, I'll quilt each section and then do the final assembly and binding. I plan to use some of the ideas from that bright quilt for the quilting designs!
If you live near a shop that sells Marti Michell's tools, ask about the Flying Geese Ruler and see if they carry her pattern, Zig Zag Geese which includes this and four other projects.
Let's all spend the weekend stitching!!
Mary Huey


Thanks for sharing your tutorial to make flying geese! Barbora
ReplyDeleteHi Mary,
ReplyDeletethis is a beautiful quilt. Your workshops listed on your bar, look really interesting.
This is going to be a very nice quilt! I laughed out loud while looking at your fabrics. I have a number of those in my stash. Perhaps this is the kick in the a** to get busy and use them. :-) Thanks for sharing the tip about lining up the rows. I'll have to remember that.
ReplyDeleteI really like the muted greens, even if 'muted' is not your style! :)
ReplyDelete