Have you succumbed to the Morris Hexathon?

Yesterday, Barbara Brackman wrote a very interesting piece on her BLOG (HERE) about the fussy cutting one of her followers is doing for the Morris Hexathon blocks plus sharing insights about the unifying aspects of Morris' designs.
Earlier this week, I spent an afternoon getting caught up with my versions of the first five blocks. I had to rework a couple of them because I was having some (self-inflicted) size consistency issues. By the end of the afternoon, I had all five blocks pieced and on the design wall so I'm ready for #6 this Saturday.
There are two reasons I'm having size issues. The first stems from my wanting to machine piece the blocks using my Marti Michell templates (Sets G, H, and N) instead of making templates. The second issue is because I am technically challenged and can't understand the instructions for copying/translating/enlarging the patterns from the blog post to a printable file. So I am printing out the patterns at the size they "copy-and-paste" from the blog post which is 3" finished rather than the 4" intended size.
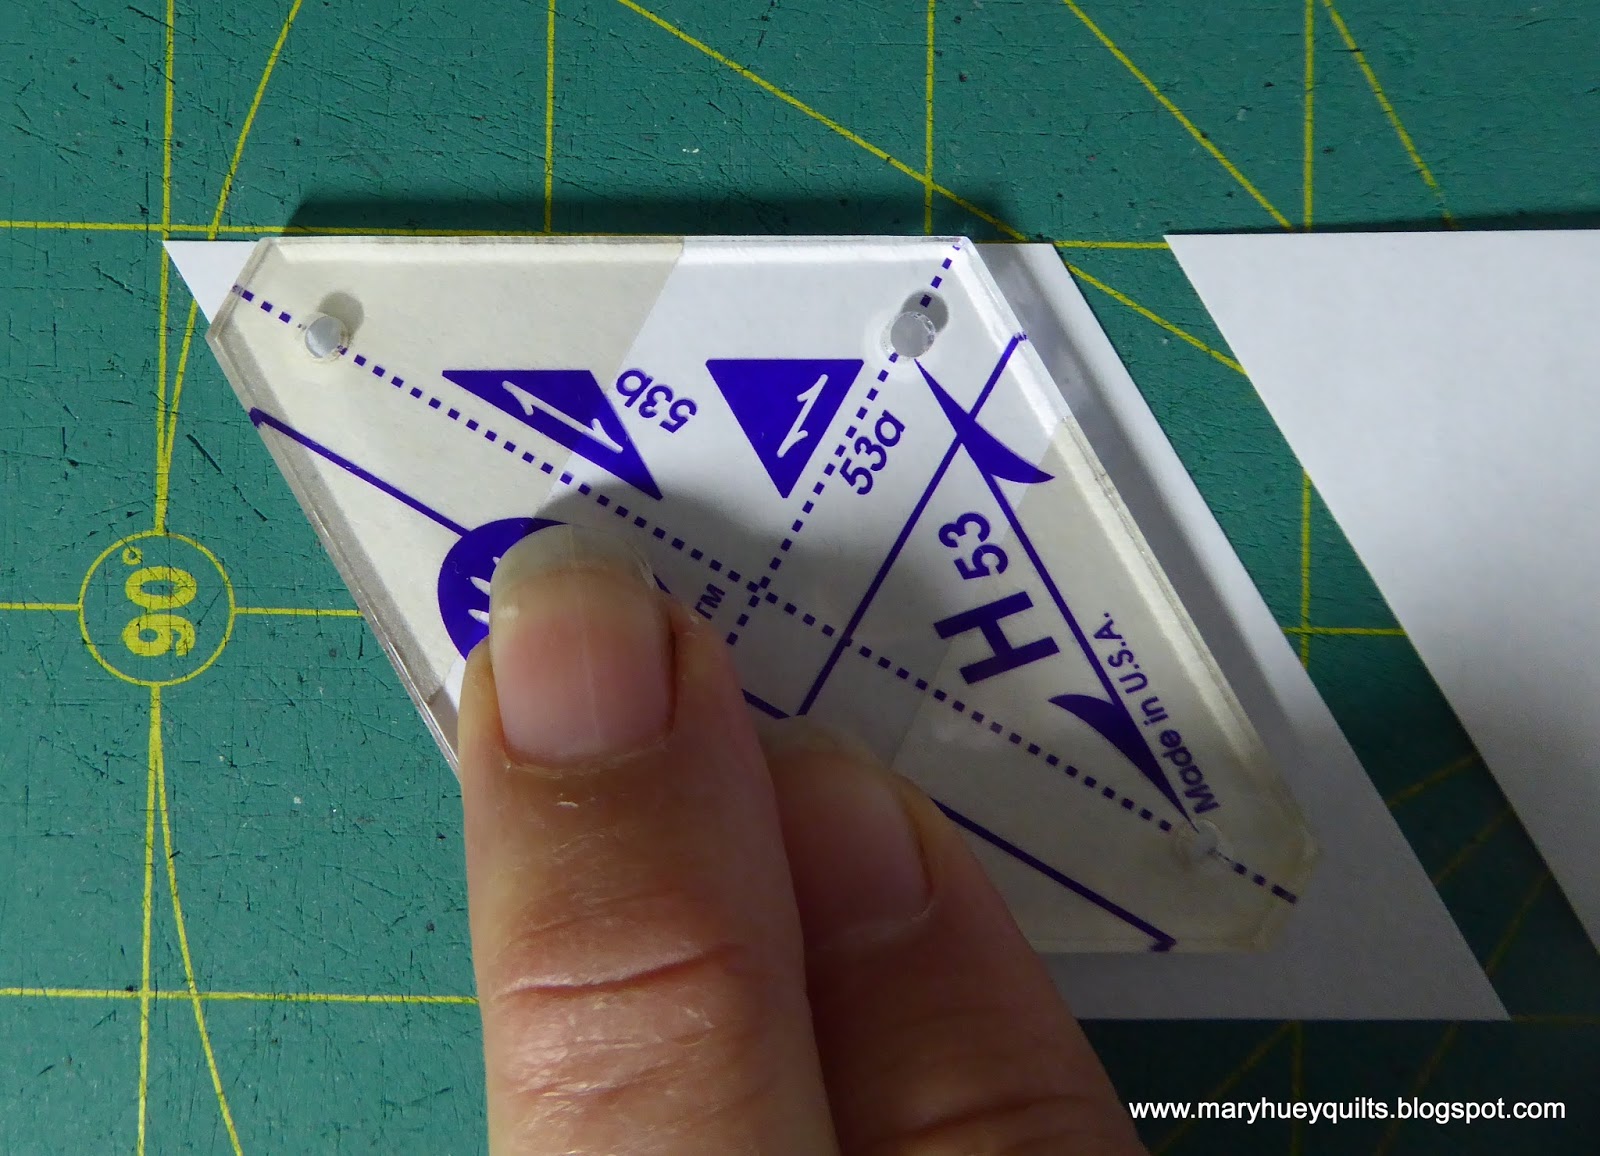
So for those who I might have led down a "primrose path", here is how I've resolved my issues using the templates. The quickest way to determine which template to use is lay a template on top of the pattern.
So H52d worked for Block #2, Crystal Palace.

Template 52 also worked for Block #5, Upton -- 52a for the hexagon

and 52e for the half-hexagon.

I showed you how I used this little combination template from Set N to make Block #3, the Camelot Star -- you can revisit that post HERE -- you recall that my first one was too big for the others I'd made. It's now in the orphan block stash and this is a second one in the same fabrics -- smaller and the correct size!

#4 had the most pieces and I used G48 -- my post about this one is HERE. Once I made this one, I realized I needed to go back and re-do Camelot Star and #1, Westminster Star.

I don't have a template that matches the diamonds and half diamonds needed for Westminster Star. I had "too small" and "too big".

I do have the skill to rotary cut 60-degree diamonds though!! I began by measuring the distance between the parallel (opposite) lines of the diamond and adding 1/4" seams to both sides -- 2" in this case. That is the cut width of the strip needed.

Now I used the 60-degree line on my rotary ruler

aligning it with the raw edge of a 2" strip (as below).

The end of the strip is trimmed off to set up the correct angle.

Now I twisted my mat around and measured 2" down the strip from the angled cut.

Perfect 60-degree diamond!

I used one of my 60-degree diamond templates to trim the points of the pieces.
This eliminates unnecessary bulk and improves alignment as I piece the block.

I can also use the 1/4" dot holes to mark the needed dots so I know where to stop stitching for the y-seams.

And here is what the diamond looks like ready to be stitched.

I made a temporary template for the half-diamonds. To start, I marked dots at the pointy ends -- orange in this photo and used those to align a ruler with 1/4" grid lines. This adds the 1/4" seam to the center of the original diamond -- slicing it down the middle doesn't work but you can see that?

I sliced off the unneeded portion

and once again used a template to trim the tip for easier piecing.

Here are the two templates needed and the finished Westminster Star!

Barbara promised last Saturday that there are harder blocks coming so we'll see how I fare with those. In the meantime, I'm happy to be enjoying y-seam piecing.
Here's to a stitching weekend!!
Here's to a stitching weekend!!
No comments:
Post a Comment
Note: Only a member of this blog may post a comment.