Showing posts with label Sew-Along. Show all posts

Friday, May 2, 2014

Diamond Star Playtime Sew-Along - Step 6

How is your pile of stars growing?  I hope by now you have six to eight stars completed because it's time to put them up on your "work wall" and begin to make decisions about the direction your quilt is headed before doing more piecing.  You are going to become a designer!

There are two basic setting options for hexagonal blocks. 

The first group are "straight" settings where the star blocks only touch partially and there are open spaces that need to be filled in as you finish the top.  And I've been able to identify three variations -- there might be more. 

In the first one, the stars are stacked with the upper and lower edges touching.  On the right and left sides only the corners touch and there is a diamond shaped space to fill in.
In the second variation, the stars are oriented the same except that each row shifts to one side so the stars aren't stacked -- they are staggered.  There is still a space to be filled but now it is an equilateral triangle.
In the third variation, the stars are twisted so that instead of sitting on a flat side, they sit on a point.  The space that needs filled is a diamond but it lays horizontally rather than vertically.  As I look at this, we could also stagger this setting by shifting the center row up or down -- can you see that? 
And notice how different the stars look in the two orientations above -- that's one of the decisions you need to make -- which orientation do you prefer?

The other basic setting is a "honeycomb".  The hexagonal blocks are set edge-to-edge and staggered so there is no space between the blocks.  Each of the variations below represent a different orientation of the stars.  Can you see the difference?  Which do you prefer? 

Once you've chosen your preference for your blocks, we'll begin to discuss how to construct the fill-ins units needed and the fill-ins for the edges so they will be straight.

While you have your stars on the work wall, evaluate the colors you've used thus far.  I tend to keep repeating similar combinations so at this point I feel I need more green.  It's a gut feeling but since it's my feeling, I'm going with it!!  I plan to make at least two more blocks so I'll be able to accomplish that.  The mostly red/orange star really stands out, doesn't it?  It will be a natural focal point so I need to manage it's placement in the quilt top to control the focal point.  I'll move it around on the work wall until I'm happy with it's position. 
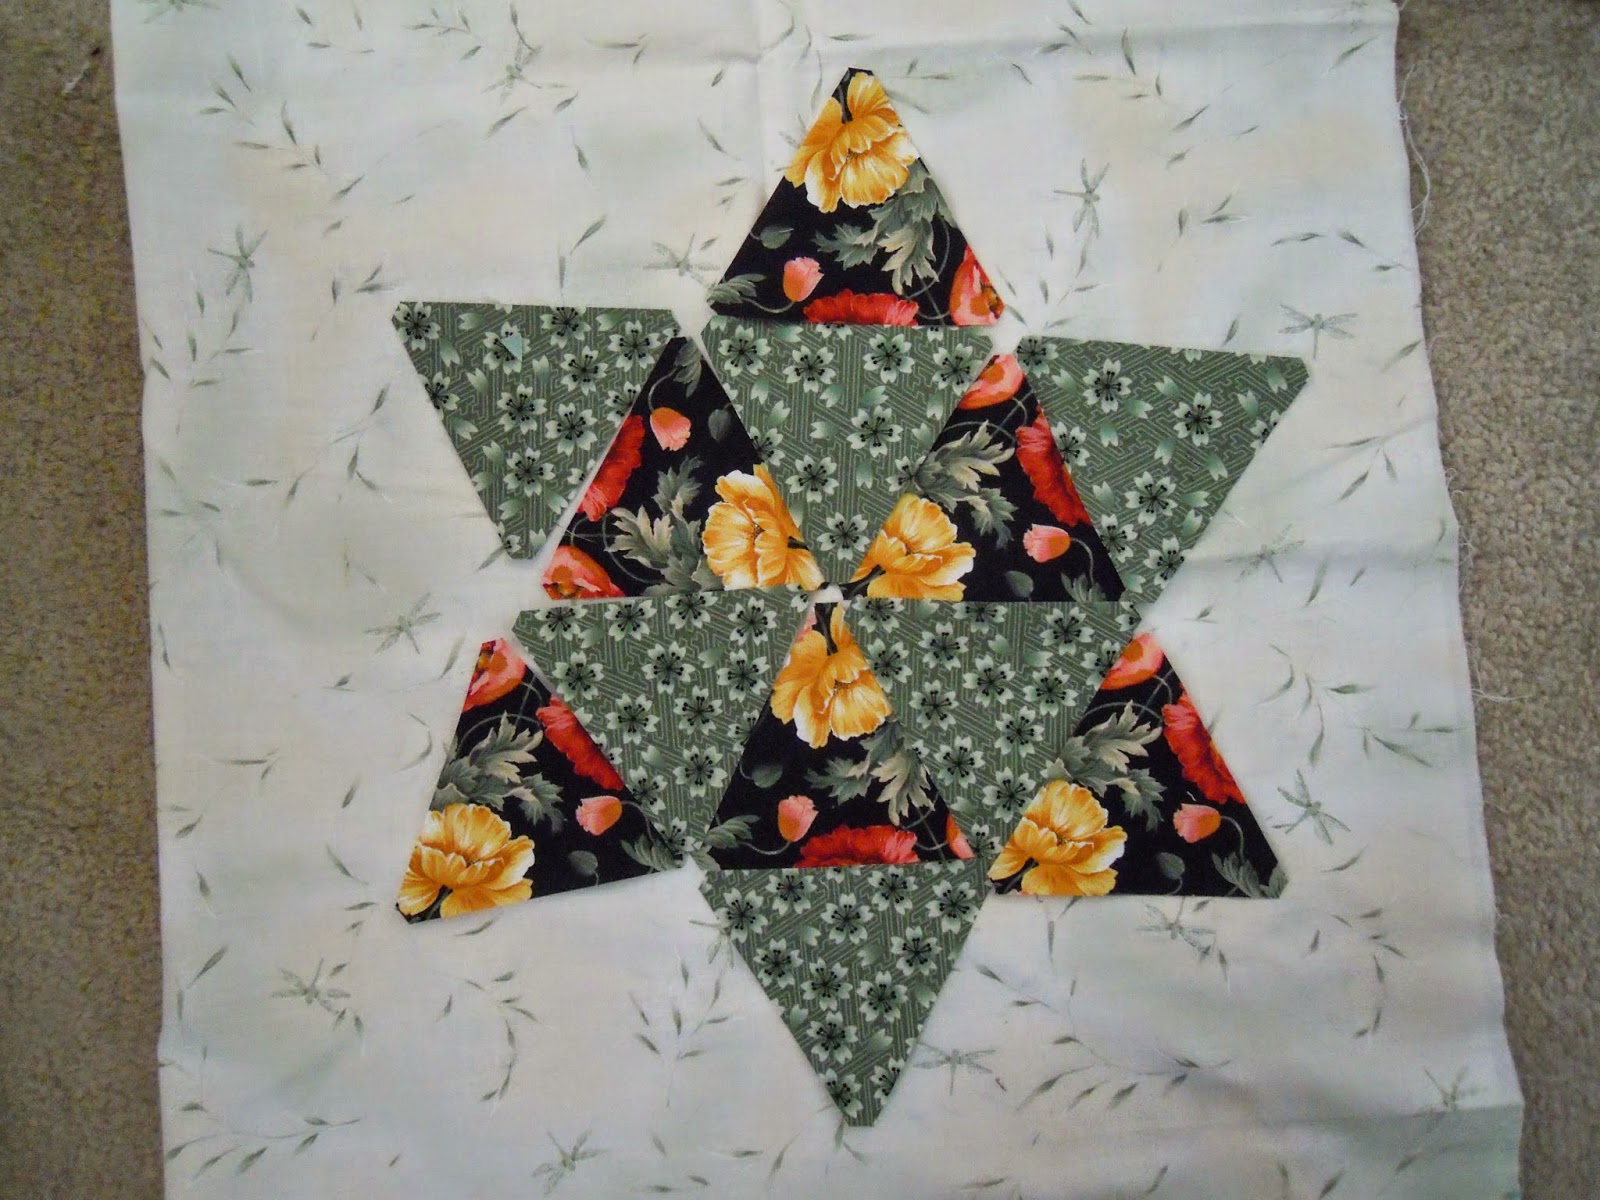
I really like the clean look of this group of stars so I'm leaning towards one of the honeycomb settings.  This color arrangement feels more balanced and I think that will be important to help maintain the clean look.  Notice that the stars with the gold print are opposite each other.  That loud red one is in the center.  If this is my final arrangement, I'll need two more stars for the upper right and lower left corners and they will need to complement one another. 

That's why I want you to get your stars up on the work wall.   If you leave them up for the coming week and look at them several times a day, the ideas will coalesce -- change what you don't like, emphasize what you do like.  Do you need to make a few more stars?
In my first 6-pointed star sampler (above), the edges of the blocks blur into the setting units and it's hard to see some of the stars -- that makes the piece interesting and it holds the attention of the viewer longer.

In the second one, I used the same background fabric for the first twelve stars.  When I put them up on my work wall, I loved the color palette, but it was too blah and choppy looking.  So I made more stars with different backgrounds to break things up a bit and create some interest.  The tumbling blocks floating through the quilt are part of the setting and I'll cover that along with other "filler" ideas in the next couple steps 
If you have a copy of Marti Michell's Volume 6, Six is for Hexagons -- look at some of the photos and ideas in that book.  And this is a link to my Pinterest board of ideas -- http://www.pinterest.com/huey0314/60-degree-diamonds/ -- check it out for inspiration, too!

So now it's your turn to experiment and audition.  Experiment with all the layouts covered above and see which one you like best.  Look at 6 pointed star quilts on Pinterest and Instagram for more ideas.  If I can be any help at this point, you can e-mail photos and questions directly to me as well -- maryhueyquilts@hotmail.com

Hope our weekend is pleasant everywhere and you can get out for a walk!!

Mary Huey

If you are having trouble finding the templates locally, you can order them directly from Marti!


Friday, April 4, 2014

Diamond Star Playtime Sew-Along -- Step 4 -- Splitting Diamonds

I hope you are enjoying the results of participating in this Sew-Along! 

The PDF for this step is here.  And if you are just discovering the Sew-Along, Step 1 is here, Step 2 is here, and Step 3 is here.  It's not too late to join the adventure!

Are you trying the chain-piecing technique from Set-In Piecing Simplified?  Are the demonstrations and guidelines in the DVD clear enough for you to learn the technique?  I'd love to hear how you are doing with that -- leave a comment below!

So let's split some diamonds!!  Both Sets G and H have templates that enable you to split the 60 degree diamonds lengthwise and crosswise.  We'll start with the lengthwise split.  (While preparing to write this step, I had some challenges -- grrr -- doing this with the 60 Degree Diamond tool and am preparing a separate PDF with photos explaining how to do this.) 

There are two lines down the length of the diamond templates in Sets G and H -- the dashed line is the stitching line and the solid one is the "cutting" lines. 

There are two way to cut these split diamond pieces.  You can cut individual half diamonds.  To do that cut a strip slightly wider than the template.  The lengthwise solid line is positioned on the edge of the fabric strip.  After cutting the first half diamond, twist the template around and cut on the opposite side of the strip so you'll have very little waste.  The two half diamonds are then sewn together and the center seam is pressed open.  

I prefer the second approach.  Two strips are stitched together and the seam is pressed open.  Then diamonds are cut by centering the dashed line down the center of the template on the seam.  There is more waste but my diamonds are more accurate and consistent. 

That waste can be eliminated by stitching the two strips together on both sides as in the photo below.  After some trial and error, I cut the strips 1/2" wider than half the diamond template.  The strip set only needs to be 4 times longer than the longest measurement of the diamond template.  So for template H52, I cut my strips 3" wide and 27" long.  For template G44, I cut strips 2 1/2" wide and 24" long.
Before cutting, press the strip set flat to set the stitching and then lay the template on one edge of the strip, cut a diamond and press the seam open.   
Pay attention to one fiddly little detail -- make sure the dashed lined is just inside the stitching line -- this allows for the fabric lost in folding open the seams allowances and if your 1/4" seam is a bit off, the diamonds will still be accurate. 
 Continue working down the strip set cutting on opposite sides until you have six diamonds.
When setting these diamonds together, it's easiest to manage the bulk of the outer points if you press those seams towards the background diamonds.  I only press the first seams open and then all the remaining seams are pressed to one side.  Make sure the central seams swirl in the same direction for the easiest assembly as your finish the block.
So here's one ready almost finished -- I forgot that my stripe will not be identical on all six diamonds when cutting this way -- but leaving it since it will be a good teaching example -- ended up with 3 of each -- next time, I won't use this double stitched seam with a stripe.  Who knew?

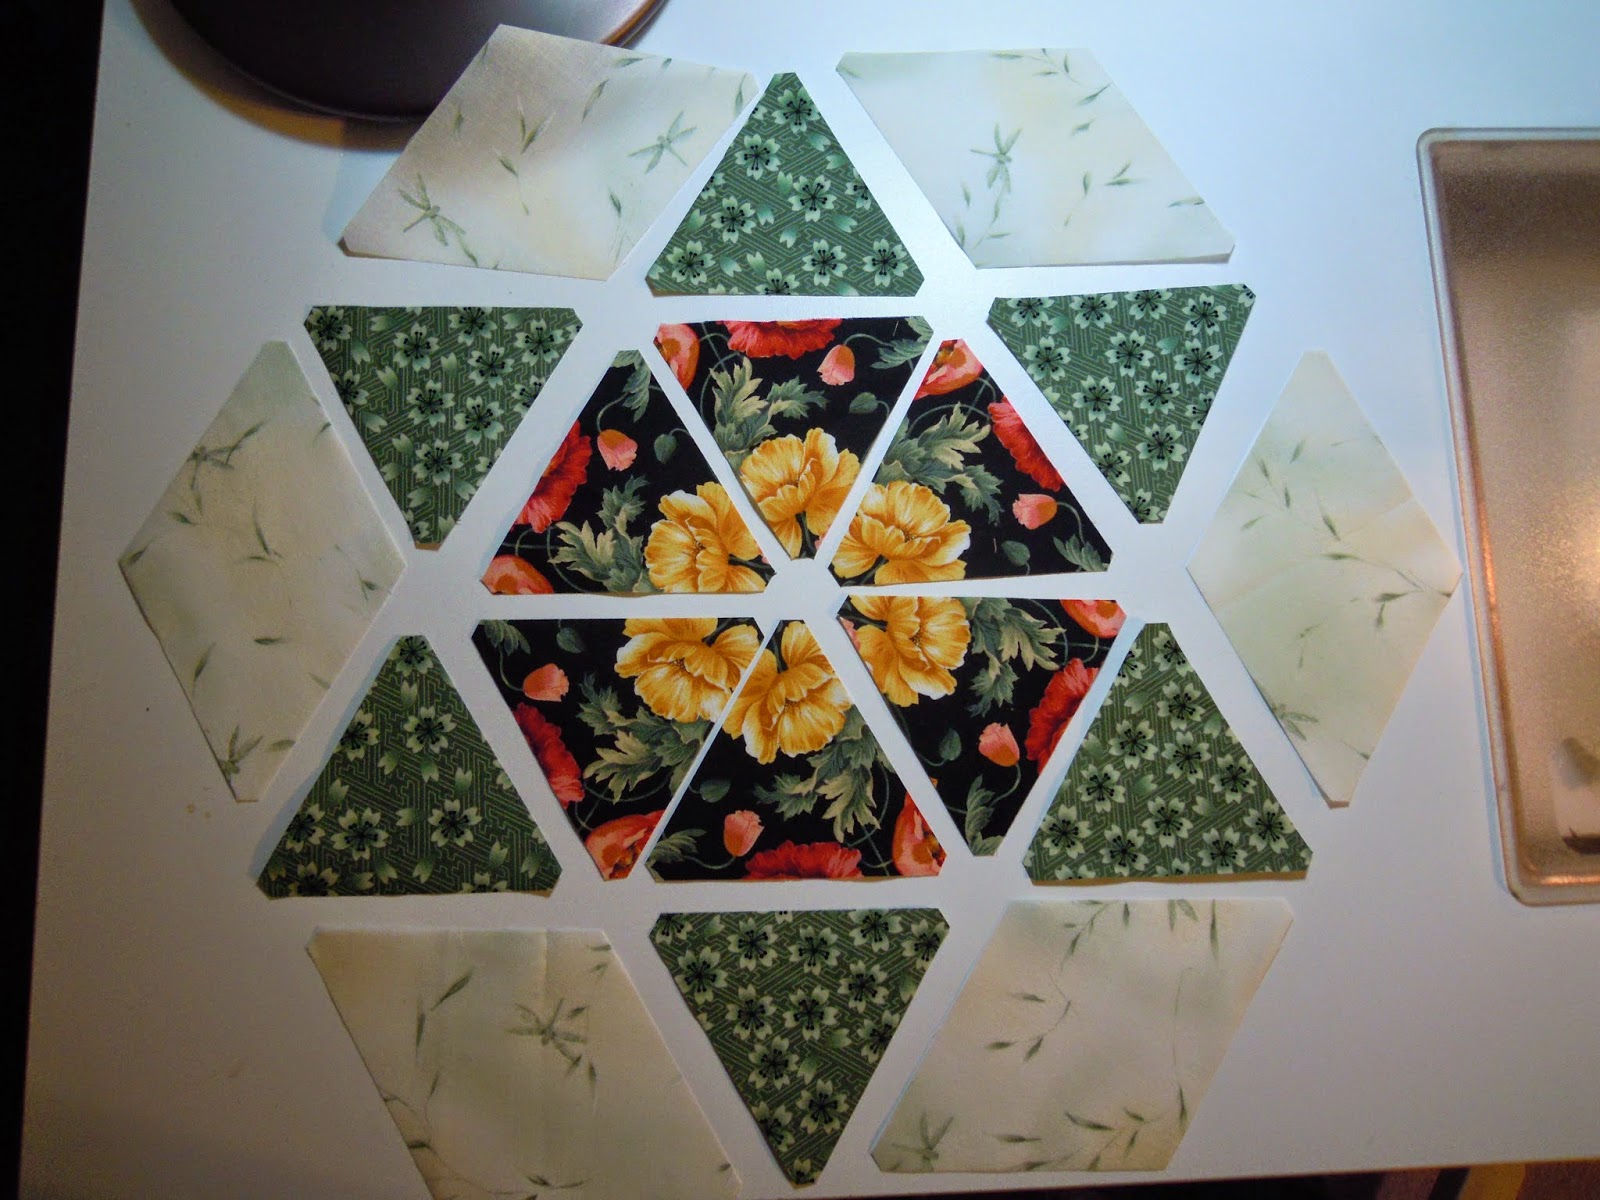
You can also split the diamonds crosswise.  In Set H and on the 60 Degree Diamond tool, there are lines on the templates.  In Set G, use the matching equilateral triangle template (#45 or #49).  This is my final arrangement, but I auditioned two others before deciding for sure. 
I like this one and think I'll use it with another fabric combination. 
This one looks clunky to me -- I tried every rotation of the outer points but none of them appealed.  Perhaps for a smaller star, this would have worked, but these are large stars made with 3 1/2" diamonds using the 60 Degree Diamond tool. 
Here is the final arrangement with the background diamonds in place -- ready to sew.
Notice anything? 
There are no set-in seams -- it's all straight lines.  Not that it matters so much to you at this point -- with all this practice, those set-in seams should be getting much easier by now! 
I'm stitching the sections together as my "leaders and enders" while make some of the other blocks.  I'm pressing as I go and ended up having to repress a few seams -- can't seem to come up with a repeatable formula for pressing this variation. 
You do want to press the seams that come into the center of the block so they can be swirled as in the set-in pieced stars to keep the center flatter.
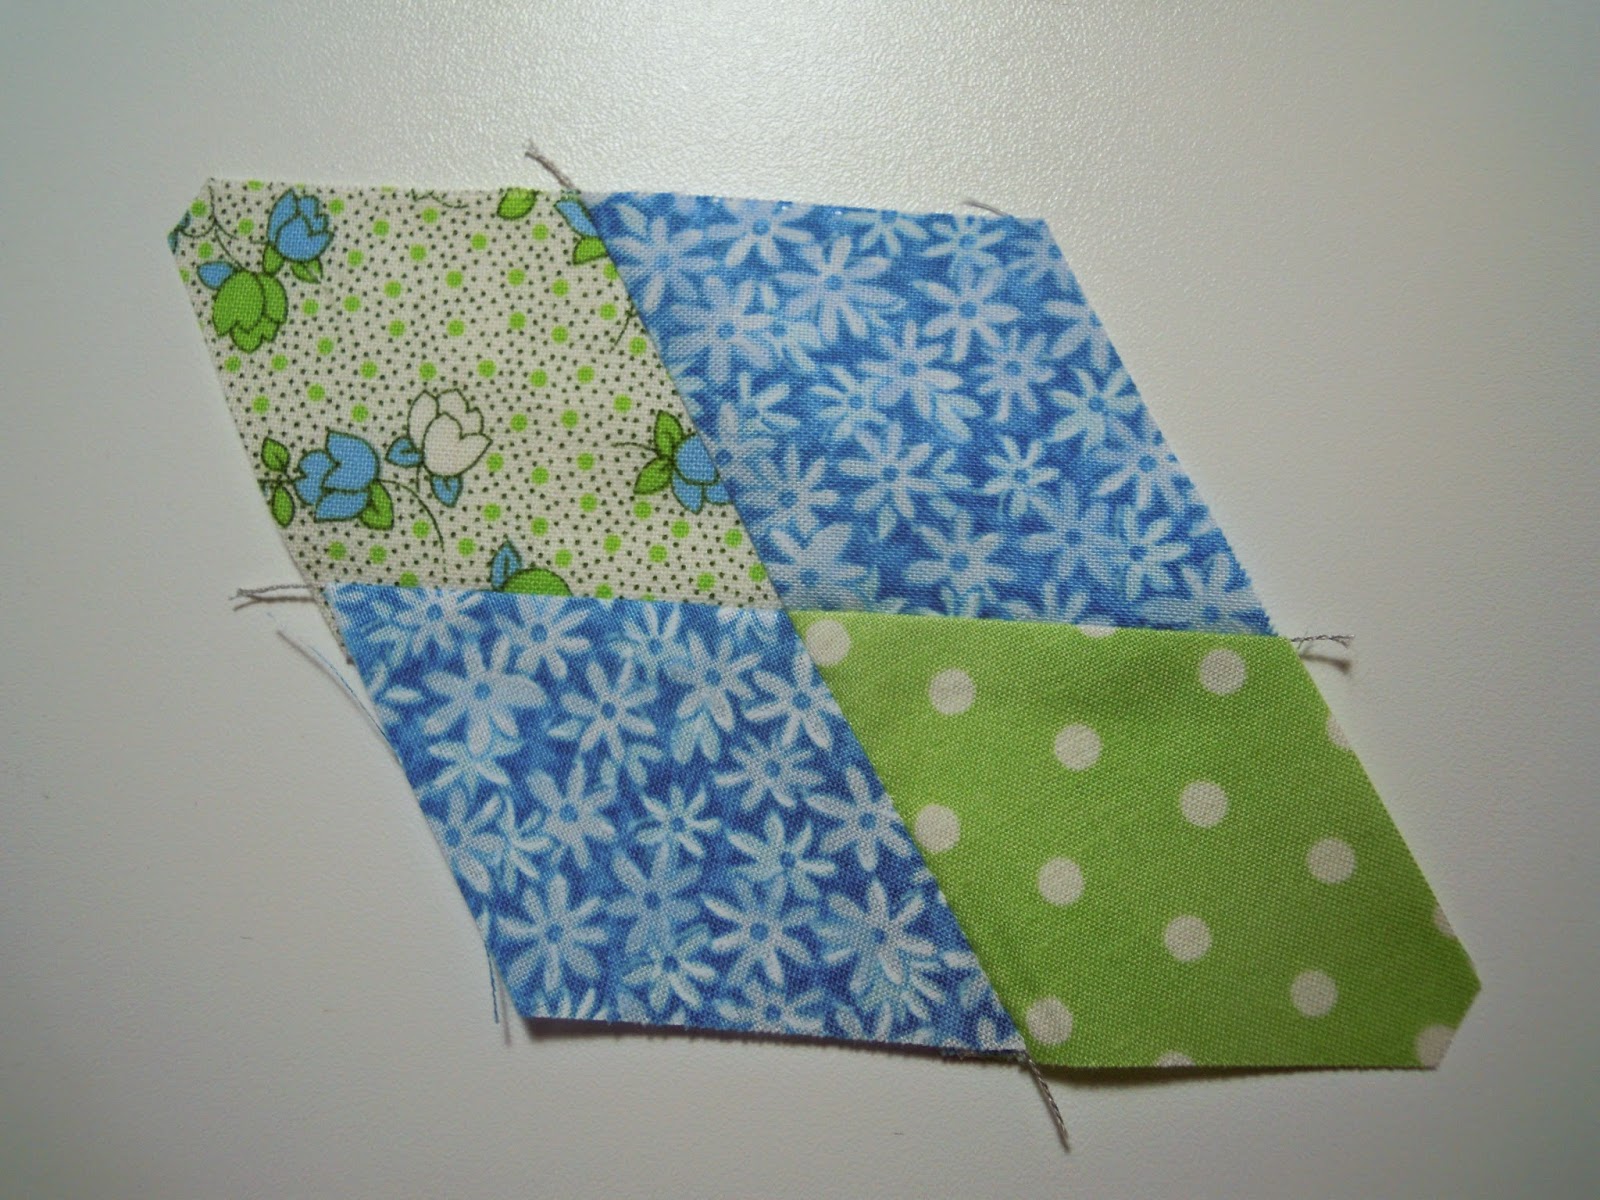
The third variation works for the larger size stars.  When you piece together four of the smaller diamonds in Set G (use template #48) or Set H (use template 53), they make a diamond the same size as the larger template.  See the extra PDF for the 60 Degree Diamond tool if you are using that.
Be sure to take the time to nip off the points -- it makes accurate matching a breeze! 
Chain piece one half together for all six diamonds. 
Press the seams to one side. 
Repeat for the second set and press the seams so they will be opposite the first pair. 
Stitch the two halves together -- once again those trimmed points improve your accuracy.
Be sure to lay out the pairs before stitching so you don't experience this!!  Oops -- time to rip!
If you stitch a consistent 1/4" seam, the center seams will be aligned effortlessly! 
Lay out the block and assemble! 
Time to try it yourself.  Do at least one of the split variations -- maybe try all three! 

In Step 5, I'll introduce you to hexagons and cone heads (maybe you'd rather call them jewels) and show you how to incorporate them into your sampler of stars.  If you haven't already started to put your assortment of stars up onto your work wall, do that this week.  It's time to decide whether you like them better with a pointed end up or a flat side up.  That will help you make setting decisions when we get to Step 6.

Mary Huey

All material Copyrighted by Mary Huey Quilts!

If you can't find the templates locally, you can order them directly from Marti!