How are doing with the y-seam chain piecing?
If you feel a bit frustrated, remember this is a new technique for you. With some consistent practice, you'll find a rhythm and it will feel more natural -- I promise!!
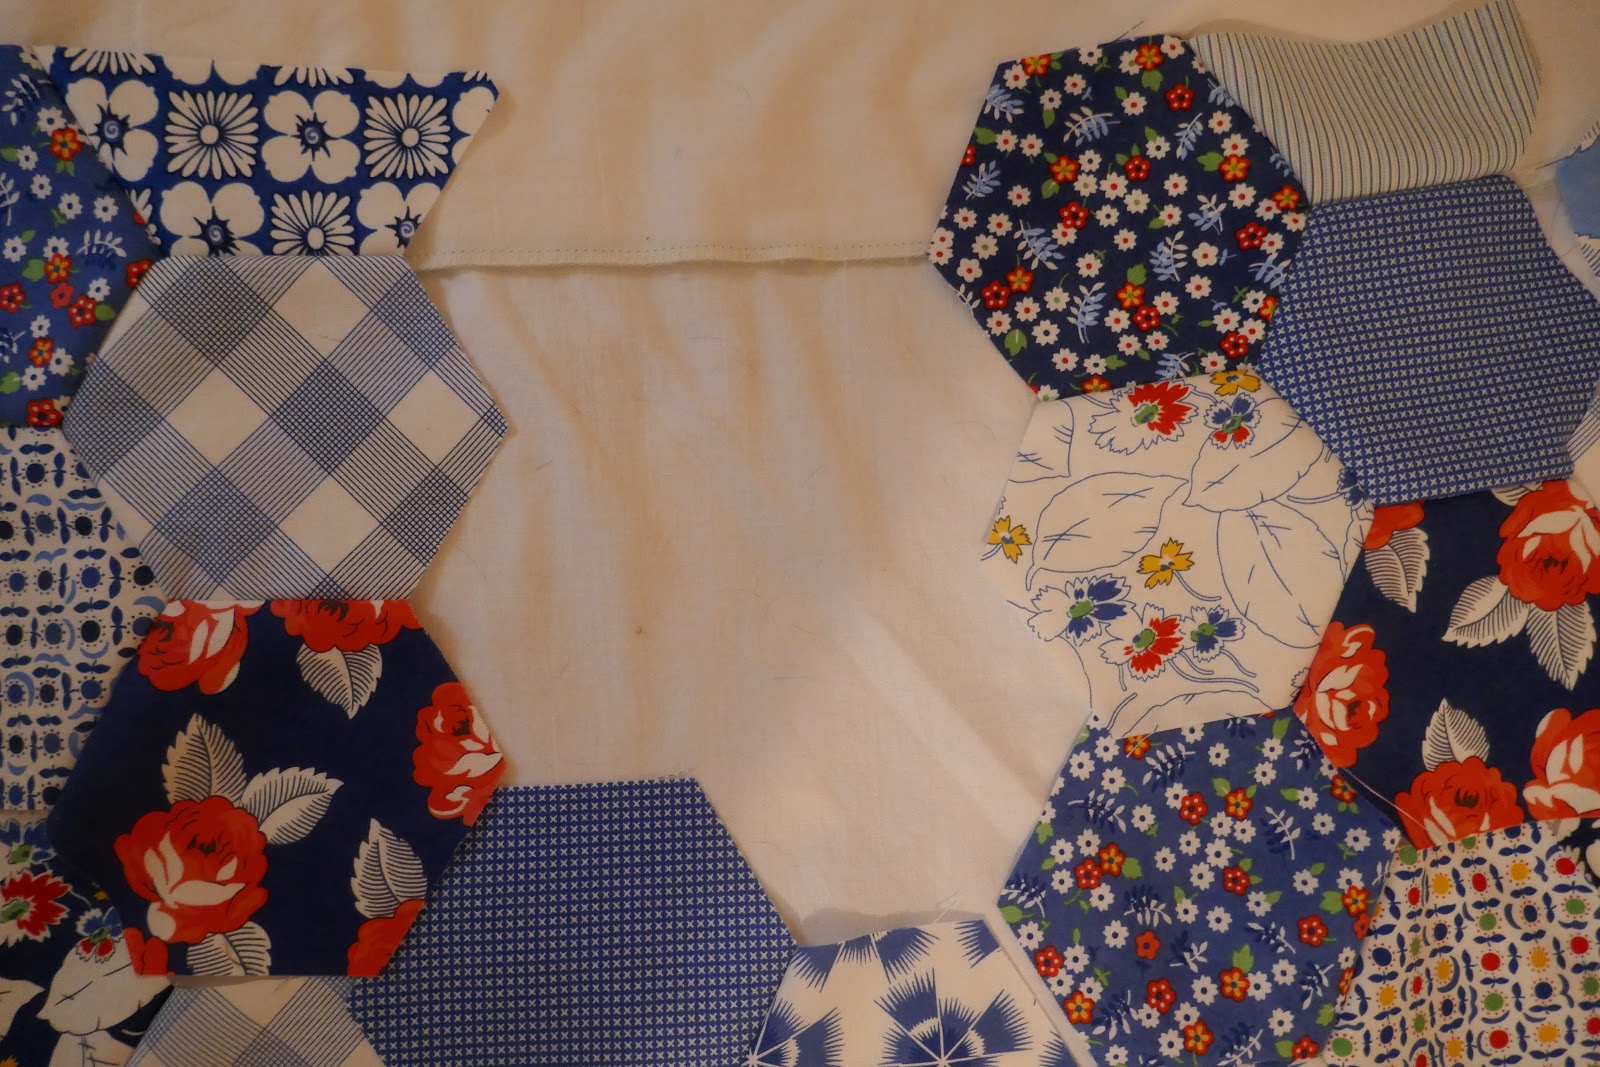
I finished all 42 of my assorted units and laid them out on the design bed.

Good thing the guest bed is clear as the design wall in my studio is clogged up with #100days100blocks!?!
Working with the thirty 4-hexagon units, lay out 5 across and 6 rows down.
Lay them out as they come off the top of the stack.

Below is a close up with the units spread apart so you can see how they mesh together.

Then fiddle with placement until the layout suits you.
I tried to spread the dark hexagons around a bit and worked to avoid two of the same print setting next to each other.

Of course, you know no matter how hard one tries, "complete perfection" is not possible, but keep in mind it's also not necessary. I'm giving this to a young friend who can't use scissors, so she'll be delighted regardless of whether there are too many darks in the lower right corner.
Now we need to cut some half hexagons to fill in the blank spaces around the outside edges of the quilt top.
Now we need to cut some half hexagons to fill in the blank spaces around the outside edges of the quilt top.

If you are using Marti Michell's templates or rulers***, find the half hexagon template that matches the size you are using -- for me that's G43.
This is the half hexagon needed for the top and bottom edges of the quilt.
This is the half hexagon needed for the top and bottom edges of the quilt.
Use five (5) of the strips set aside when you were cutting hexagons. Trim the strip to the correct size for the template and cut ten (10) half hexagons

Here is a mock-up of a 10" long strip -- if you start cutting the half hexagons at the left end of two strips as illustrated below and at the right end of the remaining three strips, you can use the leftovers for the corners of the quilt top!

The remaining strips that were set aside will be used to cut a different shape half hexagon for the side edges of the quilt top. I put a piece of tape on my G42*** template to cut these -- it's 1/4" to the left of the vertical center (can't forget the seam allowance!).

Here's a mock-up of a 10" strip -- it will yield three of these pieces and twenty-four (24) are needed.
You should have one "set-aside" strip left -- just in case!
I straighten one end of the strip, line up my tape with that end, cut a half-hexagon - then straighten the end of the strip again and repeat. Does that make sense?

Using the first set of half-hexagons, add one to each of the five 4-hexagons units across the top of the quilt.

To add these, you will do one "edge to dot" seam (steps 3 through 6 of the teaching guide) and one "dot to dot" seam.

Do this to the five units setting across the top of your layout!

Set them back into place on your design wall/bed/floor.
Repeat this process for the five (5) 3-hexagon units across the lower edge of the quilt top.

One more edge unit to make -- to use down the right edge of the quilt top.
These are made with the remaining two-hexagon units and one of the vertical cut half-hexagons
The reason I go to all this trouble is to have straight of grain on all four edges of the quilt top.
It makes adding borders or binding the quilt so much easier!!
Make seven (7).

Here's one corner of my lay out with all the edge units in place.
There are gaps along the right side where more vertical half-hexagons are needed. Those and the ones needed down the left edge can be added as the units are assembled.

That's as far as I am at this point.
As the week goes on, I'll start to join the hexagon units and be back next week to guide you through that stage of making this scrappy hexagon quilt.
I hope you are pleased with your progress.
If you have questions, leave them in the comments so everyone benefits from the answers
Mary
***EDIT April 2025
Marti Michel closed her business in late in 2024 and while some shops may still have a stock of her templates, you can also find them on Ebay and Etsy.
Your hexies are lovely!
ReplyDelete