Over the past month, I've been machine quilting a masterful reproduction of an English-style hexagon mosaic quilt which I pieced by machine to exhibit how well the y-seam method I teach works.
I love the top and as usual was hesitant to start the quilting.
What if I ruin it???
But it's not actually a quilt until it's quilted, so . . . . . I started the process.
I began by studying lots of photos of finished hexagon quilts -- not much inspiration there.
Either the quilting was too plain or too fancy.
In the end, I went back to a vintage Grandmother's Flower Garden that I machine quilted two years ago -- you can read about it HERE.
I spread it out on a bed and studied all the motifs picking the ones I liked best.
There were lots of experimental designs, some not so successful, but I finally settled on this one with a prettier center and it became the basis for all the motifs in my mosaic quilt.
I decided to draft out several hexagon grids on scrap fabric at the same scale of the quilt (1" hexagons) and used those to practice the stitching motif and experiment with a filler design for the background.
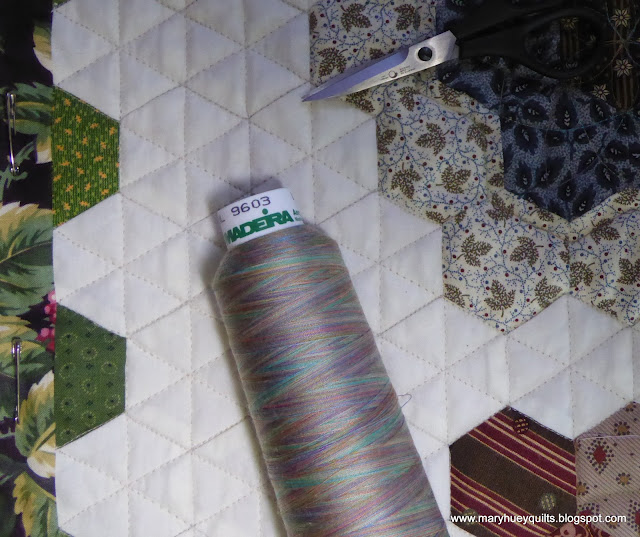
The thread color I chose was unconventional -- it is a variegated palette of colors that I hoped would blend nicely with all the reproduction prints I used. It's a 40wt. polyester from Madeira and I'm pleased with the results.
Since I had three sizes of rosettes, the basic design evolved with each round of hexagons.
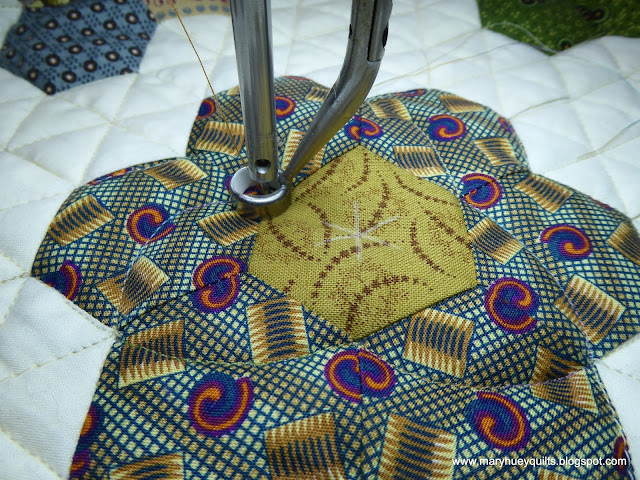
I marked the center hexagon's midpoint before beginning.
Then I began at an outside intersection and arced gracefully to an inner intersection, then back to the outer edge and so on until the first three arches were complete.
At that point, I worked part of the center hexagon's pumpkin seed flower. I stopped working on that part of the design when I reached a point that hadn't been touched by an arch, did the remaining three arches, and returned to the same "corner" of the center hexagon to finish the flower -- one start, one stop!
These are the smallest rosettes and here's a look from the back side. These next few pictures are a bit blurry -- poor light for photos but really showed up the quilting -- and a shaky hand.
For the medium size rosettes, I added a second ring of arches and outlined the entire rosette shape. The background quilting added the second outline of the rosette.
While experimenting on my stitching samples with marking pens, I stumbled onto this expansion of the design that makes the largest rosettes look like snowflakes from the back of the quilt. It's not so apparent on the front.
And this is the large central 6-pointed star motif. The little pumpkin seed flowerets at the tip of each point are my solution for filling that empty space.
and once they were done, I realized I could repeat the motif in some floating clusters of hexagons.
Here is one from the front. I used the size of my presser foot to stay centered and stop at the same point on each hexagon.
As I proceeded, my confidence grew and then the center of the quilt was finished and I hit a bump -- no plan for the borders. After two days of sketching and rejecting, this is the border design I settled on. I was able to repeat the pumpkin seed elements in diamonds. I think this design could be adapted to many border sizes and I'm working on another post detailing how to rescale it.
It took 10 passes along the borders to complete the design, but being completely made from straight lines and pumpkin seeds, it was easy to achieve a professional look. Here's the entire quilt from the back -- the lighting was perfect for catching the shadows of the designs.
I got lots of experience using my "Fine Line" Quilter's Ruler for all the background quilting. There wasn't a consistent pathway to accomplish the grid and it took longer than I anticipated, but in the end I love the way it sets off the rosettes. The consistent pressing strategy I showed you HERE also was a great benefit during the background quilting process because when I needed to stitch in the ditch it was consistent all the way across the quilt!
And here is the finished quilt!!
Finishing this quilt crosses off one of my six Finish-A-Long goals for the first quarter of 2016. Now to maintain the momentum -- that's always the tricky past isn't it?? The original list is HERE.
Happy Quilting!!
Mary Huey


I think your quilting motifs fit this quilt perfectly. A beautiful quilt!
ReplyDeleteI love this post, Mary. Your quilt is lovely. So much work goes into making and piecing hexagon quilts. Your quilting designs are fantastic and add to the beauty of this quilt. I'll have to give your border design a consideration for one of my own quilts. Thanks for sharing your process.
ReplyDeleteSuperb. And walking us through your process is so instructional - so helpful. I'm going to consider your border, too, for one of my hexie quilts. Thank you, Mary
ReplyDeleteBeautiful quilt and your quilting.....wow Mary!! What a neat process!
ReplyDeleteOne day I will be confident enough to try quilting something like this. Piecing worries me not at all - I will confidently sew anything. Quilting is still another story!
ReplyDeleteOh your quilting is fabulous! Thank you for participating in the 2016 FAL, on behalf of the global FAL hosts :o)
ReplyDelete