Wednesday, July 15, 2015

A Finished Top!!

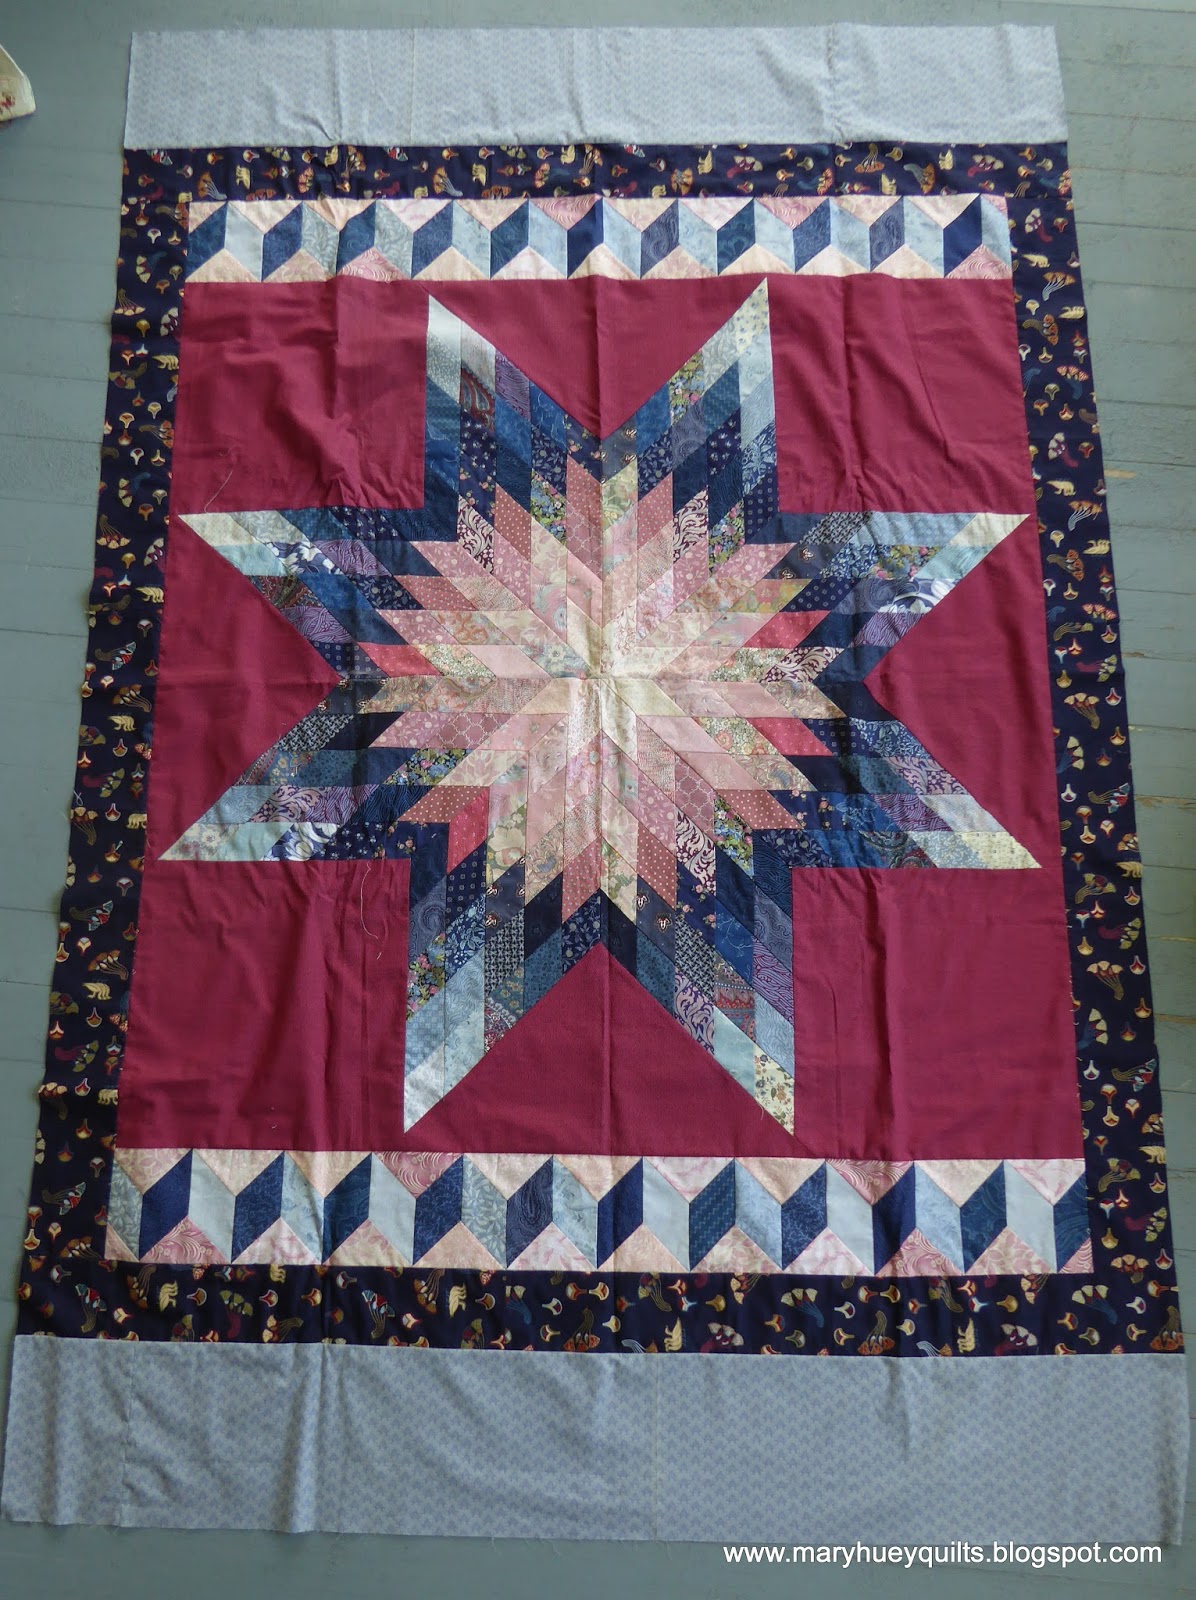
After a botanizing break in Upper Michigan last week, I was looking forward to getting back in the studio and adding the border to this masterpiece!! 
 I made the edges of the top straight by using half-hexagons so I could continue the "all machine-pieced" theme.The hexagons for the top and bottom edges were more like 3/4 hexagons which I cut from straight strips like this so that the top and bottom edges would be on straight of grain.
Talk about boring piecing!!  I did most of them as "leaders and enders" for other projects that were in process at the same time. 
The sides pieces were half hexagons of a variety of green prints chosen to blend with the border fabric. 
Before I could add the borders, I had to press almost the entire piece.  Only the center star was completely pressed and let me tell you, it was just as boring a task as you might image.  Then it occurred to me to set myself up for some lap ironing!!
One episode of Poldark, one episode of The Crimson Field, and two episodes of Crossing Lines and it was all done!  Here's a close-up -- once I found the rhythm and got absorbed in the drama, it went quickly.  I worked in straight lines, swirling each intersection and pressing my way along with a dry iron.  Notice the seams pointing in the same direction as your eye moves across the piece.  That was the key!!
It felt like a major accomplishment to get it all pressed. 
Time for the border print -- from the stash -- can't remember how I obtained it but it was best choice from the options I pulled out of my stash.  The main motif is staggered and flipped in rows across the print and I had about 1 1/4 yards of it which meant the borders needed to be pieced.
There was lots of auditioning on the workwall before I decided to cut the fabric horizontally rather than vertically.  In the process, I realized it would be easier to focus on the smaller repeated motif and after several math sessions, I was ready to cut.
The cuts are 3 15/16" -- yep!  4" was too much and 3 3/4" was too little to enable me to align the strips end to end to get the length needed for each border.
Two of the borders have the motifs aiming to the right and the other two are opposite.  I'm not sure anyone would have noticed if I had put a right facing strip with a left facing strip, but I feel it would have made it look awkward.
I attempted to "match" the motifs -- the first time I forgot that some of the motif would disappear into the seam allowance.  Question is when I make a little discovery like that -- will I remember the next time to go slower?  Probably not.
I don't like to press seams open unless I'm trying to camouflage the seam as in this case. 
Three of my joins looked okay even though they aren't perfect, but the one on the right had to be adjusted.  It was too obvious to my eye.
Much better!!
I mitered the corners -- I think a graceful floral looks better with a mitered corner even if the design doesn't mesh flawlessly.  And I like to show off how easy it is with Marti Michell's My Favorite Mitering ruler. 
You can cut the angle before stitching when you are confident. 
Or draw a line when you want to be cautious!
Here it is pinned and ready to go to the machine. 
Excellent results are the norm when using this tool and I have to confess that it's fun to show-off a bit.
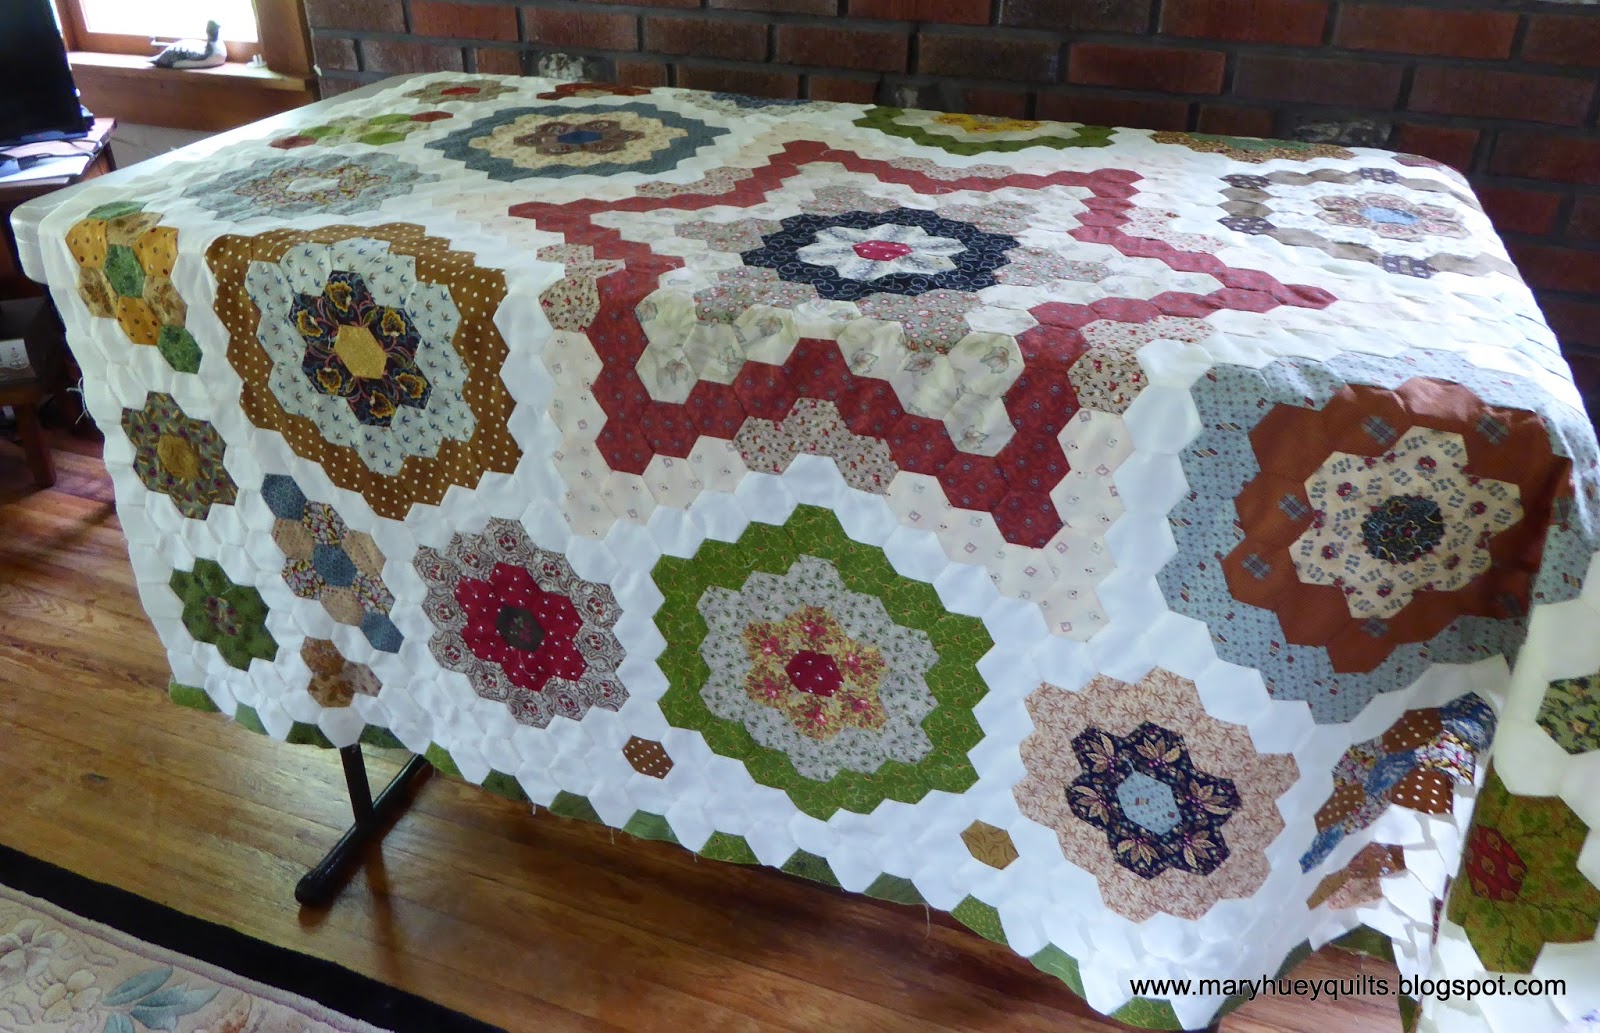
And here it is -- a finished quilt top!!  Totally machine pieced with the chain-piecing technique of Mary O'Keefe as shared in my instructional DVD, Set-in Piecing Simplified.
It's 58" by 62" made with 1" hexagons that I cut using Marti Michell's Set G.  It will take some time to consider the quilting but for now I'll rummage through the stash and find a fitting backing fabric!!
 
Hope your week has some stitching time included everyday!!
 
Mary Huey


Friday, July 10, 2015

Third Quarter Finishing Goals

Lights, camera, action!!
It's time to set some finishing goals for the 3rd quarter of 2015
Here's the pile waiting for their turn to be documented!!
The first three are rollovers from the 2nd quarter?!?
I've been hand quilting on this off and on for the past 3 months but keep drifting away to my EPP.
I have two blocks left to quilt and the sashing (stumped on the design) and borders.  Finishing this quilt is a major priority!!
All the embellishing is finished on my Bug Hut round robin and as you can see it's layered but I'm stuck in one of those "how to quilt it" pauses.
I did get these sweet blocks from Nat's Sunflower sew along set together and the backing organized but now I have a potential recipient for this quilt so need to forge ahead and quilt it. 
This little piece surfaced during a "search and rescue" mission in my studio -- it's a sample of a triad color scheme from the workshop series I taught based on Gai Perry's Color From the Heart. 
This piece was made by my younger daughter and she lost momentum somewhere in the quilting phase so I offered to bring it home with me and finish it so she could use it for a donation back in her community.
I finished this top as part of the 2015 #apqresolution challenge a couple months ago and plan to give it to a friend this fall, but first . . . . .
My #apqresolution pick for June was this quilt.  I designed it during Ohio Bicentennial as a mystery quilt for my shop (2003) and made three versions of it for my three Ohio born children.  Two were finished that year because they lived out of state but this one has been laying.  All I got done on it during June was to layer it up, but that's an important step in the right direction.
I was impressed with the quality of my hand applique when I was layering it up. 
This cutie keeps coming back to haunt me and finally I have a reason to finish it this summer as a gift for friends who are moving out of the area.  I finally finished the stitching around the appliques this spring and added the print border to make it a nice lap size quilt.
(FINISHED on 8/8/2015)
The layered ones are folded up neatly and on the table next to my APQS George, ready to go!
Now to make wise use of my time over the next three months and move through these projects at a steady pace!!
 
I'm looking forward to seeing everyone's lists at Adrianne's On the Windy Side third quarter link-up for the 2013 Finish Along!!
 
Mary Huey


Tuesday, July 7, 2015

All Together!!!

There it is!! The very last 1" seam to finish setting together my reproduction mosaic quilt.
And here's it is -- ready for borders!!
This adventure began quite a few years ago with an antique quilt that was displayed at a local show.
Two and a half years ago, I made a start on it working out of my stash of reproduction prints and making a half dozen hexagon motifs while demonstrating at some local quilt shows.
Those became the centers of the largest motifs and the central star.
At one point, I decided I needed to draft it out in my Electric Quilt program to make it easier to plan and choose fabrics as I built more and more motifs.
Once I started drafting the layout from the photographs I have, I started tweaking the design a bit to fill in empty spaces that I didn't like in the original quilt. 
It's completely machine pieced using the chain-piecing technique from my DVD, Set-in Piecing Simplified.  I don't recommend one learn the technique using the 1" hexagons in this quilt.
But I had already made several tumbling block quilts and a hexagon quilt with 2" hexagons when I started it.  I used Marti Michell's Grandmother's Flower Garden template set to do the cutting and marking. 
I've started to organize a layout guide for this quilt and will make that available as a FREE download in my Craftsy shop later this month.  There's math that needs to be checked before I do that, but I am so excited to reach this point, I wanted everyone to see it right away. 
I still have a few hours of pressing the seams before I add the border fabric.  I think that might turn out to be the most challenging part of making this quilt?!? 
 
Now I have to start thinking of a name for it??
 
Mary Huey


Friday, July 3, 2015

Katje's Millefiore Rosette 6 is together!!

Last month I started piecing Rosette 6 from Katje's Millefiore quilt follow-along.  I showed you how I used Marti Michell's template Set G to cut the pieces for the center hexagon motif HERE.

As I moved out from the center motif, I shared how I used Marti's template Set H and adapted the way I used the templates to get shapes like the elongated hexagon and the parallelograms needed for this hexagon motif HERE.
This past rainy weekend, I finished setting together the entire motif and have another template use modification to share with you.  The green mini-check pieces are rhomboids if I recall my geometry terminology correctly. 
Katje created it by merging together the two diamonds and the equilateral triangle along one edge of this hexagon motif.
The large template in Set H is a 3" hexagon and it is a perfect match for the finished size of all the hexagon motifs in The New Hexagon.
The small diamond template is a perfect match for the diamonds so I can use that to cut a strip that will be the correct width for the rhomboids.
Now when I lay the large hexagon template on the strip with one edge matching, I can cut rhomboids that are the perfect size.
Taking the time to trim off the tips of the rhomboids will make aligning them with the rest of the motif easier and accurate. (See the photo above.)
Once those six hexagons were pieced, I was ready to set them together to complete the rosette.  I work with Marti's templates most of the time these days, but I still experience a little thrill when I lay two blocks together and they are the same size!!  You can't see the one underneath because it is the exact same size as the one on top!!
I usually work from the center out but decided to try a different approach this time and set the hexagons together in rows.
As with any y-seam construction, I didn't press any of the setting together seams until it was finished.  At every corner I was waiting for points to not match up but it never happened!!
 
And here's the rosette!  Those of you who are doing the entire quilt will notice that I completed the last round because this is going to be the center of something medallion style. 
No plan yet, waiting for inspiration.
If you are one of the seven quilters in the world who haven't discovered this inspired quilt -- visit Katje's website HERE.
I machine pieced the rosette using the chain-piecing approach in my DVD, Set-In Piecing Simplified while continuing to finish setting together this large reproduction mosaic hexagon quilt.  The pieces of the rosette were my "leaders and enders" between the 1" seams of the final assembly. 
I still have about 80 seams to go on the reproduction and my goal is to share the finished top with you in my next post!!  Another rainy day would help, but really we have plenty of water on hand for the moment!!
 
Thanks for stopping by today and reading all the way to the end!!
Enjoy your weekend. 
I hope the USA is warm and sunny for the holiday. 
I hope Europe cools off!!
 
Mary Huey