Wednesday, June 10, 2015

The Porch

The porch is ready!!
Come for a hand stitching morning?
Or a cup of tea (and maybe a scone)?
We can walk around the garden!
Or just sit and talk!!
I'll be here all summer!
Mary Huey
 

Tuesday, June 9, 2015

Katja's Millefiore Quilt-Along and Simplified Set-In Piecing

Did you see the quilt Julie at Pink Doxies started last week while using my DVD workshop, Set-In Piecing Simplified?  It began with Mrs. Bannister's Star that she found in Jen Kingwell's book, Quilt Lovely. 
 
 She did exactly what I hope every quilter who uses the DVD to learn this exciting y-seam piecing approach will do -- apply it to their next project and stop being afraid of set-in piecing.  The DVD introduces the technique using a scrappy tumbling block quilt, but the idea applies to anything with a y-seam so I want to share another project where I'm using it with you today.

I've been lurking on the Katje Marek's Millifiorie Facebook page for almost six months, printing out and saving all the patterns.  WARNING -- if you click on that link, be prepared to be distracted for a couple hours sifting through the hundred of photos of participants work. 
They make me want to tear my stash apart and start cutting fabric!  
 
Julie's experiment pushed me over the edge and this past weekend, I dipped my toe into The New Hexagon. 

I'm not certain I'll do the entire quilt so I started with the rosette for June and made the center block.  Most of the participants in the project are doing it EPP (English paper piecing) but the first time I opened the book last fall I determined most of the blocks in Katja's book, The New Hexagon, can be cut with Marti Michell's Sets G and H.

 
If you've never used rotary cutting templates, I encourage you to give it a try.  I taught and did massive amounts of strip piecing and rotary cutting for 20 years but since I converted (mostly) to templates 10 years ago, the consistency and accuracy of my work has improved remarkably. 
 
You can read more about cutting and working with these templates by clicking on the Diamond Stars Playtime Sew-along tab at the top of the blog.
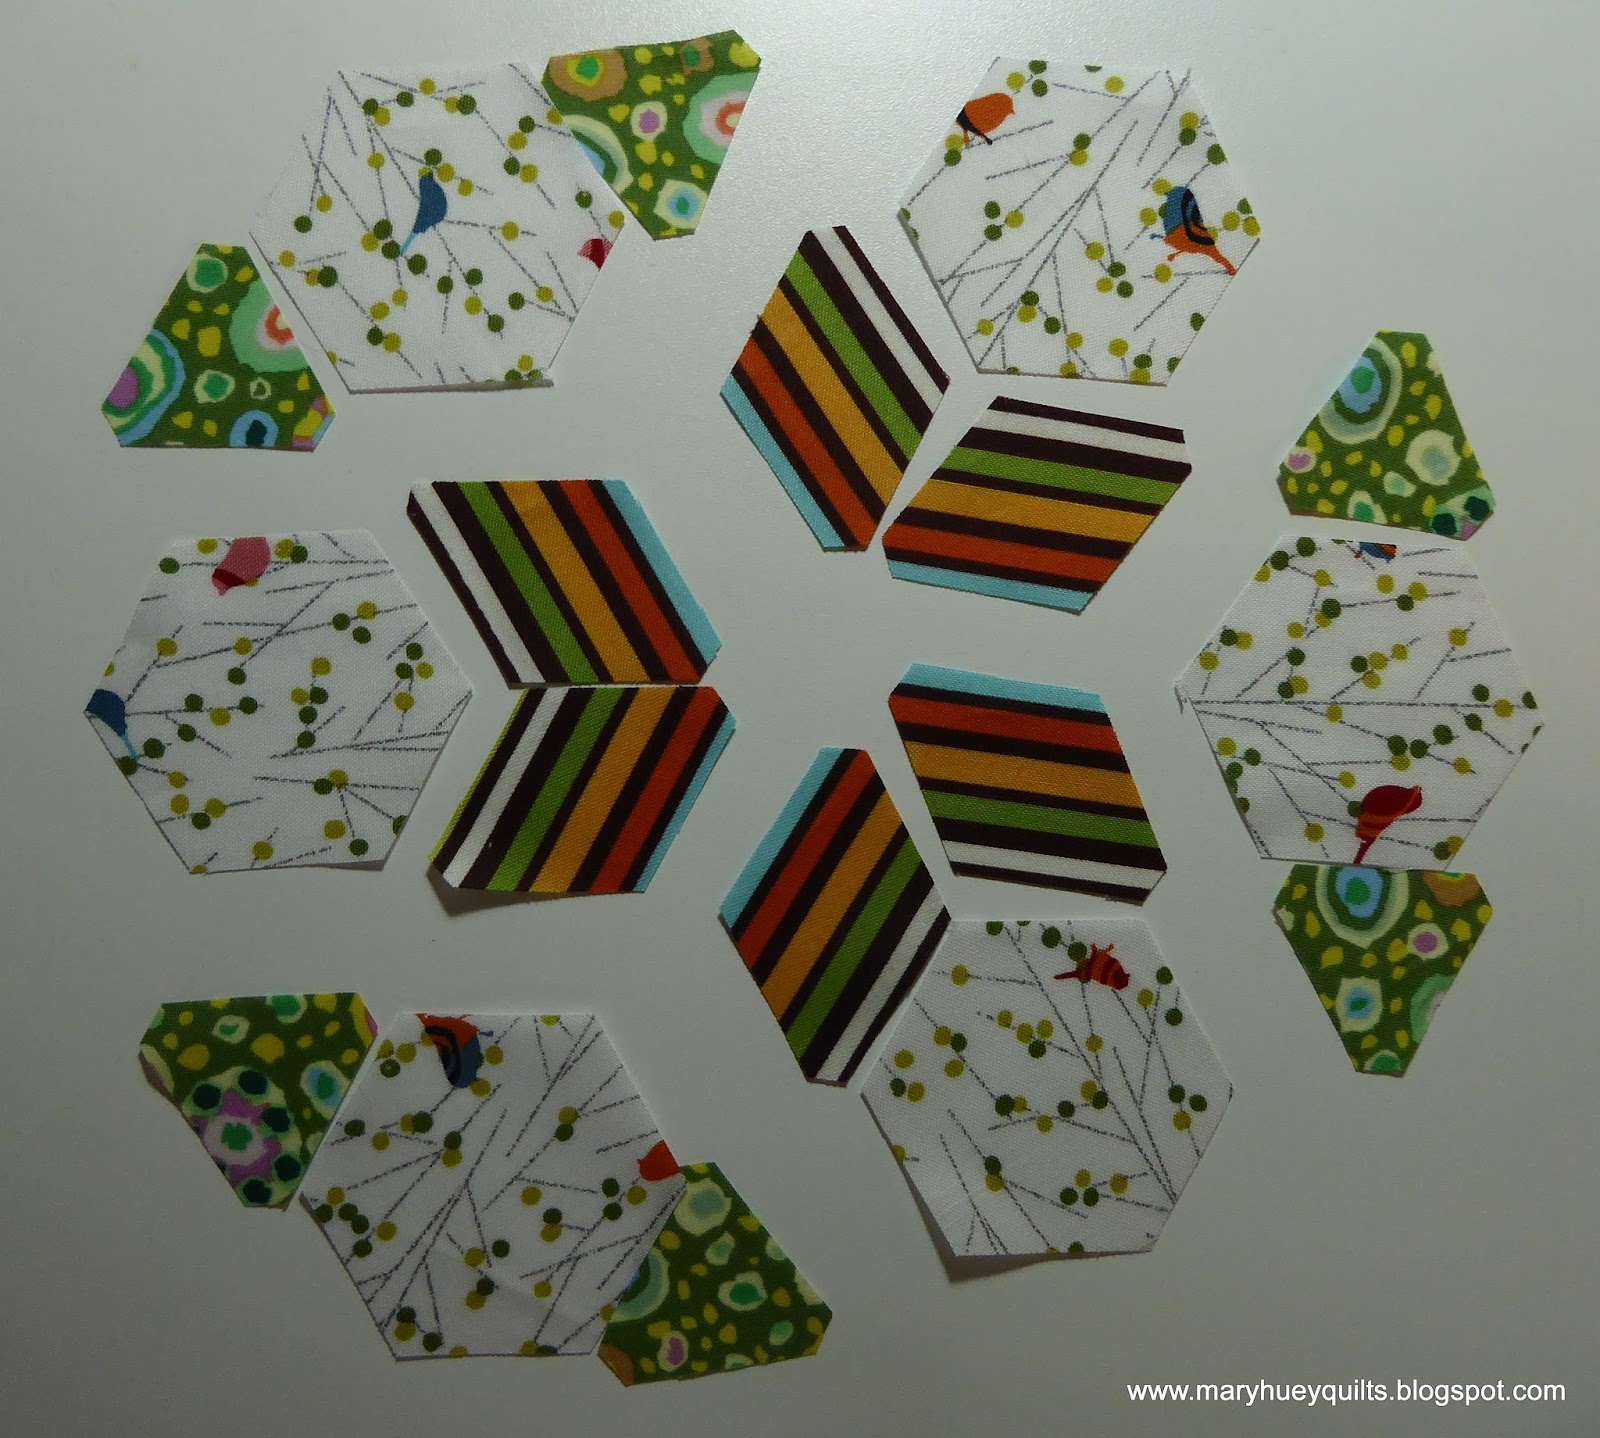
I cut the fabrics for the center hexagon as spontaneously as I could.  I'm not sure I LOVE the orientation of the stripe in the center star, but I was anxious to stitch!!
I always lay out the complete block before I start stitching as that makes it easier for me to break it down into the best units for assembly.   Some familiarity with hexagons and their allies is helpful before starting the blocks in this book as the blocks are not dissected for the order of assembly. 
Here are the two basic units that need to be assembled first.
I worked on both units simultaneously -- chain-piecing through the same step on one unit first and then the other, working back and forth until I had all of them ready to press. 
 
I started by stitching the striped diamonds together in a chain,
then added one triangle to the end of each hexagon,
 then went back and started to set the hexagon into the pair of diamonds,
then the second triangle onto the opposite of those hexagons,
and finally the third seam of the diamond/hexagon unit.
Once each unit was pressed, I laid them out again and began to assemble them into the finished block.
At this point, I had to build from the center out and you might be wondering how I maintained the chain-piecing with all this seemingly stop-and-start stitching.
The answer is I had a second project at hand.  I continued to add the background hexies to the piece I'm trying to get off the workwall.  It's multi-tasking!!
This has actually turned out to be a good strategy for getting the big quilt together.  I'm easily bored and so adding in all the background hexies has been challenging until I started using them as the "sew-offs" (or leaders and enders) for other work. 
 
Altogether it took 26 minutes to assemble the center hexagon for the June rosette.
I also took this cluster from this point
to this point -- adding 8 background hexies and a rosette to the unit!!  I was so absorbed by the excitement of the new block that I barely noticed the effort needed to stay on task with the background hexies. 
What's on tap for today?  Happily, I now have all the segments of this big mosaic quilt ready to assemble, so I'm going to dive into that. 
 
But first I have to cut the next group of "new hexagon" blocks for Katje's June rosette so I can keep chain-piecing!!
 
If you are ready to try out this idea, click on the "BUY NOW" button up there on the right side and order your copy of Set-In Piecing Simplified.  It's $15.95 and that includes shipping!  I'll put it in the mail tomorrow morning!!
 
Have a pieceful day!
 
Mary Huey
 
Joining up with a couple new LINK-UP's today!  Check them out!


Sunday, June 7, 2015

Sunday Morning in the Garden

It's 7 a.m. Sunday morning, a clear and cool 59 degrees (F) and the neighborhood blue jays have called me out into my garden.
Sitting still is not easy for me but I take my morning tea out to the summer dining space and listen to my neighborhood and look at my garden. 
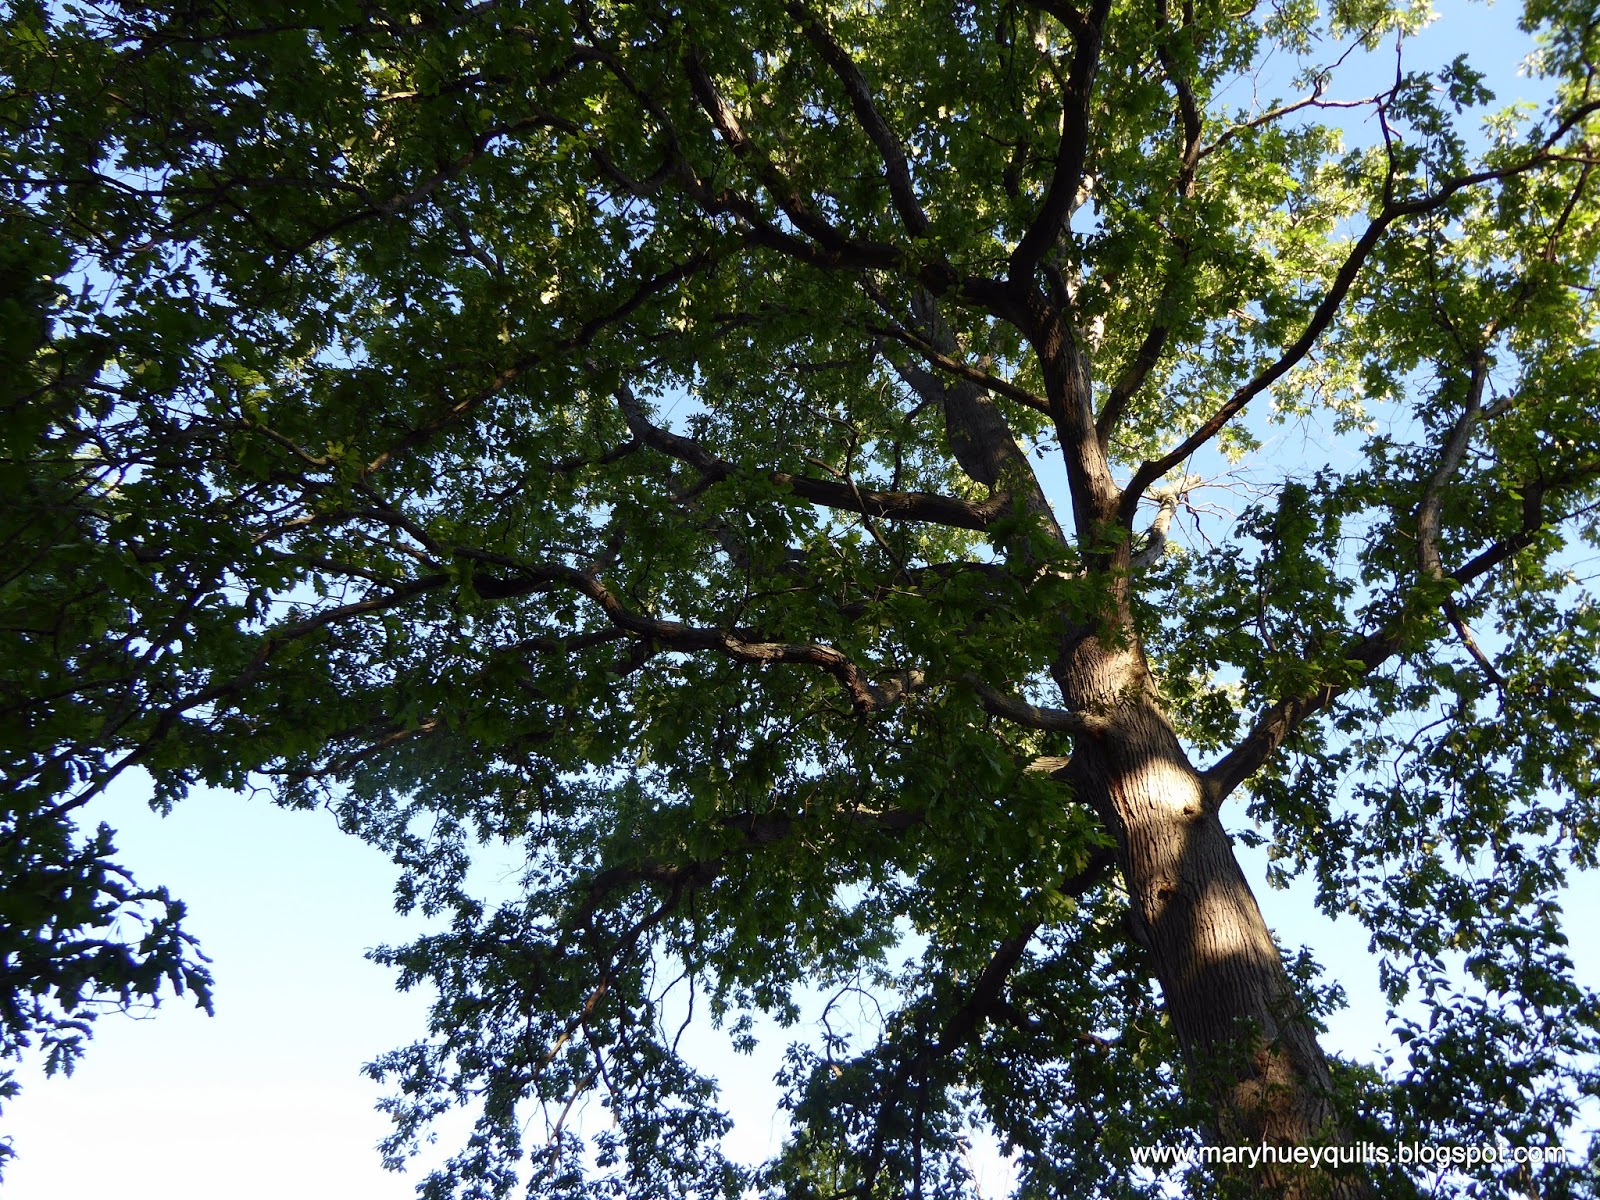
This magnificent white oak shades my back garden most of the day and when I first moved here, it was such a challenge to garden alongside it but now I treasure this 100 year old giant for the connection it gives me to the history of this garden.
I moved here almost 19 years ago and the first summer, one of my daughters and I rediscovered this little concrete pond nestled at the base of the tree.  I'm sure the gardener than installed it had a much smaller tree 4 feet away and never considered that ponds should not be under trees.  Pond landscapers would be horrified with the "condition" but the 200 plus American toad tadpoles currently residing there seem quite content. 
I moved here from a sunny garden and struggled to find the best plants for a very shady yard but now I'm quite enamored with hosta.  My youngest sister shared starts of many of her favorites and although I can't "name" any of them, I delight in their calm display of texture and pattern.
This morning, pearls of dew had collected along the edges of the leaves.
The transcandentia is the only spot of color in that long bed this morning but a parade of white flowering plants have been watching the hostas burst forth for the past several weeks. 
For color and sun, I have to go to the front yard.  This David Austin rambler rose has had a difficult couple of years so I did a big cut back in hopes that it can regain some of its strength this summer. 
I was prepared for no flowers this spring, but there they are -- bless them!!
The front porch is scheduled for the big cleaning this afternoon, but the planter boxes I put together a few weeks ago are filling in nicely.  In a month, they'll be flanked on either side by trellises of blue morning glories. 
I'm sad to see the beautiful blue iris fading from bloom -- they have been glorious, but this spectacular foxglove is filling the gap.   
It's like the giant ones I've seen in English gardens -- so amazing. 
But my tea is getting cold and so I must go back to enjoy another hour of quiet in the back garden before church.  By the time we get home, the neighbor men will be out with their blowers and mowers!!
I hope you are having a peaceful Sunday in your part of the world!
Grateful for quiet moments!
Mary Huey


Saturday, June 6, 2015

Pillow Making is Time Consuming!!

I live on a street of front porches!  Most of the homes were built prior to WWII and just about every house has a porch that runs all the way across the front.  Many of us create a cozy living space where we can spend part of the day relaxing and visiting.  This year, I'm redoing the soft furnishings to coordinate with my fruit and veggie Tessellated Windmill quilt
For the past few days, I've been making new covers for the small pillows.   I started with my Alphabet Sampler pattern (now available in my Etsy Shop HERE) and made the largest size letters (7 1/2" tall).
 
The letters are easy to make.  I did "C" for carrots, "O" for onions, and "T" for tomatoes!
I had small amounts of each of the prints so had to do some creative stretching and adding to get panels the right size.
Since my APQS George is in rehab, I played with straight line walking foot quilting ideas on my Bernina.
It's hard to see what I did on the fronts so I took some photos of the backs to share. 
I used up some fabric from the "don't want it anymore" box
I outlined each letter so they stand out. 
You can tell this was the last one -- my "straight" lines are a bit wobbly. 
Once the quilting was finished, it was time to trim them to size and do the finishing!
Ugh!!  The finishing.  I don't enjoy making pillows covers.  It's the edges.  Ruffles are out of style these days which is fine with me, but a corded edge really gives a pillow a nice look.
Since I really wanted to be outside, I set up my satellite studio out on the back patio and stayed put until the job was finished.
I used 3/16" upholstery cording and bias cut 2" wide strips of fabric.
The zipper foot does a pretty good job for sewing right up against the edge of the cording though I think my older machine has a special foot for that.  Must remember to look! 
I use a longer stitch as this seam will be stitched a couple more times. 
And matching thread is a better choice in case the stitching shows in a few places on the finished pillow cover. 
Once the cording is covered, I trim the seam allowance down to approximately 1/4".  Then I baste the covered cording to the pillow front.
Rounding the corners is the easiest and I start clipping the seam allowance every 1/4" starting about 1" before the corner until I'm 1" past the corner. 
I do an overlapping join.  There is a couple inches of covered cording at the beginning that I did not stitch down.  I've trimmed it (the left side piece).  I stop stitching several inches before the end and at that point, I cut the end off a couple inches past the beginning. 
Now I pull loose the stitching until the cord is exposed. 
I trim just the cord flush with the beginning. 
Now I fold back at least 1/2" of the fabric. 
And insert the beginning of the covered cording into the folded back end so the two ends of the cord are nestled together. 
Finally, I tuck everything in place -- it usually takes some poking with the tip of my scissors.
 
And finishing stitching across to meet the beginning. 
Now I'm ready to add the backing piece, trim the corners, and turn it right side out.
There, that wasn't so bad and now I'm ready to clean the porch and get it set up this weekend for some summer relaxing!!
 
All the fabric came out of my stash -- I even completely wiped out a few pieces of fabric plus I can cross another goal off my second quarter list for 2015 Finish Along. 
 
Placemats are next!!
 
Mary Huey
 
Linking up over at PINK DOXIES PET PROJECT!
 
Linking up with all the other finishers at the


Tuesday, June 2, 2015

Coping with a Full Moon?

I will begin today with the news that I've shut down my website.  It's a step towards simplifying my life as I move further into retirement.  The decision has been months in the making.  These days, I prefer planning and writing for this blog to share my quilting knowledge and experience. 
I'll continue to teach piecing concentrating on set-in piecing and present lectures that reflect 40 years of experience as a quilt maker.  My teaching information now resides here on the blog -- see that tab up at the top of this page?
I won't be vending as often (boy, is that a lot of work) but I'll continue to stock Marti Michell's products and while I figure out my on-line presence to sell her products, just e-mail me at maryhueyquilts@hotmail.com with any requests you have.
For many years, I've focused much of my quilt making on what will appeal to others.  So moving forward, I'm going to narrow that focus and concentrate on what excites me.  I'll continue to intersperse my explorations of new ideas for quilts with tackling my shrinking quantity of UFO's!!
 
There that's said!
 
What amazed me about this process was that it was so simple to accomplish!  I really had myself primed for a lot of frustration with the process of getting the website closed and setting up forwarding to my blog.
Especially during a full moon week. 
I am very aware of the monthly reign of the full moon.  Perhaps it's because I had so many nurses for customers and students during my shop owner days who often regaled us with stories from the local ER when the full moon was exerting its pull on the world.
 
One of the things I hoped would happen with the advent of menopause in my life was that the "crazy irritable attitude state of mind" part of the month would disappear from my life.
It didn't and that was disappointing!!
Now I've decided the full moon is to blame!!
Several years ago, I began to develop a strategy for overriding some of the natural impact of the full moon on my body.
 
What brought this up you ask?  Crazy, weeping children in church on Sunday. 
As we talked about "why" they were so upset, we decided to blame it on the waxing of the full moon.
Here in the USA, it happens tonight, June 2.
 (I got up this morning thinking, is it the same date around the world?)
I might "google" that later!?!
 
So I was moved to share my "strategy" with a friend and as I revisited it, I thought it might prick the imagination of some of my quilting friends as well. 
Ready? 
Here goes.
 
1. Start the day with a walk (that could be any exercise actually, but walking is my preference).
2.  Don't eat junk food!  Now I try to follow that rule everyday, but during the ascent of the full moon, the agitation I experience often "compels" me to gobble down entire ________ (you fill in the blank) and then wondering why I did that?
3.  Be social with a favorite friend -- preferably someone who can make you laugh and smile -- she might just need a social break as well -- after all, the full moon shines down on all of us.
4.  Do something nice for someone else.  I've found that being a bit selfless is a mood booster.  My favorite is to take something from my kitchen to a harried friend.  Easily accomplished as everyone seems harried during the full moon!!
5.  Go to bed early or take a nap.  I consider both to be luxuries and indulging lifts my mood.
6.  Focus on finishing -- don't start new projects.  The point of this is to reap the good feeling that comes with completing a task instead of adding to the "burdens" list. 
7.  Keep the day's goals simple.  One of my talents is the ability to create overwhelming "to-do" lists, the kind that one can only complete if you have a staff to whom you can assign 2/3 of the tasks. When I limit the list to 4 or 5 tasks, a day's worth, and then focus on what I accomplished, not what I didn't get done, it works so much better.
 
One of my favorite primroses -- primula japonica
 
 So there it is.  It's a good list for my life -- some of it might help you but life is different for you so the list needs to fit you and your life.  Those of you who still have children at home will have different challenges.  Those of you who work for someone else may have less time to indulge yourself. 
I hope my list will motivate you to develop your own strategies for the crazy days -- full moon or otherwise?
 
Enjoy the full moon tonight!!
 
Now it's time for me to go for a walk.
 
Mary Huey