Wednesday, January 29, 2014

Quilting Designs for Grandmother's Flower Garden -- Part II

Good morning!  Following are several of the experimental designs from my Grandmother's Flower Garden sample which I like.  If you're visiting my blog today from a link-up you'll want to read yesterday's (Tuesday) post with photos of the charming vintage quilt. 

As you can see, I've drawn them out on a large hexie grid (you can get a PDF of the grid to print out here) -- I need to keep a record of what I have done for future reference!

I used a different color marker for each round of a design.  My goal was to do the entire motif with one start and one stop.  The order of the color slashes in the lower left corner indicate my sewing order. 

This is my favorite center design.  I started a the intersection where the orange arrow is pointing and arched (gracefully, most of the time) across the center of the hexagon skipping a "corner" -- follow the orange line -- and back to the starting point.  The green line is the transition to the next corner which set me up to stitch the purple triangle skipping corners and bringing me back to that point.  I finished it off with the little arcs -- the blue line -- ending at the corner where I began.  From here I can start any of the designs that follow.

Below are two options for "swirls" in each hexagon of the first ring.  I found they look best when I filled as much of each hexagon as I could with the swirl.  The ones on the right remind me of a "koru" which you see in the art of the Maori in New Zealand.  I tried to stitch in the ditch to travel from one hexagon to the next.

The diagram below illustrates another center motif I like -- just be sure to end at the corner of the hexagon for an easier transition to the outer ring.  The green lines represent the basic soft arc of the continuous curve quilting approach and it left the hexagons too empty in my opinion -- so I experimented with adding more (the purple lines).  One option I liked was echoing the first set of arcs and the second option is oval petals.  Once again, I stayed in the ditch of the center hexagon to travel to the next section. 

The next design seen below on the right side began with the small petals (orange) and when I got all the way around, once again, it was too sparse, so I added a second line (green) -- still needed more so added a third line (purple).  See the dot in the center of the lower left hexagon? -- that is center point I made with chalk so that the first petal was somewhat consistent. 

The design on the left side has 5 lines starting with shallow arcs and making them deeper with each pass.  I did all the orange arcs first and then came back to echo with the green and so on -- gave me better results that trying to make all 5 arcs in one petal at a time.


This is my favorite design!  It requires three passes around the motif.  Before starting, I put a chalk dot about 1/4" from the outer edge of each hexagon to give me a landing point for the purple archs.  The first line is the orange one and it starts by the little arrow (upper right corner).  It skips a corner and lands at an outside corner of the motif.  Then go back down skipping a corner to an inside corner and repeat until you are back at the beginning.  The second line begins with an arc out to the floating chalk dot in that hexagon and back down to the next inside corner -- this is a transition line to set you up for the rest of the second line (green).  When you land back at that point, you are positioned to finish the motif with the purple line.


After quilting the central motifs, I echo quilted the outline of the center motif 1/4" from the seams and again around the outer edge of the outer ring.  I chose a yellow thread that matched the center hexagons for all this quilting and worked with my free motion foot. 

So there you are -- the best of my experiments.  I hope my method of sharing them is helpful to you and that they are the jumping off point for quilting your Grandmother's Flower Garden.  Use them all or repeat one of them -- add lines or eliminate lines -- make it your own!!


I hope the woman who pieced this quilt is pleased with the way I quilted it!!

That's where I'm headed!! 

Mary Huey


Tuesday, January 28, 2014

Quilting ideas for Grandmother's Flower Garden!!

It's a beautiful sunny morning here in Northeast Ohio -- the kind that makes you want to hang the sheets out on a clothesline to dry. . . . . . . except for the -9 degree temperature.   The sun is making the snow sparkle and the sky is a pale blue.  I'm surprised to see so many squirrels under the feeders and the cardinals and chickadees are calling some -- apparently the sunshine has a positive impact on them, too!

I FINISHED a third quilt last evening -- it was someone's cast off and a bit "ugly" so when I started teaching Hexagon and their Allies seminars I decided to use it as a sampler of quilting ideas to share with my students.  As I've been quilting it, I've had a change of heart about the "ugly" thing and now find it quite charming. 

The fabrics seem to be more typical of the 1940's to me and some of them are truly ugly by today's standards, but the woman who pieced the top found just the right solid to bring out the "beautiful" of each print in my opinion. 

Following are some close-ups of the motifs so you can see her fabric combo's and my quilting design experiments. 

The color combo of this print is orange, pink,  and yellow with a touch of  green for contrast -- pink and orange together?  Yet I would love to get my hands on a couple yards of it for a sun dress for my granddaughter!


And here is another print using the same colors? 


And this soft green check with the daisies scattered around it is charming.


The purple solid is the perfect partner for this funky green print and wouldn't it be a perfect print design for a modern print today?
 This print is so ugly and yet, the choice of the green solid which seems to blend with the green in the print enhances the motif.


I thought I would be ready today to share some of my favorite design experiments with you, but I'm still puttering with the clearest way to draw them out for you -- so I'll finish that task today and post those drawings tomorrow. 

In the meantime, you may want to download this PDF with a large scale hexie grid so you can trace out my ideas.  And I'm drawing the lines with several colors so you will understand the order of stitching, so find your colored pencils.    

So I'll see you tomorrow!!

Mary Huey


Tuesday, January 21, 2014

Adding a hanging sleeve to a quilt

As I was adding a casing to the quilt I finished this past Friday, I recalled how many questions I get from my students here in NE Ohio about the way I do this.  So I took some pics so I can share it this morning and now my students will have the step-by-step of my technique at their fingertips!

I start with the finished measurement of the quilt edge where the casing will be added and the size of the bar/rod/rail that will be inserted into it.  The requirements for the Lake Metroparks Farmpark Quilt Show call for a 4" sleeve -- normally, I use a narrower sleeve but I'll use this size as an example for my math.  I actually make a separate sleeve/casing, so I need 4" plus 2" for the headers (6").  I double that (12") and add 3/4" for seams.   The fabric I cut for this quilt is 49"  (the width of my quilt) by 13".
 
After finishing the two short ends with a quick hem, I fold it in half lengthwise (like a hotdog bun) with right sides together and stitch about a 3/8" seam.
At the ironing board, I press the seam flat, then turn the casing right side out and press the tube while rolling the seam to the back side of the casing.  It runs horizontal across the middle of this picture.  (It's easier to roll the seam to the back side than to try to press it straight along the top or bottom edge -- can't tell you how many years it took me to figure that simple trick out!?!?)
At this point the tube is about 6" wide (the math worked!!).
Before attaching it to the quilt, I topstitch two rows approximately 1" from each fold making the sleeve into a casing.
And here I am stitching off the casing onto my current hexie by machine project -- no wasted time here!!  By the time I finished making the casing, I had added two more hexagons to the motif!
At this point, the opening for the rail that will be inserted when the quilt is hung for display at the show is 4" wide and the rail should go through smoothly without touching my quilt.  That's one of the reasons I do it this way.

Now it's time to center the sleeve/casing on the back of the quilt and pin it into place for stitching.  It's important to be sure the sleeve/casing is horizontal on the quilt and attached to the correct edge!!  I like it to be about 1" shorter than the edge of the quilt on both ends so that the rail doesn't extend past the edge of the quilt.
Time for the hand stitching!  I use the longest double strand of thread I can manage and a stitch I learned back 40 years ago during my tailoring courses -- the catch stitch.
Start at the left end, anchor the thread and secure with a couple stitches up and down.  The needle goes through the casing/sleeve from right to left catching the backing and some of the batting without going through to the right side. 
It alternates one stitch up and one stitch down.
.
As you work towards the left edge of the quilt, the stitches form a criss-cross design.
Stitch both the upper and lower edges of the casing this way and -- Ta-da!! It's ready to go the show committee on Wednesday! 
 
Two other reasons I prefer this method is that if I want to remove the sleeve, it comes off quickly and doesn't leave any marks.  I also feel that it puts less strain on the top edge of the quilt. 
 
In the morning, since I don't live in a pet-free zone, I'll take the quilts somewhere and roll the sticky thing all over it until I can't find a single cat or dog hair on it!!
 
The next finish is in progress . . . . . sort of . . . . .
I keep telling Harry he's not accomplishing anything because you can't quilt while you are watching the birds?!?

Mary Huey
www.maryhueyquilts.com


Tuesday, January 14, 2014

Adapting Patterns -- Part IV (that's 4 for those of you who don't remember "roman numerals")

Do you have a favorite quilt pattern that you've used more than once because you always get good results and recipients love it? 

Mine is a pattern I designed about 15 years ago -- it's simple, only uses 6 fabrics, and I've quilted it so many times, I don't have to think about "how" to do that! 

There it is, hanging on the right while vending at a show sometime in the past!

 
I call it Sandstone and the pattern is available on my website.   Here is another version. 
 
 
I love the fabric assortment in this one!  It belongs to my younger daughter and features the best feather motifs I've yet to accomplish in the large spaces which seemed empty before it was quilted.
 
 
Years ago I challenged a group of students to "adapt" this pattern and show me what else could be done with it.  One gal pieced it with all neutrals and then appliqued a beautiful floral motif on it.   Another quilter who also pieced it in neutrals used it as the background for redwork embroidery.  (Unfortunately, it was before the digital photo era, so I don't have photos of either -- but you have a good imagination!!)
 
But I'm a "piecer" first and so a few years ago, I substituted clusters of flying geese units for some of the larger pieces in the layout.  A lack of fabric was the motivation for my adaptation.  The border print provided the color theme but I had a limited amount of it and so to be sure I had enough for the border, I cut those first which left less than was needed for the body of the quilt. 

 
Students who saw it loved the variation and so I edited the pattern to include instructions for adding the flying geese.

 
Here's a crib size top that is waiting patiently on my shelves to be quilted -- just need a baby shower invite to finish it! 

 
I love the border fabric!  It was the new piece of fabric and everything else was "from the stash".

 
So now it's time for you to look at some of your favorite patterns.  Do you have Turning Twenty?  That has been a favorite quickie for lots of my friends and one of the pieces is a good size square -- what could you plug in there for some added interest? 
 
Even better, what do you have in your UFO stash that would plug in there -- maybe a few Farmer's Wife blocks -- I'm never going to finish that project!!
 
All of the ideas shared in this series of tutorials on Adapting Patterns are from my workshop on the same topic.  I hope they've given you ideas and inspiration!
  I'd love to see any photos of adaptations you've made based on my ideas! 
 
Check in with me on Friday to see if that "finishing" surge is still active!!
 
Mary Huey
 
P.S.  Does anyone remember why we had to learn to read Roman numerals?


Monday, January 6, 2014

Adapting Patterns -- Part III and Bonnie's Mystery Reveal

What a nice surprise on New Year's Day morning to find that Bonnie Hunter had revealed the blocks and the layout for the Celtic Solstice Mystery!!  I've been stitching the blocks together a few each day since and so far there are 15 on the work wall.  What do you think?


Oops, I can see that I have a couple mistakes to fix -- all the orange squares are suppose to be going the same way -- well, the blocks aren't set together yet, so I'm okay.   Since I intend to donate this quilt, I'm undecided whether to make a twin (5 by 7 blocks) or two crib (3 by 5 blocks) size tops. 
 
I'm not sure how I looked at the layout for Bonnie's Birthday Girl block and reversed the direction of the green chevron units . . . . la, la,la . . . . but I love the large light star  that is created by alternating it with 54-40 or Fight blocks.  It would make a great setting for any star block based on a 3 by 3 block grid.  All I can think of is Ohio Star without pulling out my block books, but I'm sure there are others. 


I'm really looking forward to seeing all the color combinations this week as quilters who've been working on Celtic Solstice for the past month "link up" this week!!  And mine will look a bit different because I flipped that one unit.  hmmm!  Better make a note to myself on the instructions I've printed out.  
  
And that brings me to the third part of my series on "adapting patterns".   I often change the size of a quilt by changing the size of the individual blocks rather than changing the number of blocks.  And Bonnie's Celtic Solstice is a perfect candidate. 
 
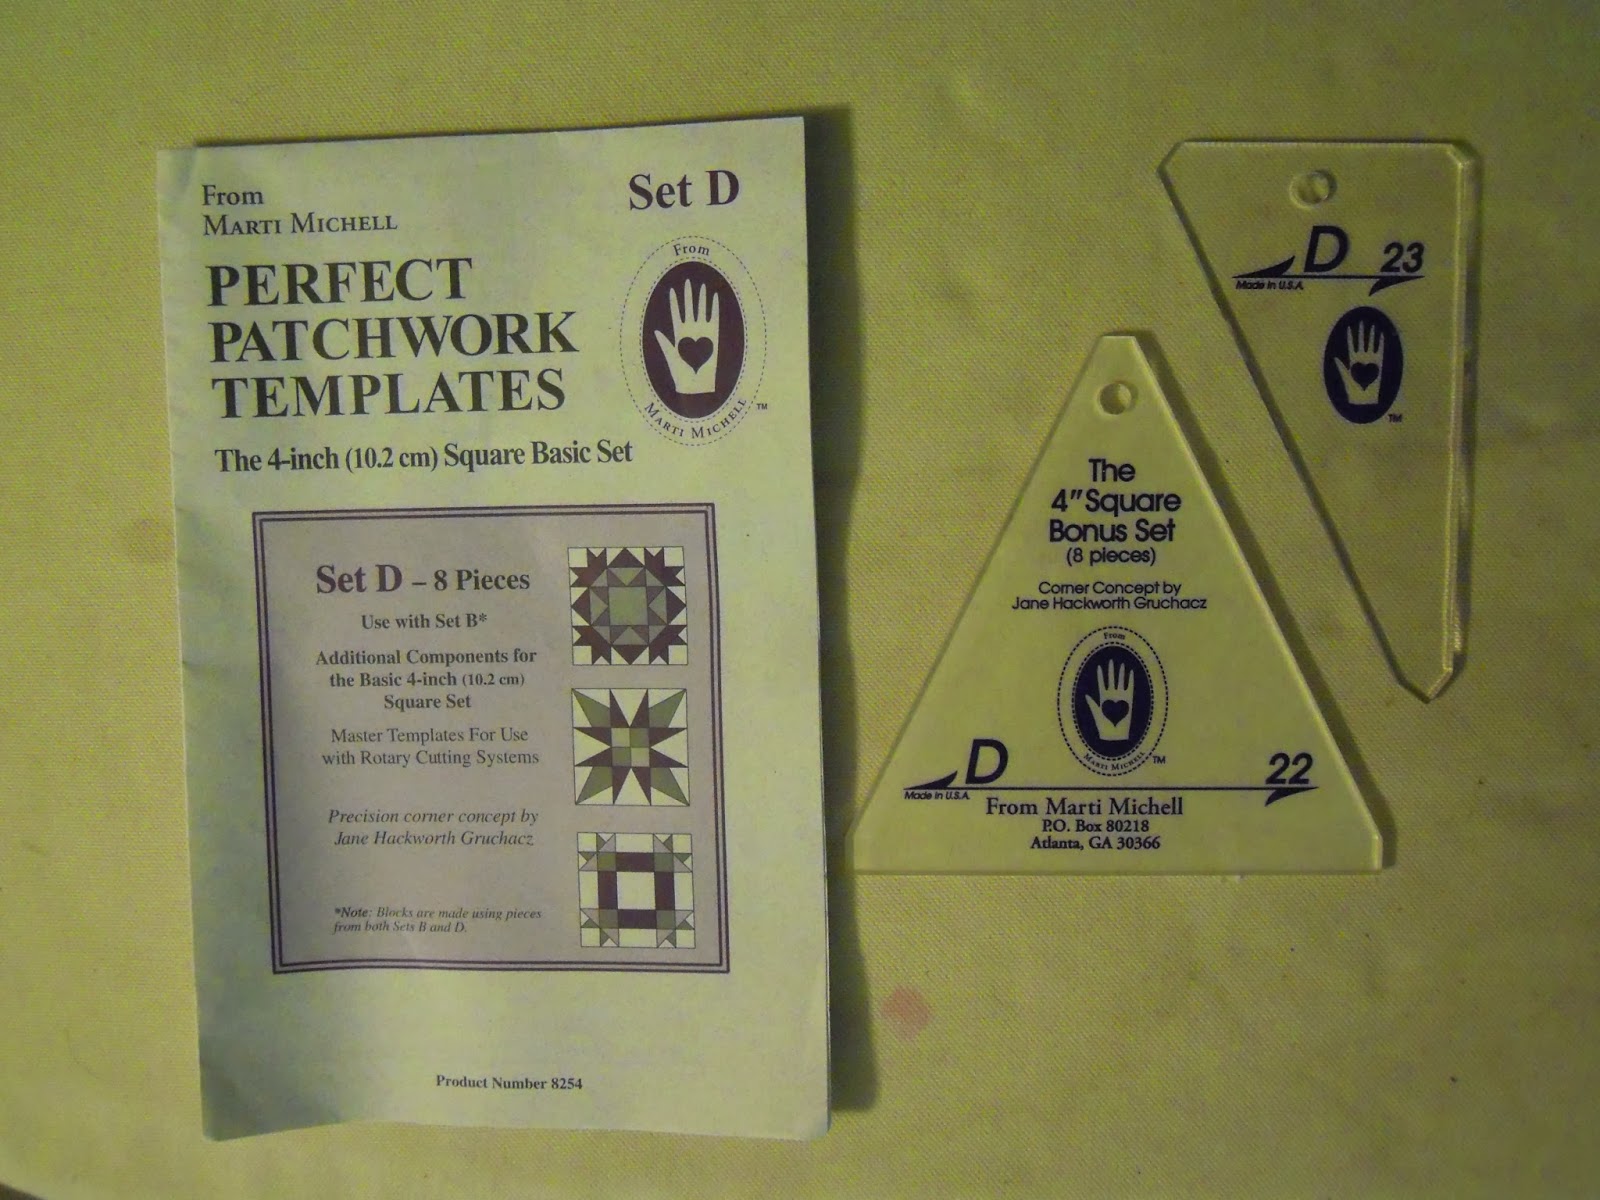
These blocks finish at 9" and I used Marti Michell's Sets A and C to cut all my pieces.  Those two sets have a variety of basic shapes designed to make 3" finished units which can be combined to create a wide variety of blocks. 
 
 Had I used Sets B and D, I would have the same shapes but the finished size of the units is 4".
 
And if I used Sets T and R, the units would have   
finished at 5".  So each block of the quilt would have been 15" finished.  That size block would bring a king size quilt top together pretty fast!!
 
I first did this 15 years ago with my pattern, Marie's Scraps.  Each size of the quilt uses the same number of pieces, but by using Set A I made a crib/laprobe size quilt.  Set B is used for the twin size and Set Q for double/queen. 
 
 
More recently, A Trip to the Stars, which I designed to introduce my students to Marti's Sashing Star Tool Set follows the same principles of changing the size by working with a different set of templates for each size quilt. 


 So take a second look at those quilts photos you love -- could it be made larger or smaller simply by changing the scale of the pieces?  If you love small pieces, you can translate those king size blocks into a small scale quilt and vice versa.  Don't let a pattern limit you!
 
Mary Huey
 

Saturday, January 4, 2014

Set-in Piecing Simplified

Yes, you read that right -- set-in piecing (you know, y-seams) simplified.  I now offer a downloadable PDF teaching guide so you can learn this technique in the comfort of your own sewing space!

For those of you who haven't already heard the story, let me give the background of this convergence of tools, desire, and a great technique!

For the past 8 years, I've been working with Marti Michell as a certified educator for her wonderful line of rotary cutting templates and tools.  In the spring of 2011, I taught a set-in piecing workshop in Watertown, NY for 20 gals from the local quilt guild.  The project was my Jelly Stars tablemat and the tool for the workshop was a new set of Marti Michell's templates, the 2 1/2" Stripper Set, designed to use with "jelly roll" strips. 


This popular class introduces students to how Marti's templates improve accuracy with set-in designs.  At the end of my first stitching demo, I confessed that the most challenging part of set-in piecing for me was all the "start and stop" stitching but there was no other way and so one must learn to be patient and look forward to good results.

It was a large group and I was on the move constantly, making sure everyone was staying on track, clarifying the fine points of matching, and enjoying their progress and fabric combinations.  I paused at the machine of one student -- it appeared that she was "chain-piecing" and of course, we all know one can't chain-piece with set-in seams. 

Well, I was wrong and boy am I glad that Mary O'Keefe was in my workshop because she shared her discovery with me and it lit a fire in me!!  Her technique (which I think occurred to her during the workshop) and my enjoyment of teaching with Marti's templates and all the current interest in hexagons and 60 degree diamonds have converged to ignite a firestorm of activity for me.  Just look at some of the pieces I've done since that workshop as I perfect and teach this technique to quilters.

First there was the scrappy tumbling blocks -- I've always loved this design and now piecing it is as simple as making 4-patches (no kidding).


Then I decided to try the technique out on a pile of hexagons -- these are 2" and used the large hexagon in Marti Michell's Set G.


Now I was ready to teach the technique (with Mary's blessing) and designed this large scale piece using the Multi-size Diamond and Multi-size Hexagon tools to make 4" tumbling blocks and hexagons with a great focus fabric.


At that point, I discovered Kerry Dear's now famous Candied Hexagons which is inspiring so many quilters around the world -- she did that with Marti's first set of hexagon and companions templates in 2005.  So I went to work with Set H playing with 6-pointed star possibilities. 


It's bright and busy, but it was so much fun to make!  I scored the border fabric on a teaching trip to Colorado in August of 2012 and it inspired the fabric pull from my stash when I got home.  By January of 2013, it was ready to enter in the regional quilt show (where it won a ribbon - yeah!!) at Lake Farmpark in Kirtland, Ohio. 


I'm currently finishing up this more subdued sampler of 6-pointed stars and relatives.  As I finished each phase of this quilt, I'm still amazed by how much easier set-in piecing has become for me thanks to Mary's insight.  Plus the accuracy I achieve using Marti's templates is remarkable.

And this is my current "sew-off" project as I work toward reproducing the old mosaic quilt in the photographs using 1" hexagons pieced by machine with the technique included in my teaching guide, Set-In Piecing Simplified.


The Set-In Piecing Simplified teaching guide is based on a year and a half of teaching and testing the best way to teach it to all levels of quilters -- beginning to advanced.  In it, I cover cutting and marking the pieces with Marti's templates (there are a half dozen options).  The demonstration project is tumbling blocks and I cover the sewing from piecing the basic units to setting them together in a quilt.  (You can order a downloadable PDF from my Etsy Shop by clicking on my face up there at the top of the right side column!)

If you love the look of hexagons and 6-pointed stars, tumbling blocks, and 8-pointed stars (the technique works for those just as well) -- you need to learn this technique.  And if you need more ideas for working with those shapes, you can follow me on Pinterest.   Once you view the video and practice the technique, you'll soon be wondering why you thought it was difficult to stitch y-seam blocks.

Because piecing should be fun!!

Mary Huey