I hope you are enjoying the results of participating in this Sew-Along!
The PDF for this step is here. And if you are just discovering the Sew-Along, Step 1 is here, Step 2 is here, and Step 3 is here. It's not too late to join the adventure!
Are you trying the chain-piecing technique from Set-In Piecing Simplified? Are the demonstrations and guidelines in the DVD clear enough for you to learn the technique? I'd love to hear how you are doing with that -- leave a comment below!
So let's split some diamonds!! Both Sets G and H have templates that enable you to split the 60 degree diamonds lengthwise and crosswise. We'll start with the lengthwise split. (While preparing to write this step, I had some challenges -- grrr -- doing this with the 60 Degree Diamond tool and am preparing a separate PDF with photos explaining how to do this.)
There are two lines down the length of the diamond templates in Sets G and H -- the dashed line is the stitching line and the solid one is the "cutting" lines.


There are two way to cut these split diamond pieces. You can cut individual half diamonds. To do that cut a strip slightly wider than the template. The lengthwise solid line is positioned on the edge of the fabric strip. After cutting the first half diamond, twist the template around and cut on the opposite side of the strip so you'll have very little waste. The two half diamonds are then sewn together and the center seam is pressed open.
I prefer the second approach. Two strips are stitched together and the seam is pressed open. Then diamonds are cut by centering the dashed line down the center of the template on the seam. There is more waste but my diamonds are more accurate and consistent.
That waste can be eliminated by stitching the two strips together on both sides as in the photo below. After some trial and error, I cut the strips 1/2" wider than half the diamond template. The strip set only needs to be 4 times longer than the longest measurement of the diamond template. So for template H52, I cut my strips 3" wide and 27" long. For template G44, I cut strips 2 1/2" wide and 24" long.

Before cutting, press the strip set flat to set the stitching and then lay the template on one edge of the strip, cut a diamond and press the seam open.

Pay attention to one fiddly little detail -- make sure the dashed lined is just inside the stitching line -- this allows for the fabric lost in folding open the seams allowances and if your 1/4" seam is a bit off, the diamonds will still be accurate.

Continue working down the strip set cutting on opposite sides until you have six diamonds.

When setting these diamonds together, it's easiest to manage the bulk of the outer points if you press those seams towards the background diamonds. I only press the first seams open and then all the remaining seams are pressed to one side. Make sure the central seams swirl in the same direction for the easiest assembly as your finish the block.

So here's one ready almost finished -- I forgot that my stripe will not be identical on all six diamonds when cutting this way -- but leaving it since it will be a good teaching example -- ended up with 3 of each -- next time, I won't use this double stitched seam with a stripe. Who knew?

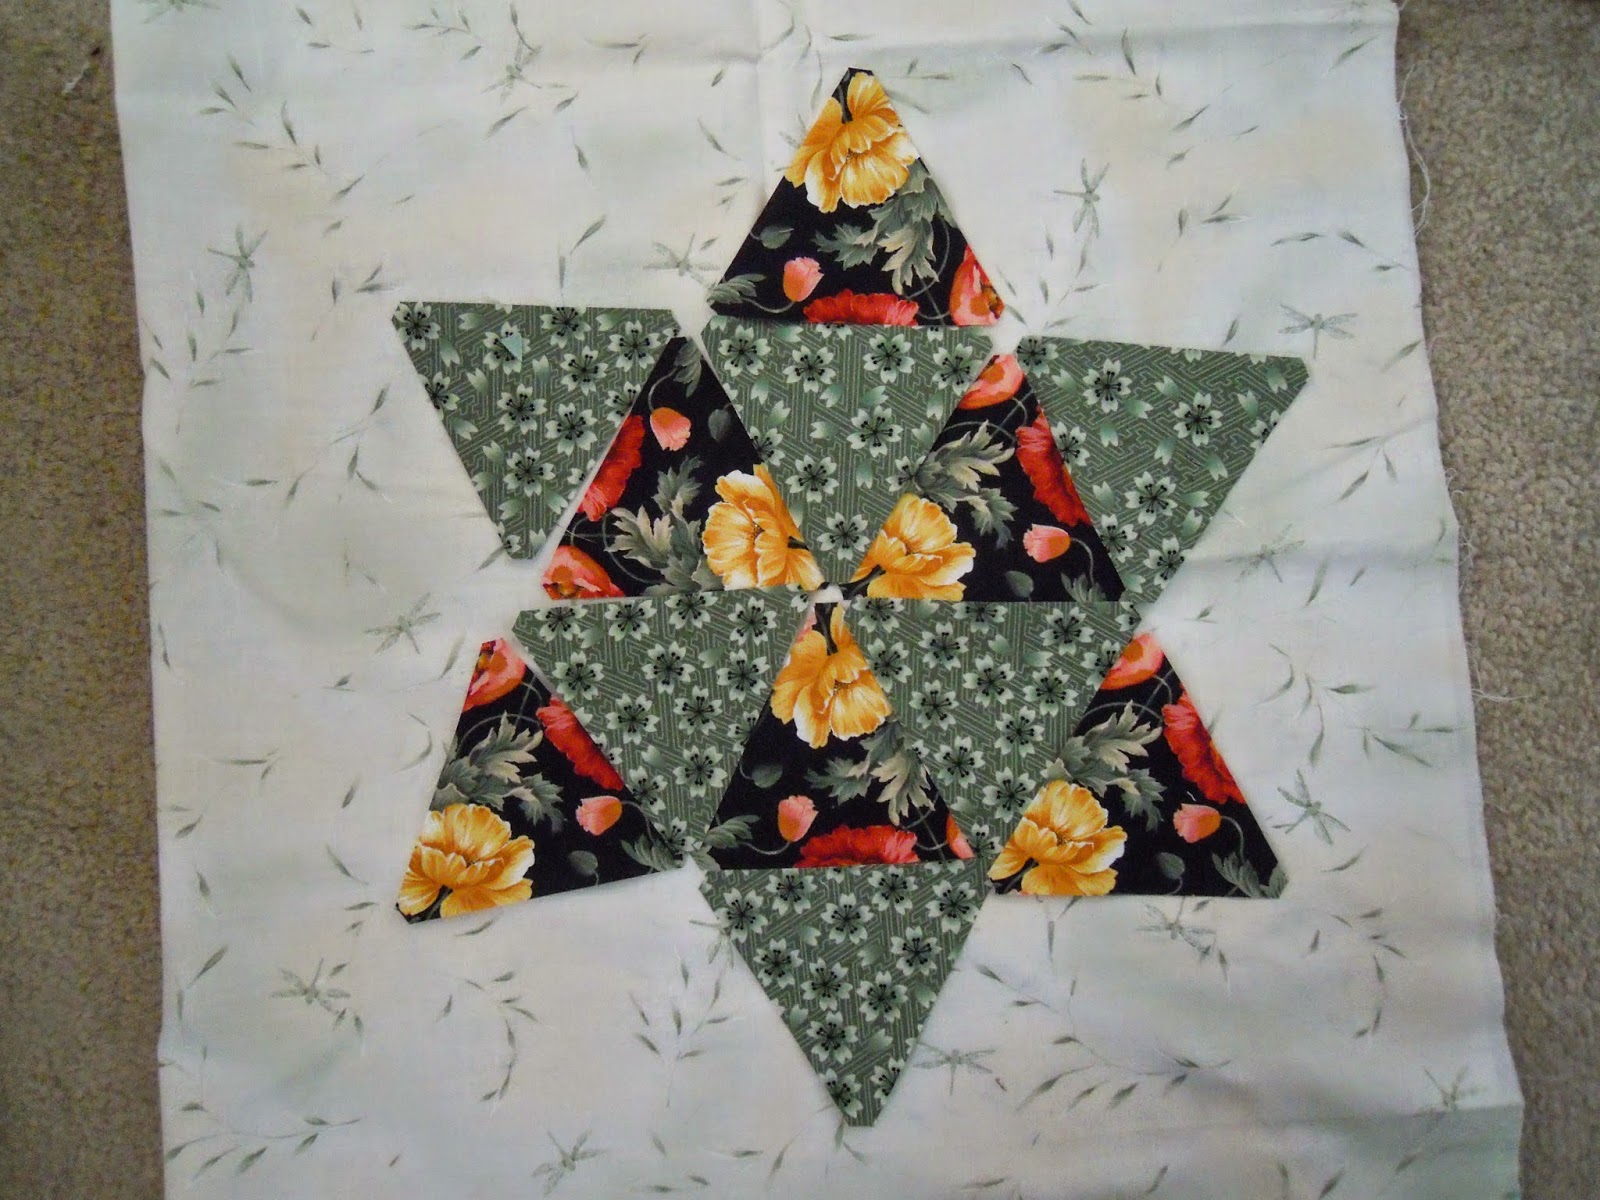
You can also split the diamonds crosswise. In Set H and on the 60 Degree Diamond tool, there are lines on the templates. In Set G, use the matching equilateral triangle template (#45 or #49). This is my final arrangement, but I auditioned two others before deciding for sure.

I like this one and think I'll use it with another fabric combination.
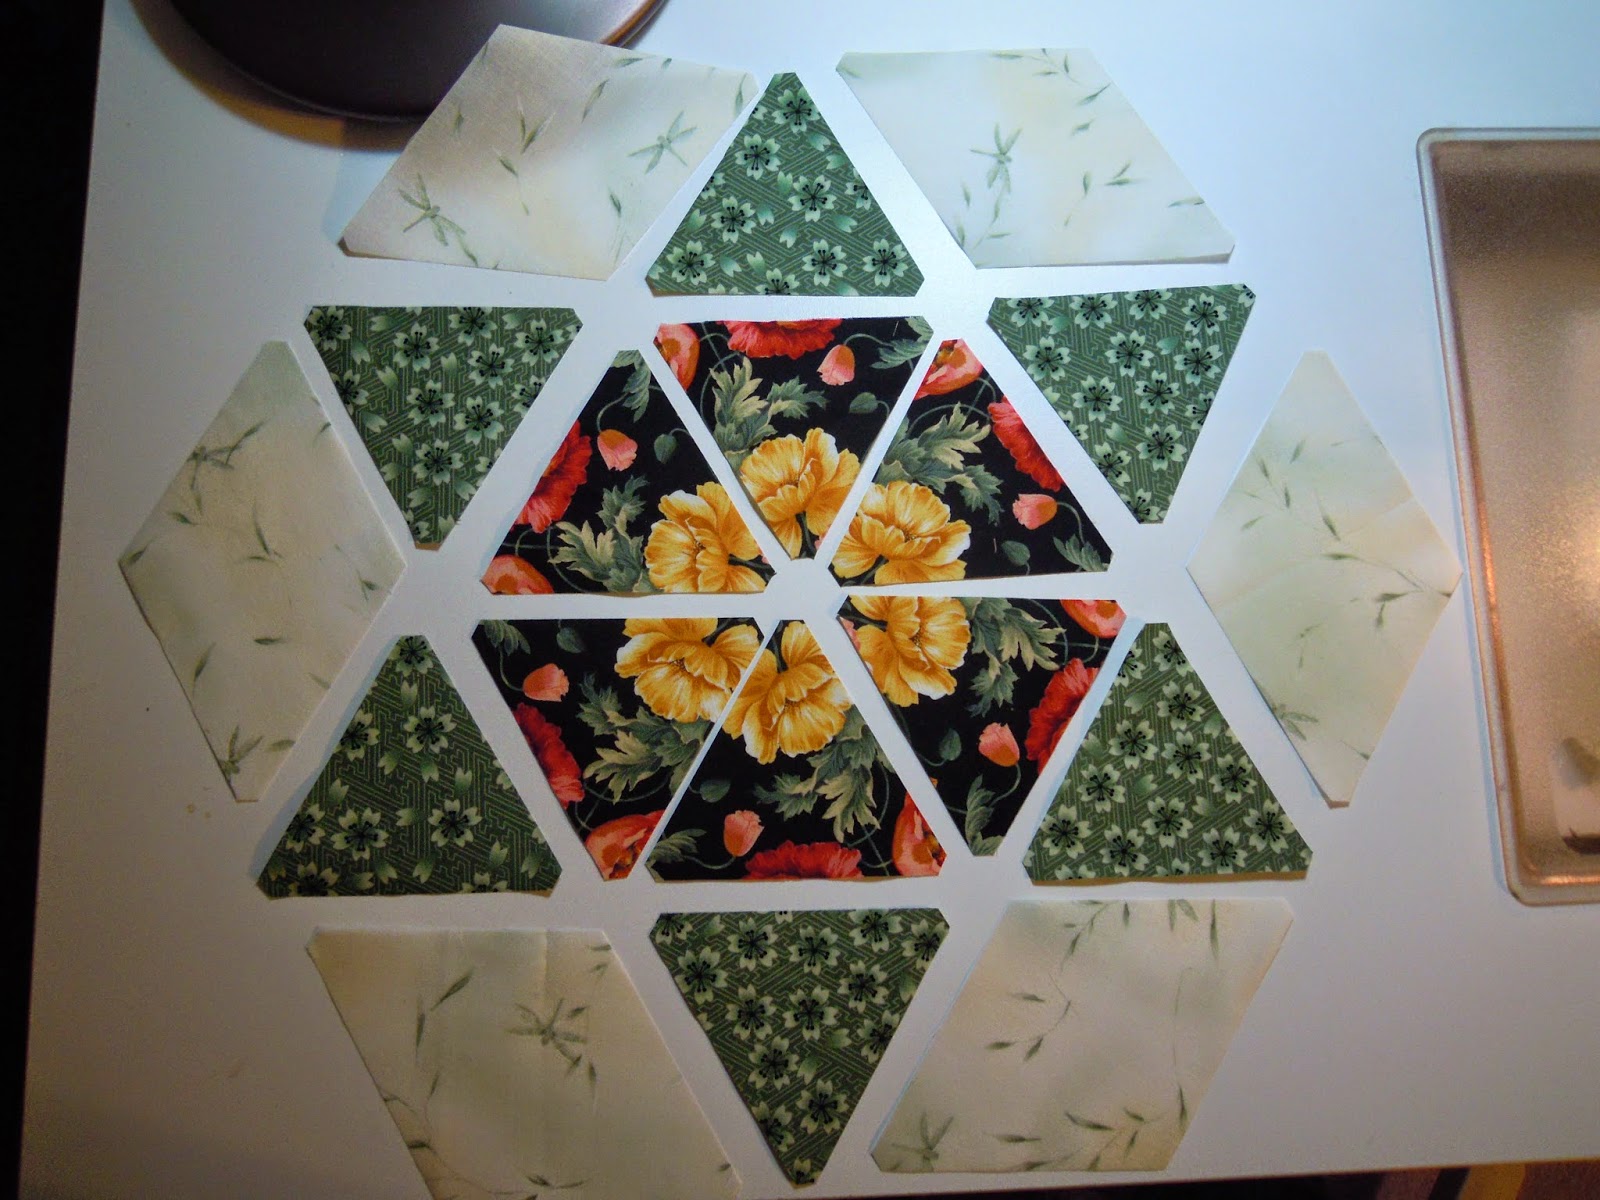
This one looks clunky to me -- I tried every rotation of the outer points but none of them appealed. Perhaps for a smaller star, this would have worked, but these are large stars made with 3 1/2" diamonds using the 60 Degree Diamond tool.

Here is the final arrangement with the background diamonds in place -- ready to sew.
Notice anything?
There are no set-in seams -- it's all straight lines. Not that it matters so much to you at this point -- with all this practice, those set-in seams should be getting much easier by now!

I'm stitching the sections together as my "leaders and enders" while make some of the other blocks. I'm pressing as I go and ended up having to repress a few seams -- can't seem to come up with a repeatable formula for pressing this variation.

You do want to press the seams that come into the center of the block so they can be swirled as in the set-in pieced stars to keep the center flatter.

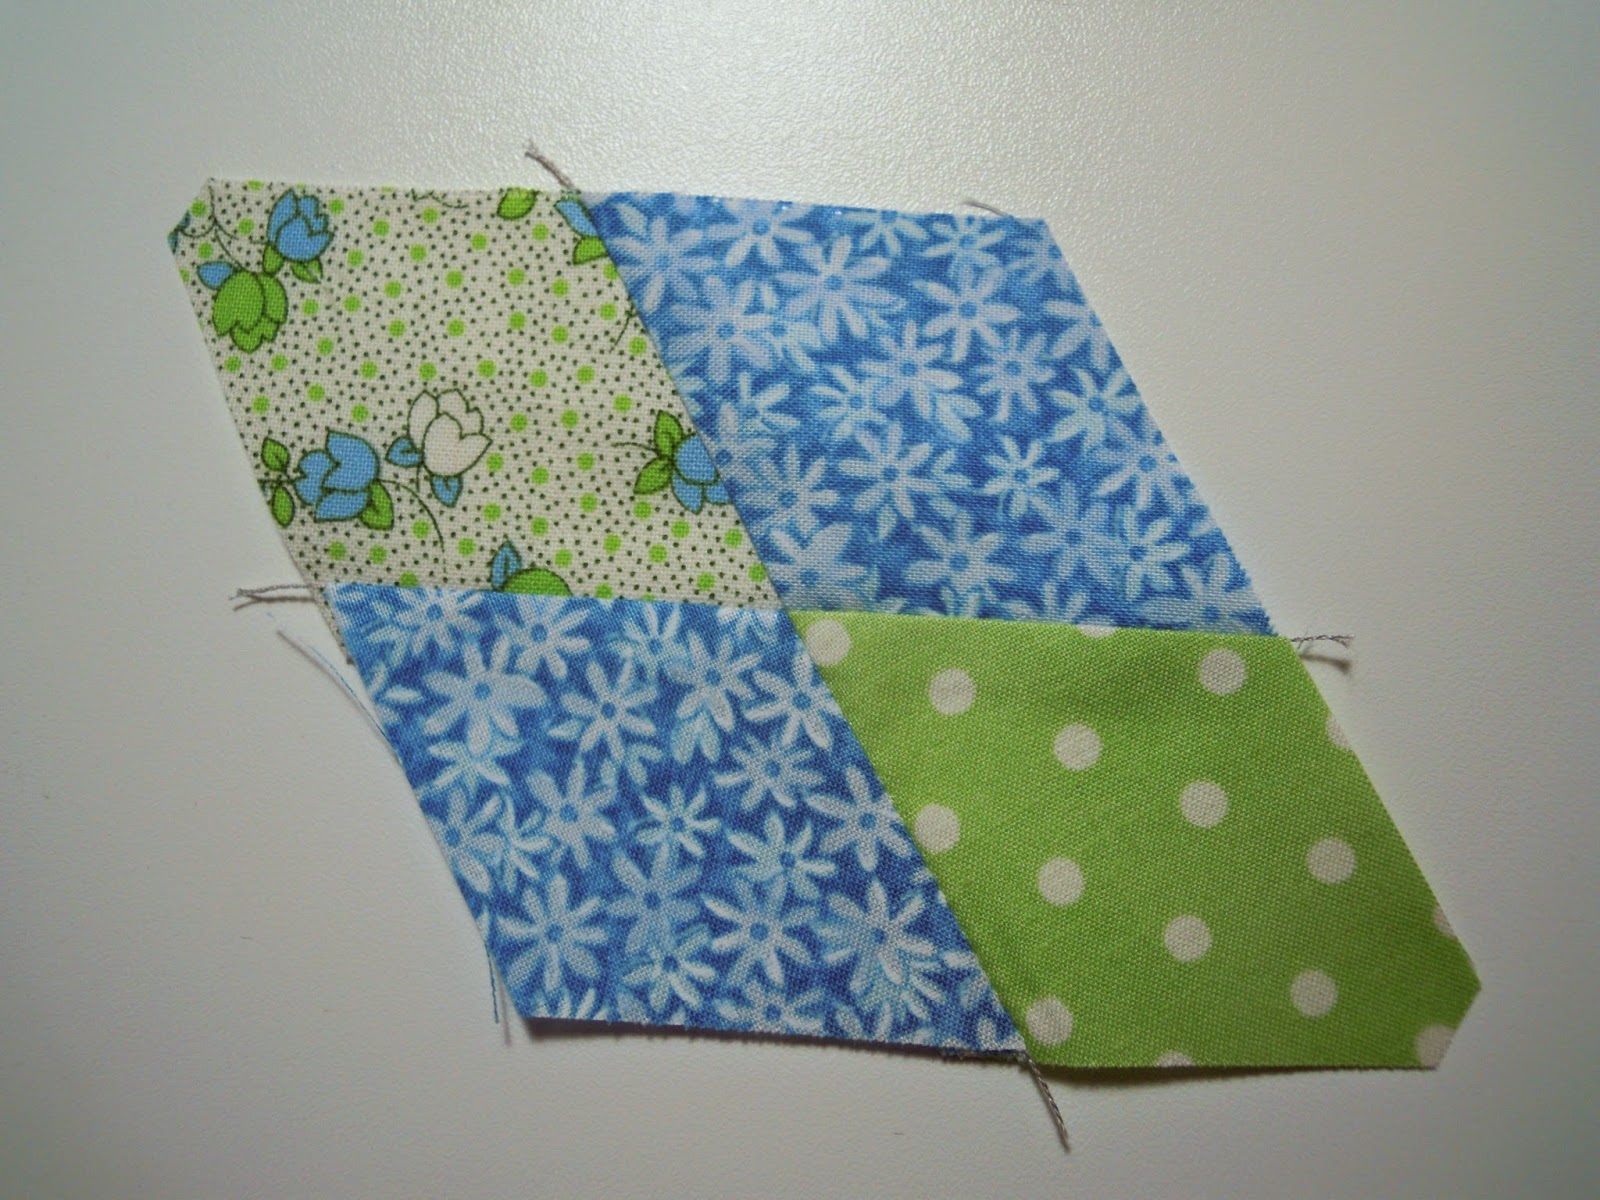
The third variation works for the larger size stars. When you piece together four of the smaller diamonds in Set G (use template #48) or Set H (use template 53), they make a diamond the same size as the larger template. See the extra PDF for the 60 Degree Diamond tool if you are using that.

Be sure to take the time to nip off the points -- it makes accurate matching a breeze!

Chain piece one half together for all six diamonds.

Press the seams to one side.

Repeat for the second set and press the seams so they will be opposite the first pair.

Stitch the two halves together -- once again those trimmed points improve your accuracy.

Be sure to lay out the pairs before stitching so you don't experience this!! Oops -- time to rip!

If you stitch a consistent 1/4" seam, the center seams will be aligned effortlessly!
Lay out the block and assemble!

Time to try it yourself. Do at least one of the split variations -- maybe try all three!
In Step 5, I'll introduce you to hexagons and cone heads (maybe you'd rather call them jewels) and show you how to incorporate them into your sampler of stars. If you haven't already started to put your assortment of stars up onto your work wall, do that this week. It's time to decide whether you like them better with a pointed end up or a flat side up. That will help you make setting decisions when we get to Step 6.
Mary Huey
All material Copyrighted by Mary Huey Quilts!
If you can't find the templates locally, you can order them directly from Marti!
very pretty, I like the arrangement you picked best too
ReplyDeleteThanks, Shauna!
DeleteI'm still trying to carve out the time to join in the sew along. I did manage to watch your video twice. There is a lot of new and creative information in it. Combined with the video and visual aids, I can see how the techniques could really revolutionalize my way of piecing these types of shapes. I'm looking forward to digging in after I finish a small project I'm working for the short-term. Great job on the video and these posts!
ReplyDeleteGlad the instructions make sense, Lori! I'm looking forward to see some stars from you soon!
DeleteWhat a gorgeous block. Great tutorial!
ReplyDeleteSure wish I could attend your class in Ohio, but my calendar is booked at that time. I'm definitely interested and want to see about getting you out on the West coast for teaching!
SewCalGal
www.sewcalgal.blogspot.com
Thanks for the compliment -- I would enjoy teaching out West!!
DeleteI worked on charity quilts with my guild today. Many comments about what a good teacher you are. All those classes we took over the years left us capable and fearless. Thanks.
Delete"capable and fearless" -- on my, Kathy! Thanks!
DeleteSo many beautiful possibilities Mary.
ReplyDeleteYes, so many!!
Delete