Here's a quick tutorial for printing quilt labels with an ink jet printer at home with regular fabric. I fall back on this approach when I don't have any commercial printer ready fabric or when I want to use quilt fabric. I think I learned how to do this from Caryl Bryer Fallert many years ago in a fabric printing workshop she taught for my shop.
It's simple but there are a few tricks for success.
This weekend, I finished the twelfth block for my version of Pamala Jo Designs Whirly Weeds 2023 Sewalong and I have a vision for a wallhanging but I want to label all the plants featured on the blocks.
.JPG)
I want them to be printed legibly on fabric that blends with the background prints and the easiest way to do that is create a Word document that I can print directly onto fabric. I love having all those fonts to choose from and I can play around with the font size!
As you'll see, you can play around with ink color, too!
The document is the easy part!
To prepare the fabric, I use spray starch or Best Press to stabilize it - this helps keep it flat in the printer and helps keep the printer ink from bleeding out. Then iron two layers of freezer paper to the back side of the fabric using a warm iron.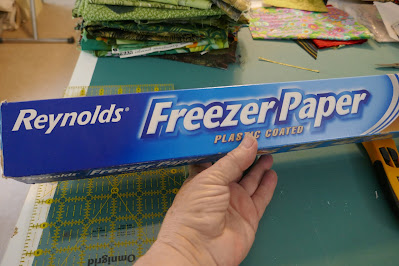
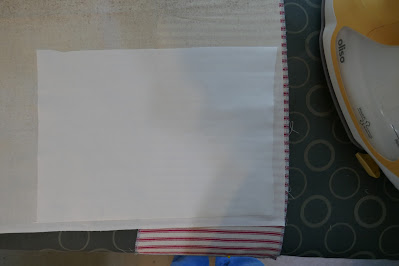 Each piece was about 9" by 11 1/2" and after fusing the paper in place, I trimmed the fabric/freezer paper layered pieces to a perfect 8 1/2" by 11", the size of a standard sheet of paper.

If you've never used freezer paper as a quilting tool, the shiny waxy side will fuse to fabric temporarily with an iron set on warm (too hot doesn't work). There are lots of YouTube videos on using freezer paper for applique if you google it.

I do a test print on paper to evaluate the size and spacing of my text.
.JPG)
Once I'm happy with the test print, I load the freezer backed fabric into my printer. I had some trouble getting the printer to recognize the fabric as a sheet of paper and so went into "properties" and changed the paper setting to "thick paper".

My first attempt was a "fail" because I only used one piece of freezer paper -- must use two layers of paper and be sure to have a good bond between the fabric and the paper.
Arghhhh!
.JPG)
Once I added a second layer of freezer paper and changed the paper setting to "thick", it took less than 5 minutes to print out the three pages for my plant labels.
After letting the sheets set for a bit, I peel off the freezer paper and heat set the printing a couple times with my iron on the cotton setting.
.JPG)
I did use the bottom half of the messed up piece to make a label for my recently finished Homage to Grandmother's Flower Garden quilt.
Lemons into lemonade!!

I framed the quilt label with 1 1/2" wide strips of fabric from the quilt, pressed the raw edges under and appliqued it to the back of my finished quilt!
So efficient!?!

More about those plant labels in a future post!!
Let me know if you try this and how it works for you!
Mary
No comments:
Post a Comment
Note: Only a member of this blog may post a comment.