Once again, I wasn't going to go for the challenge even though I'm good at making quilts with scraps but then as I was making my bed on Wednesday, a inspiration caught my eye. I saw a "pattern" as I looked across this Kaleidoscope quilt that I had never noticed.
I grabbed a piece of kaleidoscope graph paper (it's a copy from the inside cover of Marti Michell's Kaleido-ABC's book) and sketched it out with colored pencils before it disappeared from my mind!!

You already know what happened next, don't you?
Yep, before the day was over, I was cutting fabric and piecing 9 blocks just to see how it would look.
I used Marti's small Kaleido-ruler and made nine 6" blocks.
Her piecing strategy for these blocks is perfect (also found in the book) and so by the end of the afternoon, I had a finished 18" top!
Pillow??
The next afternoon found me exploring quilting a spiral with my walking folk -- moving past the hesitation of trying to decide if the quilting would "ruin" it almost created another UFO.
Happily, I convinced myself that if I didn't like it, I would just give it away but once I got through the first couple rings, it was easy and I'm delighted with the way it looks!!

Wallhanging??
The Project Quilt Challenge was looking for a minimum of 12 fabrics so I used 4 different prints of my three colors plus the background print (just in case I finished it before the deadline).
If scrappy quilts intimidate you, using a single background print is a good strategy because it eliminates all the choices for that part of the design and it unifies a piece nicely.

When I left my studio Friday afternoon, I was still waffling -- pillow, wall hanging, table topper, UFO?
If I did a pillow, did I have a form that would fit or would I have to go shopping and I really don't enjoy the finishing process necessary to make a pillow cover.
If I did a wall hanging or table topper, it wouldn't work in my house -- to whom could I gift it?
UFO? -- remember we are trying to avoid creating more of those!!
I guess it was good to end the day pondering all of that because Saturday morning, my brain had it all figured out.
Pillow, with a flange edge so the 18" piece would fit the 14" form I have that needs a new cover plus an odd idea for a different finishing strategy!!
I needed a zipper, some gray polka dot for the backing and happily -- they were both on hand in the stash -- no shopping delay!!
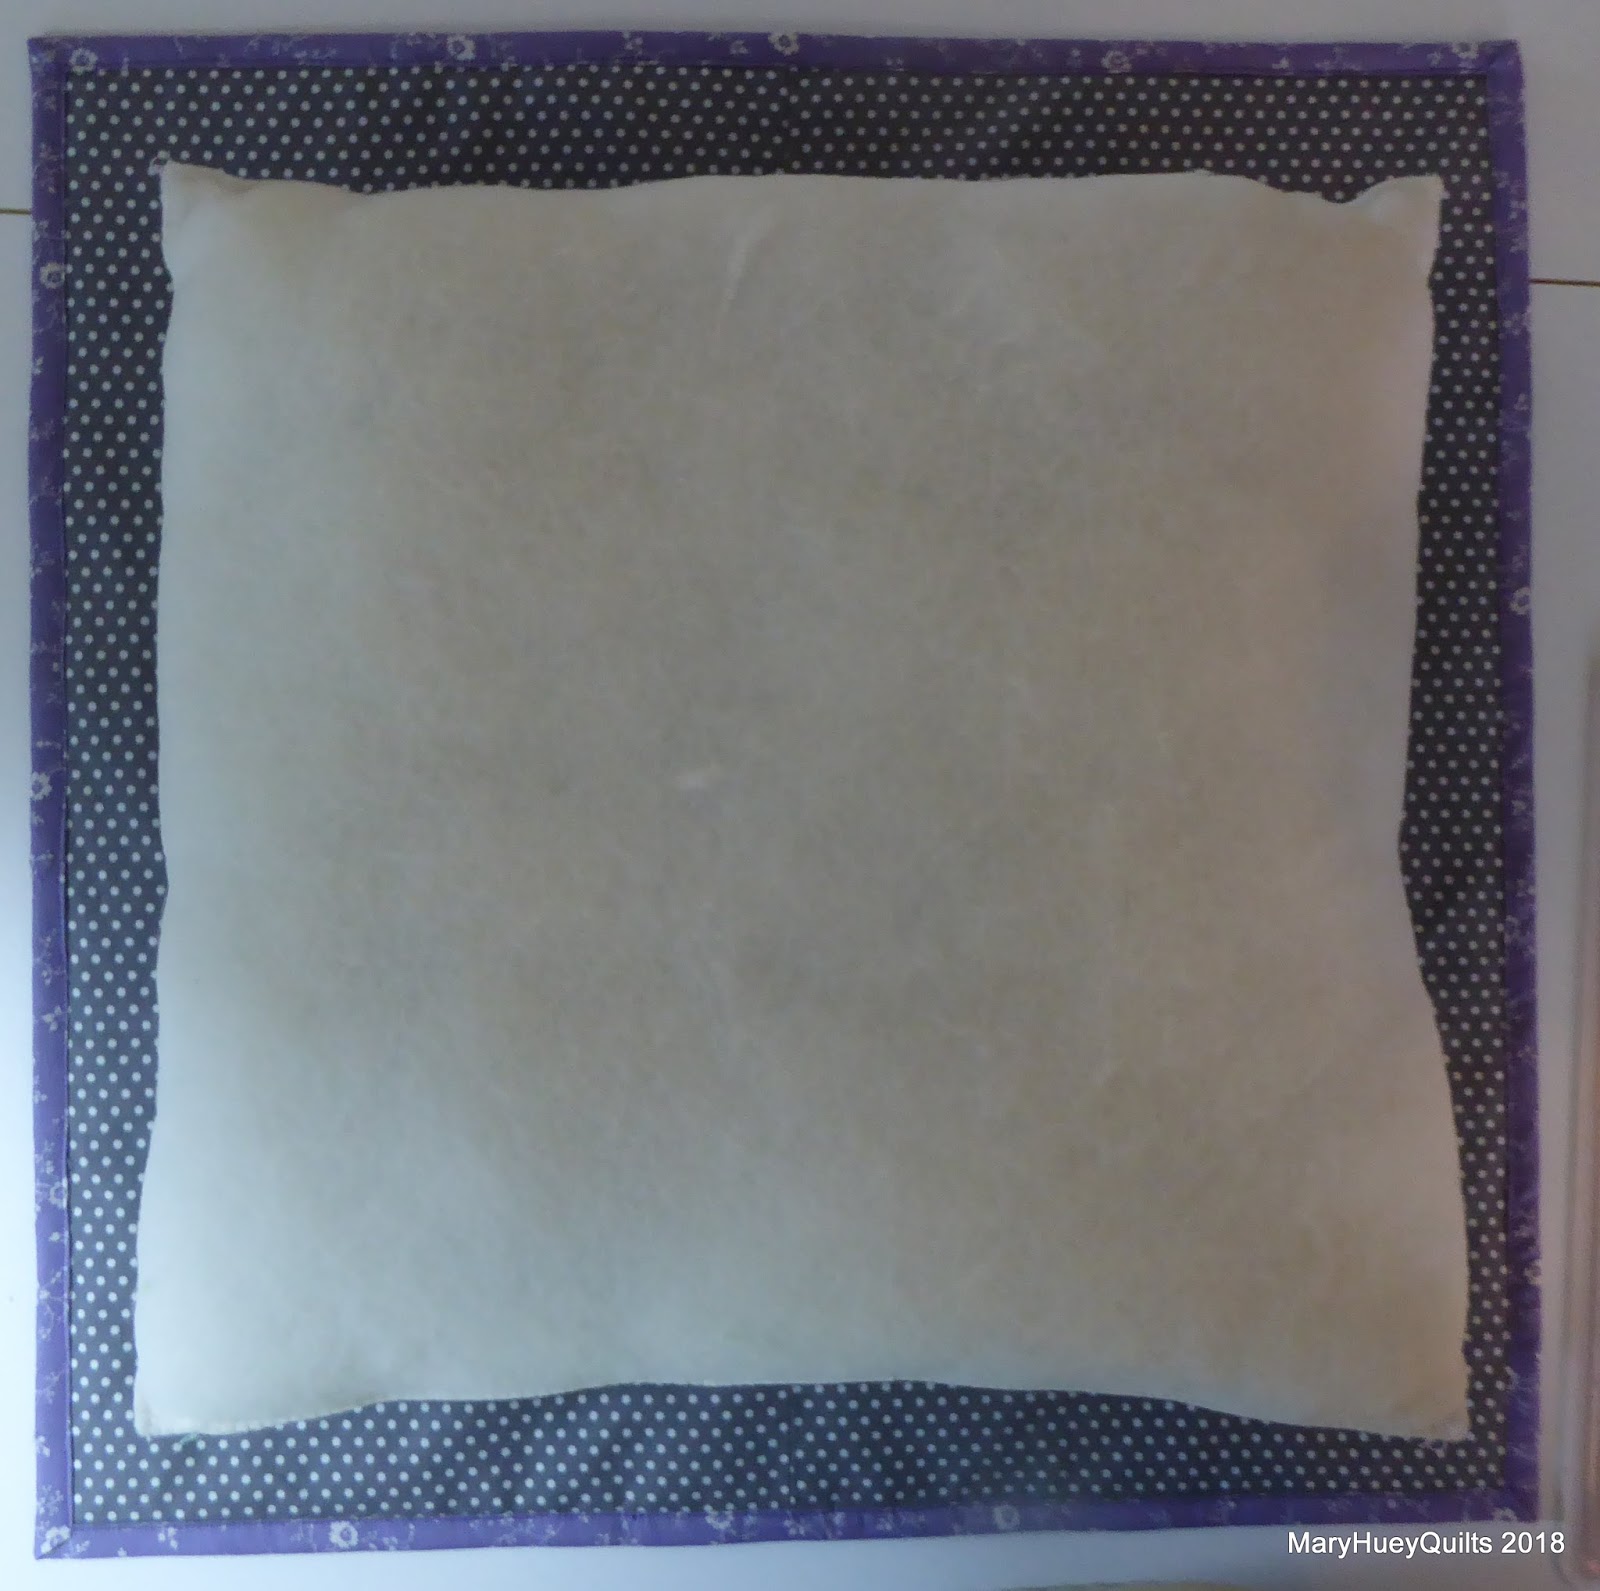
After setting the zipper into the backing of the pillow cover, I layered the top and the back RIGHT SIDES TOGETHER!
(Stay with me.)

Then I bound the edges like I would a quilt!
Am I wierd?
I would rather bind anything than turn something right side out!!
(I also do not like to "stuff" things!!)

Here it is, ready to create the flange.

I laid the form on the back side and estimated how deep a flange I could use.
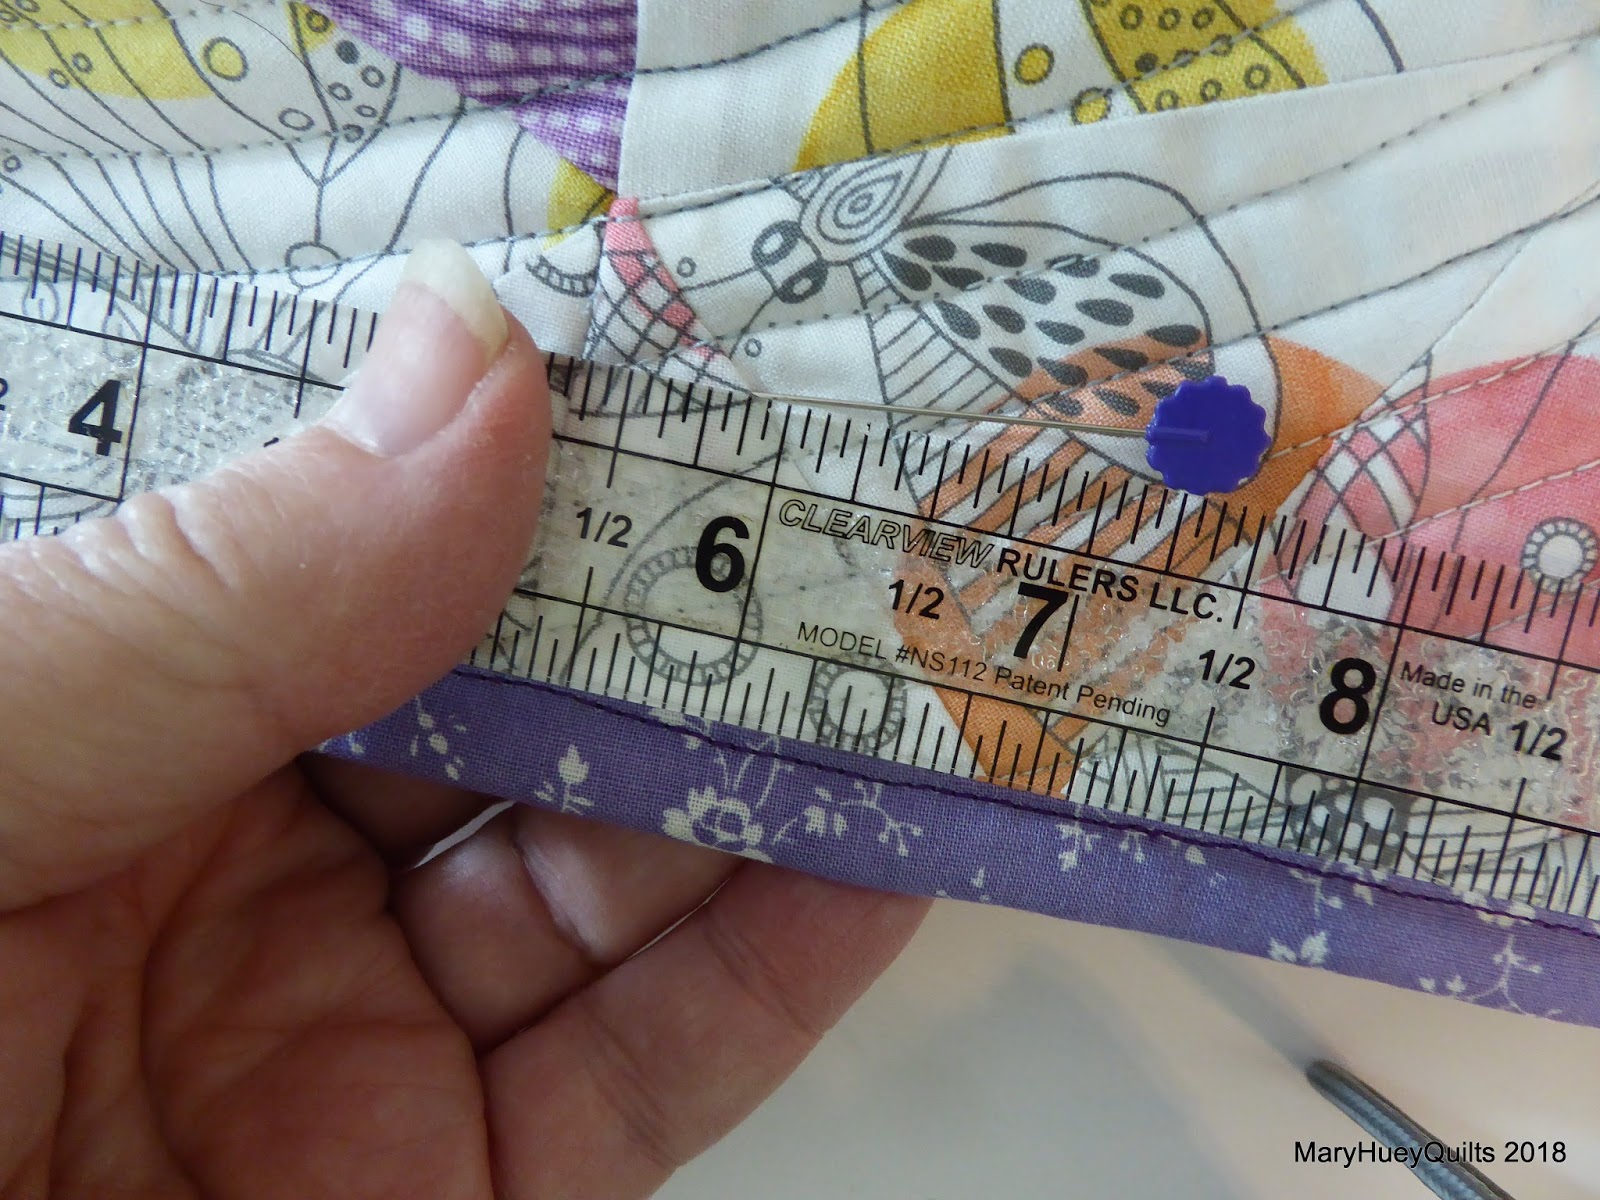
Then I tested it by pin basting a line 1" from the binding all the way around the pillow cover to create a flange.
I remembered that we always sat on pillow forms when I had the shop to flatten them down some and make inserting easier.

In it went for a test run!

Good!
Form came back out and I stitched the flange in place.

Since I don't have a guide on my walking foot, I used painter's tape as a stitching guide and lengthened my stitch to "4" just in case I want to remove it some day.

And here it is -- bringing a touch of spring to the living room couch!
Perfect!!

This finish was easy and I love the pop of color around the outside edge -- so much easier than covering cording and all that fuss!!
Plus, if I pop the form out, I can use it for a table topper!?!
This is the last challenge for the 2018 version of Project Quilting.
I met 5 of the 6 challenges and had fun doing it -- feeling very creative!!
Thank you Kim and Trish!!
Click HERE beginning Sunday afternoon (3/25/2018) to vote for your ten favorite challenge projects!!
Mary Huey
Love it!
ReplyDeleteWhat a happy design with lovely colors! I'm glad you found your inspiration and made your pillow.
ReplyDeleteBeautifully done. I'm so happy you decided to go for it.
ReplyDelete